Why I Love These Muffins
I remember the first time I made English muffins. I was trying to use up my sourdough starter, that bubbly jar I keep in the fridge. My grandmother always said, “Never throw away good food, Lena.” She was right.
These muffins turn your leftover starter into something wonderful. They are chewy, golden, and perfect for butter. I still laugh at how flat my first batch looked. They tasted great anyway.
Doesn’t that smell amazing when they cook? It fills the whole kitchen with a warm, toasty scent. Have you ever tried making bread from scratch before?
The Little Secret of Sourdough Discard
Your sourdough discard is not a waste. It adds a tiny tangy flavor that makes these muffins special. Think of it like a secret ingredient your friends will wonder about.
Why this matters: Using discard saves food from the trash. It also makes the dough easier to work with. Plus, you get two treats from one starter—pancakes one day, muffins the next.
Here is a fun fact: Sourdough discard is a living food. Even when it looks flat and tired, it has friendly bacteria that help your dough rise a little. Magic, right?
What do you usually do with your leftover sourdough? I would love to hear your ideas.
Making the Dough Is Like Playing with Clay
Start by mixing warm water, sugar, and yeast. Let it sit for five minutes until it gets foamy on top. That foam means the yeast is happy and alive.
Then add your milk, sourdough discard, flour, and salt. Mix it all together until it becomes a soft ball. Kneading feels good, like squishing a stress ball.
Why this matters: Kneading makes the dough stretchy and strong. That is what gives your muffins that nice chewy bite. A lazy dough makes a sad muffin, trust me.
Do you like kneading dough, or do you prefer to let a machine do it? I like using my hands, but no judgment here.
The Waiting Game (And a Little Patience)
Cover the dough ball and let it rest for one to two hours. It needs to double in size. This is the perfect time to clean up or sip some tea.
I once forgot about my dough for three hours. It rose so much it looked like a fluffy pillow. I still laugh at that. It made the best muffins ever.
While you wait, prepare a baking sheet with parchment paper and a dusting of cornmeal. Cornmeal gives the muffins that classic gritty bottom. You will know it is real.
Shaping the Little Rounds
Punch the dough down gently. That part is fun, like popping a balloon. Then divide it into ten or twelve equal pieces.
Shape each piece into a smooth round ball. Flatten them just a little, like a thick hockey puck. Let them rest for thirty more minutes.
Here is a mini tip from my kitchen: use a bench scraper to cut the dough. It makes clean edges and less sticky mess. I bought mine for three dollars at a garage sale.
What is your favorite kitchen tool? Mine is that old scraper, hands down.
Frying Them Up on the Stove
Heat a big skillet over medium heat. Do not use high heat, or the outside will burn before the inside is done. Place a few flattened dough rounds in the pan.
Cook them for five to seven minutes on each side. They should turn golden brown and sound hollow when you tap them. That hollow sound means they are fully cooked inside.
Why this matters: Cooking on a skillet gives them that flat top and crunchy crust. You cannot get that from an oven. It is the old-fashioned way that tastes best.
Does your kitchen smell like a bakery right now? Mine does just thinking about it.
The Best Way to Eat Them (And a Final Invitation)
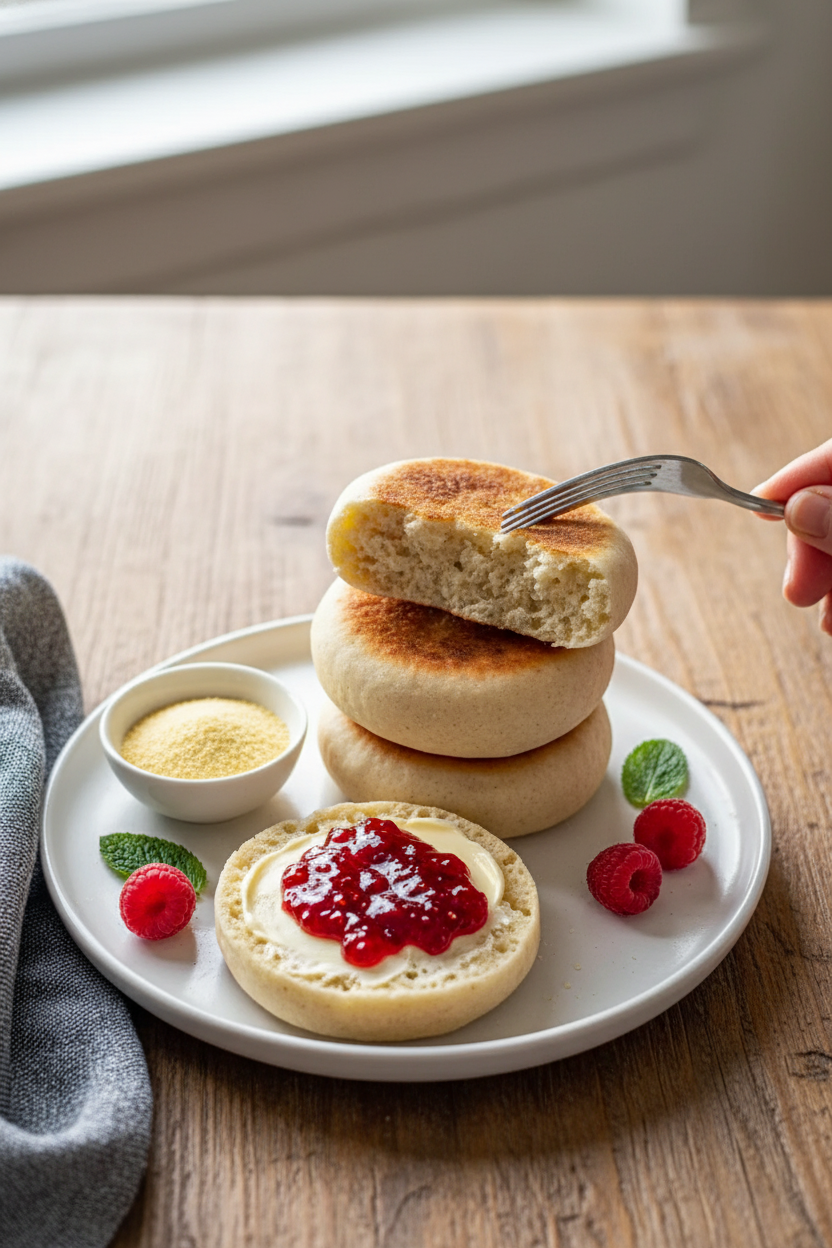
Let the muffins cool on a wire rack. Never cut them with a knife! Use a fork to split them open. That rough inside catches butter and jam perfectly.
I love mine with salted butter and a drizzle of honey. My husband likes them with eggs and cheese for breakfast. You can even freeze them for later.
Now I want to hear from you: What would you put on your English muffin? Tell me your favorite topping. And if you try this recipe, let me know how it goes.
Ingredients:
| Ingredient | Amount | Notes |
|---|---|---|
| Sourdough discard | 3.5 oz | Room temperature, unfed |
| All-purpose flour | 3 cups | Bread flour works too |
| Warm water | 4 oz | 105-110°F |
| Milk | 4 oz | Whole or 2% |
| Active dry yeast | 2 tsp | One standard packet |
| Sugar | 1 tbsp | Feeds the yeast |
| Salt | 2 tsp | Fine sea salt preferred |
| Cornmeal | For dusting |
The Story Behind These Muffins
When I first started baking sourdough, I hated throwing away the discard. It felt wasteful, like tossing out a little piece of my starter’s personality. One rainy afternoon, my neighbor Marta knocked on my door holding a bag of English muffins she’d made from her own discard. I took one bite and my eyes went wide. They were chewy, tangy, and had those perfect nooks and crannies for butter. I begged for the recipe, and she laughed and handed me a napkin covered in floury handwriting. I still laugh at that—she’d scribbled it between feeding her kids breakfast!
Now I make these muffins every Sunday morning. The smell fills the kitchen like a warm hug. And the best part? You don’t need a perfect, bubbly starter for this recipe. Your discard—even straight from the fridge—works like magic. It adds that subtle sour tang without any fuss. Doesn’t that smell amazing when they hit the hot skillet?
Step-by-Step: Let’s Make Them Together
Step 1: Grab a small bowl and pour in your warm water—it should feel like warm bathwater, not hot. Stir in the sugar and sprinkle the yeast on top. Let it sit for about five minutes until it gets foamy and smells like fresh bread. (Hard-learned tip: If the water is too hot, it will kill the yeast, and your muffins won’t rise! Always test it on your wrist first.)
Step 2: Add the milk, sourdough discard, flour, and salt to the foamy yeast mixture. Stir with a wooden spoon until it gets too stiff, then use your hands. Knead the dough on a floured counter for about 8 minutes—it should feel smooth and bouncy like a baby’s cheek. My grandson once said it felt like squishing a stress ball, and he’s not wrong!
Step 3: Shape the dough into a round ball and place it in a greased bowl. Cover it with a clean kitchen towel and set it in a warm spot, like near a sunny window. Let it rise for one to two hours until it doubles in size. I like to poke it gently with my finger—if the dent stays, it’s ready to go. Why does cornmeal on the baking sheet help the muffins not stick? Share below!
Step 4: Punch the dough down gently to release the air bubbles. Divide it into ten or twelve equal pieces—I just eyeball it with a knife. Shape each piece into a round ball, then flatten it into a disc about half an inch thick. Let them rest for 30 minutes on a cornmeal-dusted baking sheet. Patience is key here, little chef!
Step 5: Heat a big skillet or griddle over medium heat—no oil needed, just a dry pan. Cook the muffins for five to seven minutes on each side until they are golden brown and sound hollow when you tap them. I always tap one and say “knock knock” to make my granddaughter giggle. Cool them on a wire rack, then split them open with a fork to get those craggy butter-hugging insides.
Cook Time: 20 minutes
Total Time: 2 hours 30 minutes
Yield: 10–12 muffins
Category: Breakfast, Bread
Three Fun Twists to Try
Cinnamon-Sugar Sweet: Before cooking, press one side of each muffin into a plate of cinnamon and sugar. Cook as usual—the sugar gets caramelized and crunchy like a snickerdoodle cookie.
Everything Bagel: Mix one tablespoon of everything bagel seasoning into the dry flour before kneading. Top each raw muffin disc with extra seasoning before resting. It tastes just like your favorite deli bagel, but softer!
Cheesy Jalapeño: Fold half a cup of shredded cheddar and two tablespoons of finely chopped pickled jalapeños into the dough at the end of kneading. The cheese gets crispy on the outside when cooked—so good with eggs. Which one would you try first? Comment below!
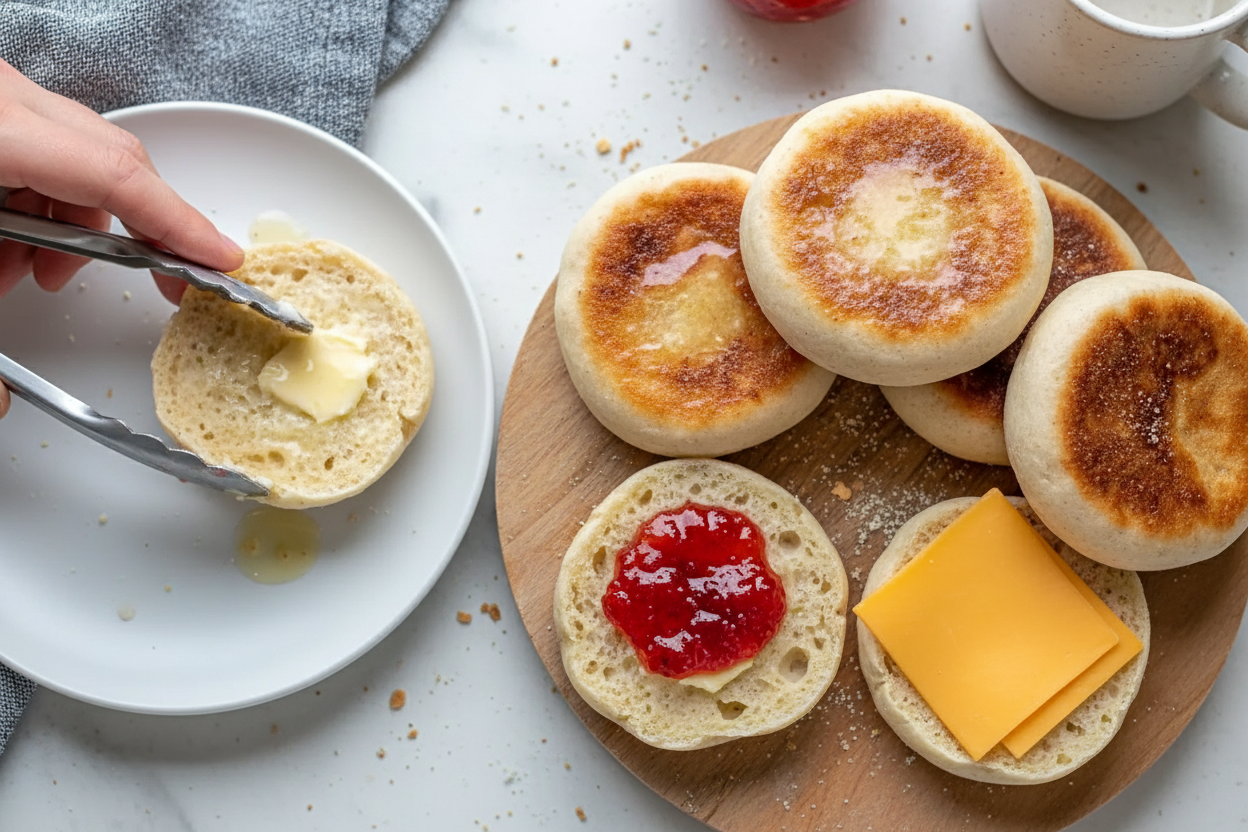
How to Serve and Sip
Split a warm muffin with a fork and toast it lightly in the oven or toaster. Pile on salted butter and a drizzle of honey for a classic breakfast. For a savory twist, top with a fried egg, crispy bacon, and a slice of melted cheddar. My dad used to eat his with a thick smear of grape jelly, and I still do that on lazy mornings.
Pair your muffin with a tall glass of cold milk or a cup of black coffee if you’re feeling grown-up. For a fancier drink, try a sparkling apple cider—it cuts through the buttery richness perfectly. Which would you choose tonight?
How to Store These Muffins (and Why It Matters)
These sourdough discard English muffins keep well. After they cool, place them in a zip-top bag. They stay fresh on the counter for three days.
I once stuffed a batch in the fridge, thinking they would last longer. They dried out a bit. Next time, I froze them instead.
Freezing is the best trick for batch cooking. Slice each muffin before freezing. Then you can toast one straight from the freezer for a quick breakfast.
To reheat, pop a frozen muffin in the toaster for four minutes. It comes out crispy and warm. Storing this way saves you time on busy mornings.
Why this matters: When you batch cook and freeze, you always have a homemade treat ready. It makes mornings feel easier and less rushed.
Have you ever tried storing it this way? Share below!
Three Common Problems (and Easy Fixes)
First problem: Your muffins are too flat. This happens if the dough did not rise enough. Let it sit in a warm spot for the full two hours.
Second problem: The inside is gummy. I remember when my first batch was doughy in the middle. The fix is simple: cook them longer on low heat.
Give each side a full seven minutes. The muffin should sound hollow when you tap it. That means the inside is cooked through.
Third problem: They burn on the outside before cooking inside. Medium heat is your friend. Do not rush with high heat.
Why this matters: Fixing these problems builds your confidence in the kitchen. You learn to trust the feel and sound of good bread. That makes every batch better.
Which of these problems have you run into before?
Your Top 5 Questions Answered
Q: Can I make these gluten-free?
A: Yes. Use a gluten-free all-purpose flour blend. The texture will be slightly different but still tasty.
Q: Can I make the dough the night before?
A: Absolutely. Let it rise, then cover and refrigerate. Shape and cook them the next morning.
Q: Can I swap the milk for water?
A: Yes. Use warm water instead. The muffins will be a little less rich but just as good.
Q: Can I cut the recipe in half?
A: Sure. Use one egg’s worth of sourdough discard (about 1.75 ounces). Scale everything else down by half.
Q: What if I do not have cornmeal?
A: Use semolina flour or plain rice flour. You just need something to stop the dough from sticking.
Fun fact: The nooks and crannies in English muffins come from splitting them with a fork, not a knife.
Which tip will you try first?
A Warm Goodbye from Lena
I hope these muffins bring a little warmth to your kitchen. They remind me of lazy Sunday mornings with my own family.
Nothing beats the smell of fresh muffins toasting. I would love to see how yours turn out. Share a photo when you make them.
Have you tried this recipe? Tag us on Pinterest!
Thank you for letting me share this simple recipe with you. Keep cooking, keep tasting, and keep making memories.
Happy cooking!
—Lena Morales.
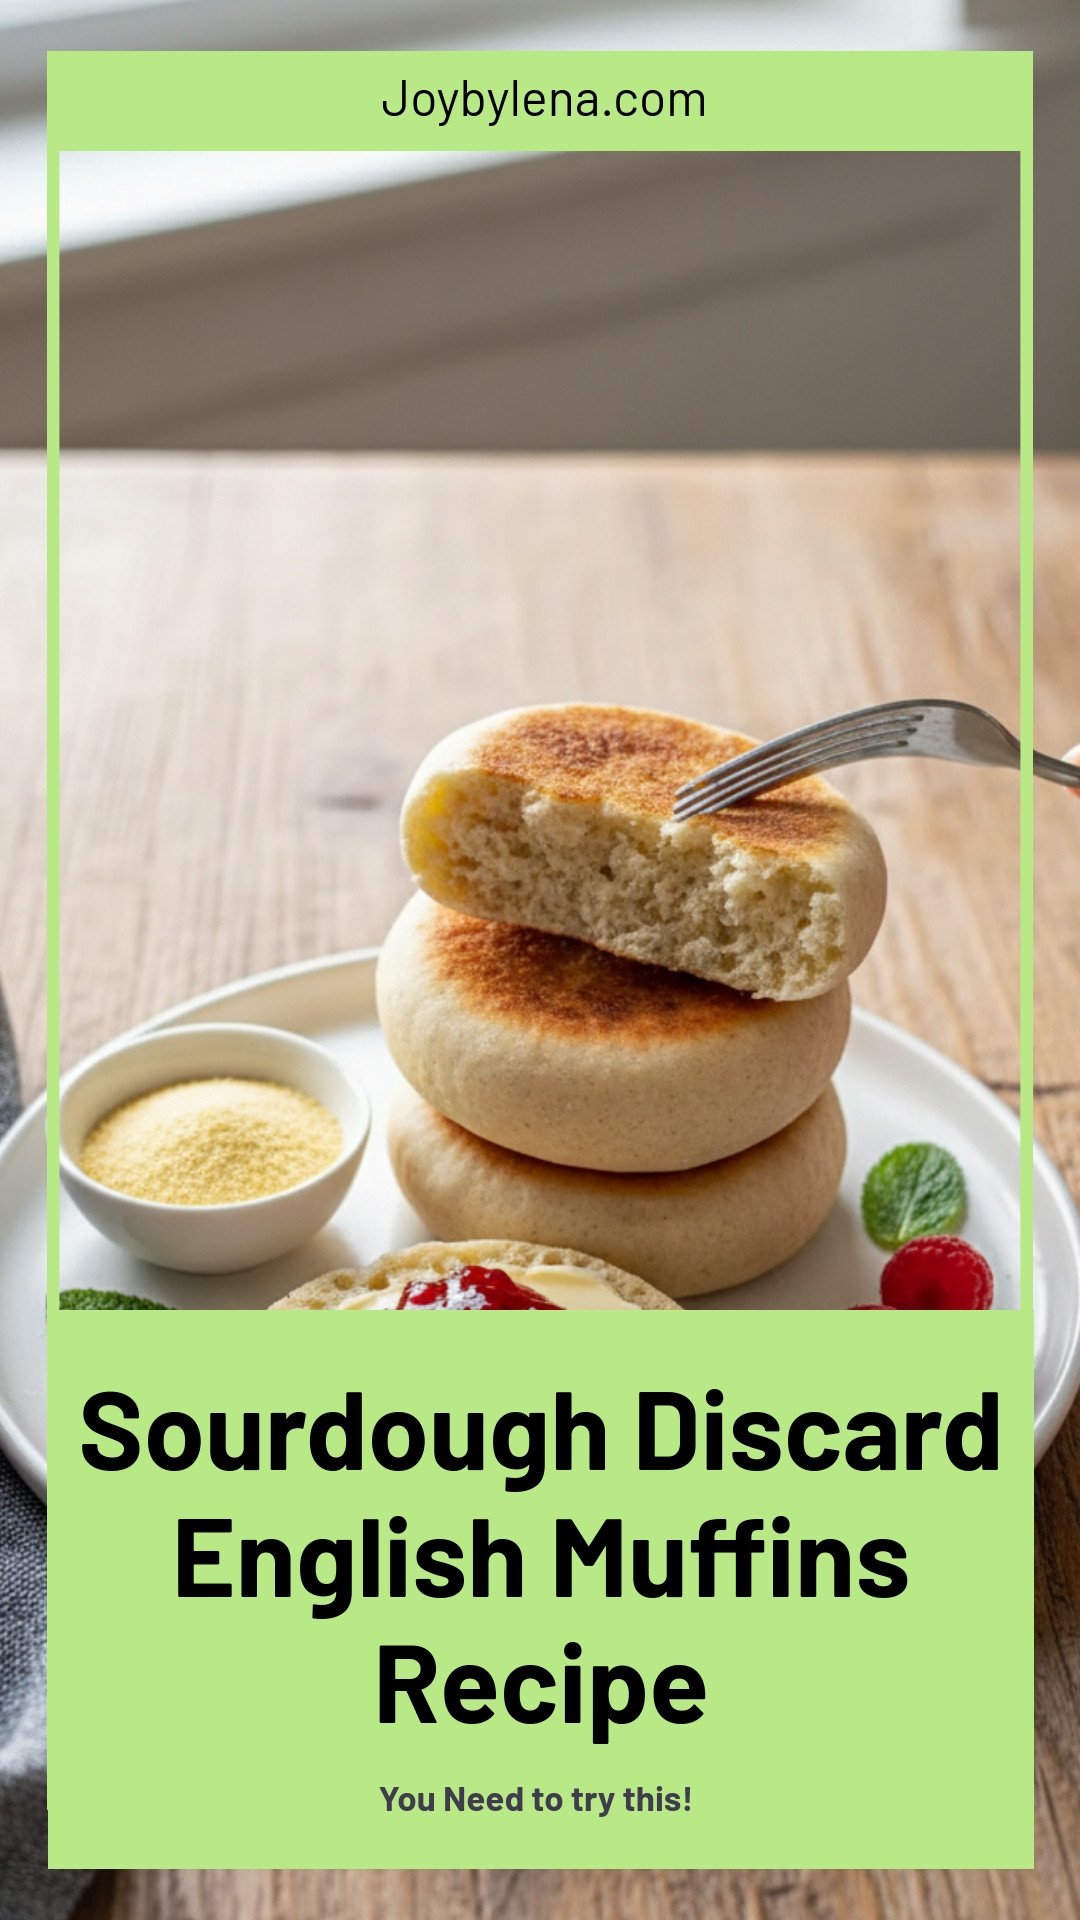
Sourdough Discard English Muffins: Sourdough Discard English Muffins Recipe
Ingredients
Instructions
- Combine warm water, sugar, and active dry yeast in a mixing bowl. Let sit 5 minutes until foamy.
- Add milk, sourdough discard, flour, and salt. Mix and knead until smooth and elastic.
- Form dough into a ball, cover, and let rise 1-2 hours until doubled.
- Prepare baking sheet with parchment paper and cornmeal.
- Punch down dough, divide into 10-12 pieces, shape into rounds, flatten, and rest 30 minutes.
- Heat skillet over medium heat and cook muffins 5-7 minutes per side until golden and hollow sounding.
- Cool on wire rack, then split with a fork and serve.


Leave a Reply