A Treat That Started With a Sad Face
The first time I made these, my dog Max was watching me bake cookies for the neighbors. He put his head on my knee and gave me those big brown eyes. I felt terrible. Dogs deserve treats too, don’t they? So I got out the peanut butter and applesauce and made a batch just for him. I still laugh at how he wagged his tail so hard he almost tipped over. These “Pawsitively Good Dog Bones” are safe, simple, and full of love. No weird chemicals or scary ingredients. Just things you already have in your pantry. Doesn’t that make you feel better about what you’re feeding your furry friend?Why Homemade Beats Store-Bought
I know it’s easy to grab a bag at the store. But have you ever read the label on some of those treats? They’re full of fillers and preservatives. When you make them at home, you control everything. That peace of mind is worth the extra ten minutes. *Fun fact: Store-bought dog treats often have more sugar and salt than a bag of chips!* That surprised me the first time I checked. Your dog doesn’t need all that junk. What goes into their belly matters just as much as what goes into yours. Now, tell me: have you ever peeked at the ingredients on your dog’s treat bag? What was the worst thing you saw?The Secret Is in the Peanut Butter
One very important rule: never use peanut butter with xylitol. Xylitol is a sweetener that is very dangerous for dogs. Always check the label, even if it says “natural.” I once grabbed the wrong jar and caught myself just in time. Your dog can’t tell you something is wrong, so you have to be their hero. Natural, unsalted peanut butter is what you want. It gives the dough a nice, nutty smell that will make your pup dance in circles. And the applesauce adds just enough sweetness without any sugar. It’s the perfect mix of healthy and tasty. Why does this matter? Because your dog will love the taste, and you’ll love the safety.Rolling, Cutting, and Wagging Tails
When you roll the dough, keep it about a quarter-inch thick. If you make it too thick, the inside won’t bake all the way. Too thin, and they’ll crumble into tiny pieces. I like to flour my counter a little so the dough doesn’t stick. Then comes the fun part: cutting out the bone shapes. If you don’t have a bone-shaped cutter, don’t worry. You can use a small cookie cutter shaped like a star or a circle. Or just cut them into little squares with a knife. Dogs don’t care what shape their treat is. They only care that it tastes good. What shapes do you think your dog would like best?That Warm, Toasty Smell
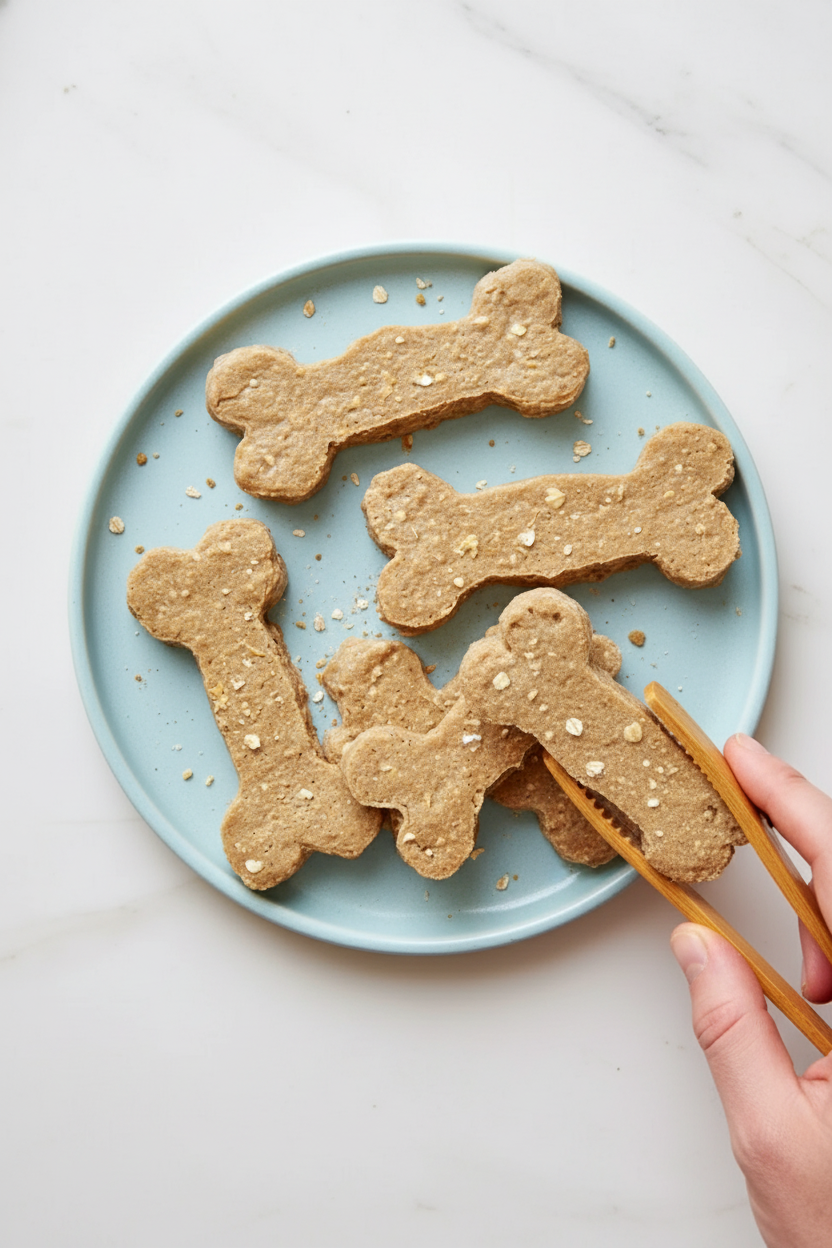
After twenty-five minutes in the oven, your kitchen will smell amazing. Like a cozy bakery, but for dogs. The bones should be golden and firm to the touch. Let them cool completely before you serve one. I usually put a wire rack on the counter and let them sit for an hour. Here is a little test: tap one with your finger. If it sounds hollow, it’s perfect. If it feels soft, give it five more minutes in the oven. Your dog’s ears will perk up the second they hear the cookie sheet. Doesn’t that anticipation feel wonderful?More Than Just a Snack
Why does baking for your dog matter so much? It’s about love, trust, and showing up. When you make something with your own hands, your dog feels that care. They see you in the kitchen, they smell the good smells, and they know it’s for them. That bond gets stronger every time. I’ve seen shy pups come out of their shells after one homemade treat. Plus, these bones are great for training. Break them into little pieces and use them as rewards. Your dog will work extra hard for that peanut butter taste. I used these to teach my neighbor’s puppy to sit in one afternoon. Have you ever tried using homemade treats for training? Tell me your story!Your Turn to Get in the Kitchen
Now you have everything you need to make your dog a happy pup. Flour, oats, applesauce, peanut butter, and eggs. Just mix, roll, cut, and bake. Store the extra bones in a sealed jar for up to two weeks. They won’t last that long, trust me. I want to hear how it goes. Did your dog do a happy dance when you brought out the treats? Did you use a special cookie cutter shape? Drop a comment and share the joy. It always makes my day to hear about wagging tails in other kitchens.Ingredients:
| Ingredient | Amount | Notes |
|---|---|---|
| Whole wheat flour | 2 cups | Dry ingredient |
| Rolled oats | 1/2 cup | Dry ingredient |
| Nonfat dry milk powder | 1/4 cup | Dry ingredient |
| Baking powder | 1/2 teaspoon | Dry ingredient |
| Unsweetened applesauce | 1/2 cup | Wet ingredient |
| Natural unsalted peanut butter (no xylitol) | 1/4 cup | Wet ingredient |
| Large eggs | 2 | Wet ingredient |
| Water | 1/3 cup (as needed) | Wet ingredient |
Making Treats That Wag Tails
There’s nothing like the patter of little paws while you bake. I still remember my old golden retriever, Biscuit, waiting by the oven. His tail thumped against the floor like a happy drum. These dog bones are my way of saying “I love you” to your four-legged friend. Doesn’t that smell amazing already?
The secret is keeping things simple and safe. No sugar, no salt, and no xylitol—that sweetener is dangerous for dogs. I learned that the hard way years ago, and it scared me straight. Always double-check your peanut butter jar. Fun fact: Xylitol is fine for humans but can make dogs very sick! Now, let’s get those tails wagging with this easy recipe.
Step 1: Preheat your oven to 350 degrees Fahrenheit. Line a baking sheet with parchment paper. This keeps the bones from sticking and makes cleanup a breeze.
Step 2: In a big bowl, mix 2 cups whole wheat flour, 1/2 cup rolled oats, 1/4 cup nonfat dry milk powder, and 1/2 teaspoon baking powder. Stir it all together with a fork. I like to pretend I’m making a sand castle for my pup.
Step 3: In a separate bowl, whisk together 1/2 cup unsweetened applesauce, 1/4 cup natural peanut butter, and 2 large eggs. Make sure the peanut butter is smooth and has no extra sugar. (A hard-learned tip: never use chunky peanut butter—the nuts can choke a small dog.)
Step 4: Pour the wet mix into the dry mix. Stir until a dough forms. If it feels too crumbly, add water one tablespoon at a time. You want a soft dough that holds together, like playdough.
Step 5: Sprinkle a little flour on your counter. Roll the dough out until it’s about 1/4 inch thick. Not too thin, or the bones will break. Not too thick, or they’ll be too hard. My first batch was like rocks—Biscuit still loved them, though.
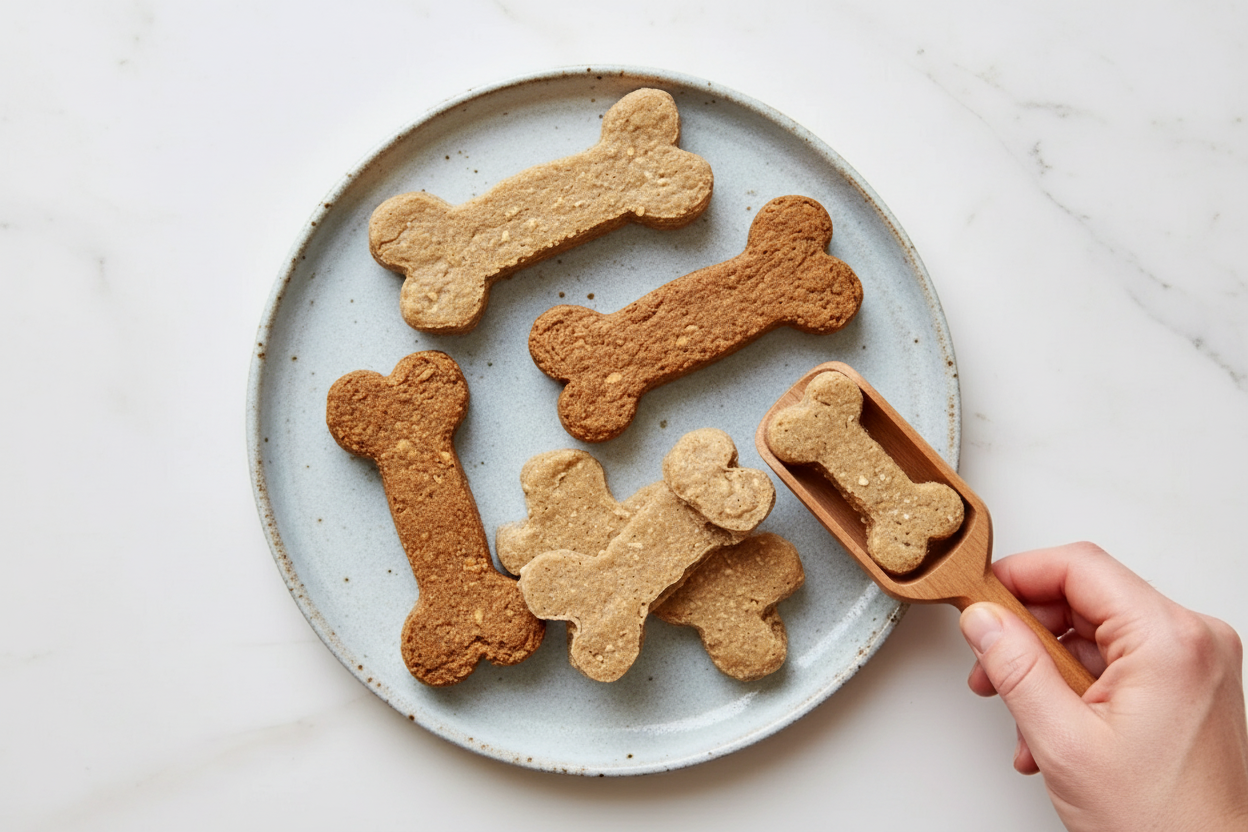
Step 6: Grab a bone-shaped cookie cutter and press out your treats. Place them on the baking sheet, leaving a little space between each one. If you don’t have a bone cutter, use any small shape your pup likes. A star or heart works too.
Step 7: Bake for 25 to 30 minutes. They should look golden and feel firm to the touch. Let them cool completely on a wire rack before serving. Hot treats can hurt a dog’s mouth. Question for you: What shape does your dog love most? Share below!
Cook Time: 25–30 minutes
Total Time: 45 minutes
Yield: About 24 bones (depends on cutter size)
Category: Dog Treats
Three Fun Twists for Your Pup
Want to mix things up? These simple swaps will make your dog’s tail spin. Which one would you try first? Comment below!
Pumpkin Paw-dicure: Swap the applesauce for 1/2 cup plain pumpkin puree. Pumpkin is great for a dog’s tummy. It also gives the bones a pretty orange color.
Banana-Berry Bones: Mash one ripe banana and add it with the wet ingredients. Throw in a handful of blueberries (fresh or frozen). Your pup will go nuts for the fruity taste.
Cheesy Tail-Wagger: Replace the peanut butter with 1/4 cup shredded low-fat cheddar cheese. Omit the applesauce and add 1/4 cup plain yogurt instead. The smell will bring your dog running from anywhere in the house.
How to Serve and Sip
Treat time is special, so make it feel like a little party. Place two or three bones on a clean plate for your dog. You can crumble one over their regular dinner as a topper. For extra fun, hide a bone in a towel and let your dog sniff it out.
For you, I’d pour a tall glass of cold milk or a warm mug of chamomile tea. The milk feels cozy, like a hug from the past. If you want something grown-up, a light beer or a crisp white wine pairs nicely with baking time. Which would you choose tonight?
How to Store Your Homemade Dog Bones
These treats keep best in a sealed container on the counter for up to a week. I remember my first batch got a little soft on a humid day. Now I always pop extras in the fridge for up to two weeks. For longer storage, freeze them in a zip-top bag for up to three months. Just thaw a few at room temperature before giving one to your pup.
Batch cooking saves time and keeps your dog happy. I make a double batch on Sunday and freeze half. That way I always have a healthy treat ready. Have you ever tried storing it this way? Share below!
Why this matters: Proper storage keeps the treats fresh and safe. Your dog deserves only the best crunch.
Common Problems and Easy Fixes
Sometimes the dough is too dry and crumbly. I once added too much flour by accident. The fix is simple: add water one tablespoon at a time until it holds together. Another issue is dough that sticks to your rolling pin. Just sprinkle a little extra flour on your surface and pin.
If your bones spread out too much in the oven, the dough is too wet. Next time use a little less water. I remember my first batch looked like blobs instead of bones. My dog didn’t care, but I wanted them to look nice. Why this matters: Fixing these small problems makes you a more confident baker. You learn to trust your hands and eyes.
Which of these problems have you run into before? Tell me in the comments!
Your Questions, Answered
Q: Can I make these gluten-free? A: Yes, swap the whole wheat flour for oat flour or a gluten-free blend.
Q: Can I make the dough ahead? A: Absolutely. Wrap it tight and keep in the fridge for up to three days.
Q: What if my dog hates peanut butter? A: Use pumpkin puree instead. It works great and smells lovely.
Q: How do I scale the recipe? A: Just double or triple the ingredients. Keep the same oven time.
Q: Any extra tips? A: Chill the dough for 10 minutes before rolling. It makes cutting shapes much easier.
Which tip will you try first?
*Fun fact: Dogs can’t taste salt very well, so they love plain treats like these.
From My Kitchen to Yours
Thank you for baking for your four-legged friend. There is nothing better than seeing a happy tail wag for a homemade treat. I hope these bones bring joy to your kitchen like they do mine. Have you tried this recipe? Tag us on Pinterest!
Happy cooking!
—Lena Morales.
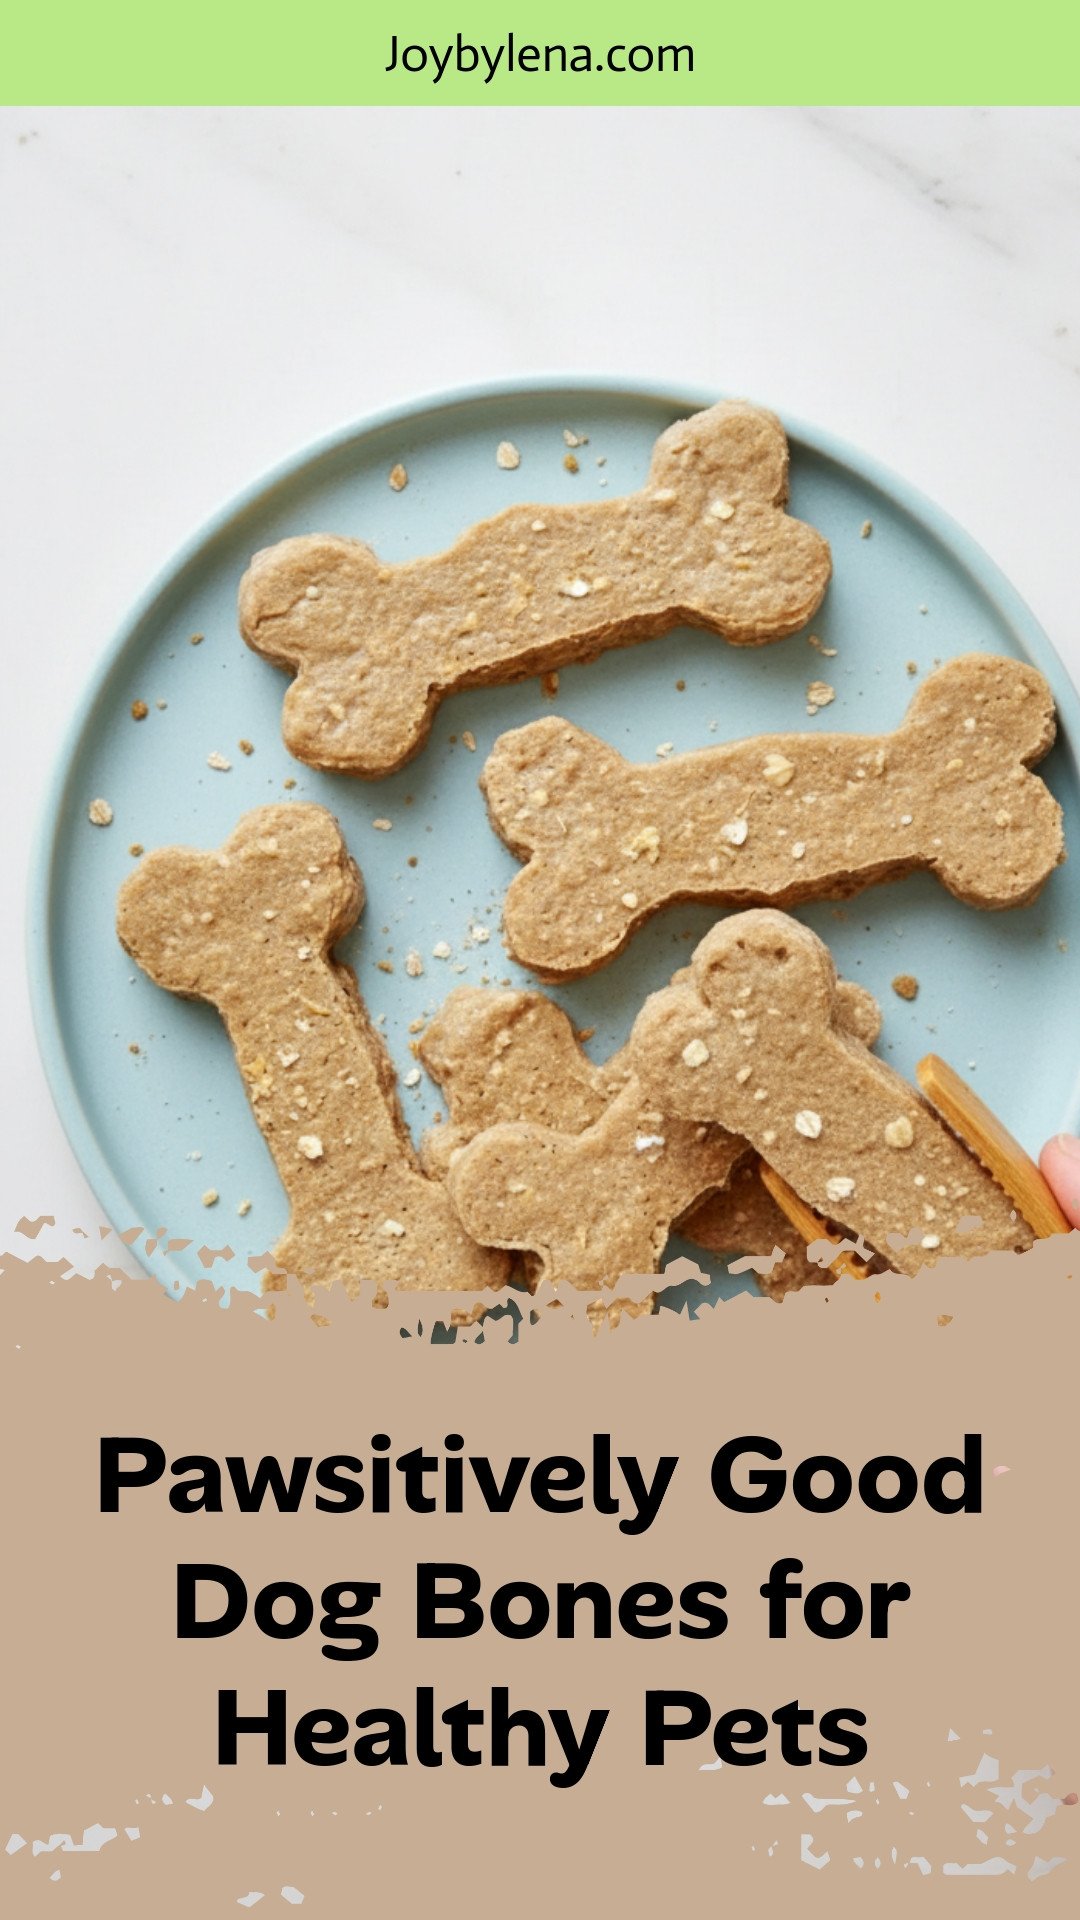
Pawsitively Good Dog Bones for Healthy Pets
Description
Homemade dog bone treats made with wholesome ingredients like whole wheat flour, oats, applesauce, and peanut butter.
Ingredients
1/2 teaspoon baking powder
1/3 cup water, as needed
Instructions
- Preheat oven to 350°F. Line a baking sheet with parchment paper.
- In a large bowl, combine whole wheat flour, rolled oats, nonfat dry milk powder, and baking powder.
- In a separate bowl, whisk together applesauce, natural peanut butter, and eggs until smooth.
- Gradually incorporate the wet mixture into the dry ingredients, stirring until dough forms. If too dry, add water one tablespoon at a time to achieve desired consistency.
- Transfer the dough onto a lightly floured surface and roll to approximately 1/4 inch thickness.
- Use a bone-shaped cookie cutter to cut dough and place pieces onto the prepared baking sheet.
- Bake in the preheated oven for 25 to 30 minutes or until golden and firm.
- Remove from oven and allow to cool completely on a wire rack before serving.
Notes
- Store in an airtight container for up to 2 weeks or freeze for longer storage. Always check with your vet before introducing new treats to your dog’s diet.


Leave a Reply