Why I Love Ghost Pizza
My grandkids call me the Halloween pizza lady. I get a kick out of that every year. These little ghost pizzas started as a joke in our kitchen. My youngest, Sofia, said our pizza looked like a sad white blob. So we gave it pepperoni eyes and laughed until our bellies hurt. Doesn’t that sound like a fun mess to make? I still smile when I think about that day. Why this matters: cooking together is about having silly, happy moments. It’s not about making everything perfect.What You Need for the Fun
Gather your dough, pizza sauce, and mozzarella cheese slices. You also need a round cookie cutter or a small glass. Don’t worry if you don’t have a ghost-shaped cutter. I have used clean kitchen scissors to cut ghost shapes by hand. It works just fine. You can also grab mini pepperoni or black olive pieces for eyes. Does your family like extra flavor? Sprinkle on some Italian seasoning. That step is totally up to you.The Simple Steps, Simply Told
Start by setting your oven to 400 degrees. Line a baking sheet with parchment paper so nothing sticks. Roll out the dough until it is about a quarter-inch thick. Then use your cutter or glass to make eight little rounds. Spoon about two tablespoons of sauce onto each round. Leave a tiny border around the edge for the crust. Now cut your cheese into ghost shapes. You can use a cutter or those scissors I mentioned. Pop the sauced rounds into the oven for 8 to 10 minutes.Putting the Ghosts to Bed
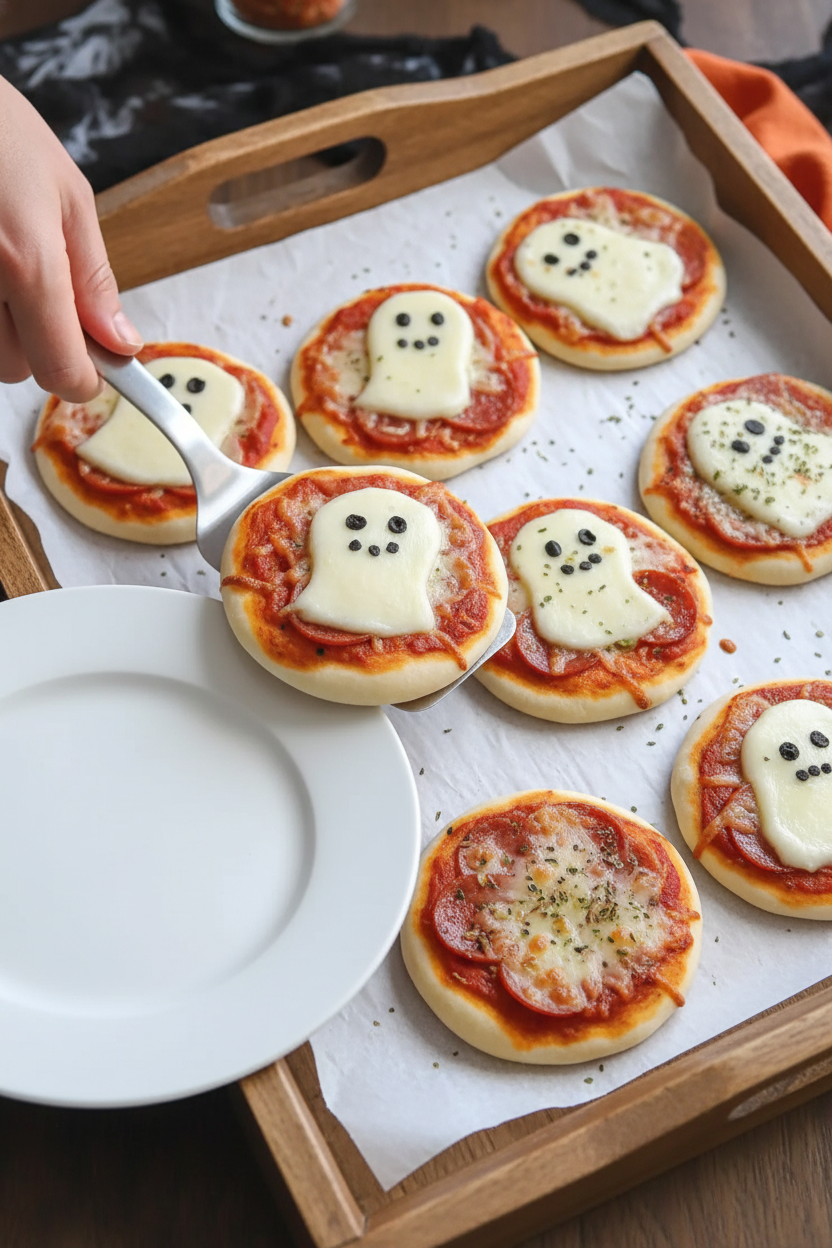
Once your pizza bases are lightly golden, take them out. Place one cheese ghost on top of each hot pizza. Yes, the cheese is still cold and firm. Put them back in the oven for another 4 to 5 minutes. Watch closely. The cheese will melt and get soft, but it should still look like a ghost. Let them cool for one minute on the counter. Now comes the best part. Add little pepperoni or olive eyes to each ghost face. Fun fact: Mozzarella cheese was first made in Italy near Naples. People have used it for over 700 years. Your ghost is very traditional, in a silly way.A Little Lesson I Learned
Here is why this matters: Making food with your hands teaches you patience. You have to wait for dough to bake and cheese to melt. But that tiny wait makes the first bite taste ten times better. I have taught this to kids who started out wiggly and impatient. My own grandson used to groan when I said “wait.” Now he stands by the oven with a timer. He gets so proud when the bell dings. Have you ever cooked something that taught you to be patient?How to Make Them Your Own
These ghost pizzas are a blank canvas. Use any sauce your family loves. Try white sauce or even pesto. You can add tiny mushroom slices under the cheese for a hidden surprise. Let the kids build their own ghost faces. Here is a question for you: What would your perfect ghost face look like? Scary, silly, or surprised? I love seeing what different people choose. It tells me a little bit about their personality.Share a Bite and a Story
These little ghosts are perfect for a school party or a cozy night in. They make people smile before they even take a bite. That is a special kind of magic. I hope you make them with someone you love. I want to hear from you. What is the funniest food you have ever made with your family? Send me your ghost pizza photos if you can. I keep a little album of reader creations on my fridge. It makes my heart full every time I see them.Ingredients:
| Ingredient | Amount | Notes |
|---|---|---|
| Prepared pizza dough | 1 package | |
| Pizza sauce | 1 cup | |
| Mozzarella cheese (for ghost shapes) | 8 slices | |
| Mini pepperoni or olive pieces | To taste | For ghost faces |
| Italian seasoning | Optional sprinkle |
My Little Ghost Pizzas Came to Life
I still remember the first time I made these for my niece. She screamed with joy, not fear! The trick is keeping the cheese ghosts wobbly and white. Doesn’t that smell amazing already? Let me walk you through it, slow and easy, like we’re in my kitchen.
Step 1: First, preheat your oven to 400°F. Line a baking sheet with parchment paper. My grandma taught me that trick to avoid sticky messes. (Hard-learned tip: cold dough is sticky dough, so let it sit out for 10 minutes first.)
Step 2: Roll the pizza dough out on a floured counter. Make it about as thick as your pinky finger. Use a round cookie cutter or the rim of a glass to cut 8 mini rounds. I once used a mug that was too small—don’t do that!
Step 3: Place the rounds on the baking sheet. Spread about 2 tablespoons of pizza sauce on each one. Leave a tiny border like a crust. My son calls it the “no-soggy zone.” Have you ever tried making ghosts from other cheese, like cheddar? … Share below!
Step 4: Now for the fun part—cut ghost shapes from mozzarella slices. Use a small ghost cookie cutter, or just freehand with scissors. I freehanded mine and they looked like wobbly clouds. Kids love that even more.
Step 5: Bake the sauced dough rounds for 8 to 10 minutes. They should turn light golden and feel firm. Pull them out and let them cool for just one minute. Patience is hard, I know, but it helps the cheese stay put.
Step 6: Place a mozzarella ghost on top of each pizza. Pop them back in the oven for 4 to 5 minutes. Watch closely until the cheese melts but still holds its shape. I burned my first batch—so set a timer!
Step 7: Let them cool for exactly one minute. Then add eyes using mini pepperoni or olive pieces. Press them gently into the warm cheese. I always give mine surprised faces, like “boo!” but friendly.
Cook Time: 14–15 minutes
Total Time: 30 minutes
Yield: 8 mini pizzas
Category: Snack, Lunch
Three Spooky Twists to Try
Veggie Vampire Ghosts: Skip the pepperoni and use thin slices of red bell pepper for eyes. Add a little smile made from a green olive strip. My neighbor’s daughter calls them “friendly fangs.”
Spicy Specter Pizzas: Mix a pinch of red pepper flakes into your pizza sauce. The heat sneaks up on you like a real ghost! Sprinkle a tiny bit of chili powder on the cheese before baking.
Harvest Pumpkin Ghosts: Swap the pizza sauce for butternut squash puree mixed with a pinch of nutmeg. The orange base makes the white ghost pop. My husband said it tasted like fall on a plate. Which one would you try first? Comment below!
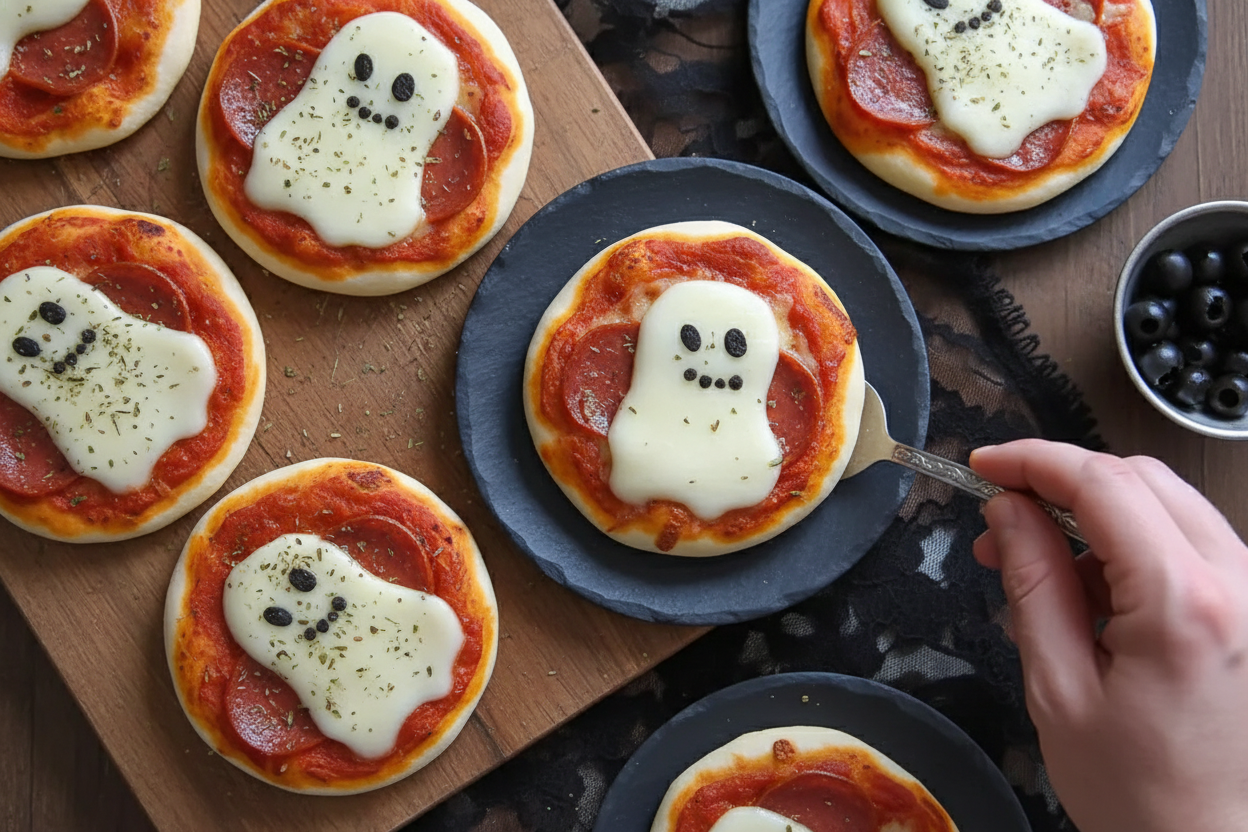
How to Serve Your Spooky Crew
Serve these warm on a dark plate—it makes the ghosts look like they’re floating. Pair them with a small bowl of marinara for dipping. My grandkids love to dip the ghost’s “feet.”
For a drink, try a glass of cold apple cider. It’s sweet and cozy. For the grown-ups, a light red wine like a Pinot Noir works beautifully. Which would you choose tonight?
Storing Your Ghost Pizzas So They Stay Fun
Leftover ghost pizzas taste great the next day. Just pop them in the fridge in a sealed container. They will be good for up to three days.
I store batches for my grandkids after school. I once forgot a pizza in the fridge for a week. Let me tell you, it was not so ghostly after that.
To reheat, use a toaster oven at 350°F for five minutes. The crust gets crispy again, and the ghost stays yummy. Skip the microwave, or the cheese turns rubbery.
You can also freeze the plain pizza rounds before baking. Just add sauce and ghosts after they thaw. This is great for a quick spooky snack later.
Have you ever tried storing it this way? Share below! Batch cooking saves time on busy nights. You can have fun food ready in minutes.
Three Common Ghost Pizza Problems And Easy Fixes
Maybe your ghost cheese slides off the pizza. This happens if the sauce is too watery. Just drain the sauce a little with a spoon next time.
I once made ghosts that looked like blobs. I used thick cheese slices, and they did not hold their shape. Now I always use thin, sliced mozzarella.
Another problem is a soggy crust. This happens if you roll the dough too thin. Keep it about a quarter inch thick for a crispy bite.
Which of these problems have you run into before? These fixes matter because they make you feel like a real cook. You learn to trust your hands and eyes.
Fixing a small mistake teaches you how food works. That is why every flop is really a lesson. You get better each time you try.
Your Spooky Pizza Questions Answered
Q: Can I make this gluten-free?
A: Yes. Use gluten-free pizza dough from the store. It works just the same.
Q: Can I make the ghosts ahead of time?
A: Cut the cheese ghosts and store them in the fridge. Add them right before the second bake.
Q: What if I don’t have a ghost cookie cutter?
A: Use scissors. Cut a simple ghost shape from the cheese slice by hand.
Q: Can I make a big batch for a party?
A: Double or triple the recipe easily. Just use two baking sheets and swap racks halfway.
Q: Any other topping ideas?
A: Use small pieces of black olive for eyes. Or try tiny dots of pesto for green ghosts.
Which tip will you try first?
A Little Kitchen Blessing From Lena
I hope these little ghosts bring joy to your table. Cooking with kids is messy and wonderful. The crust might be crooked, and that is just fine.
I love seeing how you make a recipe your own. Take a photo of your ghost pizzas and share them. Have you tried this recipe? Tag us on Pinterest!
*Fun fact: Mozzarella cheese ghosts were invented by a busy mom in Ohio. She needed a quick Halloween dinner for her four kids.
Keep cooking with love and laughter. Happy cooking!
—Lena Morales.

Mini Ghost Pizzas A Spooky Treat
Description
Spooky and delicious mini ghost pizzas made with pizza dough, sauce, and mozzarella ghosts.
Ingredients
Instructions
- Preheat the oven to 400°F (200°C) and line a baking sheet with parchment paper.
- Roll out the pizza dough on a lightly floured surface to about ¼-inch thick. Cut out 8 mini rounds using a cutter or glass.
- Transfer rounds to the baking sheet. Spread about 2 tablespoons of pizza sauce on each, leaving a small border.
- Cut ghost shapes out of mozzarella cheese slices using a cookie cutter or scissors.
- Bake the sauced dough rounds for 8–10 minutes, until lightly golden and set.
- Top each pizza with a mozzarella ghost and bake for 4–5 minutes more, until the cheese melts but holds its shape.
- Let cool for 1 minute before serving warm. Decorate with mini pepperoni or olive pieces for eyes if desired.
Notes
- For extra spooky effect, add olive eyes before serving.


Leave a Reply