My First Bread Disaster
My first loaf of bread was a brick. I was twelve, just like you might be. I forgot the salt. The bread tasted like sweet cardboard. I still laugh at that.
But that mistake taught me something important. Every ingredient has a job. Salt isn’t just for taste. It controls the yeast so your bread rises right. That’s why this matters. Little things make big differences in baking.
The Magic of the Sponge
This recipe starts with a “sponge.” It’s just flour, water, honey, and yeast. You mix it and walk away for 30 minutes. When you come back, it’s alive and bubbly. Doesn’t that smell amazing?
This step is like waking the yeast up gently. It makes the whole wheat flour easier to work with later. Your final bread will be softer. Have you ever tried a recipe with a sponge starter before?
Getting Your Hands in the Dough
Now you add the rest. The honey, butter, salt, and whole wheat flour. Add the flour slowly. The dough will go from sticky to smooth. Kneading it is the best part. You can feel it come to life in your hands.
Fun fact: Kneading stretches the gluten. That’s the protein that makes bread chewy and helps it rise. It’s like building tiny, strong balloons inside your dough. That’s why this matters. Your hands are building the bread’s strength.
The Patient Rise
After kneading, the dough needs a nap. Cover it and let it rest in a warm spot. It will grow to twice its size. This takes about an hour. Be patient. Good bread can’t be rushed.
I use this time to clean up. Or I sit with a cup of tea. What’s your favorite thing to do while you wait for dough to rise?
Shaping and Baking with Love
Punch the dough down gently. Then divide it into three pieces. Roll each into a rectangle, then roll it up like a rug. Tuck the ends under. Place each log in a greased loaf pan.
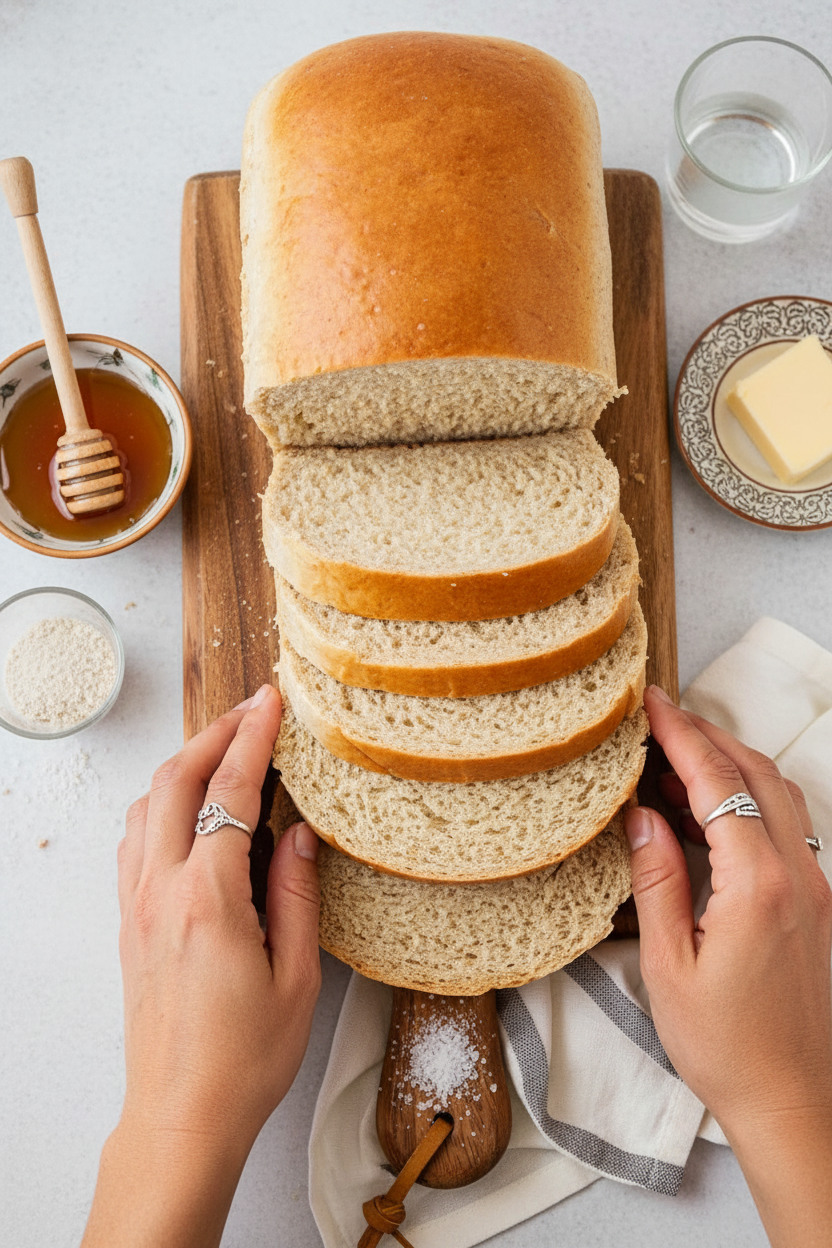
Let them rise again. Then bake. Your kitchen will smell like a dream. The final brush of butter gives the crust a soft, golden glow. Do you prefer a soft crust or a crunchy one on your bread?
Ingredients:
| Ingredient | Amount | Notes |
|---|---|---|
| warm water | 3 cups | For the sponge |
| honey | ⅓ cup | For the sponge |
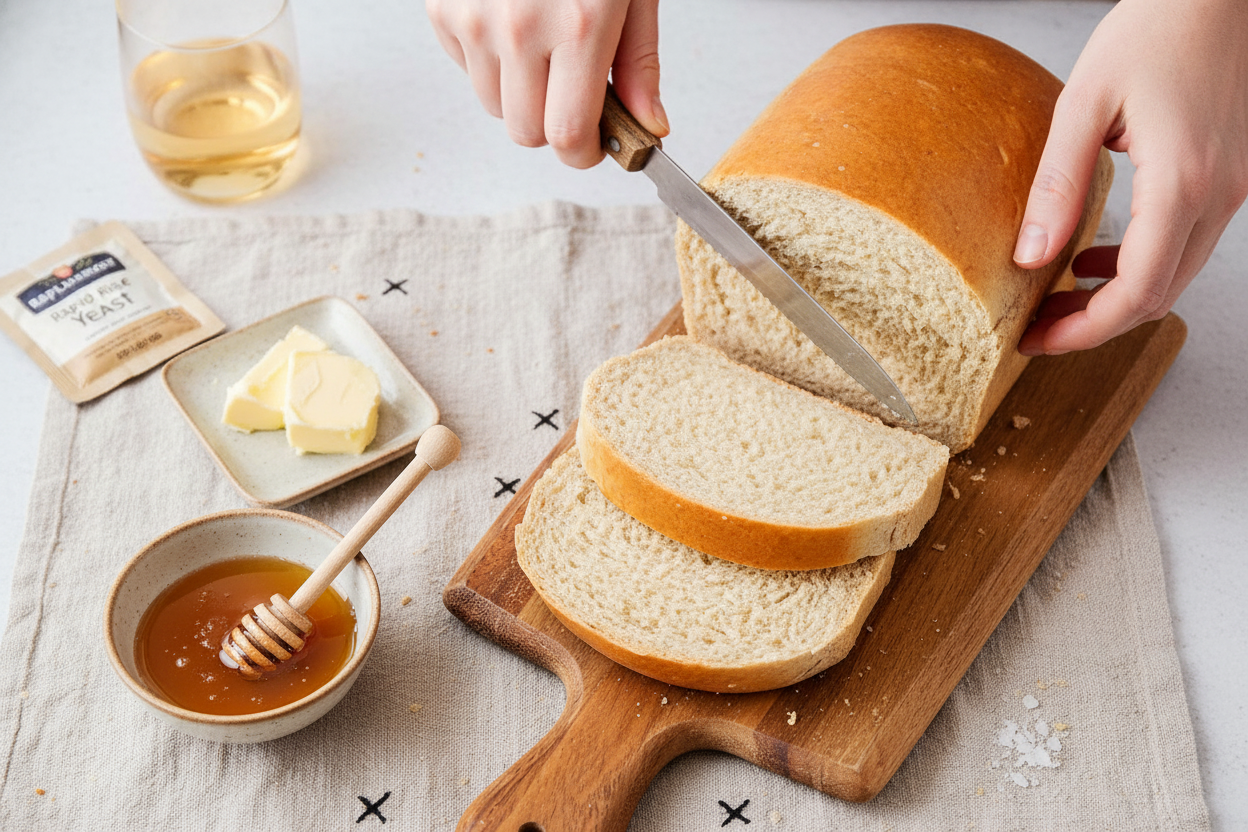
| rapid rise yeast | 4½ teaspoons (2 packets) | For the sponge |
| bread flour | 5 cups | For the sponge |
| honey | ⅓ cup | For the dough |
| unsalted butter, melted | 3 tablespoons | For the dough, plus 2 tbsp for brushing |
| salt | 1 tablespoon | For the dough |
| whole wheat flour | 3½ cups | For the dough |
My Cozy Kitchen Secret: The Best Whole Wheat Bread
Hello, my dear. Come sit. Let’s talk about bread. Real bread. The kind that makes your kitchen smell like a hug. I love white bread, but whole wheat is my heart. It tastes like earth and sunshine. It keeps you full and happy. My grandkids call it “Grandma’s Power Bread.” I still laugh at that. Making it is a slow, lovely dance. Let me show you my favorite way.
Step 1: The “Sponge”
First, we make the “sponge.” It’s like a bubbly bath for the yeast. Mix the warm water, honey, and yeast in a big bowl. Doesn’t that smell amazing? Stir in the bread flour. It will look shaggy and loose. That’s perfect. Now walk away for 30 minutes. Let it get all foamy and alive. (My hard-learned tip: If your water is too hot, it will hurt the yeast. It should feel like warm bathwater, not hot.)
Step 2: The Dough
Time for the dough. See all those bubbles? That means your yeast is happy. Add more honey, the melted butter, salt, and two cups of whole wheat flour. Stir it with a strong spoon. Now add the rest of the flour slowly. The dough will start to pull away from the bowl. Knead it until it feels smooth like a baby’s cheek. This takes love and time.
Step 3: The First Rise
Put your dough in a greased bowl. Cover it with a clean towel. Let it rise in a warm spot. I use the oven with just the light on. It needs to double in size. This takes about an hour. Use this time to wash your bowls. Or just sit and dream. What’s your favorite smell in a kitchen? Share below!
Step 4: Shaping
Punch the dough down. It’s fun. Divide it into three equal pieces. Roll each piece into a rectangle. Then roll it up tight, like a sleeping bag. Tuck the ends under. Place each roll in a greased loaf pan. Cover them again. Let them rise for another hour. They will get nice and puffy.
Step 5: Baking
Heat your oven. Bake the loaves until they are golden brown. They will sound hollow when you tap them. This is the best part. The smell fills the whole house. Take them out and brush the tops with butter. This gives them a soft, shiny crust. Let them cool completely. I know it’s hard to wait!
Cook Time: 30 minutes
Total Time: About 3 hours 30 minutes
Yield: 3 loaves
Category: Baking, Bread
Three Fun Twists on Your Loaf
Once you know the basic recipe, you can play. Here are my favorite little changes. They make each loaf a new adventure.
- Herb & Garlic: Add two teaspoons of dried rosemary and three minced garlic cloves to the dough. Perfect for soup.
- Cinnamon-Raisin: Mix one tablespoon of cinnamon and a cup of raisins into the dough. Sweet for breakfast.
- Seeded Power Loaf: Stir in half a cup of sunflower seeds and a quarter cup of flax seeds. So much crunch.
Which one would you try first? Comment below!
Serving Your Homemade Bread
Fresh bread needs almost nothing. But here are some cozy ideas. Toast a thick slice and spread with avocado. A little salt on top is magic. Use it for the best peanut butter and jelly sandwich. Or dip a warm piece in good olive oil. My mouth is watering just thinking about it.
For drinks, I love cold milk with this bread. It’s a classic. For the grown-ups, a glass of Malbec red wine is lovely. It tastes like berries. It goes so well with the earthy bread. Which would you choose tonight?
Keeping Your Homemade Bread Fresh
Fresh bread is a wonderful treat. Let’s keep it that way. Once your loaves are cool, wrap them tightly in plastic wrap. They will stay soft on the counter for about four days.
For longer storage, freeze them. I wrap each loaf in plastic, then in foil. This keeps out freezer smells. You can freeze bread for three months. I once forgot a loaf in my freezer for months. It was still perfect for toast!
To reheat, thaw a frozen loaf on the counter. Then warm it in a 300-degree oven for 10 minutes. This brings back that fresh-baked smell. Batch cooking three loaves saves you time later. A warm, ready loaf is a gift to your future self.
Have you ever tried storing it this way? Share below!
Bread Baking Troubles and Easy Fixes
Baking bread can have little hiccups. Do not worry. First, if your dough won’t rise, check your yeast. The water should be warm, not hot. Hot water can hurt the yeast. I remember when I used boiling water once. My bread was very flat!
Second, if the bread is too dense, you may need more water. Whole wheat flour needs extra moisture. Add water one tablespoon at a time. This matters for a soft, not heavy, loaf. Good texture makes every slice enjoyable.
Finally, if the top burns, tent it with foil. Do this halfway through baking. This simple trick protects the crust. Fixing small problems builds your cooking confidence. You learn more each time.
Which of these problems have you run into before?
Your Bread Questions, Answered
Q: Can I make this gluten-free?
A: I do not recommend it. This recipe needs gluten to rise properly.
Q: Can I make the dough ahead?
A: Yes. After the first rise, shape the loaves. Then cover and refrigerate overnight. Bake them the next day.
Q: What can I use instead of honey?
A: Maple syrup works great. It gives a lovely, mild sweetness.
Q: Can I make just one loaf?
A: Absolutely. Simply divide all the ingredients by three. It works perfectly.
Q: Any optional tips?
A: Try adding a handful of oats or seeds to the dough. Fun fact: Adding seeds gives you extra fiber and a nice crunch.
Which tip will you try first?
From My Kitchen to Yours
I hope you love making this bread. The smell filling your kitchen is the best part. It reminds me of my own abuela’s house. I would sit and watch her knead the dough.
Sharing food is sharing love. I would be so happy to see your creations. Show me your beautiful, golden loaves. Let’s inspire each other in the kitchen.
Have you tried this recipe? Tag us on Pinterest @LenasKitchenTable!
Happy cooking!
—Lena Morales.
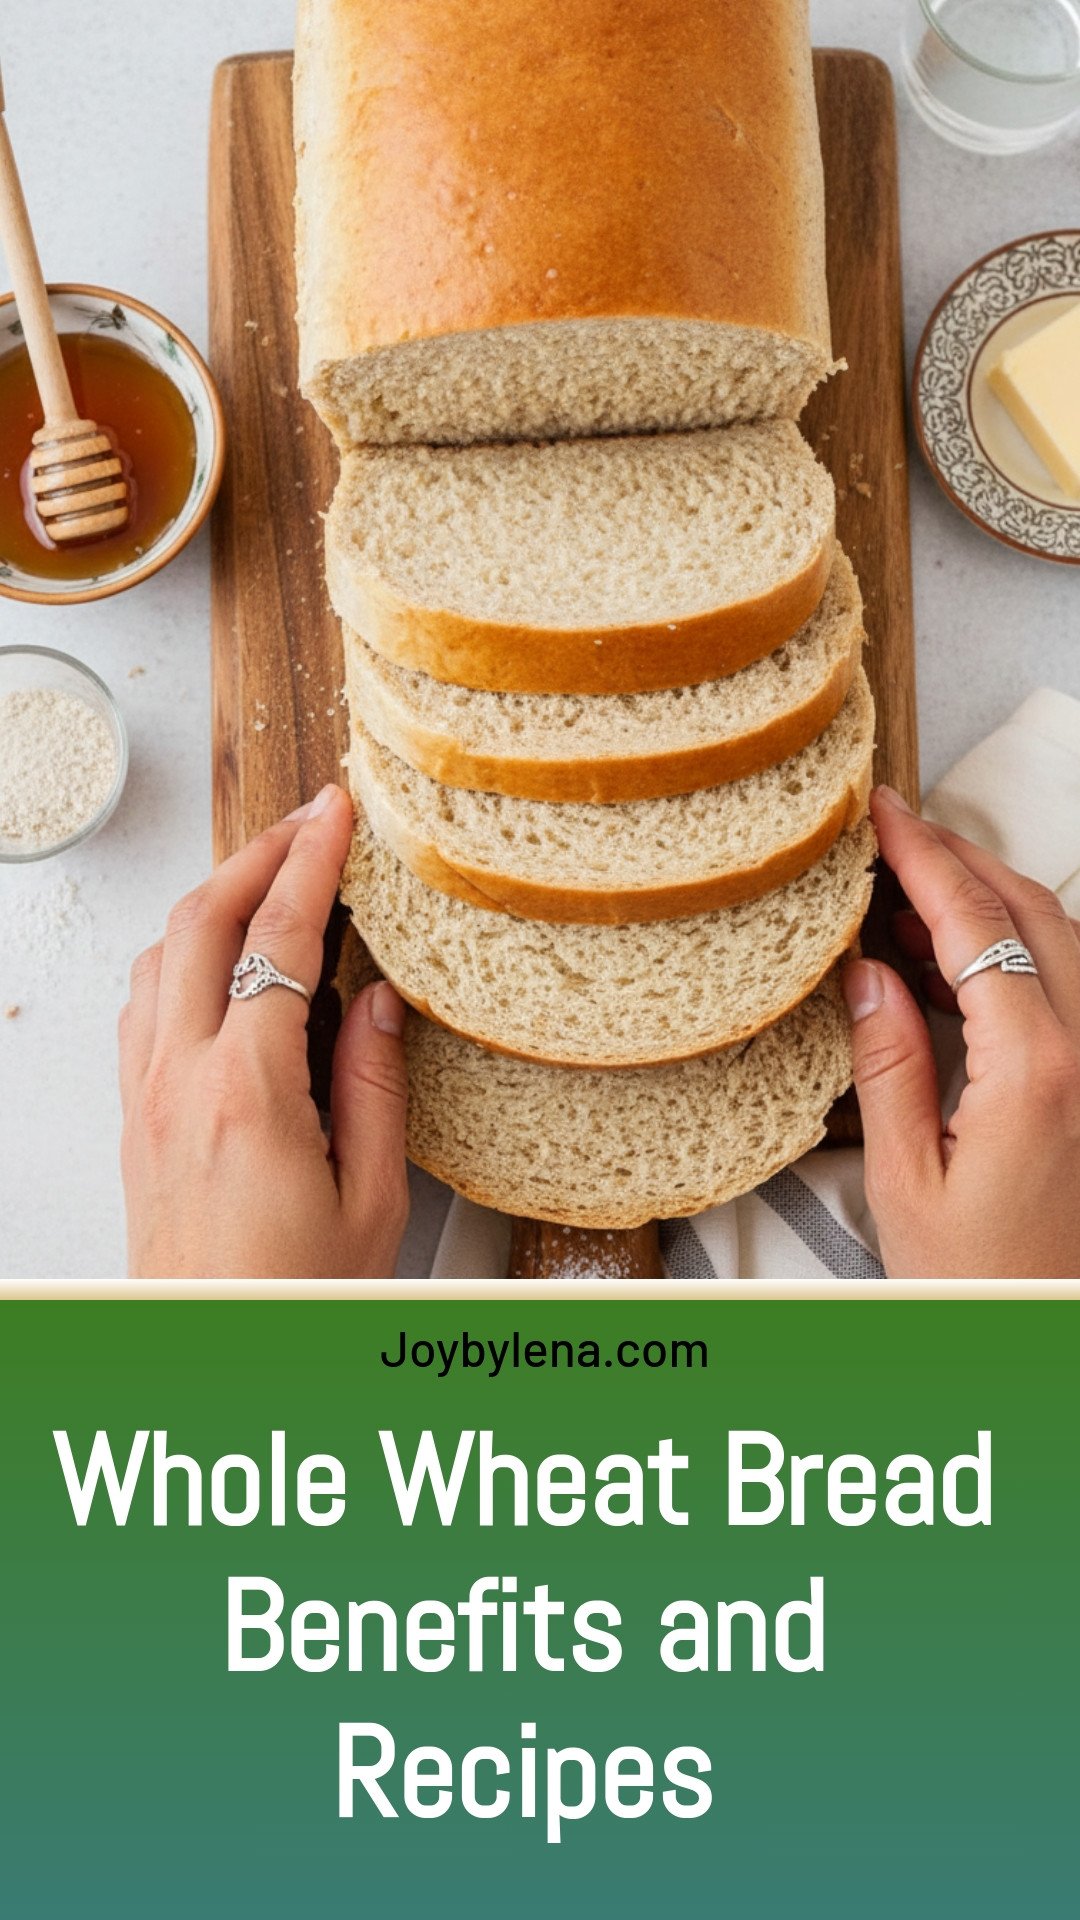
Whole Wheat Bread: Whole Wheat Bread Benefits and Recipes
Description
Enjoy the wholesome goodness and hearty flavor of homemade whole wheat bread, packed with fiber and nutrients.
Ingredients
Sponge:
Dough:
Instructions
- Make the sponge: In a large bowl or the bowl of a stand mixer, stir warm water, honey and yeast together. Mix in bread flour and stir to combine. Let sponge sit for 30 minutes, until bubbly.
- To make the dough: Add honey, butter, salt and 2 cups of whole wheat flour to sponge and mix with a wooden spoon or the dough hook mixer attachment. Add remaining whole wheat flour ½ cup at a time until the dough comes together and pulls away from the sides of the bowl. Knead until smooth and pliable. NOTE: If making in your stand mixer, use the bread hook and knead for 6–8 minutes on low speed.
- Place the dough in a greased bowl, cover, and let rise in a warm place until doubled in size, about 1 hour.
- Divide the dough into three equal pieces and roll each piece into a 9-x-13-inch rectangle on a silicone mat. Roll each dough rectangle up into a log starting at the short end. Place each log seam side down in a greased 5-x-9-inch loaf pan. Cover and let rise in a warm place for 1 hour.
- Toward the end of the rise time, preheat the oven to 350 degrees F. Bake 25–30 minutes, or until golden brown and hollow sounding when tapped. Brush the loaves with melted butter and let cool completely on a cooling rack.
Notes
- Nutrition per loaf: Calories: 1616kcal | Carbohydrates: 321g | Protein: 51g | Fat: 20g | Saturated Fat: 8g | Polyunsaturated Fat: 4g | Monounsaturated Fat: 4g | Trans Fat: 0.5g | Cholesterol: 30mg | Sodium: 2358mg | Potassium: 931mg | Fiber: 25g | Sugar: 63g | Vitamin A: 367IU | Vitamin C: 0.4mg | Calcium: 101mg | Iron: 8mg


Leave a Reply