My First Brownie Disaster
I still laugh at that. My first batch was hard as a rock. I forgot the oil and used cold butter. What a mess! It taught me a good lesson. The little details matter so much in baking. They change everything from texture to taste. Getting it right makes your kitchen feel like magic.
That’s why I love this recipe. The hot, melted butter and the bit of oil work together. They make the brownies soft and fudgy inside. It’s a small step, but it’s the secret. Have you ever had a baking disaster? What did you learn from it?
Why We Sift and Whisk
Let’s talk about the steps. Sifting the flour and cocoa is important. It breaks up any little lumps. This makes your batter smooth. No one wants a pocket of dry flour in their bite!
Then, you whisk the hot butter and sugar really well. This isn’t just mixing. You are dissolving the sugar into the butter. It helps create that shiny, crackly top we all love. Fun fact: That shiny top is called a “floating crust” by bakers! Do you prefer your brownies with nuts or just pure chocolate?
The Chocolate That Makes It Special
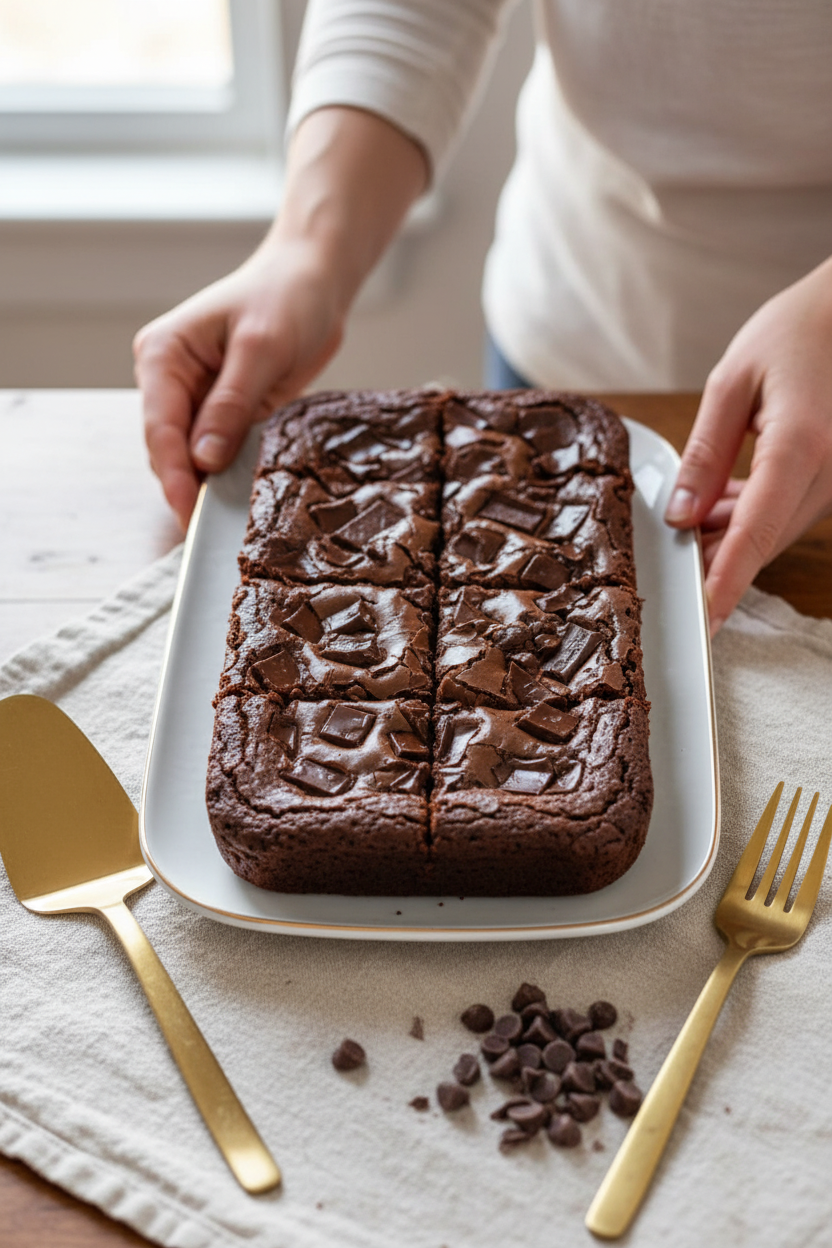
The chopped baking bar is my favorite part. I use a semi-sweet one. You sprinkle the chunks right on top before baking. They melt into little pools of joy. Doesn’t that smell amazing when it’s in the oven?
This matters because it gives you two kinds of chocolate. The cocoa powder in the batter is deep and rich. The melted chunks on top are sweet and creamy. It’s a party of flavors in your mouth. I always sneak a few chocolate pieces while I chop. A cook’s treat!
Knowing When They’re Done
This is the trickiest part. Don’t over-bake them! For fudgy brownies, you take them out early. The middle should not jiggle when you gently shake the pan. But a toothpick poked in the center will still look wet.
That’s okay. They keep cooking from the pan’s heat after you take them out. This matters because it gives you that gooey, perfect center. Waiting for them to cool is the hardest part. What’s your biggest challenge when you bake?
Sharing the Sweetness
Food is about more than eating. It’s about sharing. I made these for my grandson’s school party last year. The whole pan was gone in minutes. The teacher asked for the recipe!
That’s the real magic. A simple brownie can make someone’s day brighter. It can turn a regular afternoon into a sweet memory. Who will you share your batch with? I hope you make many happy moments with them.
Ingredients:
| Ingredient | Amount | Notes |
|---|---|---|
| All-purpose flour | 1 cup | |
| Unsweetened cocoa powder | 1 cup | |
| Salt | 1/2 teaspoon | |
| Unsalted butter | 1 cup | melted and hot |
| Vegetable oil | 2 tablespoons | |
| Sugar | 2 1/4 cups | |
| Eggs | 4 large | |
| Vanilla extract | 1 tablespoon | |
| Semi-sweet baking bar | 4 ounces | chopped |
My Ultimate Fudgy Brownie Secret
Hello, my dear! Come sit. Let’s talk about brownies. The best ones are like a warm hug. They should be fudgy, not cakey. My grandkids taught me that. They’d always peek into the oven. The smell would fill the whole house. Doesn’t that smell amazing?
I’ve made this recipe a thousand times. I still laugh at that. Once, I used salted butter by mistake. What a salty surprise that was! So now I always use unsalted. You control the salt. Ready? Here is how we make magic together.
Step 1: First, turn your oven to 350°F. Grease your baking dish lightly. Then line it with parchment paper. This little paper is your best friend. It lets you lift the whole brownie out later. No stuck corners! Set your dish aside for now.
Step 2: Grab a bowl for your dry things. Sift the flour and cocoa powder together. Add the salt. Sifting makes everything so smooth. It avoids little flour lumps. I learned this the hard way. (My hard-learned tip: always sift your cocoa! It clumps more than flour).
Step 3: Melt your butter until it’s hot. Pour it into a medium bowl. Add the oil and all that sugar. Whisk it really, really well. You want it to look glossy. Then crack in your four eggs. Add the vanilla too. Whisk for a full minute more. It will get slightly thicker.
Step 4: Now, add your sifted dry ingredients. Go slow as you whisk. Stop when you just see no more flour. A few streaks are okay. Over-mixing makes tough brownies. Pour this beautiful batter into your prepared dish. Quick quiz: what does sifting help prevent? Share below!
Step 5: Top the batter with your chopped chocolate bar. Those chunks will melt into pools. Bake for about 30 minutes. The top will look crackly. The middle should not jiggle when you shake the pan. A toothpick will still look wet. That’s perfect for fudgy brownies! Let them cool. This is the hardest part, waiting.
Cook Time: 30 minutes
Total Time: 45 minutes
Yield: 24 brownies
Category: Dessert, Baking
Three Fun Twists to Try
Once you master the basic recipe, play a little! I love adding surprises. It keeps things fun in the kitchen. My neighbor gave me the mint idea. Here are three simple twists my family adores.
Swirl City: Drop spoonfuls of peanut butter on the batter. Swirl it with a knife for a marbled look.
Minty Fresh: Stir a cup of chopped mint chocolate candies into the batter. It’s like a cool breeze.
Salty Sweet: Right after baking, sprinkle the top with flaky sea salt. It makes the chocolate taste deeper.
Which one would you try first? Comment below!
Serving With a Smile
A brownie is wonderful alone. But it can be a celebration! For a special treat, try this. Serve a warm square in a little bowl. Top it with a scoop of vanilla ice cream. The ice cream will melt into the cracks. Oh my. You can also add fresh berries on the side.
What to drink? For the grown-ups, a small glass of ruby port wine is lovely. It sips like liquid berries. For everyone, a cold glass of milk is the classic choice. It always has been. Which would you choose tonight?
Keeping Your Brownies Happy
Fresh brownies are a special treat. But they keep well too. Let them cool completely first. Then wrap the whole pan tightly.
They are happy on the counter for three days. For longer, slice and freeze them. Wrap each piece in plastic wrap. Then pop them in a freezer bag.
I once froze a whole batch for my grandson’s visit. He warmed a piece in the toaster oven. It was like I had just baked them! This matters because good food should never be wasted.
You can double the recipe. Just bake in two pans. Now you have a treat ready for surprise guests. Have you ever tried storing it this way? Share below!
Brownie Troubles? Easy Fixes Here
Sometimes brownies don’t turn out right. Do not worry. Most problems are easy to fix. I remember when mine came out cakey and dry.
The first issue is over-baking. Set your timer. Check at 28 minutes. The middle should not jiggle. A clean toothpick means they are overdone.
The second is lumpy batter. Sift your cocoa and flour. This makes everything smooth. It matters for that perfect, fudgy texture we love.
The third is weak chocolate flavor. Use good cocoa powder. Do not skip the chopped baking bar on top. This gives a rich, deep taste. Which of these problems have you run into before?
Your Brownie Questions, Answered
Q: Can I make these gluten-free? A: Yes! Swap the flour for a gluten-free blend. Use one that works for baking.
Q: Can I make them ahead? A: Absolutely. The batter waits in the fridge for a day. Just give it a stir before baking.
Q: What if I don’t have a baking bar? A: Chocolate chips work fine. Use a heaping half cup instead.
Q: Can I halve the recipe? A: You can. Use an 8×8 inch pan. Bake time might be a little less.
Q: Any secret tips? A: A pinch of instant coffee in the batter. It makes the chocolate taste even richer, a fun fact from my friend Maria. Which tip will you try first?
From My Kitchen to Yours
I hope you love baking these brownies. Food is about sharing joy. It is about making sweet memories with family.
I would love to see your creations. Share a photo of your kitchen adventure. Have you tried this recipe? Tag us on Pinterest! You can find me at Lena’s Cozy Kitchen.
Thank you for spending time with me today. Now, go enjoy a warm brownie.
Happy cooking!
—Lena Morales.
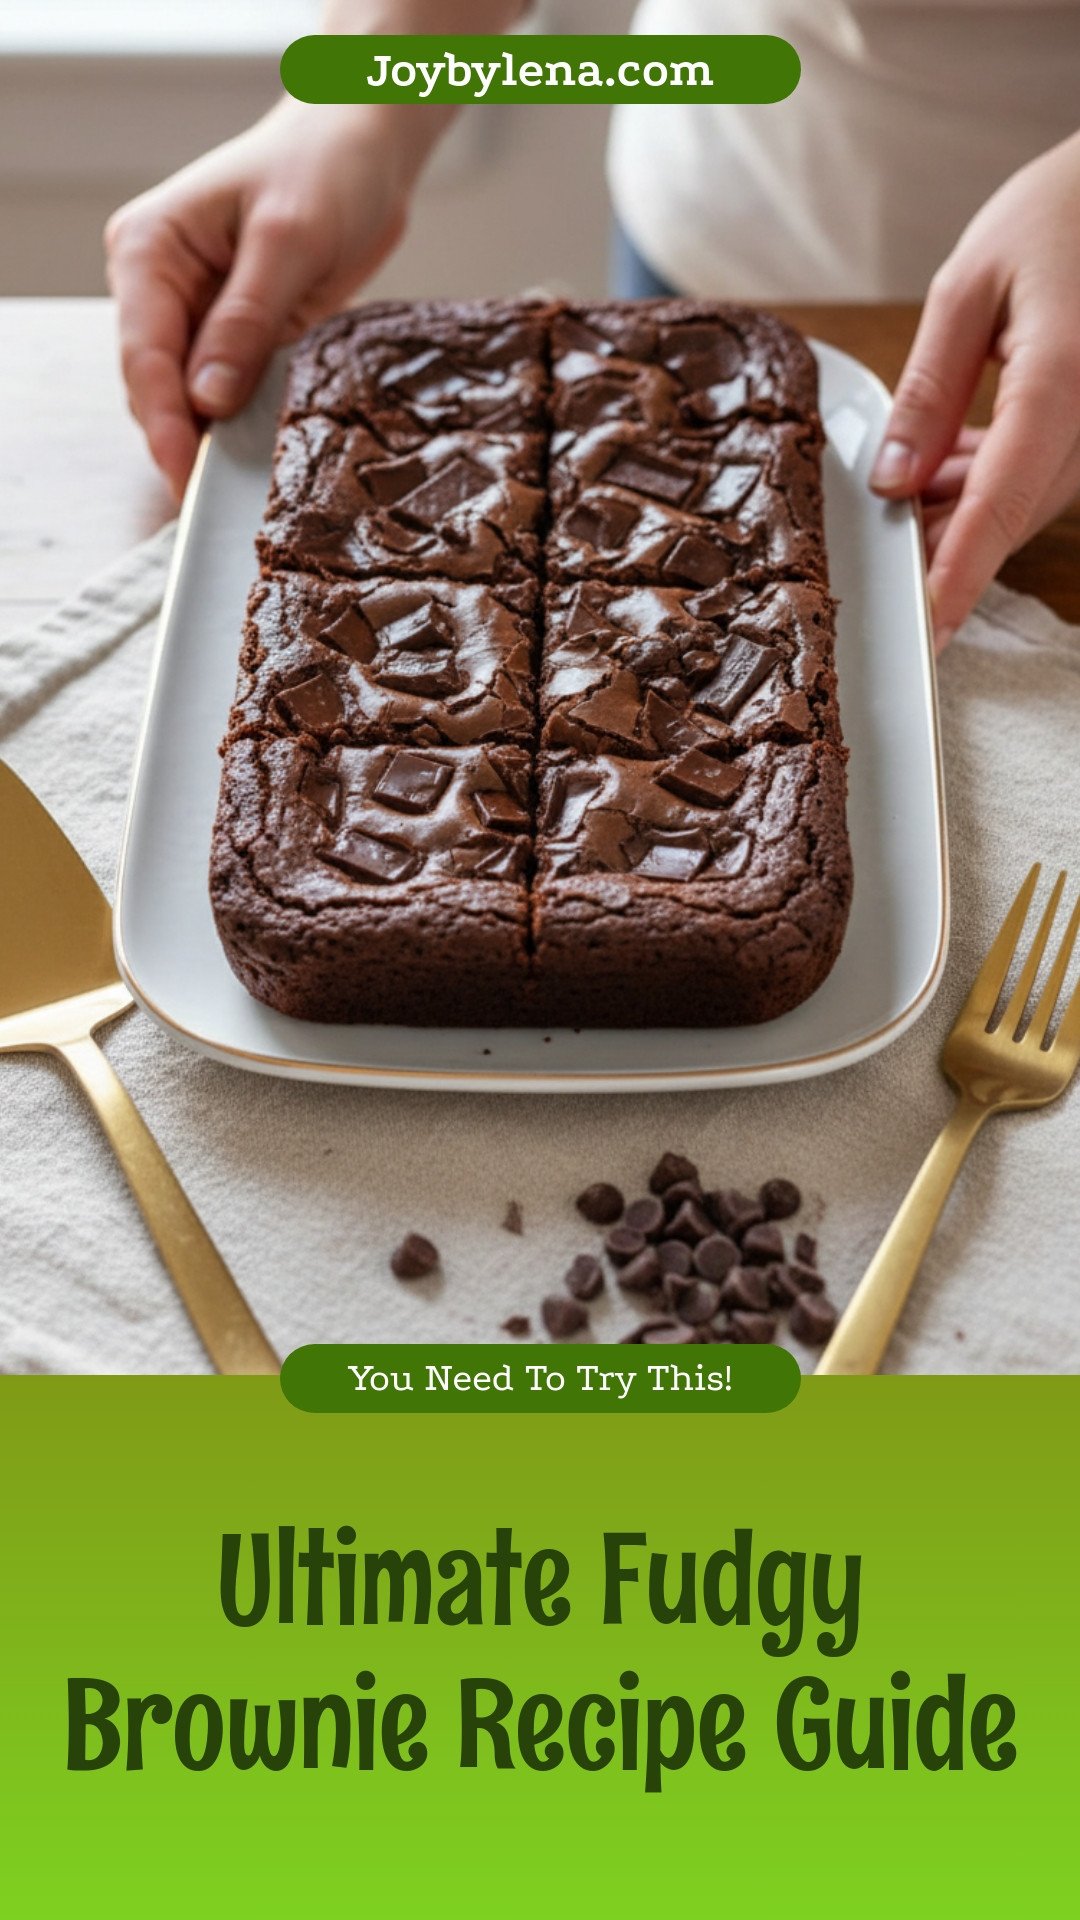
Ultimate Fudgy Brownie Recipe Guide
Ingredients
Instructions
- Preheat the oven to 350°F. Lightly grease a 9×13 baking dish and line with parchment paper. Set aside.
- Sift the flour, cocoa powder and salt and place in a mixing bowl. Set aside.
- Pour the hot, melted butter, oil and sugar in another medium bowl and whisk really well.
- Add the eggs and vanilla and whisk an additional minute. Add the cocoa mixture and slowly whisk together until just combined.
- Pour into the prepared baking dish and top with chopped chocolate.
- Bake for 28-32 minutes or until the middle no longer jiggles (these will be fudgy so a toothpick check in the middle will still be dirty – just give it a shake to make sure it’s not jiggling and it should be done).
Notes
- Nutrition per serving: Calories: 260kcal | Carbohydrates: 33g | Protein: 3g | Fat: 14g | Saturated Fat: 9g | Cholesterol: 57mg | Sodium: 154mg | Potassium: 119mg | Fiber: 2g | Sugar: 25g | Vitamin A: 334IU | Calcium: 18mg | Iron: 1mg


Leave a Reply