My Thanksgiving Pot
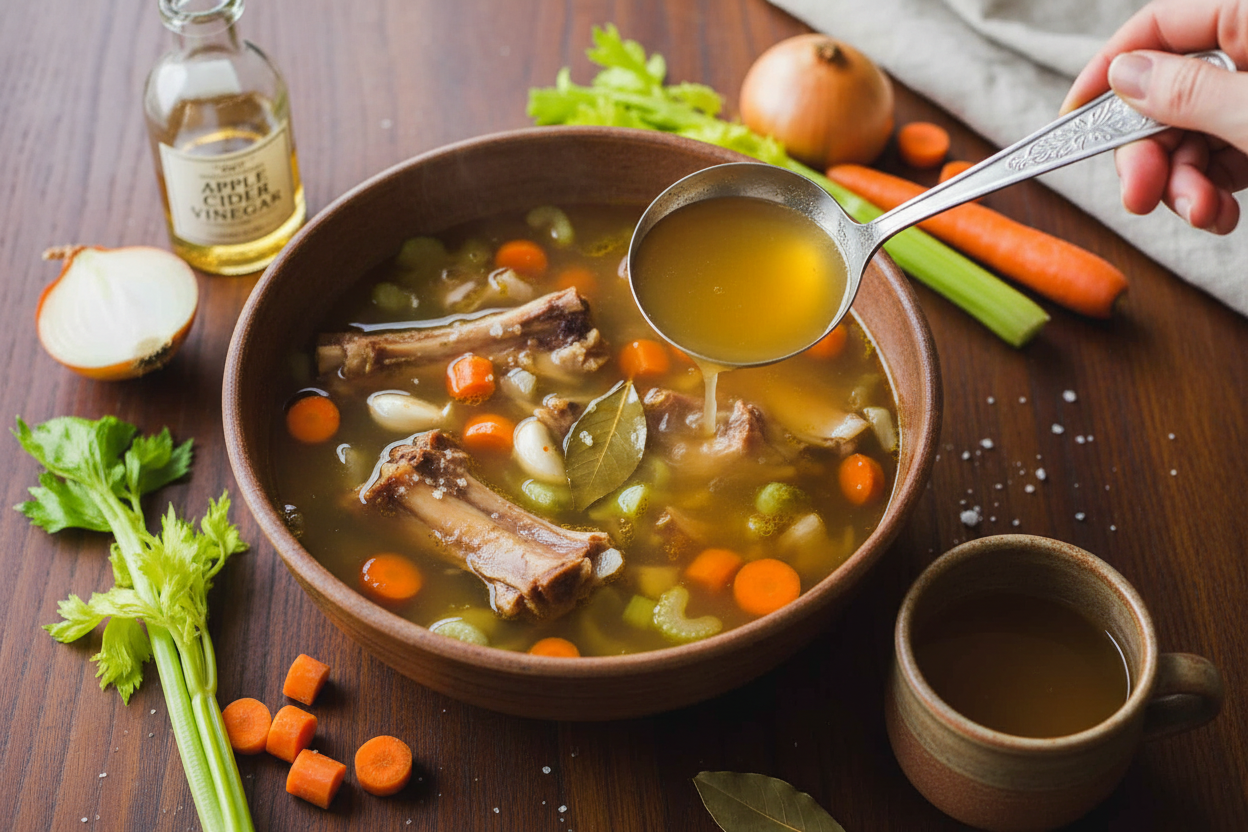
I have a big, old stockpot. It is my Thanksgiving pot. Every year, I put the turkey bones in it. I add water and a splash of vinegar. Then the magic starts.
The house fills with a cozy smell. It smells like care and comfort. Doesn’t that smell amazing? It tells me winter is here. This matters because good food is about more than eating. It is about feeling safe and warm.
Why We Add the “Funny” Things
You might wonder about the vinegar. It seems odd in a broth. I thought so too, long ago! My abuela taught me this trick. The vinegar is very gentle. It helps pull good things from the bones.
Those good things are minerals and gelatin. They are why broth is so good for you. It helps your tummy and your joints. Fun fact: That’s what makes the broth turn to jelly in the fridge! Do you like wiggly, jiggly broth? I still laugh at how mine wobbles.
The Long, Slow Simmer
This recipe is not in a hurry. It takes 15 hours on the stove! But you do not have to watch it. You can use a slow cooker too. Or an Instant Pot for a faster version.
The long time is important. It lets the bones share all their flavor. It makes the broth rich and deep. Which kitchen helper do you use most: a big pot, a slow cooker, or an Instant Pot?
Straining and the Big Reward
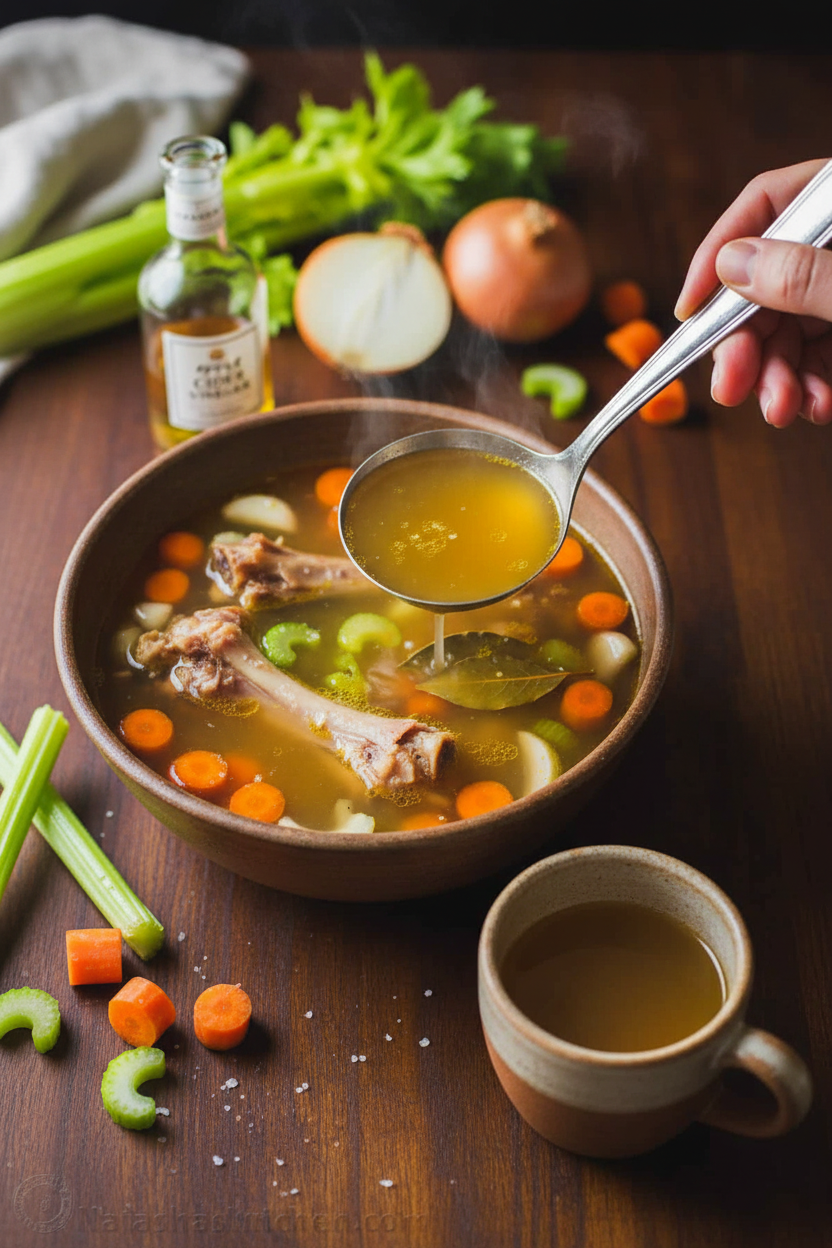
The next day, you get your reward. You open the fridge. The fat is a solid white layer on top. Just lift it off with a spoon. Underneath is liquid gold.
This clear, beautiful broth is your treasure. You can sip it plain. Or use it for soup, rice, or gravy. This matters because nothing is wasted. The bones give one last, delicious gift. What is your favorite thing to make with homemade broth?
A Simple Start
Do not let the long time scare you. It is mostly waiting. You just put things in a pot. Then you let time and heat do the work.
Start with your leftover turkey bones. Add the veggies you have. Even just an onion and carrot will do. Have you ever saved bones to make a broth before? I promise, your future soups will thank you.
Ingredients:
| Ingredient | Amount | Notes |
|---|---|---|
| Roasted turkey bones | 1 1/2 to 2 1/2 lbs | |
| Apple cider vinegar | 1 Tbsp | |
| Salt | 1 tsp | |
| Celery stalks with leaves | 2 | Cut into thirds |
| Onion | 1 medium | Peeled and halved |
| Carrots | 2 | Peeled and halved |
| Garlic cloves | 2 | Smashed |
| Bay leaf | 1 | Optional |
| Filtered water | 16 c. (stock pot), 12 c. (6 Qt. slow cooker), 10-11 c. (Instant Pot) | Amount varies by cooking method |
Turkey Bone Broth: A Pot of Cozy Magic
Hello, my dear. Come sit. Let’s talk about that leftover turkey. Don’t you dare throw those bones away! They hold so much flavor and goodness. We are going to make a magical bone broth. It simmers all day, filling your home with the coziest smell. Doesn’t that sound wonderful? My abuela taught me this. She called it “liquid gold.” I still smile thinking of her kitchen. Now, let me show you how simple it is.
Step 1: Find your biggest pot. Put your turkey bones right in. Add a big spoon of apple cider vinegar and a pinch of salt. The vinegar is a little secret. It helps pull all the good stuff from the bones. Now, cover everything with cold water. Turn the heat to medium. (Hard-learned tip: Start with cold water for a clearer broth!).
Step 2: Watch the pot until it just starts to bubble. Then, turn the heat way down. You want a gentle simmer, not a wild boil. Little bits of foam might float up. Just skim them off with a spoon. This keeps your broth nice and clear. Now, put the lid on. Let it whisper to itself for a good, long while. About 6 hours. I use this time to read a book.
Step 3: Time for the veggies! Chop your celery, onion, and carrots into big chunks. No need to be perfect. Smash the garlic cloves with the side of your knife. I love that pop! Add them all to the pot with the bones. Toss in a bay leaf if you have one. Put the lid back on. Let it all simmer together for another 9 hours. Your whole house will smell amazing. What’s your favorite cozy smell? Share below!
Step 4: The waiting is done! Carefully take out the big bones and soggy veggies with tongs. Throw those away. Now, pour the golden broth through a strainer into a clean bowl. Let the broth cool completely on the counter. Then, tuck it into the fridge overnight. The next day, you’ll see a white fat layer on top. Just lift it off and discard it. Underneath is your pure, beautiful broth. I still laugh at the time I forgot this step. My soup was very shiny!
Cook Time: 15 hours (active time is much less!)
Total Time: 15 hours 30 minutes
Yield: About 12 cups
Category: Soup, Basics
Three Fun Twists on Your Broth
This broth is your perfect canvas. You can play with it! Here are three of my favorite ways to change the flavor. Each one feels like a different hug.
Ginger Zing: Add a few slices of fresh ginger with the veggies. It feels so clean and warm.
Herb Garden: Throw in a small handful of fresh thyme or rosemary. It smells like a summer garden.
Spicy Kick: Add a dried red chili pepper. It gives the broth a little secret warmth. Perfect for a cold day.
Which one would you try first? Comment below!
Sipping & Serving Your Golden Broth
My favorite way is the simplest. Heat a mug of broth. Sip it slowly. Feel the warmth. But you can do so much more! Pour it over cooked rice for a gentle soup. Use it to cook your morning oatmeal. It sounds strange, but it’s so savory and good. For a full meal, add shredded turkey, noodles, and peas.
What to drink with it? For a cozy night, I love hot herbal tea with lemon. My husband prefers a crisp apple cider. Both are just right. Which would you choose tonight?
Storing Your Liquid Gold
Let’s talk about keeping your broth safe. Cool it completely before refrigerating. I leave mine on the counter for an hour. Then I put it in the fridge overnight.
The next day, you will see a white fat cap. Just lift it off with a spoon. This makes the broth clearer and lighter. Store it in the fridge for up to five days.
For the freezer, use jars or containers. Leave an inch of space at the top. The broth expands when it freezes. I once learned this the hard way with a messy freezer!
Batch cooking saves you time later. Make a big pot and freeze it in small portions. You will have a healthy base for soups anytime. This matters because good food should be easy.
Have you ever tried storing it this way? Share below!
Simple Fixes for Common Broth Troubles
Is your broth cloudy? Do not let it boil hard. A gentle simmer keeps it clear. I remember when my first broth looked like muddy water. A low heat fix makes all the difference.
Does it taste weak? Simmer it longer with the lid off. Let some water evaporate. The flavor will become stronger and richer. This builds your cooking confidence.
Is the broth too salty? Do not add salt at the start. You can always add it later. Just toss in a peeled potato while reheating. It will soak up some salt.
Fun fact: The vinegar helps pull good minerals from the bones! Getting the flavor right matters. It turns simple ingredients into something special.
Which of these problems have you run into before?
Your Broth Questions, Answered
Q: Is this broth gluten-free? A: Yes, it is naturally gluten-free. Just check your vinegar label to be sure.
Q: Can I make it ahead? A: Absolutely. It freezes beautifully for three months. This is a perfect make-ahead recipe.
Q: What if I don’t have carrots? A: No problem. Use a parsnip or just leave it out. Cooking is flexible.
Q: Can I make a smaller batch? A: Of course. Just use fewer bones and less water. Keep the other amounts similar.
Q: Any optional tips? A: Add a few peppercorns or a sprig of fresh thyme. They add a lovely little flavor.
Which tip will you try first?
From My Kitchen to Yours
I hope you love this cozy recipe. It makes your kitchen smell like home. This broth is a hug in a mug on a cold day.
I would love to see your creations. Share a picture of your pot simmering on the stove. Let me know how it turned out for you.
Have you tried this recipe? Tag us on Pinterest! Your stories make my day. Thank you for cooking with me.
Happy cooking!
—Lena Morales.
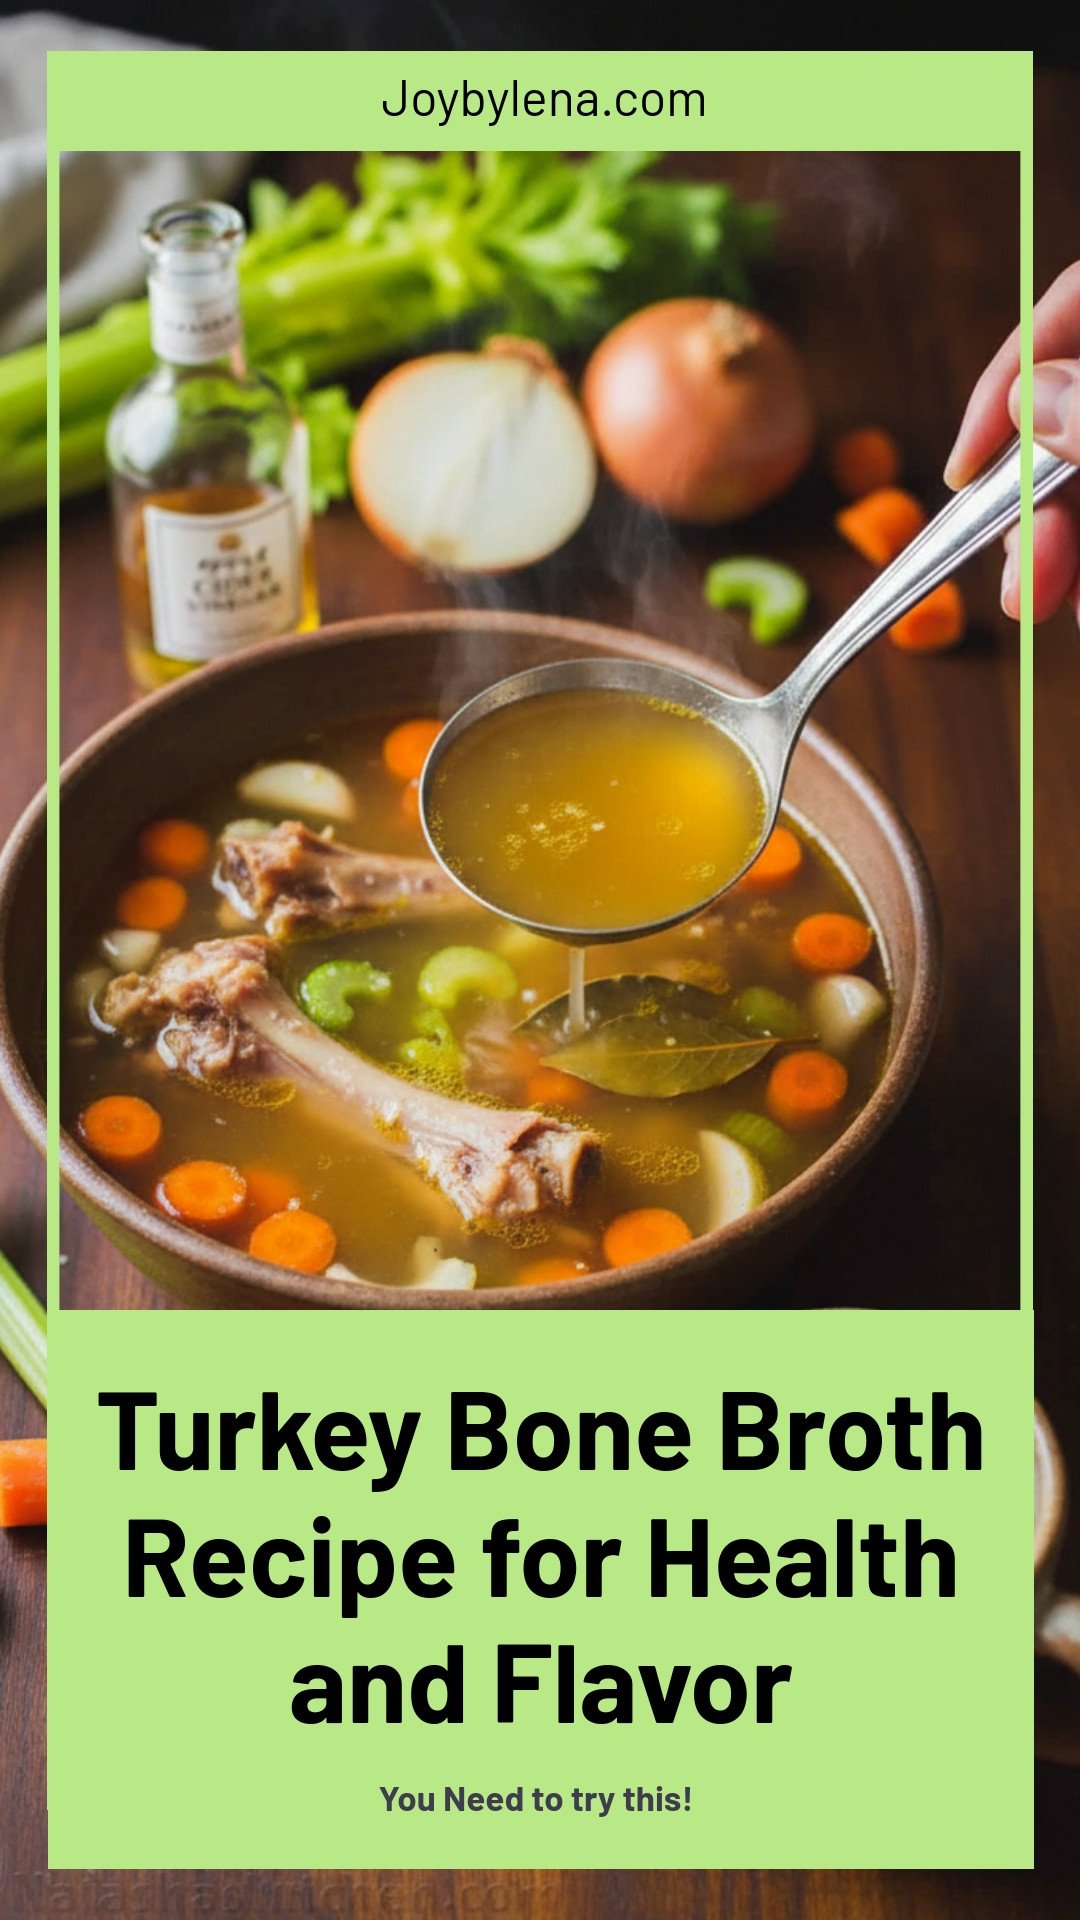
Turkey Stock (Turkey Bone Broth): Turkey Bone Broth Recipe for Health and Flavor
Description
A rich, nourishing, and flavorful turkey bone broth made from roasted bones. Perfect for soups, stews, or sipping on its own for health benefits.
Ingredients
Instructions
- Stockpot Directions (15 Hours): In an 8 Qt. stockpot, add the roasted turkey bones, apple cider vinegar, salt, and 16 cups of filtered water. Bring to a boil and then lower the heat to a simmer. Skim to remove any foam and impurities that float to the top, then cover and simmer for 6 hours. Add celery, onion, carrots, garlic, and bay leaf, if using. Cover the pot and continue to simmer for 9 hours. To keep it from becoming foggy, be sure not to let the stock reach a hard boil. Proceed to the Straining and Storing directions below.
- Slow Cooker Directions (15 hours): In a 6 Qt. slow cooker, put the bones, cider vinegar, salt, and 12 cups of warm/hot water. Set the timer to 15 hours on low heat. When it has been cooking for 6 hours, stir in the celery, onions, carrots, garlic, and bay leaf. Cover and continue cooking for another 9 hours (15 hours total). You can let it cook longer overnight if needed. Proceed to the Straining and Storing directions below.
- Instant Pot Directions (2 Hours): In a 6 Qt. Instant Pot, add all the ingredients (bones, cider vinegar, salt, celery, onion, carrots, garlic, and bay leaf). Then fill the pot to the 2/3 Max Fill line with water, about 10-11 cups. Select the “Soup/Broth” setting for a time of 2 hours or 120 minutes. When the cooking is finished, allow the pot to naturally depressurize for 30 minutes. Then, using an oven mitt to protect your hands, release the pressure using the valve. Proceed to the Straining and Storing directions below.
- Straining and Storing the Turkey Stock: Strain the stock: Using tongs, remove and discard the large bones and veggies. Then, pour the stock through a fine mesh strainer into another pot. Then throw the solids away. Cool the stock completely, cover it, and then refrigerate overnight. Remove the fat and store: The next day, open the container of stock and remove the fat that has accumulated on top. Store the stock in the refrigerator for 3-5 days or freeze for up to three months, leaving room for the stock to expand when frozen.
Notes
- Nutrition Per Serving: Calories: 15, Total Fat: 0.1g, Saturated Fat: 0.02g, Polyunsaturated Fat: 0.03g, Monounsaturated Fat: 0.01g, Sodium: 310mg, Potassium: 99mg, Total Carbohydrates: 3g, Dietary Fiber: 1g, Sugars: 1g, Protein: 0.4g, Vitamin A: 2594IU, Vitamin C: 2mg, Calcium: 14mg, Iron: 0.1mg


Leave a Reply