My First Cookie Disaster
I made these cookies for my first school bake sale. I was so nervous. I forgot to soften the butter first. My poor little arm tried to mix that rock-hard butter. I still laugh at that.
My abuela saw me struggling. She told me to be patient. She said good things take a little waiting. That matters. Rushing rarely makes anything better, in baking or in life. What was your first kitchen mess-up? I bet it’s a good story!
The Magic of That Mint
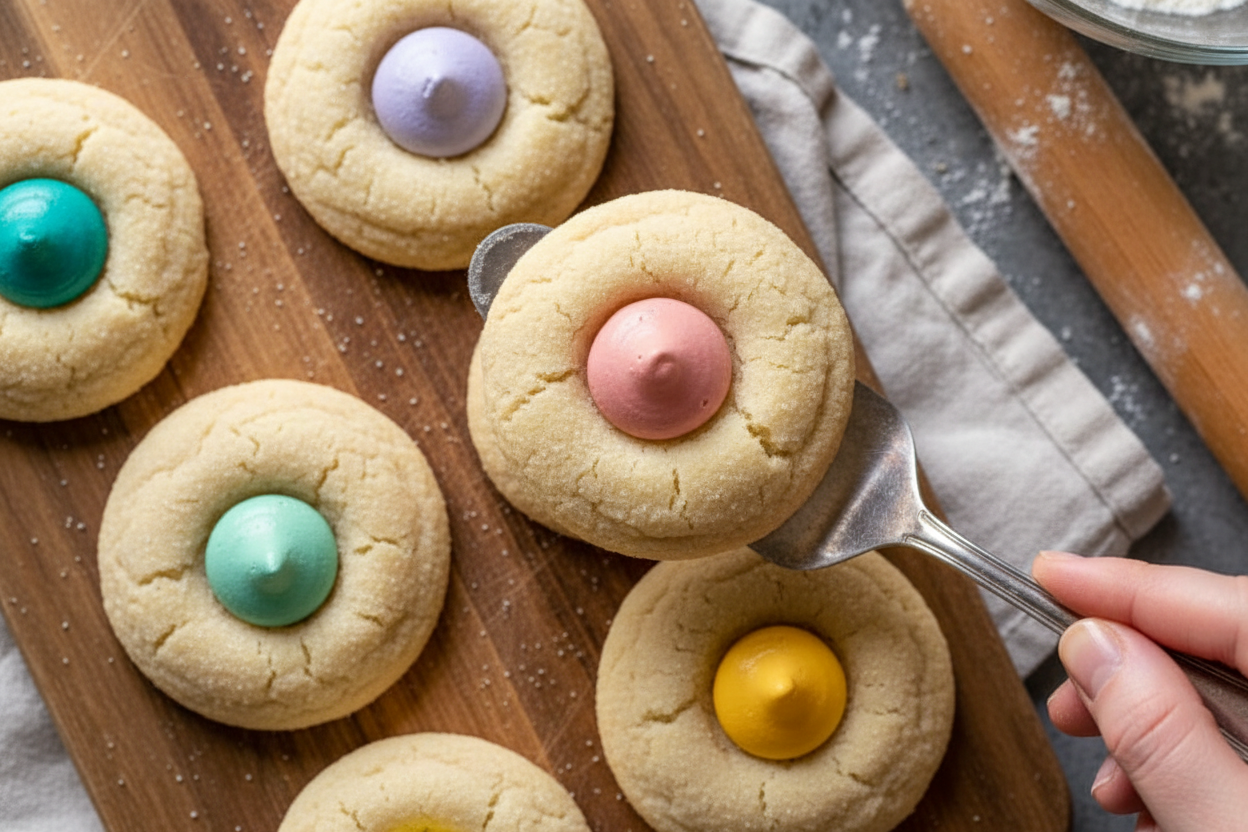
You press that mint candy into the warm cookie. It gets all soft and shiny. It melts just enough to stick. Doesn’t that smell amazing? It’s like a little winter garden in your kitchen.
Fun fact: The mint melts because the cookie is still baking inside from its own heat! That’s why you add the candy right when they come out. Timing is everything here. It turns a simple cookie into something special.
Why We Roll in Sugar
That extra roll in sugar is not just for looks. It gives the cookie a delicate, crunchy shell. It’s a tiny surprise with every bite. The inside stays soft and chewy.
This matters because texture is a secret ingredient. Food should be fun to eat. It should feel good in your mouth. Do you prefer your cookies crunchy, chewy, or cakey? Tell me your favorite!
A Treat for Sharing
These cookies are happy little packages. They are perfect for sharing. I always make a double batch. I keep some for home and give the rest away.
Sharing food is sharing love. That is a simple truth. A plate of cookies can brighten someone’s whole day. It connects us. Who will you share your first batch with?
Your Turn in the Kitchen
Now you have the recipe. Remember to soften your butter! Let it sit out for an hour. Your mixer will thank you. And please, use your hands to shape the balls.
Feeling the dough is part of the joy. You learn what it should feel like. This matters. Cooking is about using your senses. Trust your fingers. They are smart. What family recipe do you want to learn next?
Ingredients:
| Ingredient | Amount | Notes |
|---|---|---|
| sugar, divided | 1 1/4 cup | |
| butter, softened | 3/4 cup | |
| egg | 1 | |
| vanilla extract | 1 tsp | |
| all-purpose flour | 2 1/4 cups | |
| baking soda | 1 tsp | |
| salt | 1/4 tsp | |
| mint meltaway candies | 24-36 |
My Favorite Minty Cookie Blossoms
Hello, my dear! Come sit. Let’s make my special cookie blossoms. They look like little flowers. The mint candy in the middle is the best part. I learned this recipe from my friend Betty years ago. We would bake them every December. I still laugh at that. Her kitchen was always covered in sugar!
These cookies are soft and sweet. The mint melts just a little. It makes the kitchen smell wonderful. Doesn’t that smell amazing? Kids love to help roll the dough balls. It’s a bit messy, but that’s the fun part. Are you ready? Let’s begin.
- Step 1: First, turn your oven on to 375 degrees. It needs to get nice and hot. While it heats, put 1 cup of sugar and the soft butter in a bowl. Add the egg and vanilla. Mix it all until it’s smooth and creamy. I like to use my big wooden spoon for this.
- Step 2: Now, get another bowl. Put your flour, baking soda, and salt in it. Give it a little stir with a fork. Then, add it to your creamy sugar mixture. Mix it gently until it becomes a soft dough. (A hard-learned tip: Don’t mix it too much! Your cookies will be tough.)
- Step 3: Put that last ¼ cup of sugar in a small bowl. Take a spoonful of dough. Roll it into a ball about the size of a walnut. Roll each ball in the sugar until it sparkles. Place them on your cookie sheet. Why do we roll them in sugar? Share below!
- Step 4: Bake your cookies for 7 to 9 minutes. Watch them closely! They are done when the bottoms are just golden. Take them out of the oven. Now, act fast! Press one mint candy into the middle of each warm cookie. Let them cool completely on the sheet. The candy will get soft and shiny.
Cook Time: 9 minutes per batch
Total Time: About 30 minutes
Yield: 2-3 dozen cookies
Category: Dessert, Cookies
Let’s Try Something New!
These cookies are perfect as they are. But sometimes, it’s fun to change things up. Here are three easy twists. They make the recipe feel brand new.
- Chocolate Kiss Blossom: Use a milk chocolate kiss instead of a mint. Press it in right after baking.
- Peppermint Sparkle: Add a drop of red food coloring to the dough. Roll balls in crushed candy canes.
- Lemon Sunshine: Use lemon extract instead of vanilla. Top with a lemon drop candy. So bright and cheerful!
Which one would you try first? Comment below!
Serving with a Smile
I love serving these on a big platter. They look so pretty. For a party, stack them in a little tower. You could also put them in a small basket. Tie it with a ribbon for a sweet gift.
What to drink? A cold glass of milk is always the best choice. It’s classic for a reason. For the grown-ups, a little cup of coffee is lovely. The dark coffee tastes great with the sweet mint. Which would you choose tonight?

Keeping Your Cookie Blossoms Fresh
Let’s talk about keeping these treats yummy. Cool cookies completely first. Store them in a tin at room temperature. They stay soft for about four days.
You can freeze the dough balls for later. Roll them in sugar first. Then place them on a tray to freeze solid. Once frozen, pop them into a bag. I once forgot to label my bag. We had a sweet mystery for weeks!
Batch cooking matters for busy families. It means fresh cookies anytime. Just bake a few frozen balls when friends visit. Have you ever tried storing it this way? Share below!
Cookie Troubles? Easy Fixes Right Here
Sometimes cookies spread too flat. Your butter was probably too soft. Chill your dough for 30 minutes first. This helps them keep a nice shape.
The mint candy might crack. I remember when this happened to me. The cookies cooled too much before I added it. Press the candy in right when they come out. This small step makes them look perfect.
Cookies can turn out too crisp. You likely baked them a minute too long. They keep cooking on the hot tray. Slide them onto a cooling rack fast. Which of these problems have you run into before?
Getting it right builds your kitchen confidence. It also makes the flavor just right. A soft cookie with a melty mint is heaven.
Your Quick Cookie Questions Answered
Q: Can I make these gluten-free?
A: Yes! Use a good gluten-free flour blend. Make sure it has xanthan gum in it.
Q: Can I make the dough ahead?
A: Absolutely. Keep it covered in the fridge for two days. This actually improves the flavor.
Q: What if I don’t have mint candies?
A: A chocolate kiss works beautifully. So does a small caramel. *Fun fact: This recipe started with chocolate kisses!*
Q: Can I double the recipe?
A: You sure can. Just mix in a very large bowl. Give everything a good stir.
Q: Any optional tips?
A: Add a sprinkle of colored sugar. It makes them extra festive for holidays. Which tip will you try first?
From My Kitchen to Yours
I hope you love making these cookie blossoms. They always remind me of my grandkids. Their smiles are the best reward.
I would love to see your creations. Sharing food connects us all. Have you tried this recipe? Tag us on Pinterest!
You can find me there sharing more kitchen stories. Thank you for baking with me today.
Happy cooking!
—Lena Morales.

Sugar Cookie Blossoms: Sugar Cookie Blossoms Recipe Easy Tutorial
Description
Experience the delightful combination of soft sugar cookies and a minty candy center with this easy Sugar Cookie Blossoms recipe.
Ingredients
Instructions
- Preheat oven to 375°F (190°C).
- Add 1 cup sugar, softened butter, egg, and vanilla extract to a bowl and mix well. Beat until well combined and creamy.
- In a separate bowl, whisk together the flour, baking soda, and salt. Gradually add this dry mixture to the creamed mixture and mix until well combined.
- Place the remaining ¼ cup of sugar into a small bowl.
- Shape the dough into 1½ inch balls, roll each ball in the sugar, and place them onto an ungreased cookie sheet.
- Bake for 7-9 minutes. Remove from the oven and immediately press one mint meltaway candy into the center of each cookie. Let cool completely on the sheet.
Notes
- For best results, use room temperature ingredients. The candies should be pressed into the cookies as soon as they come out of the oven so they melt slightly and adhere.


Leave a Reply