My First Green Cookie Surprise
I once made these for my grandson’s school party. I forgot the green coloring at first. The plain dough looked so boring. I had to mix the color in by hand. My fingers were green for two days. I still laugh at that.
That’s why we chill the dough now. It makes the cookies hold their shape. This matters because you want pretty clovers. No one wants a melted shamrock. Have you ever had a kitchen mishap turn into a happy memory?
Why We Mix With Love
Cream the butter and sugar well. This step is important. It makes the cookie light and happy. Doesn’t that smell amazing? Add the egg and extracts next. The almond extract is my secret. It makes the flavor sing.
Then, gently mix in the flour. Stop when you see a soft dough. This matters because over-mixing makes tough cookies. We want tender bites. Fun fact: The salt isn’t just for taste. It makes all the other flavors brighter.
The Magic of the Clover Log
This part is like edible play-dough. You cut out your green clovers. Then you stack them with a little egg wash. This sticky wash is like glue. It holds our tower together. Wrap it tight and let it freeze.
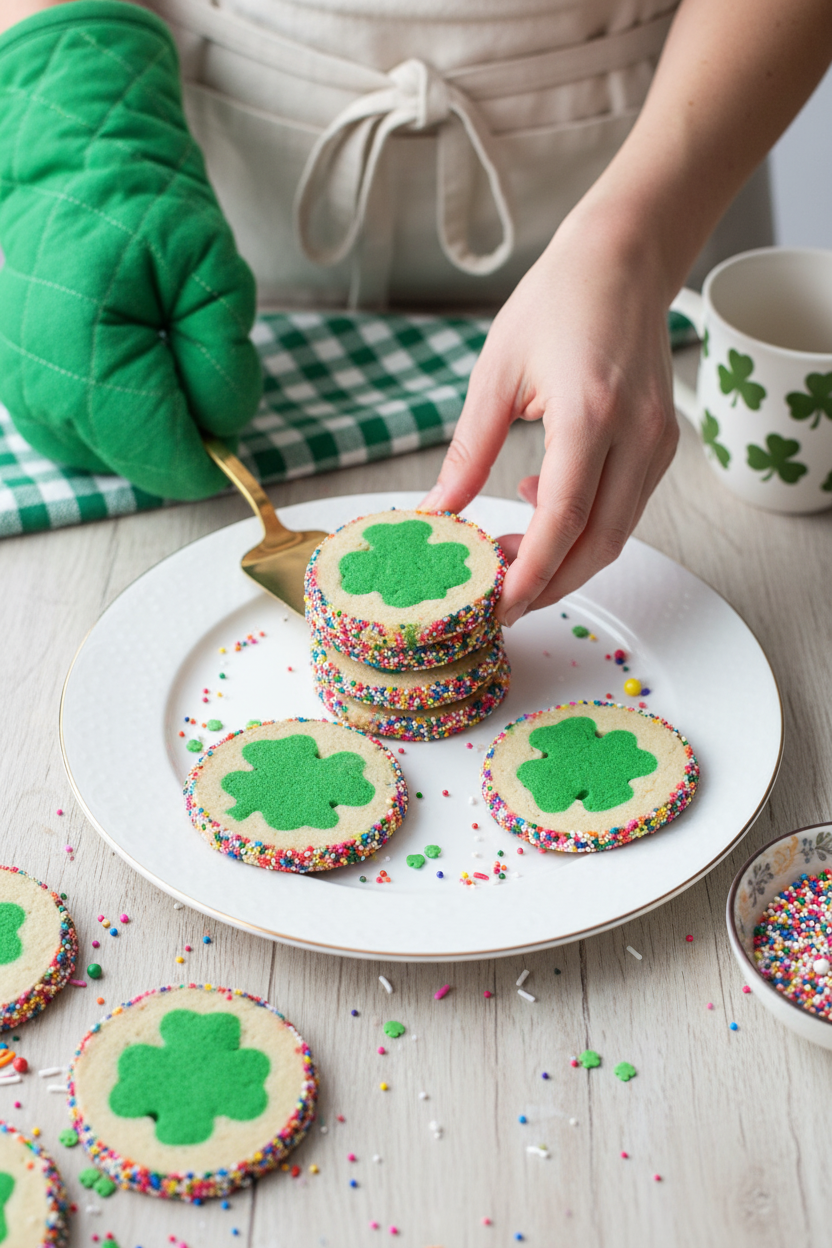
The plain dough becomes the wrapping. Roll it into ropes. Wrap them around the frozen clover log. Press it snug, like a blanket. This is the magic. When you slice it later, a green clover is inside every cookie. Which step sounds the most fun to you: cutting shapes or the surprise slice?
A Rainbow of Sprinkles
Now for the sparkle. Give your log a quick egg wash roll. Then, roll it in the rainbow sprinkles. I use a loaf pan for this. It catches all the sprinkles. It’s so easy and neat.
The colors make everyone smile. They look like a party. This matters because food should be joyful. We eat first with our eyes. Do you prefer lots of sprinkles or just a little?
Baking Your Luck
Slice your log carefully. Use a sharp knife. Place the slices on your baking sheet. Give them room to breathe. The oven is hot, so be careful. They bake fast.
Watch for golden edges. Let them cool a bit on the sheet. Then move them to a rack. The wait is the hardest part. The smell fills your whole house. It smells like celebration. I think that’s the best part of baking. What’s your favorite smell from the kitchen?
Ingredients:
| Ingredient | Amount | Notes |
|---|---|---|
| salted butter | 3/4 cup | room temperature |
| brown sugar | 1/3 cup | packed |
| sugar | 1/3 cup | |
| egg | 1 large | |
| vanilla extract | 2 teaspoons | |
| almond extract | 1/2 teaspoon | |
| all purpose flour | 2 cups | |
| kosher sea salt | 1/4 teaspoon | |
| green gel food coloring | 1/4 teaspoon | |
| egg white | 1 | |
| water | 1 tablespoon | |
| rainbow nonpareil sprinkles | 1/4 cup |
My Lucky Clover Cookie Surprise
Hello, my dear! Come sit with me. Let’s make some magic. These cookies hold a sweet little secret inside. I first made them for my grandson’s school party. His face when he saw the green clover inside? Priceless! I still laugh at that. Doesn’t that smell amazing? The almond extract makes it so special. It reminds me of my own grandma’s kitchen. Let’s get our hands dusty with flour and memories.
Now, here is how we make our surprise. Follow these steps closely. They are like a fun little puzzle.
- Step 1: First, let’s make our cookie dough. Beat the soft butter and both sugars together. Do this until it looks light and fluffy like a cloud. Then, add the egg, vanilla, and that lovely almond extract. Mix it all until it’s one happy family. Finally, add the flour and salt. Mix just until a soft dough forms. (My hard-learned tip: Don’t over-mix the flour, or the cookies get tough!)
- Step 2: Next, we create our secret. Split the dough into two balls. Wrap the plain one up and set it aside. Now, for the fun part! Knead the green food coloring into the other ball. Get it all the same bright shamrock color. Flatten it into a thick disk, wrap it, and chill both doughs. They need a long nap in the fridge, about 3 hours.
- Step 3: Time to shape our clovers! Roll out the green dough on a floured counter. Use your clover cookie cutter to make as many as you can. Press straight down and lift up. Re-roll the scraps to cut more. I always hum a little tune while I do this. What’s your favorite song to cook to? Share below!
- Step 4: This step is like building a tower. Whisk the egg white with a tablespoon of water. Brush this “glue” on each clover. Stack them neatly into a tall tower. Then, gently lay the tower on its side. You’ll have a long log of clovers! Wrap it up and freeze it for 30 minutes. This keeps our shape perfect.
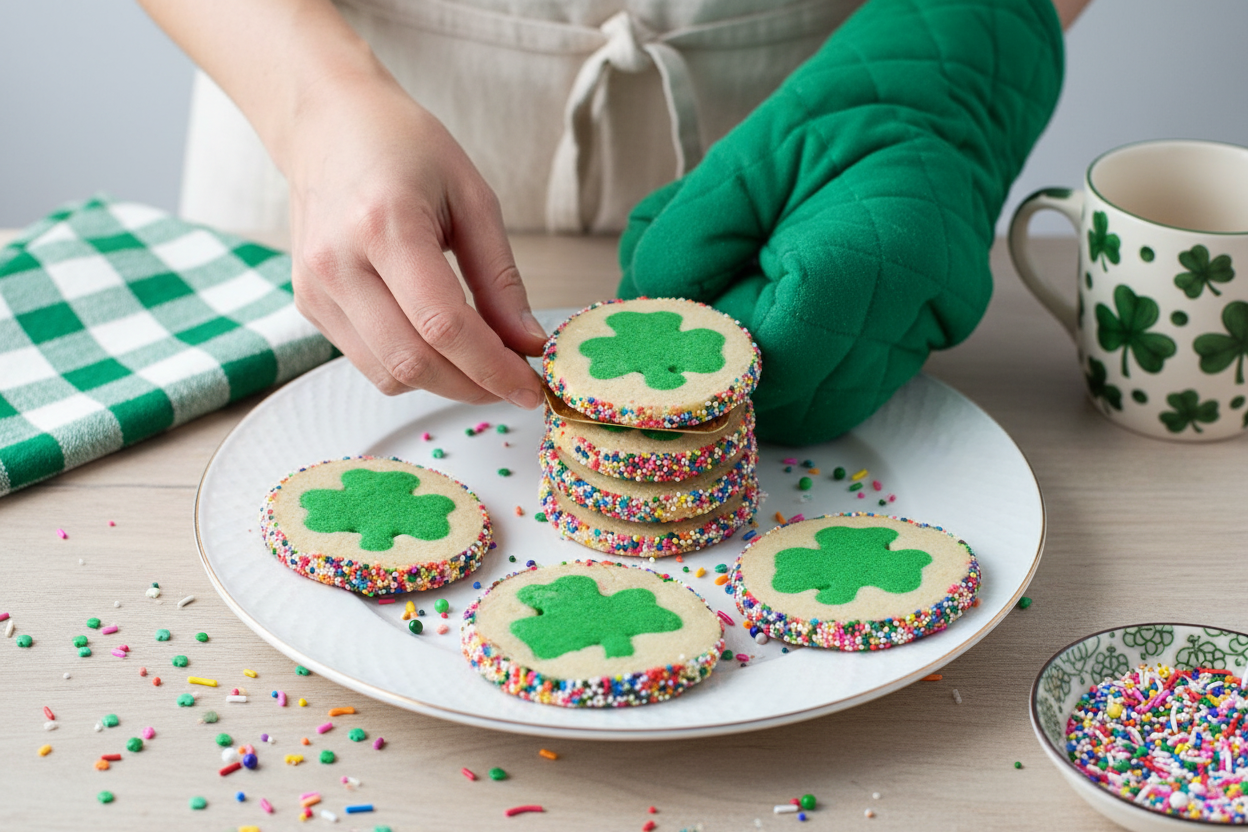
- Step 5: Now, hide the clovers! Break the plain dough into pieces. Roll them into long, skinny ropes. Take your frozen clover log out. Wrap the ropes around it to completely cover the green. Press it tight, then roll it smooth. Brush the outside with more egg wash. Roll it in the rainbow sprinkles! Freeze it again for 30 minutes. This helps us get clean slices.
- Step 6: Last step! Heat your oven to 375 degrees. Slice your log into thin cookies, about a quarter-inch thick. Bake them for 10 to 12 minutes. Let them cool on the sheet for a few minutes. Then move them to a rack. The wait is the hardest part! But seeing that green clover in each bite is worth it.
Cook Time: 12 minutes per batch
Total Time: About 5 hours (includes chilling)
Yield: About 2 dozen cookies
Category: Dessert, Cookies
Three Fun Twists to Try
Once you master the classic, try a new version! Cooking is all about playing. Here are three ideas I love.
- Leprechaun Gold: Use yellow food coloring instead of green. Roll the finished log in gold sanding sugar. So shiny!
- Minty Fresh Clover: Swap the almond extract for peppermint extract. It tastes like a cool, fresh breeze.
- Chocolate Treasure: Add a tablespoon of cocoa powder to the plain dough. Now your secret clover is in a chocolate cookie!
Which one would you try first? Comment below!
Serving Your Sweet Surprise
These cookies are a celebration all by themselves. But a little extra thought makes them special. Place them on a bright white plate. The colors will pop! You could also serve them with a small bowl of vanilla frosting for dipping. A dollop of whipped cream on the side is nice, too.
For drinks, I have two perfect matches. For the grown-ups, a creamy Irish coffee is wonderful. For everyone, a fizzy lime soda feels just right. It’s so green and cheerful. Which would you choose tonight?
Keeping Your Shamrock Cookies Fresh
These cookies are a fun project. You will want them to stay perfect. Let the cookies cool completely first. Then store them in a tight container. They will stay fresh for up to five days.
You can also freeze the dough log. Wrap it well in plastic wrap. I once forgot a log in my freezer for a month. It baked up just fine later. This is a great batch-cooking trick.
Make a few logs when you have time. You can bake fresh cookies anytime. This matters because it makes special treats easy. You are not rushed on a busy day. Have you ever tried storing it this way? Share below!
Cookie Troubles and Simple Fixes
Sometimes dough can be too sticky. Just add a little more flour. I remember when my dough stuck to everything. A sprinkle of flour on my hands helped. Roll the dough on a floured surface too.
Your cookies might spread too much. This means your dough was too warm. Always chill the dough as the recipe says. This matters for keeping the pretty clover shape. Cold dough holds its design better in the oven.
The sprinkles might not stick well. Make sure your egg wash is fresh. Brush a good layer on the log. Press the sprinkles in gently. This matters for that festive, colorful look. Which of these problems have you run into before?
Your Cookie Questions, Answered
Q: Can I make these gluten-free? A: Yes. Use a good gluten-free flour blend. The results will be great.
Q: How far ahead can I make them? A: The dough log freezes well for a month. Bake slices straight from the freezer.
Q: I don’t have almond extract. A: Use all vanilla extract instead. The flavor will still be lovely.
Q: Can I double the recipe? A: Absolutely. Just mix in two separate batches. This avoids overworking your mixer.
Q: Any optional tips? A: Try different food coloring for other holidays. *Fun fact: The first food coloring came from crushed bugs!* Which tip will you try first?
Share Your Kitchen Magic
I hope you love making these cookies. Baking is about sharing joy. It is about creating sweet memories. I would love to see your creations.
Please show me your beautiful shamrocks. Share a photo with your family or friends. Have you tried this recipe? Tag us on Pinterest! You can find me at Lena’s Cozy Kitchen. Happy cooking!
—Lena Morales.
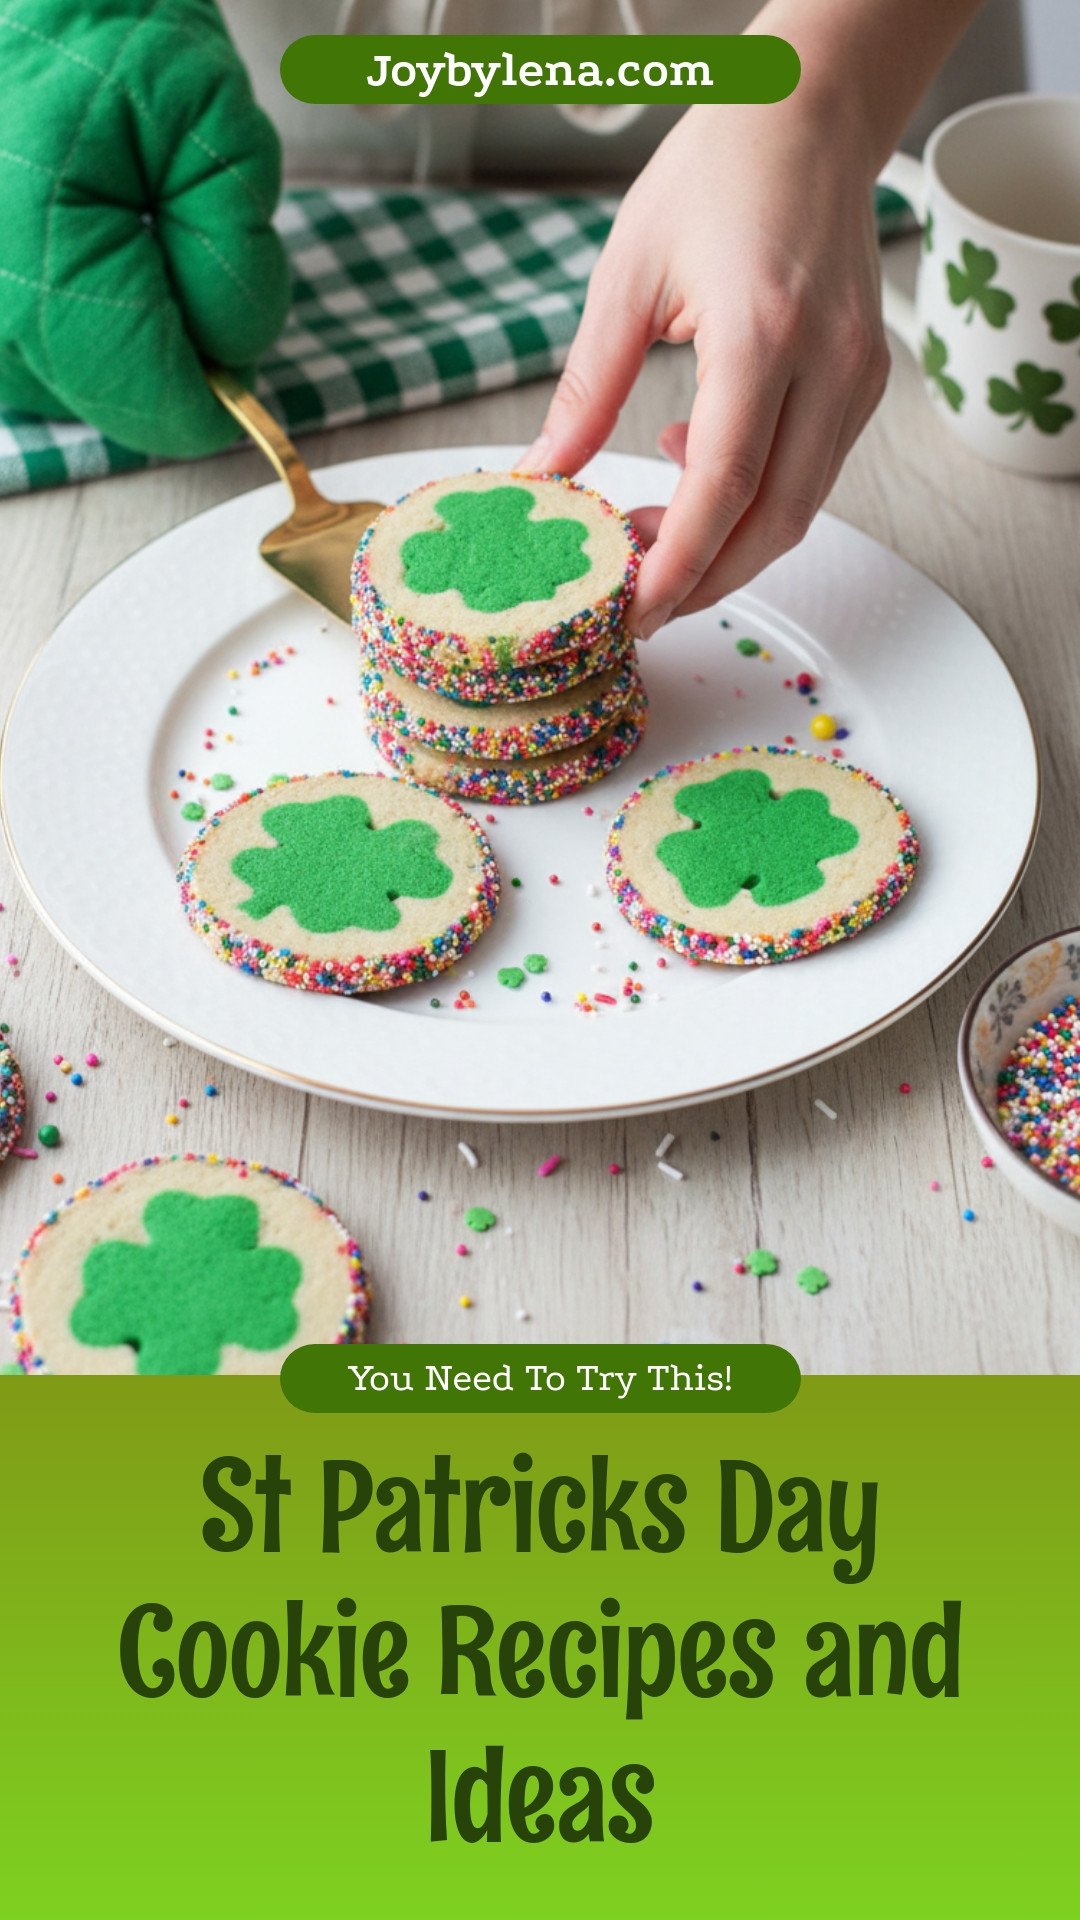
St. Patrick’s Day Cookies: St Patricks Day Cookie Recipes and Ideas
Description
Celebrate with these festive and delicious St. Patrick’s Day cookies, featuring a fun clover design and colorful sprinkles.
Ingredients
Instructions
- In the bowl of a stand mixer or a large mixing bowl (with a hand mixer), beat butter and sugars for 2-3 minutes until light and fluffy. Add egg, vanilla, and almond. Mix until combined. Add the flour and salt. Mix until a soft dough forms.
- Divide the dough into two balls. Wrap one ball in plastic wrap and set it aside. Fold the green food coloring into the remaining ball until it is a uniform color. Flatten into a 1-inch thick disk. Wrap in plastic wrap and place in the refrigerator along with the ball of dough. Chill for 3 hours.
- Remove the green dough, using a clover-shaped cookie cutter, cut as many clovers as you can out of the dough, re-rolling the dough as needed.
- In a small bowl, whisk together the egg white and water. Brush over the tops of each clover, and stack into a tall “tower.” You want the clovers to be lined up as evenly as possible. Lay the tower down, so that it’s one long log of clovers. Wrap with plastic wrap and freeze for 30 minutes.
- Break the ball of dough into several pieces and roll it into ropes. When the clover log is ready, remove it and line the clovers with the long ropes. You want to encase the clovers completely. Press tightly, then roll on a lightly floured surface into a smooth log. Brush the outside with egg wash, then roll in the sprinkles. I used a loaf pan to do this and it worked really well. Return to the freezer for 30 minutes.
- Preheat oven to 375 degrees. Line a baking sheet with parchment paper or a silicone mat. Slice the log into ¼” thick slices. Place 12 on a baking sheet at a time. Bake for 10-12 minutes, remove from the oven, and allow to cool on the sheet for 3 minutes before transferring to a wire rack to cool completely.
Notes
- For best results, ensure the dough is well chilled before cutting and assembling the clover log. This helps maintain the shape of the cookies during baking.


Leave a Reply