The Ghosts in My Kitchen
I love Halloween. It is so much fun. The costumes, the pumpkins, the candy. It makes me feel like a kid again. My grandkids love these brownies. They call them “spooky squares.” I still laugh at that.
Every year, we make them together. We put the little ghost candies on top. It is our little tradition. Traditions matter. They make a house feel like a home. They give us happy memories to hold onto.
Mixing Up Magic
Let’s start baking. First, melt your butter in a pot. Use low heat. We do not want it to burn. Then, stir in the cocoa and sugar. Doesn’t that smell amazing? It smells like a chocolate dream.
Add the eggs, one by one. Mix well each time. This makes the brownies nice and fudgy. Then comes the vanilla. Vanilla is like a secret hug for your baking. It makes everything taste warmer.
A Sweet Little Secret
Here is a mini-anecdote for you. Once, my grandson Sam added the flour too fast. A big white cloud poofed up! We both looked like ghosts already. We laughed so hard. The brownies still turned out great.
So, do not worry about being perfect. Cooking is about joy, not perfection. That is why this matters. It is about the fun you have, not just the food you make. What is your funniest kitchen mistake?
Time for the Oven
Now, fold in the chocolate chips. I like lots of chips. Then pour your batter into the pan. Sprinkle those chocolate jimmies on top. They add a little crunch. *Fun fact: “Jimmies” is what some folks call sprinkles. My grandma called them that too!
Bake them for about 40 minutes. Your kitchen will smell wonderful. Let them cool a bit before adding the ghosts. If the brownies are too hot, the ghosts will melt! Do you like your brownies more cakey or more fudgy?
Sharing the Spooky Treats
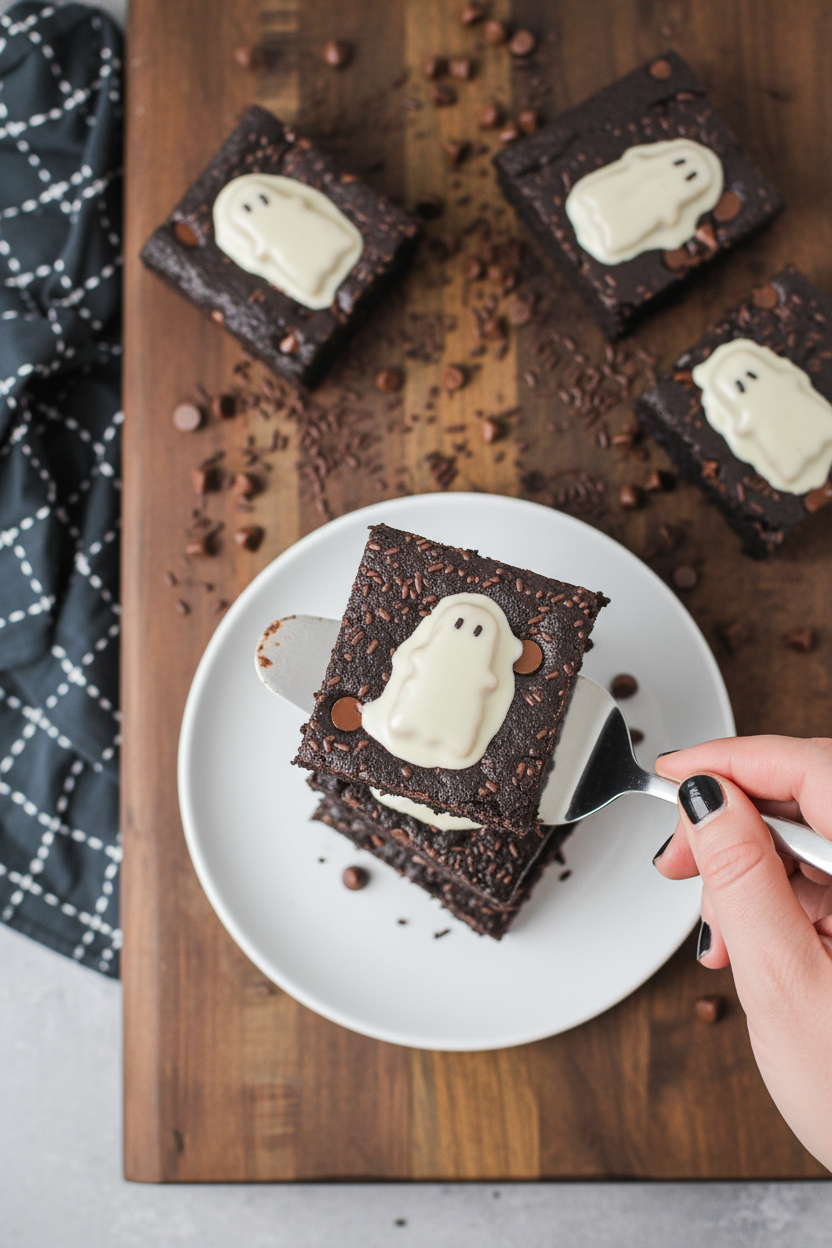
Place the ghost candies on top once the brownies are warm, not hot. Let them cool all the way before you cut them. This is the hard part. Waiting is tough! But it gives you a clean slice.
Then, share them. This is the second “why this matters.” Food tastes better when you share it. It is a way to show people you care. Who will you share your Halloween brownies with this year? Tell me about them.
Ingredients:
| Ingredient | Amount | Notes |
|---|---|---|
| Unsalted butter | 1 cup | |
| Cocoa powder | 1 cup + 2 tbsp | |
| Sugar | 1 1/2 cups | |
| Eggs | 3 | |
| Vanilla extract | 1 tablespoon | |
| All purpose flour | 3/4 cup | |
| Salt | 1 teaspoon | |
| Baking soda | 1/2 teaspoon | |
| Chocolate chips | 1 1/2 cups | |
| Chocolate jimmies | 1 tablespoon | For decoration |
| Reese’s white chocolate ghost candies | 12 | For decoration |
My Spooky Brownies: A Halloween Kitchen Tale
Hello, my dear. Come sit. The oven is warming up. I love making these brownies for Halloween. It reminds me of my grandson, Miguel. He used to be so scared of ghosts. Now he eats these little ghost candies first. I still laugh at that.
This recipe is simple and fun. We will make a big, fudgy pan of brownies. Then we will decorate it with spooky friends. Doesn’t that smell amazing? Let’s begin our story.
Step 1: First, we get our pan ready. Line your 9 by 13 dish with parchment paper. This little paper is a magic trick. It lets you lift the whole brownie out later. Now, melt the butter in a pot on low heat. Be patient. We don’t want it to sizzle.
Step 2: Take the pot off the heat. Stir in the cocoa and sugar. It will look like dark, glittery sand. Now, crack in the eggs, one at a time. Mix each one in fully. This makes the batter nice and shiny. (A hard-learned tip: Let the mix cool a bit before adding eggs. We don’t want scrambled eggs in our brownies!).
Step 3: Time for the good smells. Pour in the vanilla. I always take a deep breath here. Then add the flour, salt, and baking soda. Stir until you just can’t see the flour anymore. Now, fold in the chocolate chips. More chocolate is always a good idea, don’t you think?
Step 4: Pour that beautiful batter into your pan. Spread it gently to the corners. Now, sprinkle the chocolate jimmies on top. They look like little bug specks now. But they will bake into a fun, crunchy top. What’s your favorite brownie topping? Share below!
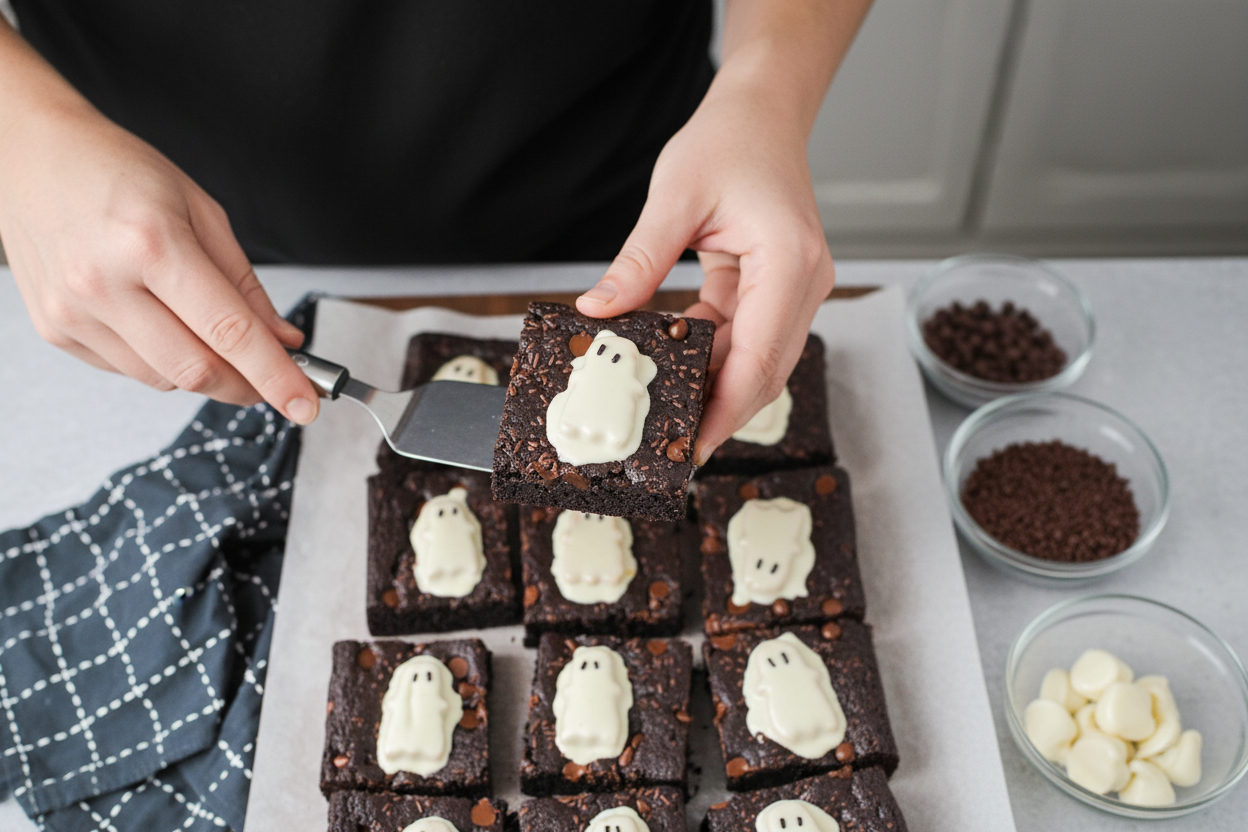
Step 5: Bake for about 40 minutes. Your kitchen will smell like a dream. Use a toothpick to check if it’s done. A few sticky crumbs are perfect. Let the pan cool for 15 minutes. Then, place the white chocolate ghosts on top. Let it cool all the way before you cut. This is the hardest part, waiting!
Cook Time: 40–45 minutes
Total Time: 1 hour
Yield: 12 brownies
Category: Dessert, Halloween
Three Fun Twists on Our Spooky Treat
You can change this story any way you like. Here are some of my favorite ideas. They are all very simple.
Orange & Black Swirl: Drop spoonfuls of orange cake batter into the brownie batter. Swirl with a knife before baking.
Candy Graveyard: After baking, press cookie tombstone candies into the top. Use crushed chocolate cookies for “dirt.”
Peanut Butter Spiderwebs: Drizzle melted peanut butter in circles on the cooled brownies. Drag a toothpick through to make webs.
Which one would you try first? Comment below!
Serving Your Spooky Masterpiece
These brownies are a party on their own. But you can make them extra special. Serve them on a black plate. A little dollop of whipped cream looks like a cloud. Or add some raspberry sauce “blood” around the edge. It’s silly and fun.
For drinks, I love a cold glass of milk. It’s the classic choice. For the grown-ups, a small glass of coffee liqueur over ice is nice. The coffee taste goes so well with chocolate. Which would you choose tonight?
Keeping Your Spooky Brownies Fresh
Let’s talk about keeping these treats yummy. First, let them cool all the way. Then, cover the pan tightly with foil. They will stay perfect on the counter for three days. For longer storage, pop them in the fridge for a week.
You can freeze them, too! Wrap each brownie in plastic wrap. Then place them all in a freezer bag. They keep for three months. Thaw them on the counter when you’re ready.
I once froze a whole batch for my grandson’s visit. He was so happy to find them! Batch cooking like this saves time later. It means you always have a sweet surprise ready for friends.
Have you ever tried storing it this way? Share below!
Fixing Common Brownie Troubles
Even grandmas have kitchen troubles sometimes. If your brownies are too cakey, you may have over-mixed. Stir the flour just until you see no more white. This keeps them nice and fudgy.
Are the edges getting too dark? Your oven might run hot. Try placing the pan on a higher rack. I remember when my old oven burned everything! An oven thermometer helps a lot.
Did your toothpick come out wet? The brownies need more time. Bake in five-minute increments. Getting the bake right matters. It builds your cooking confidence. It also gives you that perfect, chewy bite.
Which of these problems have you run into before?
Your Brownie Questions, Answered
Q: Can I make these gluten-free? A: Yes! Use your favorite gluten-free flour blend. Just make sure it’s a 1-to-1 style.
Q: Can I make them ahead? A: Absolutely. Bake them the day before. Add the ghost candies right before you serve.
Q: What if I don’t have jimmies? A: No problem! Use extra chocolate chips or spooky sprinkles. *Fun fact: “Jimmies” is a New England name for sprinkles!*
Q: Can I double the recipe? A: For a bigger crowd, you can. Use two pans. Do not put all the batter in one pan.
Q: Any other fun toppings? A: Try candy eyes or orange frosting swirls. Get creative with your spooky theme! Which tip will you try first?
Share Your Spooky Creations!
I hope you have fun baking these. The kitchen is my favorite place for making memories. I would love to see your Halloween creations.
Did your ghosts look extra spooky? Did you try a different topping? Please show me your beautiful work. Sharing our food stories connects us all.
Have you tried this recipe? Tag us on Pinterest! You can find me at @LenasCozyKitchen. Happy cooking!
—Lena Morales.
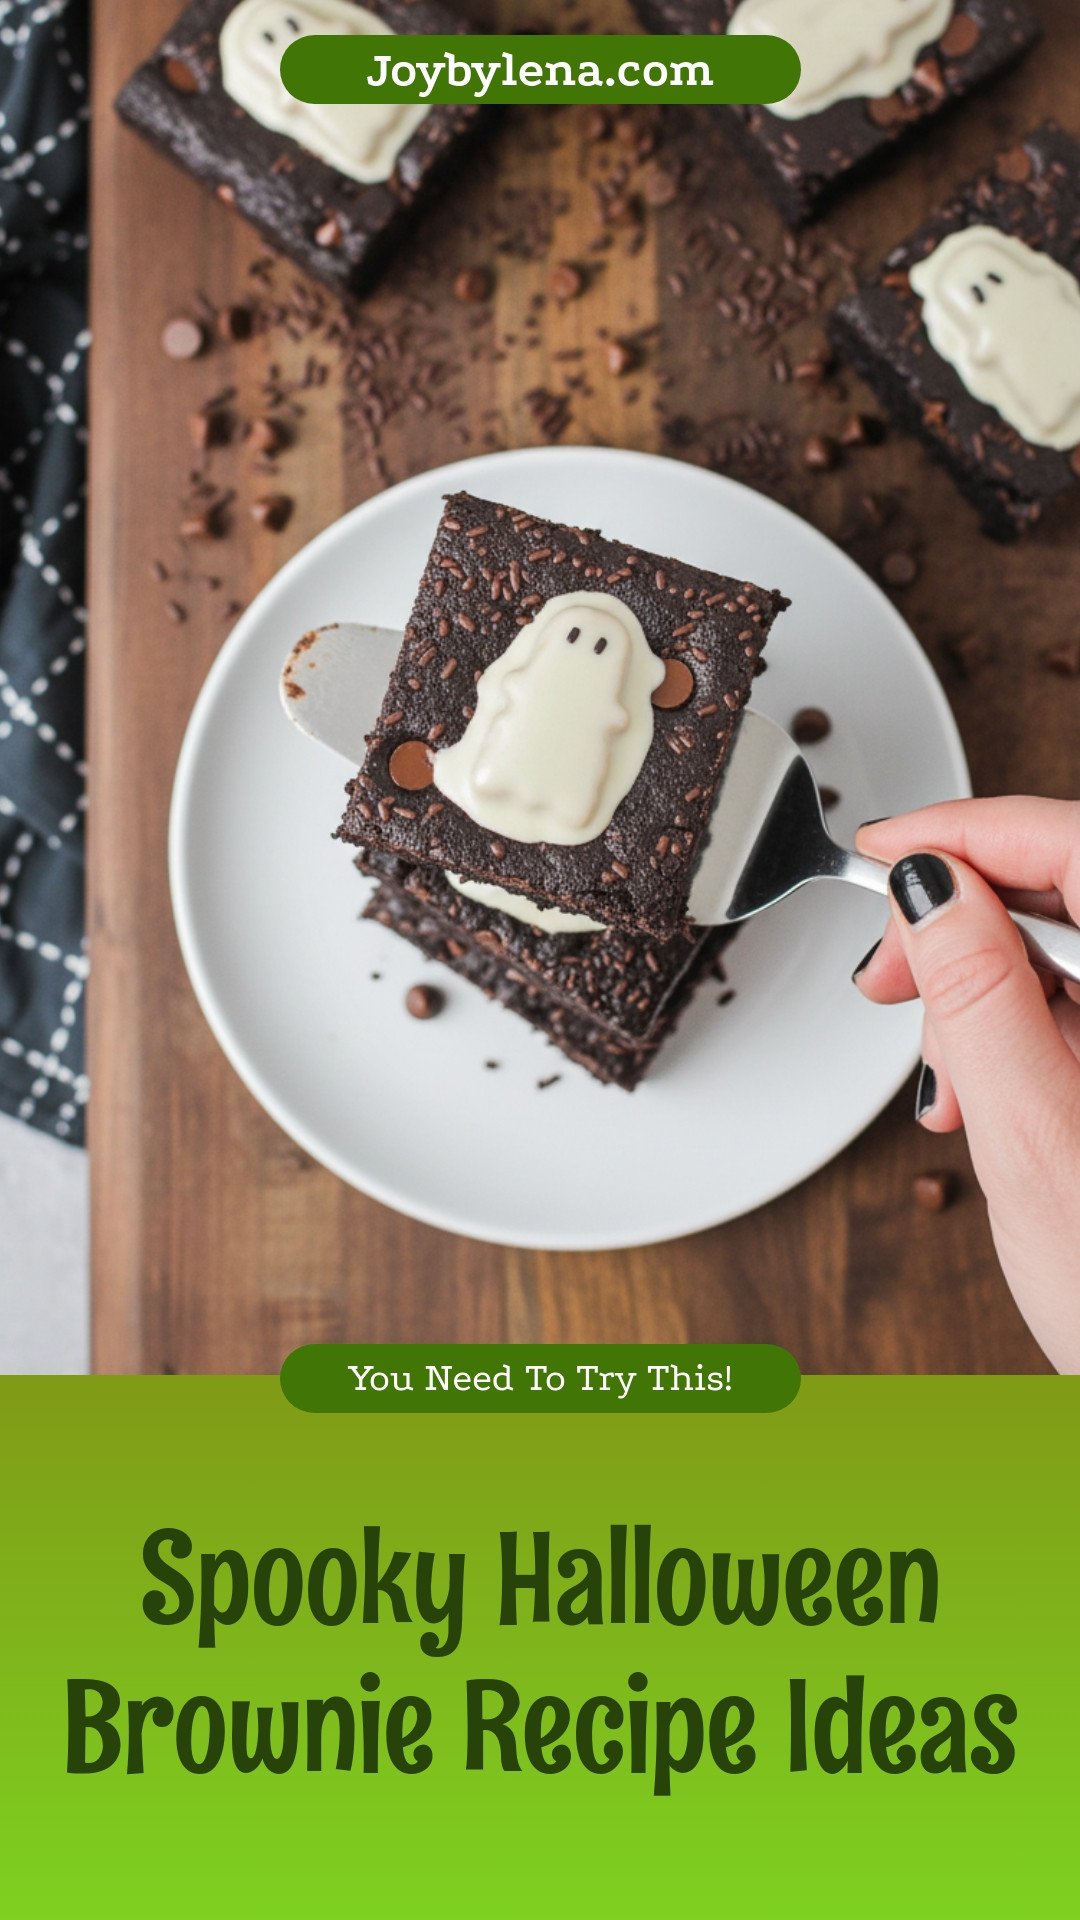
Spooky Halloween Brownie Recipe Ideas
Description
These fudgy, spooky brownies are topped with ghost candies for a fun and delicious Halloween treat.
Ingredients
Instructions
- Preheat the oven to 350°F. Line a 9 x 13 baking dish with parchment paper.
- In a medium pot, melt the butter over low heat. Add the cocoa powder and sugar, and mix to combine.
- Add the eggs one at a time, mixing well after each addition. Stir in the vanilla.
- Add the flour, salt, and baking soda, and mix until just combined. Fold in the chocolate chips.
- Pour the batter into the prepared pan, and sprinkle with the chocolate jimmies.
- Bake for 40-45 minutes, until a toothpick inserted in the center comes out clean.
- Let cool for 10-15 minutes, then place the ghost candies on top. Let cool completely before slicing and serving.
Notes
- Nutrition per serving: Calories: 417kcal | Carbohydrates: 52g | Protein: 5g | Fat: 23g | Saturated Fat: 14g | Polyunsaturated Fat: 1g | Monounsaturated Fat: 5g | Trans Fat: 1g | Cholesterol: 85mg | Sodium: 395mg | Potassium: 142mg | Fiber: 3g | Sugar: 41g | Vitamin A: 583IU | Vitamin C: 0.1mg | Calcium: 50mg | Iron: 2mg


Leave a Reply