The First Time I Burned the Sugar
Let me tell you about my first pralines. I was so nervous. I watched that pot like a hawk. But I looked away for one second. The sugar turned dark and smoky. I had to start all over. I still laugh at that.
This taught me a good lesson. Cooking is about paying attention. It is also about not giving up. That second batch was perfect. Have you ever had a kitchen mistake turn out okay?
Why We Toast the Pecans
Do not skip toasting your pecans. This step matters so much. It wakes up their flavor. It makes your kitchen smell like heaven. Doesn’t that smell amazing?
Raw nuts are shy and quiet. Toasting makes them loud and proud. It brings out their rich, buttery voice. Your pralines will taste deeper and happier. Fun fact: Toasting nuts releases their natural oils. That is where the big flavor lives!
The Magic of the Thermometer
That candy thermometer is your best friend. It tells you the sugar’s story. You want it to reach the “soft-ball” stage. That is between 235 and 240 degrees.
This is the secret to the perfect texture. Too cool, and your candy stays sticky. Too hot, and it becomes hard and crumbly. Getting it just right gives you a smooth, creamy bite. Do you trust a thermometer, or do you use the water test?
A Sweet Bit of History
Pralines have a long journey. They started in France with just sugar and almonds. But when they came to New Orleans, things changed. Cooks there used the beautiful pecans that grew nearby.
This matters because food is about place. It is about using what you have. The South had pecans, so the recipe changed. That is how food traditions are born. What is a local treat from your town?
The Rush to the Finish
When you add the vanilla and nuts, work fast. The mixture starts to set in the pot. I use my cookie scoop and move quickly. I drop little mounds onto the parchment paper.
They will look glossy at first. Then they turn matte and firm. This is when you must be patient. Let them cool completely. The wait is hard, but it is worth it. What is your favorite candy to make or eat?
Ingredients:
| Ingredient | Amount | Notes |
|---|---|---|
| Pecan halves | 1 1/2 cups | |
| Sugar | 1 1/2 cups | |
| Butter | 6 tablespoons | |
| Brown sugar | 3/4 cup | |
| Whole milk | 1/2 cup | |
| Vanilla extract | 1 teaspoon |
My Pecan Praline Memories
Hello, sweet friend! Come sit at my kitchen table. I want to tell you about pralines. They are my favorite candy. My grandma taught me this recipe. She lived way down south. I remember her big apron and her warm laugh. We made these for special Sundays. The smell of toasting pecans filled her whole house. It still makes me smile. Making candy feels like magic. You start with a pot of syrup. Then you end with sweet, crunchy treasures. Let’s make some magic together.
Step 1: Toast the Pecans
First, we wake up the pecans. Heat your oven to 350°F. Spread the pecan halves on a lined sheet. Bake them for about 7 to 10 minutes. Flip them halfway through. You will know they are ready by the smell. Doesn’t that smell amazing? It’s a warm, nutty aroma. Toasted pecans taste so much better. (My hard-learned tip: set a timer! It’s easy to forget and burn them.)
Step 2: Make the Syrup
Now for the syrup. Fasten a candy thermometer to a big saucepan. Add both sugars, the butter, and the milk. Stir it constantly over medium-high heat. Bring it all the way to 235–240°F. This is called the “soft-ball” stage. I still watch the thermometer like a hawk. The mixture will bubble and foam. It’s very hot, so be careful, darling.
Step 3: Combine & Cool
Take the pot off the heat right away. Stir in your vanilla and those toasted pecans. The vanilla sizzles and smells wonderful. Now, just let the pot sit for 2–3 minutes. No stirring! This lets it cool and thicken a bit. The glossy syrup will become matte. Why do we let it cool? Share below!
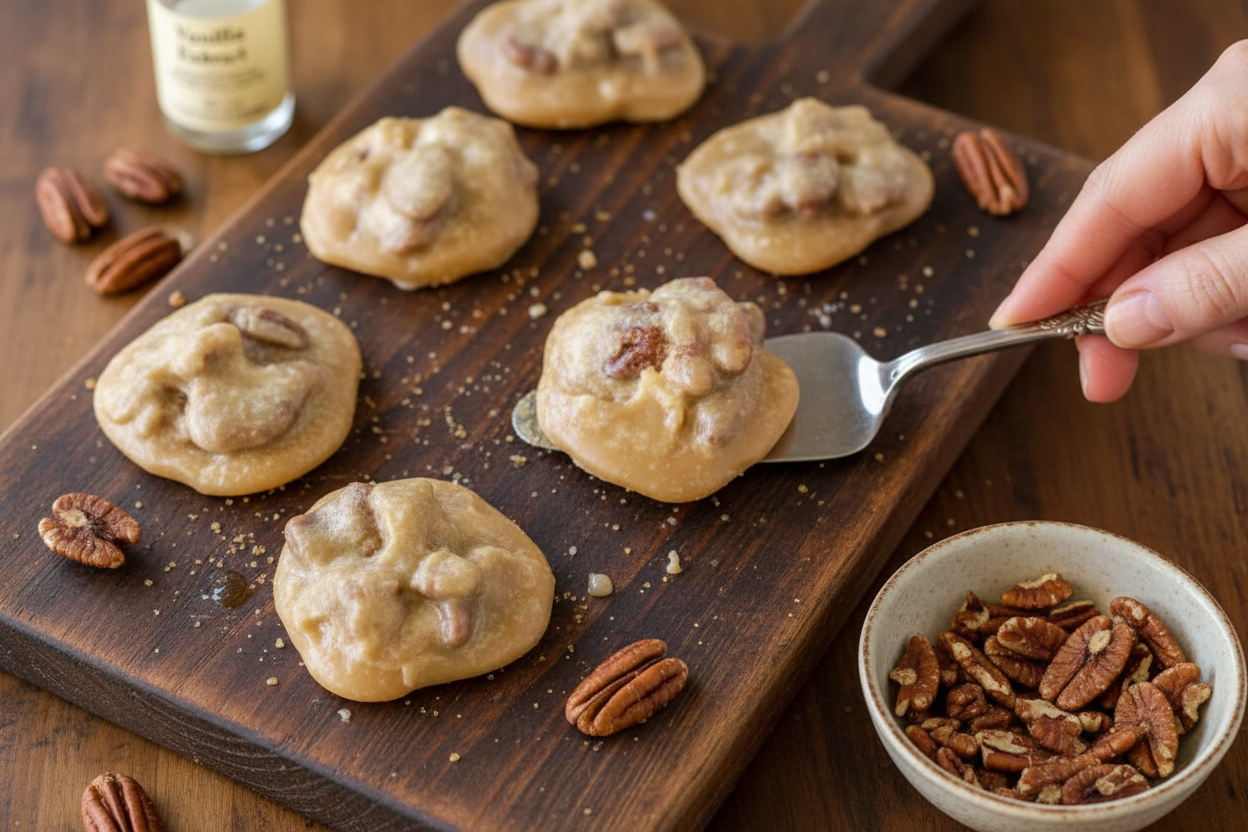
Step 4: Shape the Pralines
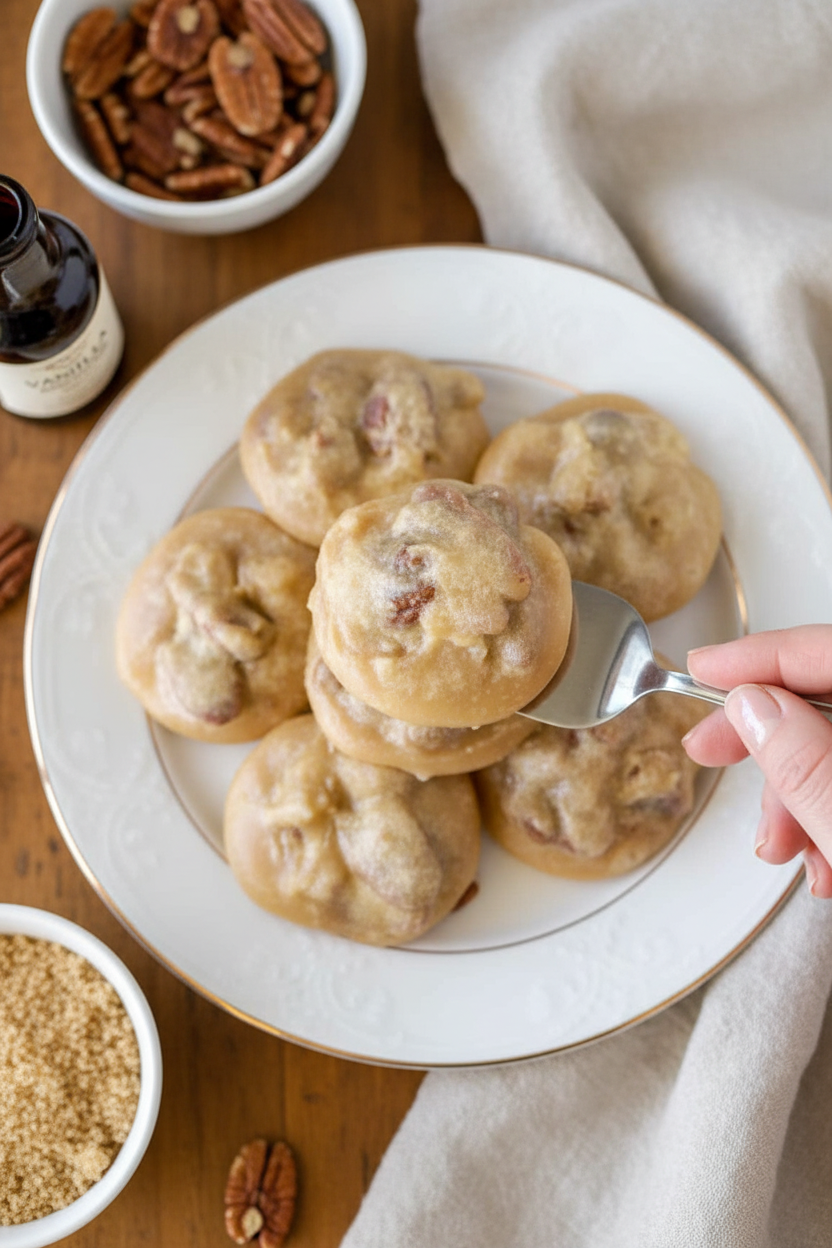
Time to work fast! Use a cookie scoop or a spoon. Drop little mounds onto parchment paper. The candy in the pot sets quickly. I sometimes make them big, sometimes small. My grandkids always fight over the biggest one. I still laugh at that. If the mixture gets too hard, add a tiny splash of hot water. Then stir gently.
Step 5: Set & Enjoy
Finally, let your pralines rest. They need a few minutes to firm up completely. Then you can try one. The outside is slightly crisp. The inside is creamy and packed with pecans. It’s pure happiness. Store them in a tin with wax paper between layers. They never last long at my house!
Cook Time: 20 minutes
Total Time: 35 minutes
Yield: About 18 pralines
Category: Dessert, Candy
Three Sweet Twists to Try
Once you know the classic, you can play! Here are my favorite twists. Salty-Sweet: Use salted butter and add a pinch of sea salt on top. Chocolate Swirl: Drizzle melted chocolate over the set pralines. Orange Zest: Add a teaspoon of orange zest with the vanilla for a sunny flavor. Which one would you try first? Comment below!
Serving Your Sweet Creations
Pralines are perfect all by themselves. But I love to make them extra special. Crumble one over vanilla ice cream. Or place a few on a pretty plate with fresh apple slices. For a drink, hot coffee is my go-to. The bitterness pairs so well with the sweet. For a fun treat, a glass of cold milk is perfect. Which would you choose tonight?
Keeping Your Pralines Perfect
Let’s talk about keeping these sweet treats happy. Store cooled pralines in a sealed container. Use wax paper between layers so they don’t stick. They last a week on the counter.
You can freeze them for a month. Wrap each one tightly in plastic wrap. Then place them all in a freezer bag. Thaw them on the counter for an hour.
I once froze a whole batch for my grandson’s visit. They tasted just as good weeks later! Batch cooking lets you share sweetness anytime. That matters because homemade gifts are the best kind.
Have you ever tried storing pralines this way? Share below!
Praline Problems and Simple Fixes
Sometimes pralines don’t set right. If they stay sticky, your syrup wasn’t hot enough. Use a candy thermometer next time. It takes the guesswork away.
If they turn grainy, the sugar crystallized. Stir gently after it starts boiling. I remember stirring too hard once. We had sugary sand! Gentle stirring keeps it smooth.
If they harden in the pot, you worked too slow. Have your pecans and scoop ready. Getting the texture right builds your candy-making confidence. A perfect set means a melt-in-your-mouth bite. That is always worth the care.
Which of these problems have you run into before?
Your Praline Questions Answered
Q: Are these gluten-free?
A: Yes! These pralines are naturally gluten-free.
Q: Can I make them ahead?
A: Absolutely. Make them up to a week before you need them.
Q: What if I don’t have brown sugar?
A: Use all white sugar. The flavor will be a little different but still good.
Q: Can I double the recipe?
A: I don’t recommend it. Candy making is best in single batches.
Q: Any optional tips?
A: A pinch of salt in the syrup makes the sweetness pop. Fun fact: The word “praline” comes from a French diplomat!
Which tip will you try first?
From My Kitchen to Yours
I hope you love making these as much as I do. The smell of toasting pecans is pure joy. It always reminds me of family gatherings.
I would love to see your creations. Sharing food connects us all. Your kitchen stories make my day brighter.
Have you tried this recipe? Tag us on Pinterest @GrandmaLenasKitchen!
Happy cooking!
—Lena Morales.
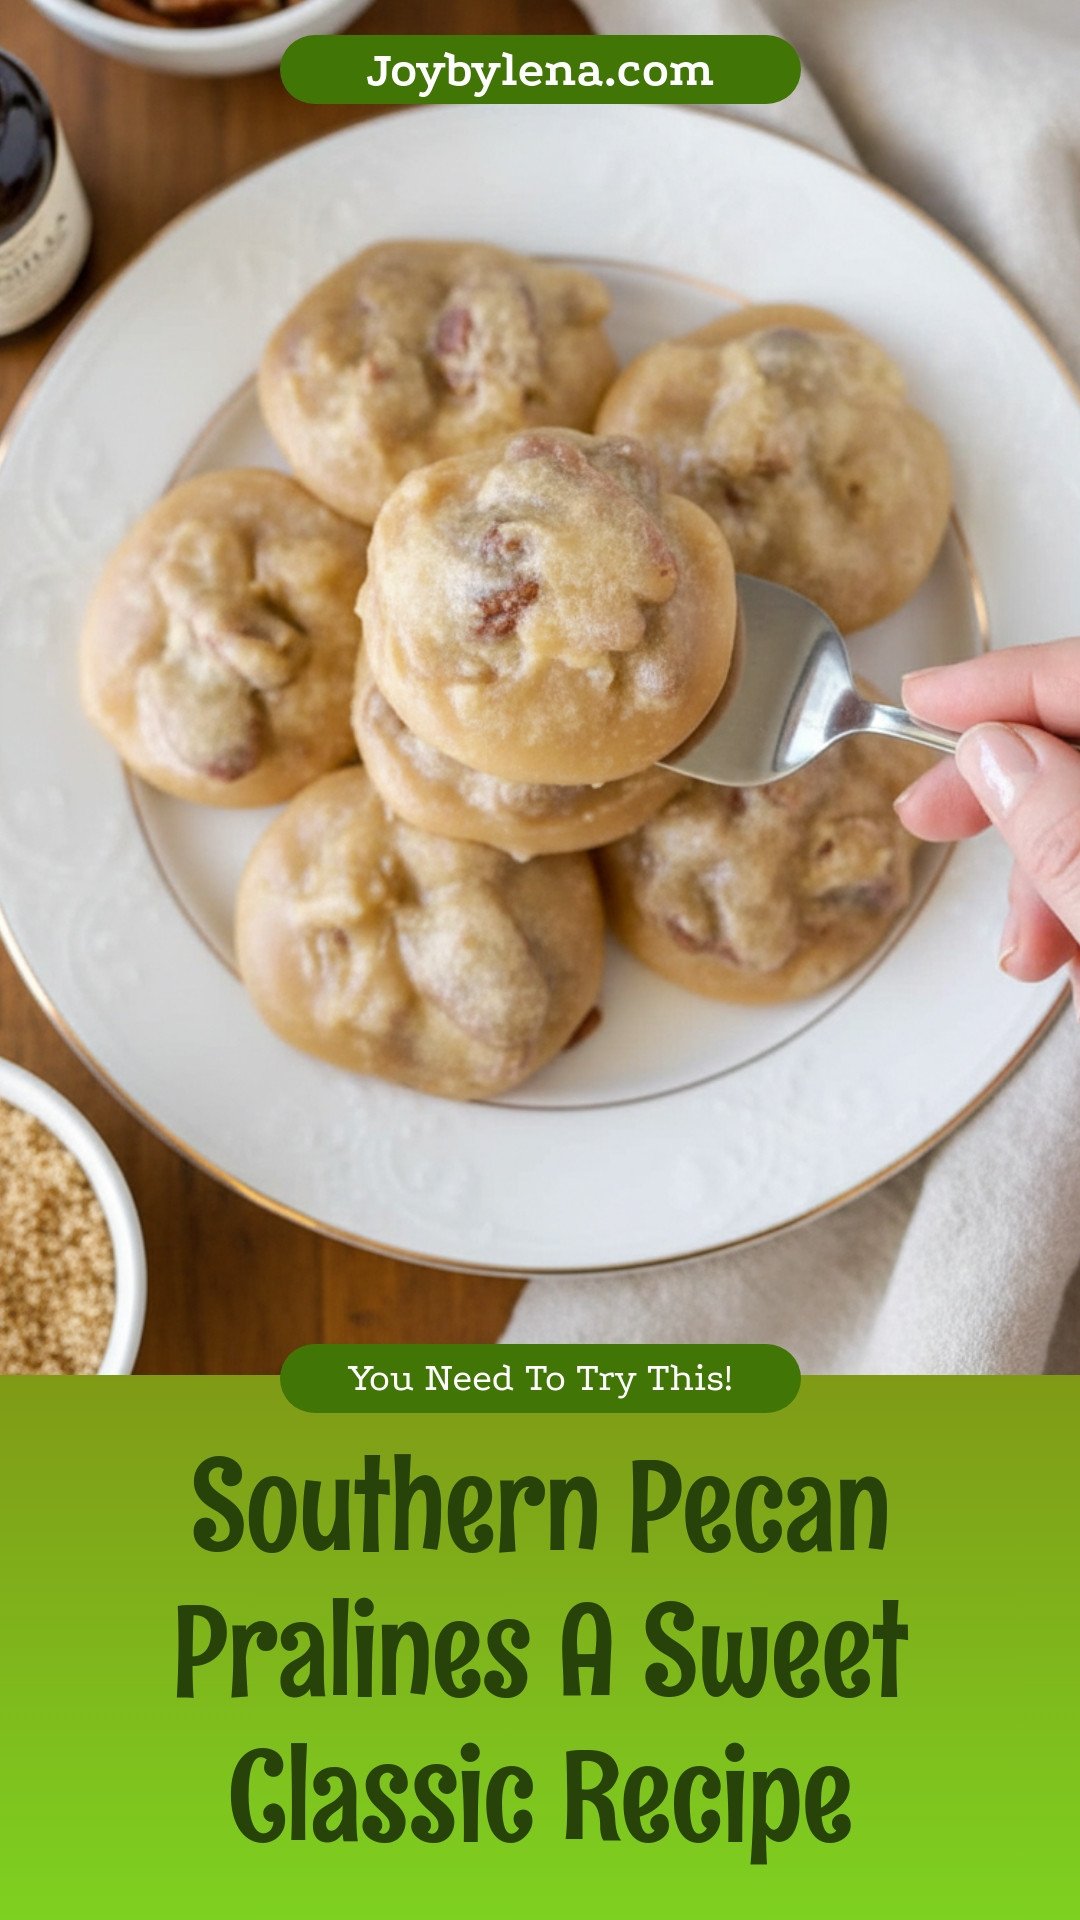
Southern Pecan Pralines A Sweet Classic Recipe
Description
Experience the sweet, buttery, and nutty delight of classic Southern Pecan Pralines. This easy recipe yields perfectly creamy and crunchy candies.
Ingredients
Instructions
- Toast the Pecans: Line a baking sheet with parchment paper. Preheat oven to 350°F. Spread pecan halves on sheet. Bake 7-10 minutes, flipping halfway. Pecans will begin to brown and become aromatic.
- Fasten the candy thermometer to the side of a large saucepan. Add the sugars, butter and milk. Stir consistently over medium high heat and bring the mixture to 235-240°F.
- Remove from the heat and mix in the pecans and vanilla. Store for about 2-3 minutes. The mixture will thicken as it cools. It will also lose some of its glossiness.
- Use a cookie scoop to drop mixture onto the parchment paper. Work fast as the mixture in the pot will set quickly.
- Allow pralines to cool and solidify for a couple of minutes before serving.
Notes
- Store pralines in an airtight container at room temperature for up to a week. For best results, use a heavy-bottomed saucepan to prevent scorching.


Leave a Reply