My First Sourdough
I got my sourdough starter from my neighbor, Rosa. She gave me a jar of it. She called it “Herman.” I had to feed Herman flour and water. It felt like having a pet.
My first loaf was very flat. I was so sad. But Rosa told me to try again. She said the starter just needed to get stronger. She was right. The next loaf was beautiful.
Why The Wait Matters
The long wait is the secret. You let the dough sit for many hours. This is called fermenting. The tiny living things in the starter are having a party.
This party does two big things. It makes the bread taste tangy and special. It also makes it easier for our bodies to use the good stuff in the flour. Good food takes time, and that’s okay.
Let’s Make Some Bread
Mix your ripe starter with warm water. Use water that doesn’t smell like a pool. Add the honey and salt. Then stir in some flour. Let it rest for a bit. I always go water my plants then.
Now add more flour until it’s a soft dough. Knead it a little on the counter. Put it in a greased bowl. Cover it and walk away for many hours. Patience is your friend here.
The Magic of Baking
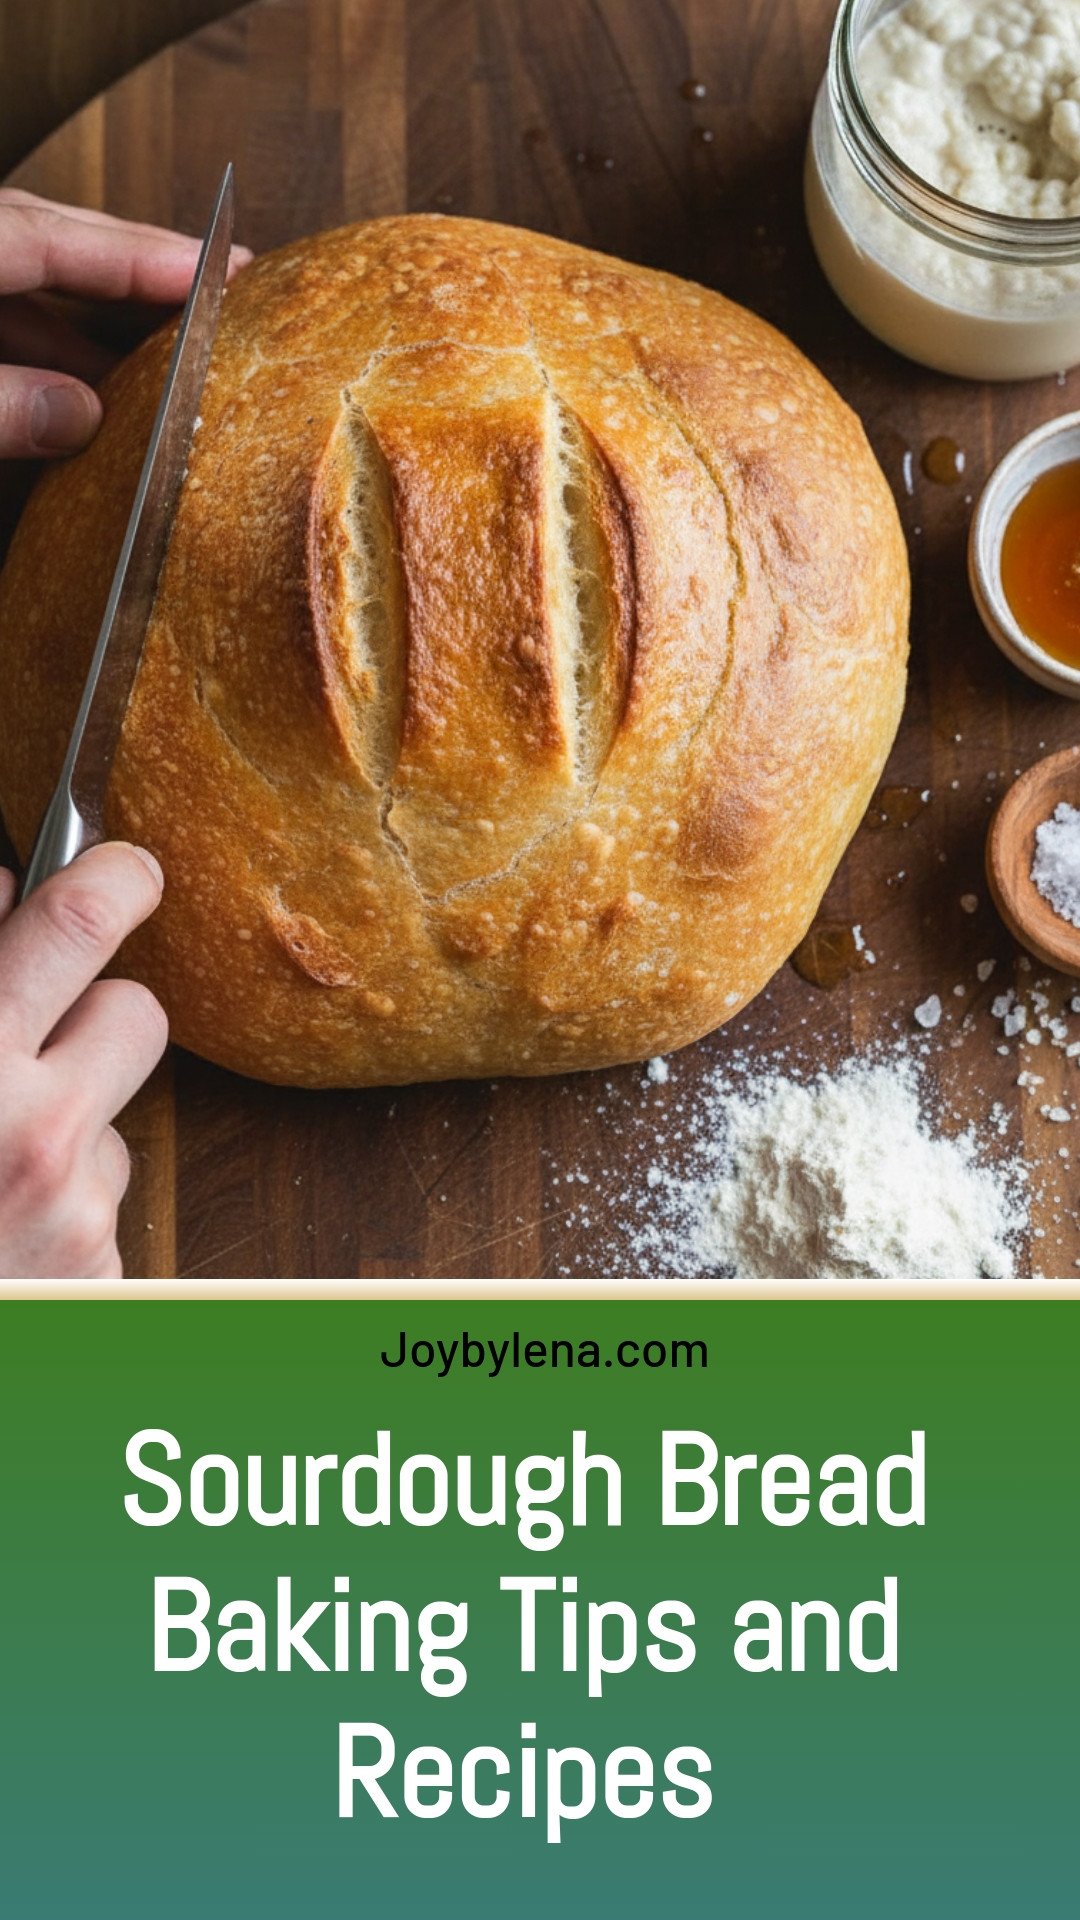
After its long nap, shape your dough into a round. Let it rise again on a pan. This makes it light and airy. Then, cut a few slits on top with a sharp knife.
Pop it in a hot oven. Doesn’t that smell amazing? That smell is pure happiness. Bake it until it’s a golden brown. Fun fact: The slits you cut are called “scoring.” They let the bread expand as it bakes!
Your Turn in the Kitchen
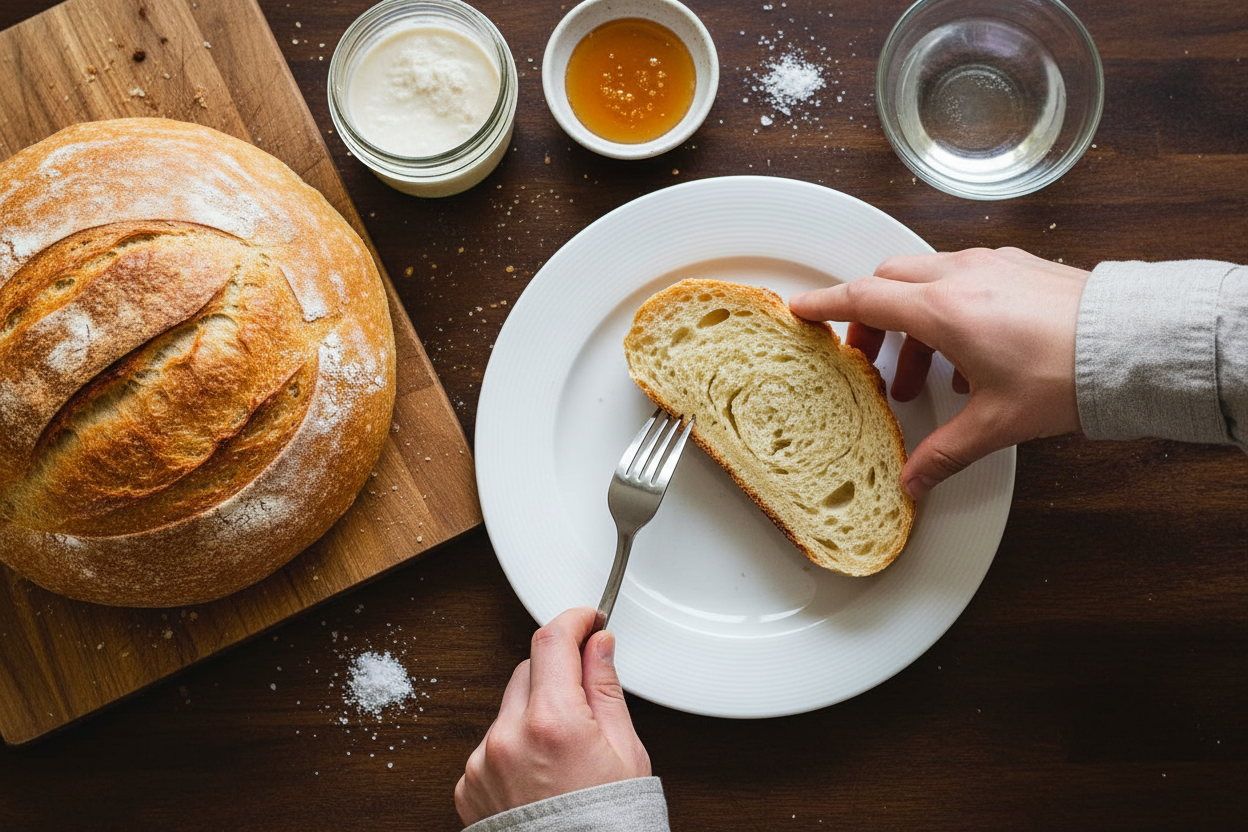
Let the bread cool completely. This is hard, I know. But it finishes cooking inside. Then you can slice it. The crust will be crisp. The inside will be chewy and full of holes.
I still laugh at my first flat loaf. We all start somewhere. What kitchen mistake makes you smile now? Tell me about your first baking adventure. Did you name your starter? I love hearing your stories.
Ingredients:
| Ingredient | Amount | Notes |
|---|---|---|
| Sourdough starter | ¾ cup | ripe and active |
| Warm water | 1¼ cups | non-chlorinated |
| Honey | 1 tablespoon | |
| Salt | 1½ teaspoons | |
| All-purpose flour | 3½ cups |
My Cozy Kitchen Sourdough
Hello, my dear! Come sit. Let’s talk about baking bread. It feels like a big hug. My sourdough starter is named Bubbles. I’ve kept her alive for years. She’s like a sleepy pet. You just need to feed her flour and water. The best part is the smell in your kitchen. Doesn’t that smell amazing? It’s pure happiness. Today, I’ll share my simple recipe. It’s perfect for a first loaf. We’ll take it nice and slow.
Step 1: First, wake up your starter. It should be bubbly and happy. In a big bowl, mix it with warm water. The water should feel like a bath. Add the honey and salt. Stir in about two cups of flour. Mix until it looks like thick pancake batter. Now, walk away for 20 minutes. This rest makes the gluten happy. (A hard-learned tip: Use bottled water if yours is chlorinated. Chlorine can upset your starter!)
Step 2: Time to make the dough. Add the rest of the flour, a little at a time. Stir until it gets too hard to stir. Then, use your hands on a floured counter. Knead it just ten times. We want a soft, slightly sticky dough. My grandson calls this “cloud dough.” Place it in a greased bowl. Cover it with a damp towel. Let it sit for a long time. I often do this before bed.
Step 3: Good morning! The dough should be puffy. It might have bubbles. Gently shape it into a round ball on the counter. This is called a “boule.” Place it on a greased pan. Let it rise again for an hour or two. It should look plump. Then, take a sharp knife. Make two shallow cuts on top. This lets the bread expand in the oven. Why do we cut the top? Share below!
Step 4: Heat your oven very hot, to 425°F. Bake your loaf for about 30 minutes. It will turn a beautiful golden brown. It should sound hollow when tapped. For a darker crust, leave it in a few minutes more. I sometimes brush the top with melted butter. It makes the crust so soft. Let it cool completely on a rack. I know, waiting is hard! But slicing warm bread makes it gummy.
Cook Time: 30 minutes
Total Time: 8-24 hours (mostly resting)
Yield: 1 beautiful loaf
Category: Baking, Bread
Three Fun Twists to Try
Once you master the basic loaf, get creative! It’s so much fun. Here are my favorite simple twists. You just add them during the first mixing step.
- Herb & Garlic Joy: Mix in two cloves of minced garlic and a handful of chopped rosemary. It smells like an Italian garden.
- Sweet Cinnamon Swirl: Roll the dough flat, brush it with butter, and sprinkle cinnamon-sugar. Roll it up and bake. Perfect for toast!
- Everything Bagel Bread: Fold in those “everything bagel” seeds and dried onion. The crust gets so flavorful and crunchy.
Which one would you try first? Comment below!
How to Serve Your Masterpiece
Fresh bread is a whole meal. For dinner, I love thick slices with a big bowl of tomato soup. It’s classic for a reason. Or, top it with smashed avocado and a sprinkle of salt. For a treat, drizzle honey right over the warm butter. Oh, it’s so good.
What to drink? A cold glass of apple cider is perfect. For the grown-ups, a pale ale beer pairs wonderfully. The bubbles cut right through the rich bread. Which would you choose tonight?

Keeping Your Sourdough Happy After Baking
Fresh bread is a joy. But what about the next day? Let me share my simple storage tips. Once your bread is completely cool, wrap it in a clean kitchen towel. Then place it in a paper bag on the counter. This keeps the crust crisp for days.
For longer storage, slice and freeze it. I remember my first loaf. I left it in plastic and it got soggy. Now, I freeze slices flat on a tray first. Then I bag them up. You can toast slices straight from the freezer.
Batch cooking is a lifesaver for busy families. Mix a double batch of dough. Bake one loaf now, and shape the second for the fridge. You can bake it the next day. This matters because it gives you fresh bread with less work. Have you ever tried storing it this way? Share below!
Simple Fixes for Common Sourdough Troubles
Sometimes bread baking has hiccups. Do not worry. Here are easy fixes. First, a flat loaf often means your starter was sleepy. Always use a bubbly, active starter. Feed it 4-8 hours before you bake.
Second, a dense crumb can happen. The dough might need more time to rise. I once baked too early. The bread was heavy. Patience gives you light, airy bread. This matters for texture and flavor.
Third, a pale crust is common. For a darker, crispier crust, bake a few minutes longer. You can also place a pan of water in the oven. The steam helps. Getting the crust right matters. It makes each slice deeply satisfying. Which of these problems have you run into before?
Your Sourdough Questions, Answered
Q: Can I make this gluten-free?
A: I do not recommend a direct swap. Gluten-free flours need different recipes.
Q: Can I make the dough ahead?
A: Yes! The long ferment (6-24 hours) is your make-ahead step. It develops flavor.
Q: What if I do not have honey?
A: Use maple syrup or white sugar. The starter eats the sugar to grow.
Q: Can I double the recipe?
A: Absolutely. Just use a very large bowl. Your arms will get a good kneading workout!
Q: Any optional tips?
A: Try adding seeds or herbs to the dough. Fun fact: My grandson loves when I add everything bagel seasoning! Which tip will you try first?
From My Kitchen to Yours
I hope you feel ready to bake. Remember, sourdough is a living thing. Each loaf will be a little different. That is part of the fun and the story.
I would love to see your creations. Sharing food connects us all. Have you tried this recipe? Tag us on Pinterest! You can find me at @LenasCozyKitchen. I cannot wait to see your golden, beautiful bread.
Happy cooking!
—Lena Morales.
Sourdough Bread: Sourdough Bread Baking Tips and Recipes
Description
Master the art of homemade sourdough with this classic recipe, featuring a crisp crust, chewy interior, and the perfect tang from a ripe, active starter.
Ingredients
Instructions
- Whisk the starter and water in a large mixing bowl. Add honey, salt, and about 2 cups of the flour. Stir till smooth; let rest for 15-30 minutes.
- Add enough remaining flour to make a soft dough. Turn out onto a floured counter and knead a few times.
- Place dough in a large bowl that has been sprayed with non-stick spray. Cover and let rise and ferment for at least 6-8 hours, or up to 24 hours.
- On a floured countertop, form the dough into a round loaf and place it on a greased cookie sheet. Let it rise till doubled, usually one to two hours. Cut slits across the top.
- While the dough is rising, preheat your oven to 425°F. Bake for 25-30 minutes, or until golden brown. For a darker crust, cook it longer. If desired, brush melted butter over the top of the bread.
- Let the bread cool on a cooling rack. It slices best if allowed to cool for at least 30 minutes.
Notes
- Nutrition per serving: Calories: 152kcal | Carbohydrates: 32g | Protein: 4g | Fat: 1g | Saturated Fat: 1g | Sodium: 293mg | Potassium: 39mg | Fiber: 1g | Sugar: 2g | Calcium: 5mg | Iron: 2mg


Leave a Reply