The Heart of the Home
My kitchen table is my favorite place. It has seen so many stories. The best stories start with warm bread. These soft dinner rolls are perfect for that.
They bring everyone together. I still laugh at my grandson’s face. He always sneaks one before dinner. That buttery smell fills the whole house. Doesn’t that smell amazing? Tell me, what food makes your home feel cozy?
A Little Patience Goes a Long Way
Baking bread teaches you to slow down. You must wait for the yeast. It needs to get foamy and happy. This is the most important step.
If your milk is too hot, it will hurt the yeast. If it’s too cold, nothing happens. Getting it just right matters. Why? Because this tiny organism makes the bread rise. It makes the rolls light and fluffy. Good things take a little time.
The Feel of the Dough
Now, let’s talk about the dough. You will add most of the flour. The dough should feel sticky and soft. Here is a fun trick my abuela taught me.
Poke the dough with a clean, dry finger. If no dough sticks to your finger, it is ready. If it sticks, add just a spoonful more flour. Fun fact: that last bit of flour is like a safety net. You might not need it all! Do you prefer mixing dough by hand or with a mixer?
Shaping with Love
After the big rise, you shape the rolls. Turn the dough onto your counter. Cut it into even pieces. I like to make 15 for bigger rolls.
Roll each piece into a smooth ball. Tuck them close in your baking dish. They will be shy at first. Then they rise again and become friends. They snuggle up as they bake. This is why they stay so soft on the sides.
The Best Part
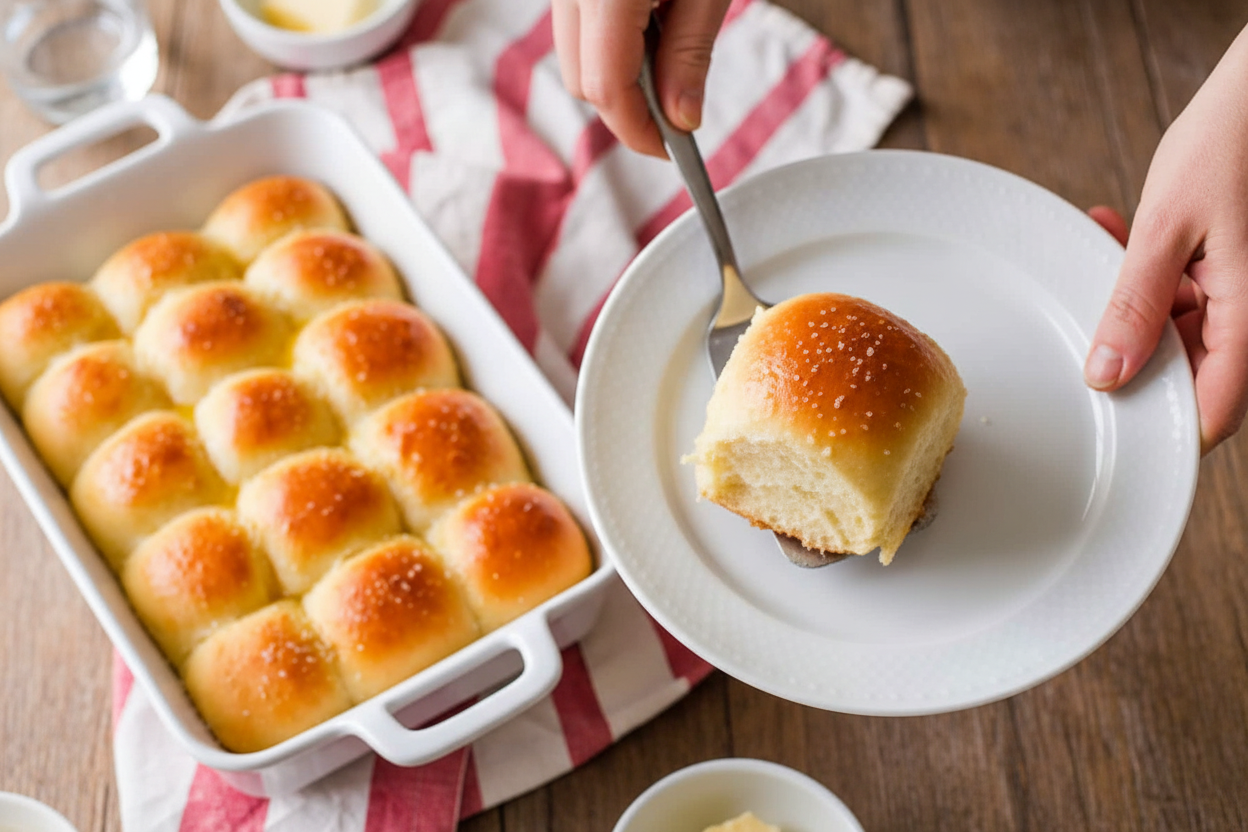
The baking time is pure joy. Your kitchen will smell like a dream. When they turn golden, take them out. Do not wait! Brush them with melted butter right away.
That butter gives them a shiny glow. It adds one more layer of flavor. Let them cool just a bit. This matters because it sets the inside. Then, pull one apart. It will be soft as a cloud. What will you eat with your first warm roll? I’d love to hear your plans.
Ingredients:
| Ingredient | Amount | Notes |
|---|---|---|
| Whole milk | 1 1/2 cup | warmed to 110°F |
| Unsalted butter | 4 Tbsp | melted |
| Active dry yeast | 1 Tbsp | |
| Granulated sugar | 1/3 cup | |
| Fine sea salt | 1 1/4 tsp | |
| All-purpose flour | 4 cups (minus 1 to 3 Tbsp) | |
| Unsalted butter (for brushing) | 1 Tbsp | melted |
| Kosher salt (for sprinkling) | 1/2 tsp |
My Softest Dinner Rolls, Just Like Abuela Made
Hello, my dear. Come sit. Let’s make the softest dinner rolls. They smell like my grandmother’s kitchen. I still laugh at that. My brother would always sneak one before dinner. Warm bread is the best comfort, isn’t it? Let’s begin together.
Step 1: Wake up your yeast
Whisk the warm milk and one tablespoon of sugar. Sprinkle the yeast on top. Let it sit for five minutes. It should get foamy and happy. Doesn’t that smell amazing? This means your yeast is alive and ready. (A hard-learned tip: If your milk is too hot, it will hurt the yeast. Think warm bath, not hot tea.)
Step 2: Make your dough
Add the melted butter, the rest of the sugar, and the salt. Stir it all together. Now, add the flour half a cup at a time. The dough will get thick. Switch to a dough hook or use your hands. I love the feeling of dough in my fingers. The dough should be a little sticky, but not stick to clean hands.
Step 3: Let it rise
Knead the dough for a few minutes. Then put it in an oiled bowl. Cover it with plastic wrap. Find a warm spot for it. I use the oven with the light on. Let it sit until it doubles in size. This takes about two hours. What’s your favorite warm spot in the kitchen? Share below!
Step 4: Shape your rolls
Punch the dough down gently. Turn it out onto a floured surface. Cut it into fifteen to twenty-four pieces. Roll each piece into a little ball. Place them in your oiled baking dish. They should be cozy and touching. Cover them again and let them puff up for thirty minutes.
Step 5: Bake and brush
Bake your rolls at 375°F. They are done when golden brown, about twenty-three minutes. My favorite part is next. Brush the hot tops with melted butter. That sound! That smell! Let them cool a little before pulling apart. The wait is always the hardest part.
Cook Time: 25 minutes
Total Time: About 3 hours 30 minutes
Yield: 15-24 rolls
Category: Bread, Side Dish
Three Fun Twists for Your Rolls
Once you know the basic recipe, you can play. Here are three of my favorite twists. They make any meal feel special.
- Garlic & Herb: Mix a teaspoon of garlic powder and dried rosemary into your flour. So cozy for soup night.
- Honey Whole Wheat: Swap one cup of white flour for whole wheat. Use honey instead of sugar. It tastes like sunshine.
- Everything Roll: Before baking, brush rolls with egg wash. Sprinkle with everything bagel seasoning. Perfect for breakfast, too!
Which one would you try first? Comment below!
Serving Your Beautiful Rolls
These rolls deserve a good home on your table. Tear them apart and share. For a simple supper, I serve them with a big pot of chili. Or with a salad and roasted chicken. A little dish of soft honey butter makes them a dessert. My heart feels full watching people enjoy them.
For drinks, a cold glass of milk is classic. It reminds me of being small. For the grown-ups, a light, crisp apple cider is lovely. It pairs so well with the buttery bread. Which would you choose tonight?

Keeping Your Rolls Soft and Happy
Fresh rolls are a special treat. But they stay wonderful for days. Let them cool completely first. Then store them in a sealed bag at room temperature.
Want to save some for later? Freeze them. Wrap each roll tightly in plastic wrap. Then pop them all into a freezer bag. They will keep for a month.
To reheat, wrap frozen rolls in foil. Warm them in a 300-degree oven for 15 minutes. I once microwaved a roll and it got tough. The oven keeps them soft.
Batch cooking saves time for busy weeks. Making a double batch is easy. You get fresh bread with less work. This matters because good food should make life easier, not harder. Have you ever tried storing it this way? Share below!
Roll Troubles? Here Are Easy Fixes
My rolls didn’t rise! Your milk was likely too hot. It should feel warm like bathwater, not hot. This matters because yeast is a living thing. We must keep it happy to make fluffy bread.
The dough is too sticky. Do not add too much flour too fast. Add the last few tablespoons only if needed. I remember when my dough was like glue. I learned to be patient.
The rolls are dry or dense. You might have over-kneaded the dough. Knead just until it is smooth and elastic. This matters for your cooking confidence. Simple fixes lead to perfect, tasty results every time. Which of these problems have you run into before?
Your Quick Bread Questions, Answered
Q: Can I make these gluten-free? A: Yes, use a good 1-to-1 gluten-free flour blend. The texture will be a little different.
Q: Can I make the dough ahead? A: Absolutely. After the first rise, put the dough in the fridge. Bake the rolls the next day.
Q: What can I use instead of milk? A: Warm water works in a pinch. But milk makes the rolls extra tender and rich.
Q: Can I double the recipe? A: You sure can. Just use a very big bowl for mixing.
Q: Any optional tips? A: A fun fact: brushing with butter right from the oven gives that beautiful, soft crust. Which tip will you try first?
From My Kitchen to Yours
I hope you love making these rolls. There is nothing like the smell of baking bread. It fills your home with warmth and love.
I would be so thrilled to see your creations. Sharing food connects us all. Have you tried this recipe? Tag us on Pinterest! You can find me at @LenasKitchenTable.
Thank you for baking with me today. I am so glad you are here. Happy cooking!
—Lena Morales.

Soft Dinner Rolls (VIDEO): Soft Dinner Rolls Recipe Video Tutorial
Description
Learn how to make incredibly soft and fluffy homemade dinner rolls with this easy-to-follow recipe and video tutorial. Perfect for any meal.
Ingredients
Instructions
- In the bowl of your mixer, whisk together warm milk (about 110F) and 1 Tbsp sugar. Sprinkle the top with 1 Tbsp yeast and let sit 1 minute. Whisk together and let it sit for about 5 minutes until yeast looks foamy. Add 4 Tbsp melted butter, remaining sugar and salt.
- Add flour half a cup at a time until the dough whisking to incorporate. Once the dough gets too thick, switch to the dough hook attachment and mix on speed 2 (you can also continue mixing by hand with a stiff spatula). Add about 4 cups of flour, adding the last 1 to 3 Tbsp of flour only if needed. The dough should feel sticky and tacky but should not stick to clean/dry finger tips.
- Knead the dough with the dough hook in a stand mixer for 2 minutes or knead by hand (10 min), then place dough in an oiled bowl. Cover it with plastic wrap and let it rise about 2 hours in a warm place or until doubled in size.
- Once the dough rises, turn it out onto a lightly floured surface and cut it into 15-24 even pieces depending on the shape of your baking dish. Roll each piece of dough into a ball and place them onto an oiled 9×13 casserole dish or baking sheet.
- Cover the dinner rolls with plastic wrap and let them rise another 30-60 minutes in a warm place or until puffed (do not over-proof). Bake at 375F for about 23-25 minutes or until the tops are golden brown.
- Immediately brush tops of dinner rolls with melted butter and set aside to cool to room temperature before serving.
Notes
- Nutrition Per Serving: Calories: 190, Total Fat: 5g, Saturated Fat: 3g, Cholesterol: 13mg, Sodium: 290mg, Potassium: 76mg, Total Carbohydrates: 31g, Dietary Fiber: 1g, Sugars: 6g, Protein: 5g, Vitamin A: 158IU, Calcium: 33mg, Iron: 2mg.


Leave a Reply