The Secret in the Pot
Hello, my dear. Come sit. Let’s talk about soup’s big secret. It is not a fancy spice. It is the golden liquid we call broth. Good broth makes everything taste like home. It is the quiet hero of the kitchen.
My abuela taught me this. She never wasted a thing. After Sunday chicken, the bones went right into a pot. She would wink and say, “The magic is in the bones.” I still laugh at that. But she was right. This is why it matters. That broth holds all the flavor and goodness from the bones and vegetables. It makes your food taste rich and deep.
How to Start Your Magic Broth
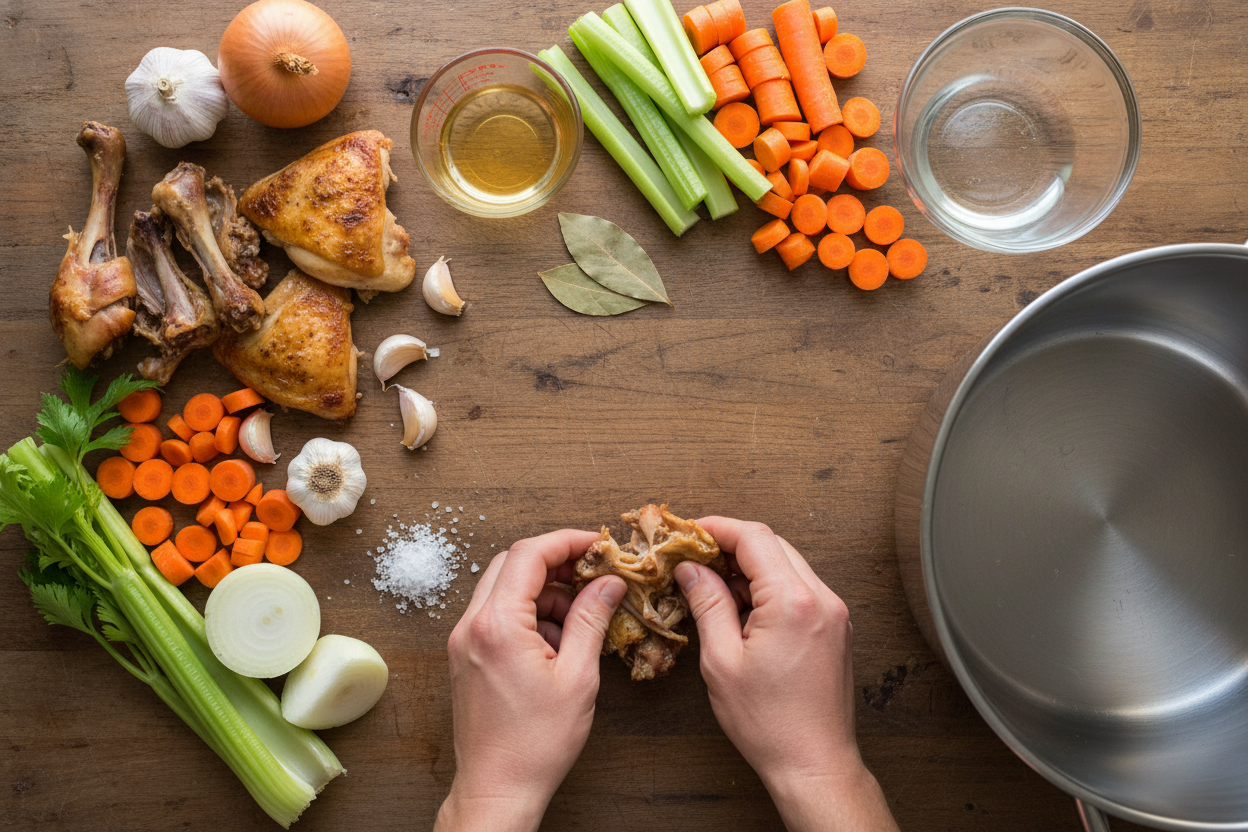
First, you need bones. A roast chicken from last night is perfect. Or use a store-bought rotisserie chicken. Save every bit, even the skin. If the bones are raw, we roast them first. This gives a deeper, toasty flavor.
Just spread them on a pan. Roast for 20 minutes. Your kitchen will smell amazing. Then, everything goes into your pot. Add water, a splash of vinegar, and a little salt. The vinegar is a quiet helper. Fun fact: The vinegar helps pull the good stuff, like minerals, right out of the bones!
A Story From My Kitchen
I remember my first big broth mistake. I was in a hurry. I let the pot boil too hard. The broth turned out cloudy. It still tasted fine, but it was not clear and beautiful. My abuela shook her head. “Patience, Lena,” she said. A gentle simmer is the key.
Now I let it bubble softly for hours. I add the vegetables later. Just an onion, some celery, and carrots. Maybe a bay leaf. The smell fills the whole house. It feels like a hug. Do you have a favorite smell that reminds you of home? Tell me about it.
Your Way to Make It
You can make this broth many ways. Got a big pot? Use the stovetop. Let it simmer all afternoon. Have a slow cooker? Perfect. Put everything in before bed. Wake up to magic. In a rush? The Instant Pot does it in just a few hours.
The method does not matter much. Time is the real ingredient. The long, slow cook makes the broth strong and full of flavor. This is the second reason it matters. That time creates something store-bought boxes just cannot match. Which kitchen helper do you use most: a big pot, a slow cooker, or a pressure cooker?
The Best Part: Using Your Gold
When it is done, you strain it. Pour it through a sieve into another pot. Let it cool, then put it in the fridge. The next day, a wonderful thing happens. The broth turns into jelly! A soft fat cap forms on top. You can lift it right off.
Underneath is liquid gold. Use it for soups, sauces, or cooking rice. It makes simple food special. I love to sip a warm mug of it when I feel a chill. What is the first thing you would make with your homemade broth? A chicken soup, or maybe a gravy?
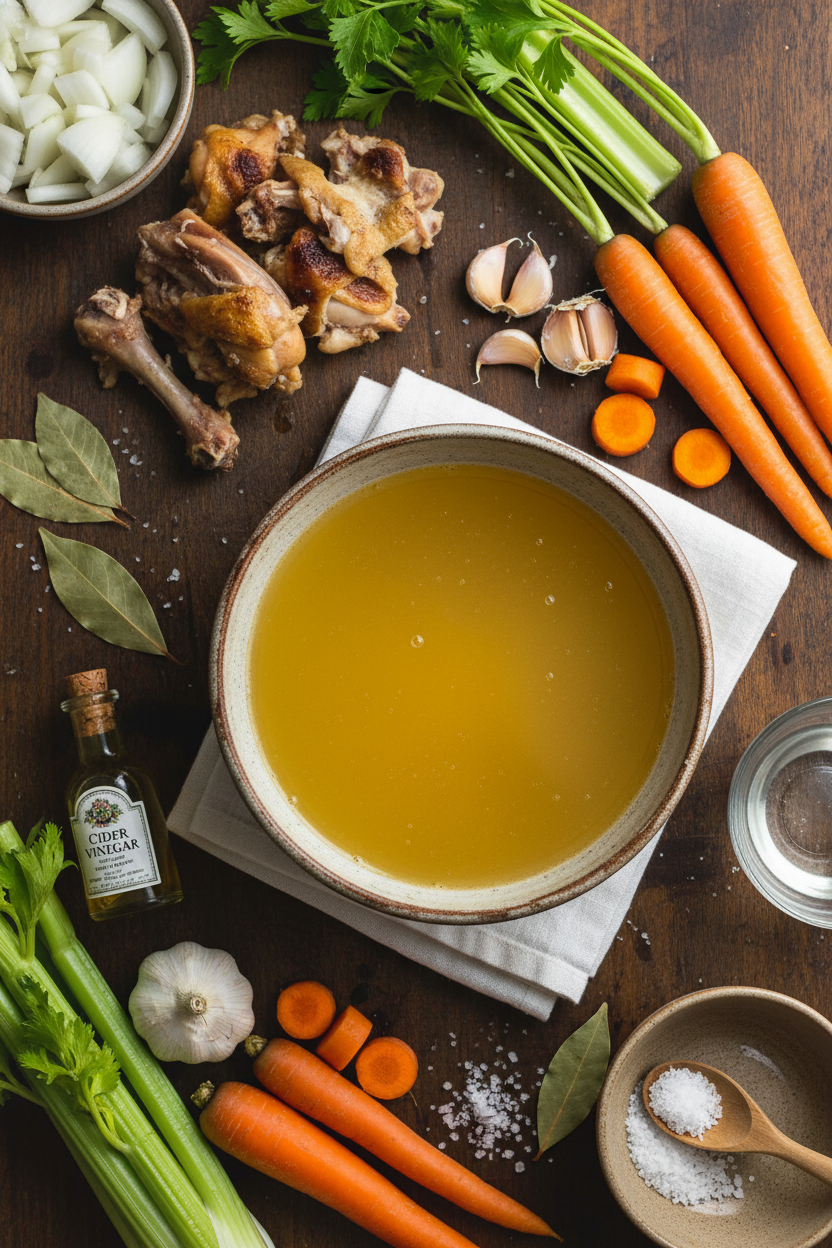
Ingredients:
| Ingredient | Amount | Notes |
|---|---|---|
| Chicken bones and skin | From 1 large chicken or 2 rotisserie chickens | |
| Cider vinegar | 1 Tbsp | |
| Salt | 1 tsp | |
| Onion, peeled and halved | 1 medium | |
| Celery ribs, cut into thirds | 2 ribs | Leaves attached |
| Carrots, peeled & halved | 2 | |
| Garlic cloves, smashed | 2 cloves | |
| Bay leaf | 1 | Optional, but nice |
| Filtered Water | Stock Pot: 16 cups, 6Qt Slow Cooker: 12 cups, 6-8Qt Instant Pot: 10-12 cups |
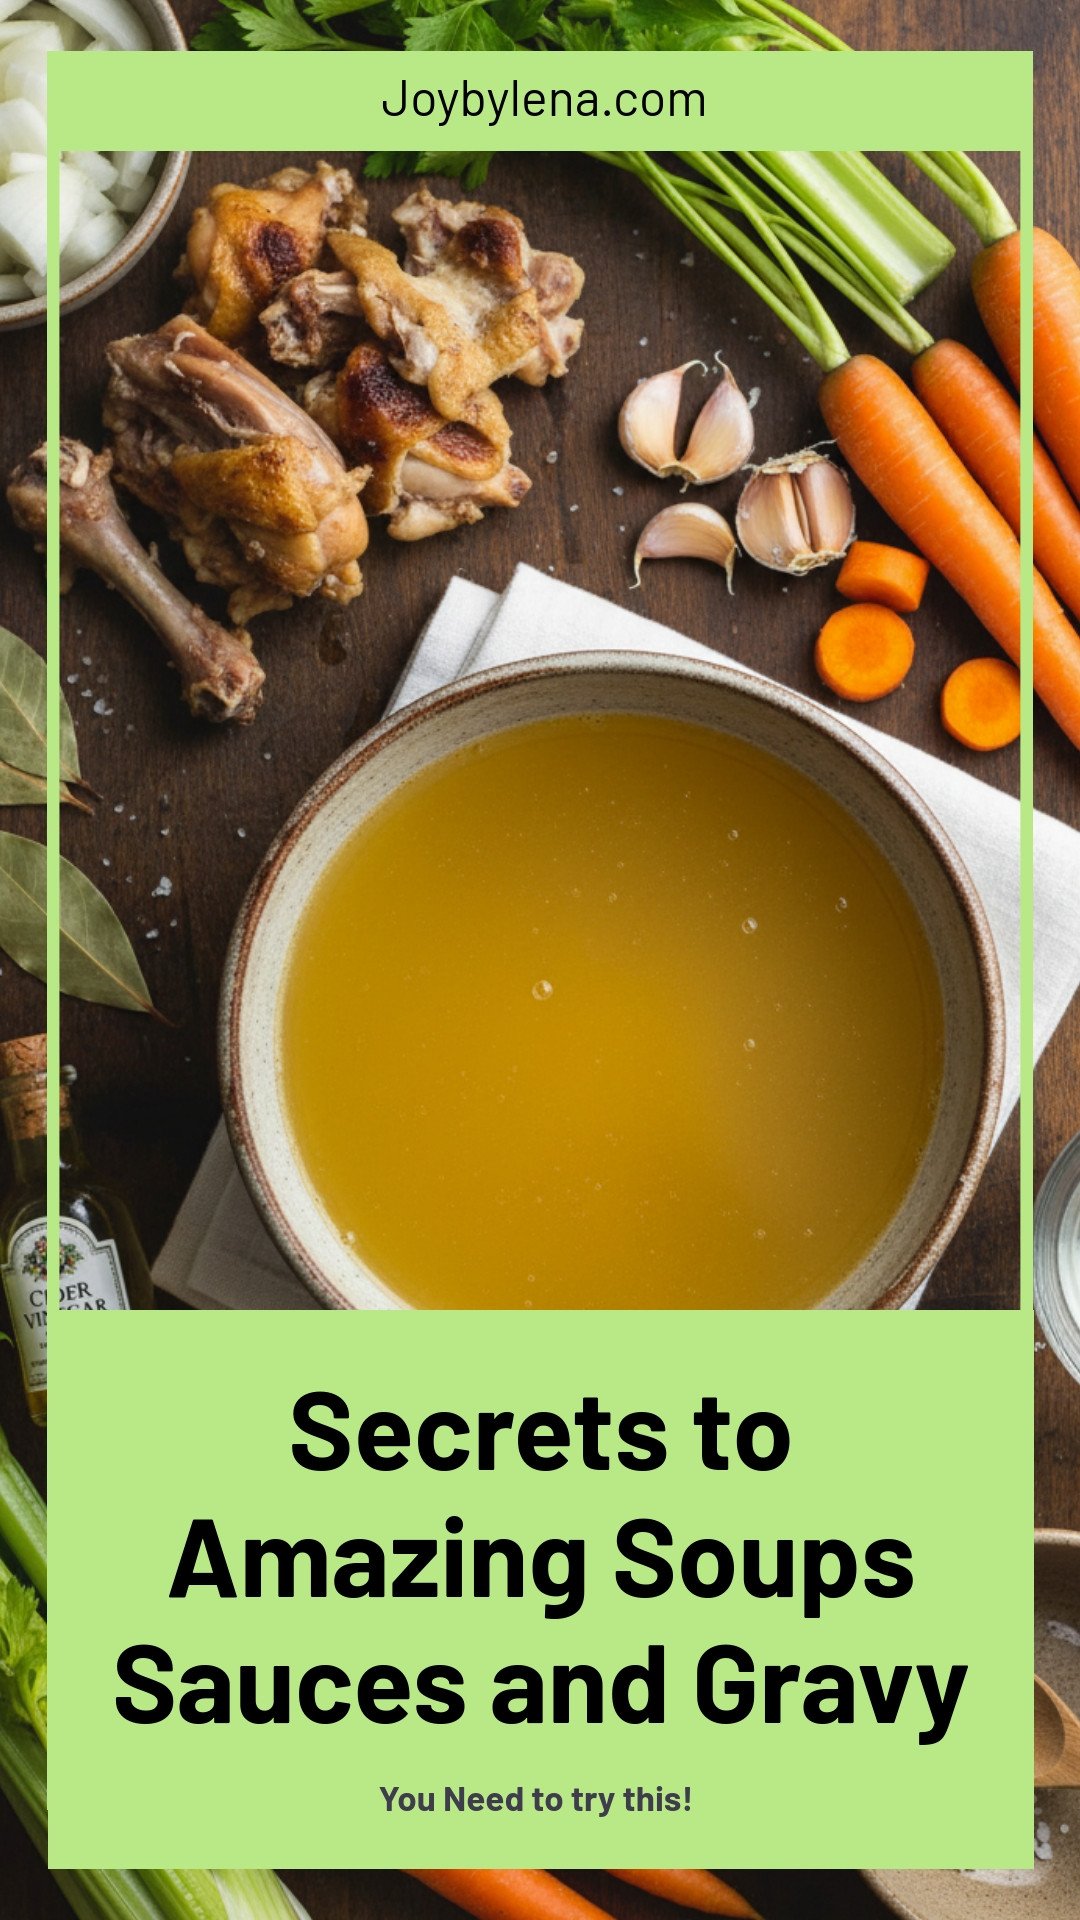
Secrets to Amazing Soups, Sauces, and Gravy
Hello, my dear. Come sit. Let’s talk about the magic in the pot. The secret to great soups and gravy is a good, rich broth. I call it liquid gold. It makes everything taste like a hug. My abuela taught me this. She never wasted a single chicken bone. I still laugh at that. She would save them in a bag in her freezer. Her kitchen always smelled amazing.
Making it is simple. You just need time and a little love. Here is how we do it, step-by-step. You can use a big pot, a slow cooker, or an Instant Pot. I love my slow cooker. It works while I sleep! Doesn’t that smell amazing in the morning? Let’s begin.
- Step 1: First, we roast the raw bones. This is for flavor. Spread them on a baking sheet. Roast at 400°F for about 20 minutes. They will get brown and smell wonderful. (Hard-learned tip: Skip this if your bones are already cooked, like from a store-bought rotisserie chicken!).
- Step 2: Now, put those bones in your pot. Add all the water, vinegar, and salt. The vinegar is a secret. It helps pull good things from the bones. Bring it to a gentle boil. Then, turn it down to a quiet simmer. See the cloudy stuff on top? Just skim it off with a spoon.
- Step 3: Let it whisper on the stove for 4 hours. Then, add your vegetables. Just wash and cut them roughly. No need to be perfect. Add the onion, celery, carrots, garlic, and bay leaf. Let it all simmer together for many more hours. The longer, the richer. Do you think the bay leaf is for flavor or smell? Share below!
- Step 4: The last step is my favorite. Place a fine strainer over another big bowl. Carefully pour your broth through it. All the bones and veggies stay behind. You are left with beautiful, clear liquid gold. Let it cool, then put it in the fridge. Tomorrow, you will see a layer of fat on top. You can easily scoop it off.
Cook Time: 4–15 hours (depending on method)
Total Time: 4 hours 30 minutes – 15 hours 30 minutes
Yield: About 12 cups
Category: Basics, Soup
Three Fun Twists on Your Broth
Once you have your basic broth, you can play! Here are three of my favorite ways to change it. Each one makes a different kind of soup. It’s like having three recipes in one. I love that.
- Herb Garden: Add a big handful of fresh parsley and thyme with the vegetables. It tastes like a sunny garden.
- Ginger Zing: Add a few slices of fresh ginger and a spoon of soy sauce. This is perfect for when you feel a little cold coming on.
- Roasted Veggie: Roast the onions, carrots, and celery with the bones. It makes the broth taste deeper and sweeter.
Which one would you try first? Comment below!
Serving Your Liquid Gold
Now, what to do with your beautiful broth? So many things! For a simple meal, cook some noodles right in it. Add shredded chicken and chopped carrots. So easy and good. Or, use it to make the best rice. Just cook the rice in the broth instead of water. The flavor is incredible.
When you serve it, think about toppings. A little chopped green onion is pretty. Some fresh herbs are nice. A squeeze of lemon makes the flavor bright. My grandson loves crunchy crackers with his.
What to drink? A cold glass of apple cider is lovely. For the grown-ups, a crisp white wine pairs nicely. It’s a cozy meal for a chilly evening. Which would you choose tonight?
Storing Your Liquid Gold
Let’s keep your beautiful broth safe. Cool it completely first. Then pour it into jars for the fridge. It will keep for about five days. You can also freeze it for months. I use old yogurt containers or ice cube trays. Frozen broth cubes are perfect for sauces.
Batch cooking is a lifesaver. Making a big pot once saves you time later. You will always have flavor ready for a quick soup. This matters because good food should be easy, not stressful. My first frozen broth was a happy accident. I forgot a jar in the back for weeks. It was still perfect when I found it!
Have you ever tried storing broth in ice cube trays? Share below!
Simple Fixes for Common Hiccups
Is your broth cloudy? That means it boiled too hard. Just keep it at a gentle simmer next time. A cloudy broth still tastes wonderful, though. I remember when my first pot looked like a storm cloud. I was so worried, but the soup was delicious.
Is the flavor a bit weak? You probably needed more simmering time. Let those bones share all their goodness. This matters because patience builds deep, rich flavor. Forgot the vinegar? Do not panic. It helps pull goodness from the bones, but your broth will still be good.
Is the fat layer too thick after chilling? Just skim it off with a spoon. Save it for cooking potatoes. It adds amazing flavor. This matters because it teaches you to use every bit. Nothing goes to waste in a wise kitchen.
Which of these problems have you run into before?
Your Broth Questions, Answered
Q: Is this broth gluten-free?
A: Yes, it is naturally gluten-free. Just use fresh vegetables.
Q: Can I make it ahead?
A: Absolutely. It freezes beautifully for up to six months.
Q: What if I do not have celery?
A: Use the leafy top of a fennel bulb. Or just add an extra carrot.
Q: Can I double the recipe?
A: Yes, but use a very big pot. Keep the water just covering the bones.
Q: Any secret tip?
A: Roasting the bones first is the biggest flavor secret. Fun fact: The vinegar helps pull healthy minerals from the bones!
Which tip will you try first?
From My Kitchen to Yours
I hope you feel proud making your own broth. It is a simple, loving act. This golden liquid is the start of so many good meals. It makes everything taste like home.
I would love to see what you create. Share a picture of your pot simmering on the stove. Or show me the soup you made with your broth.
Have you tried this recipe? Tag us on Pinterest @GrandmasKitchenTips!
Happy cooking!
—Lena Morales.
Secrets to Amazing Soups Sauces and Gravy
Description
A rich, flavorful homemade chicken stock, the secret base for amazing soups, sauces, and gravy. Choose from stovetop, slow cooker, or Instant Pot methods.
Ingredients
Instructions
- Roast Raw Bones (for all methods): Roast – (Note: If using bones from a cooked rotisserie chicken, skip this step). Place bones on a lined rimmed baking sheet and roast at 400˚F for 20 minutes.
- Stovetop Method (6-15 hours simmering): Add – Place roasted bones and any accumulated pan juices into your 8 qt stock pot. Add 16 cups (or 4 Qts) of filtered water along with 1 Tbsp cider vinegar and 1 tsp salt. Bring to a boil, then reduce the heat to a simmer. Skim off impurities that rise to the top. Cover and simmer on low heat 4 hrs. Add Vegetables – Add onion, celery, carrots, 2 smashed garlic cloves, and 1 bay leaf, and continue cooking on a low simmer another 2-11 hours, depending on how marrow-rich you want your broth. Be careful not to bring it to a hard boil, or the broth will look foggy.
- Slow Cooker Method (10-15 hours on low): Add roasted bones and any accumulated pan juices into the 6-quart Slow Cooker. Add 12 cups of warm or hot water along with 1 Tbsp cider vinegar and 1 tsp salt. Set to low heat for 10-15 hrs. Halfway through cooking on low heat, add onion, celery, carrots, 2 smashed garlic cloves, and 1 bay leaf and continue cooking on low. You can let it go longer if needed overnight and strain the next day.
- Instant Pot Method (2 hours pressure-cooked): Add roasted bones and accumulated pan juices into a 6-quart or 8-quart Instant Pot. Add onion, celery, carrots, garlic, bay leaf, 1 Tbsp cider vinegar, and 1 tsp salt. Add water or until you reach the max fill line in the pot. Cook on high pressure for 2 hours. It will warm up, then cook on high pressure for 2 hours. When cooking is complete, wait 30 min to naturally depressurize, then release pressure (use an oven mitt for safety in case it sputters).
- How to Strain Chicken Stock: Strain through a fine mesh sieve into a second pot, extracting as much liquid as possible. Discard solids. Cool the strained stock to room temperature, then cover and refrigerate. The following day, it will thicken, and you can scrape the fat off the top (see storage instructions below).
Notes
- Nutrition Per Serving: Calories: 14, Carbohydrates: 3g, Sodium: 309mg, Potassium: 94mg, Sugar: 1g, Vitamin A: 2595IU, Vitamin C: 2.5mg, Calcium: 14mg, Iron: 0.1mg


Leave a Reply