My Kitchen Helper
My grandson, Mateo, helped me make these last week. He is only seven. He thought the toothpicks were tiny swords. I still laugh at that. He was so careful placing each one.
This is why cooking together matters. It is not just about the food. It is about the memories you make. What is your favorite kitchen memory? I would love to hear about it.
Let’s Get Rolling
First, mix your chicken and tomatoes in a bowl. Then warm your beans for one minute. This makes them soft and easy to spread. Doesn’t that smell amazing?
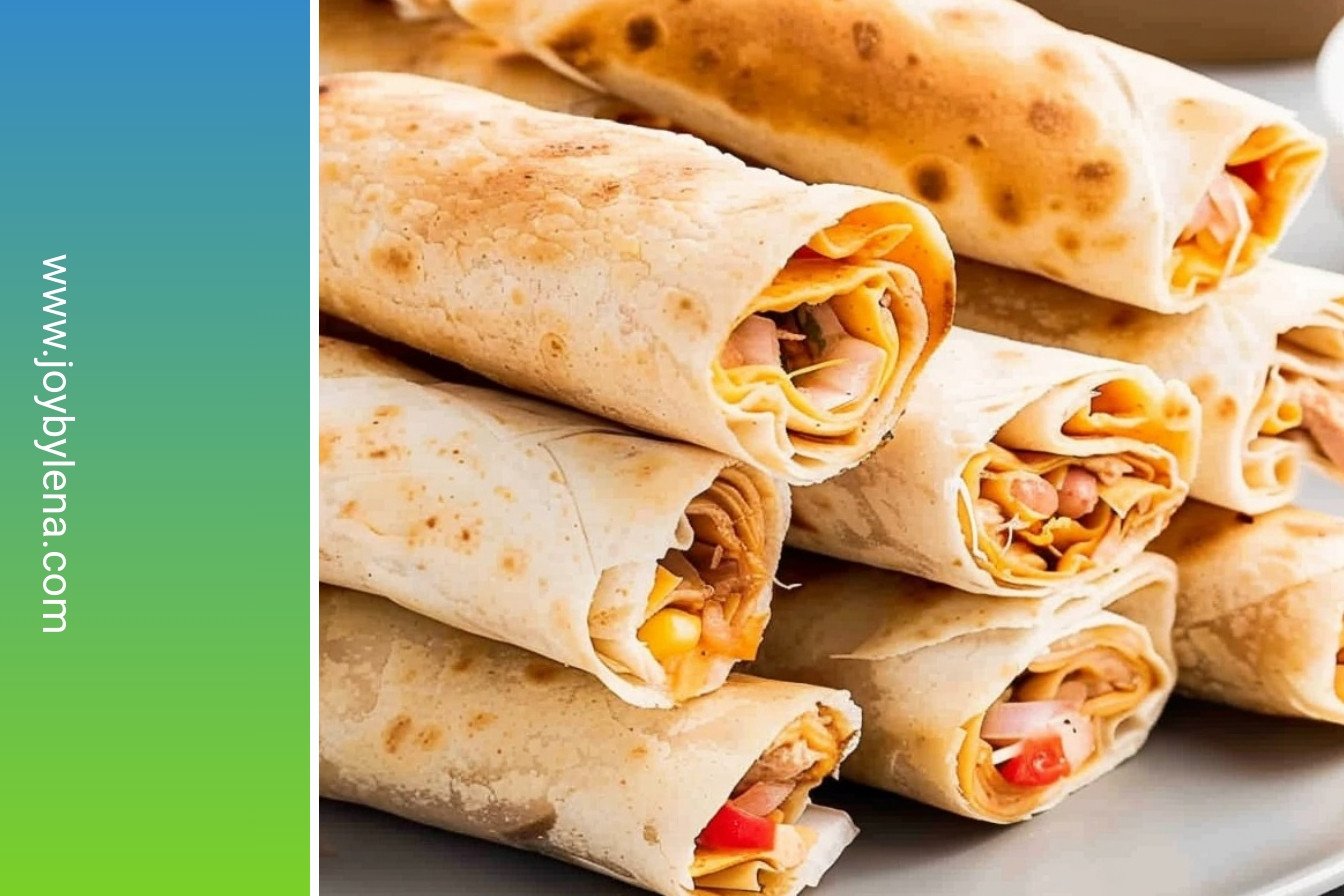
Now, lay out your tortillas. Spread a line of beans down the middle. Then add the chicken and a sprinkle of cheese. Roll them up tight. The toothpick holds it all together.
A Little Secret for Crunch
Here is my trick. Brush each roll with a little oil before baking. This makes them golden and crispy. It is a simple step that does so much.
Fun fact: The oil helps the heat cook the tortilla evenly. You get a perfect crunch in every bite. Do you like your snacks crunchy or soft? Tell me your preference.
Why This Meal Brings Joy
This recipe matters because it brings people to the table. Everyone can grab one. There is no fuss. It is food you can eat with your hands while you talk and laugh.
That is the real magic of food. It is not just about filling your stomach. It is about filling your heart, too. Sharing a meal is a way of sharing love.
Time to Eat!
When they come out of the oven, let them cool for a minute. They will be very hot! Then you can dip them in cool sour cream or spicy salsa.
I always make a big platter of these. They disappear so fast. What is your go-to dip for a snack like this? Guacamole, salsa, or something else?
Ingredients:
| Ingredient | Amount | Notes |
|---|---|---|
| chicken | 3 cups | shredded |
| Rotel tomatoes | 1 can | drained |
| refried beans | 2 cans | |
| cheddar cheese | 3 cups | shredded |
| flour tortillas | 30 | fajita size |
| canola oil | 2 tablespoons | |
| guacamole, sour cream, and salsa | for serving | |
| toothpicks |
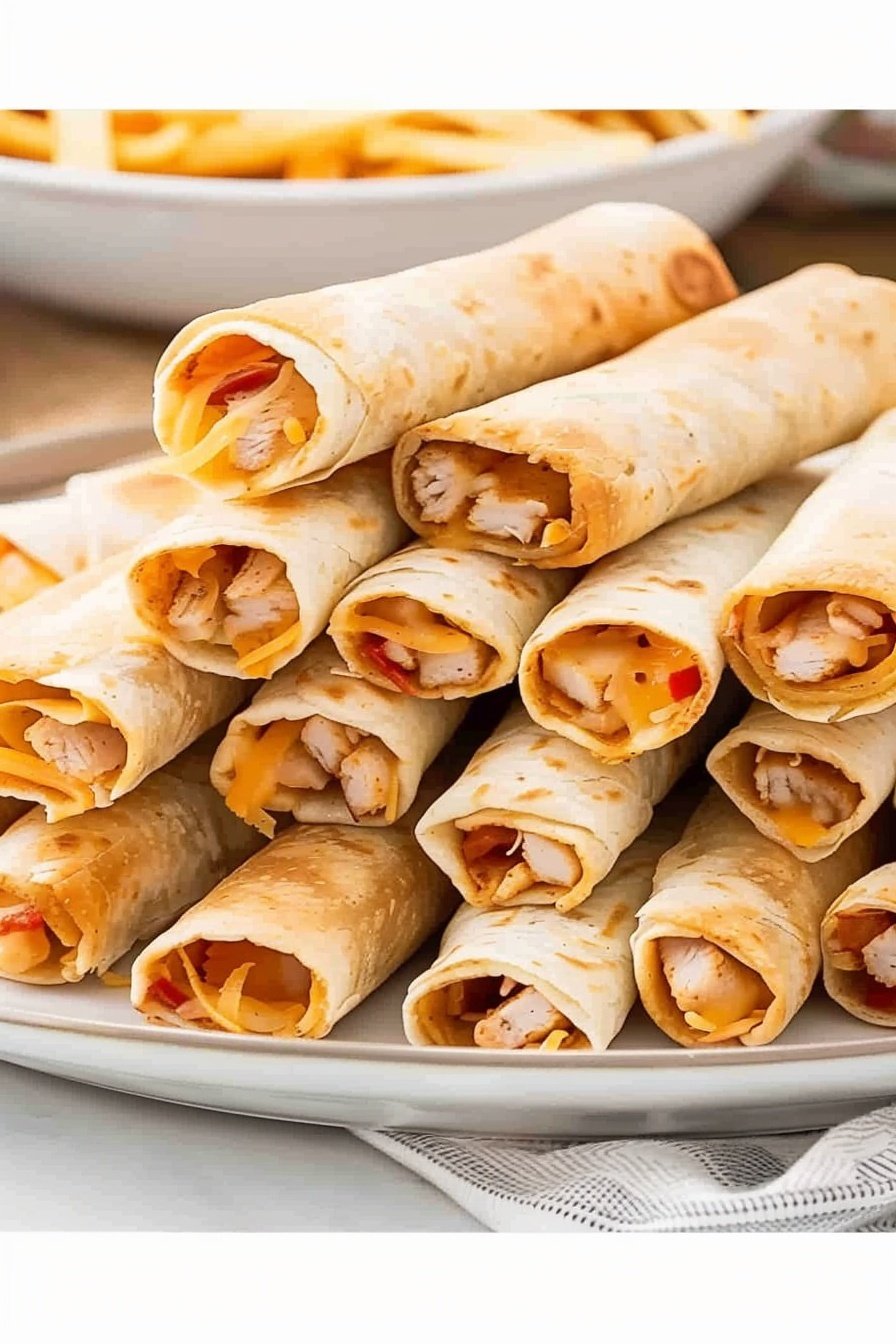
My Favorite Rolled Tortilla Snacks
My grandkids call these flautas, which means flutes. I just call them delicious. They are perfect for after-school hunger or game day. You get a little bit of everything in one crispy bite. I love how the whole house smells when they are baking.
Let’s get our hands busy. This recipe is so simple, you can do most of it yourself. I will share my little stories as we go. I still laugh at the time my grandson Carlos ate six before dinner!
Step 1
Grab a medium bowl. Put your shredded chicken and the drained Rotel tomatoes inside. Mix them together with a spoon. The tomatoes add a nice little kick. My family likes it a bit spicy.
Step 2
Now for the beans. Scoop the refried beans into a microwave-safe bowl. Heat them for one minute. This makes them soft and easy to spread. A hard-learned tip: warm beans are much friendlier than cold ones!.
Step 3
Lay a tortilla flat. Spread a line of beans down the middle. Then add your chicken mixture on top. Finish with a sprinkle of that lovely cheese. Don’t you just love the look of all those colors together?
Step 4
Time to roll! Fold the sides over the filling. Roll it up tightly from one end to the other. Secure it with a toothpick so it doesn’t unroll. It’s like making a little flavor package.
Step 5
Place all your rolled tortillas on a baking sheet. Give each one a light brush with oil. This helps them get so golden and crispy in the oven. Doesn’t that smell amazing already?
Step 6
Bake them at 425°F for about 10 to 12 minutes. Watch for that perfect golden-brown color. You will hear them sizzle a little. That is the sound of yum!
Step 7
Take them out of the oven. Let them cool for a few minutes. The filling gets very hot! This is the hardest part, waiting. What’s your favorite dipping sauce? Share below!
Cook Time: 10–12 minutes
Total Time: 40 minutes
Yield: about 30 snacks
Category: Snack, Appetizer
Three Fun Twists to Try
This recipe is like a blank canvas. You can paint it with so many flavors. I like to change it up depending on who is visiting. It keeps things exciting in the kitchen.
Breakfast Roll-Ups: Use scrambled eggs and crispy bacon inside. A little cheese makes it perfect for a morning treat.
Pizza Pockets: Swap the filling for pepperoni and marinara sauce. Use mozzarella cheese for a real pizza party.
Veggie Fiesta: Skip the meat. Use black beans and corn instead. It is so colorful and fresh for a sunny day.
Which one would you try first? Comment below!
Serving Your Snacks with Style
Presentation is part of the fun. I love making a big platter for everyone to share. It feels like a celebration. Place your rolled tortillas on a big plate. Let the dipping sauces be the stars.
Put little bowls of cool sour cream, chunky salsa, and creamy guacamole in the middle. The mix of hot and cold is wonderful. For a drink, a fizzy lime soda is always a hit. The grown-ups might enjoy a cold Mexican beer with theirs.
Which would you choose tonight?

Keeping Your Snacks Fresh and Tasty
Let’s talk about storing these little rolls. They keep well in the fridge for three days. Just put them in a sealed container. You can also freeze them for a month. Lay them flat on a baking sheet first. Once frozen, pop them into a freezer bag.
I remember my first big batch. I made too many for just me and my husband. Freezing them saved our dinners for a whole week. It felt so good to have a ready-made meal. This is why batch cooking matters. It gives you a quick, homemade dinner on a busy night.
To reheat, bake them at 375°F until warm. No need to thaw frozen ones. Just add a few extra minutes. They will be crispy and delicious again. Have you ever tried storing it this way? Share below!
Fixing Common Kitchen Hiccups
Sometimes, tortillas can tear when you roll them. If they are too cold, they crack. Let them sit out for ten minutes first. This makes them soft and flexible. I once tried to roll cold tortillas. What a mess we had!
Your filling might fall out during baking. Do not overfill the tortillas. One to two tablespoons of chicken is plenty. Secure the roll tightly with a toothpick. This simple step makes all the difference. It ensures every bite is perfect.
The rolls might not get crispy. Make sure to brush them with oil. This helps them turn a beautiful golden brown. A little fat makes food taste better and cook evenly. Which of these problems have you run into before? Solving these small issues builds your cooking confidence. You learn that every mistake has a fix.
Your Questions, My Answers
Q: Can I make these gluten-free? A: Yes! Just use your favorite gluten-free tortillas. They work just as well.
Q: Can I make them ahead of time? A: Absolutely. Assemble them the night before. Keep them covered in the fridge until baking.
Q: What other fillings can I use? A: Try seasoned ground beef or just black beans. Use what your family loves.
Q: Can I make a smaller batch? A: Of course. Just cut the recipe in half. It is easy to adjust.
Q: Is the oil necessary? A: It gives a nice crispness. But you can use cooking spray instead. Which tip will you try first?
From My Kitchen to Yours
I hope you love making these rolled snacks. They always remind me of my grandkids. They gobble them up so fast. Cooking for people you love is a special joy.
I would love to see your creations. Share a picture of your finished plate. Have you tried this recipe? Tag us on Pinterest! It makes me so happy to see your kitchen adventures.
Happy cooking! —Lena Morales.
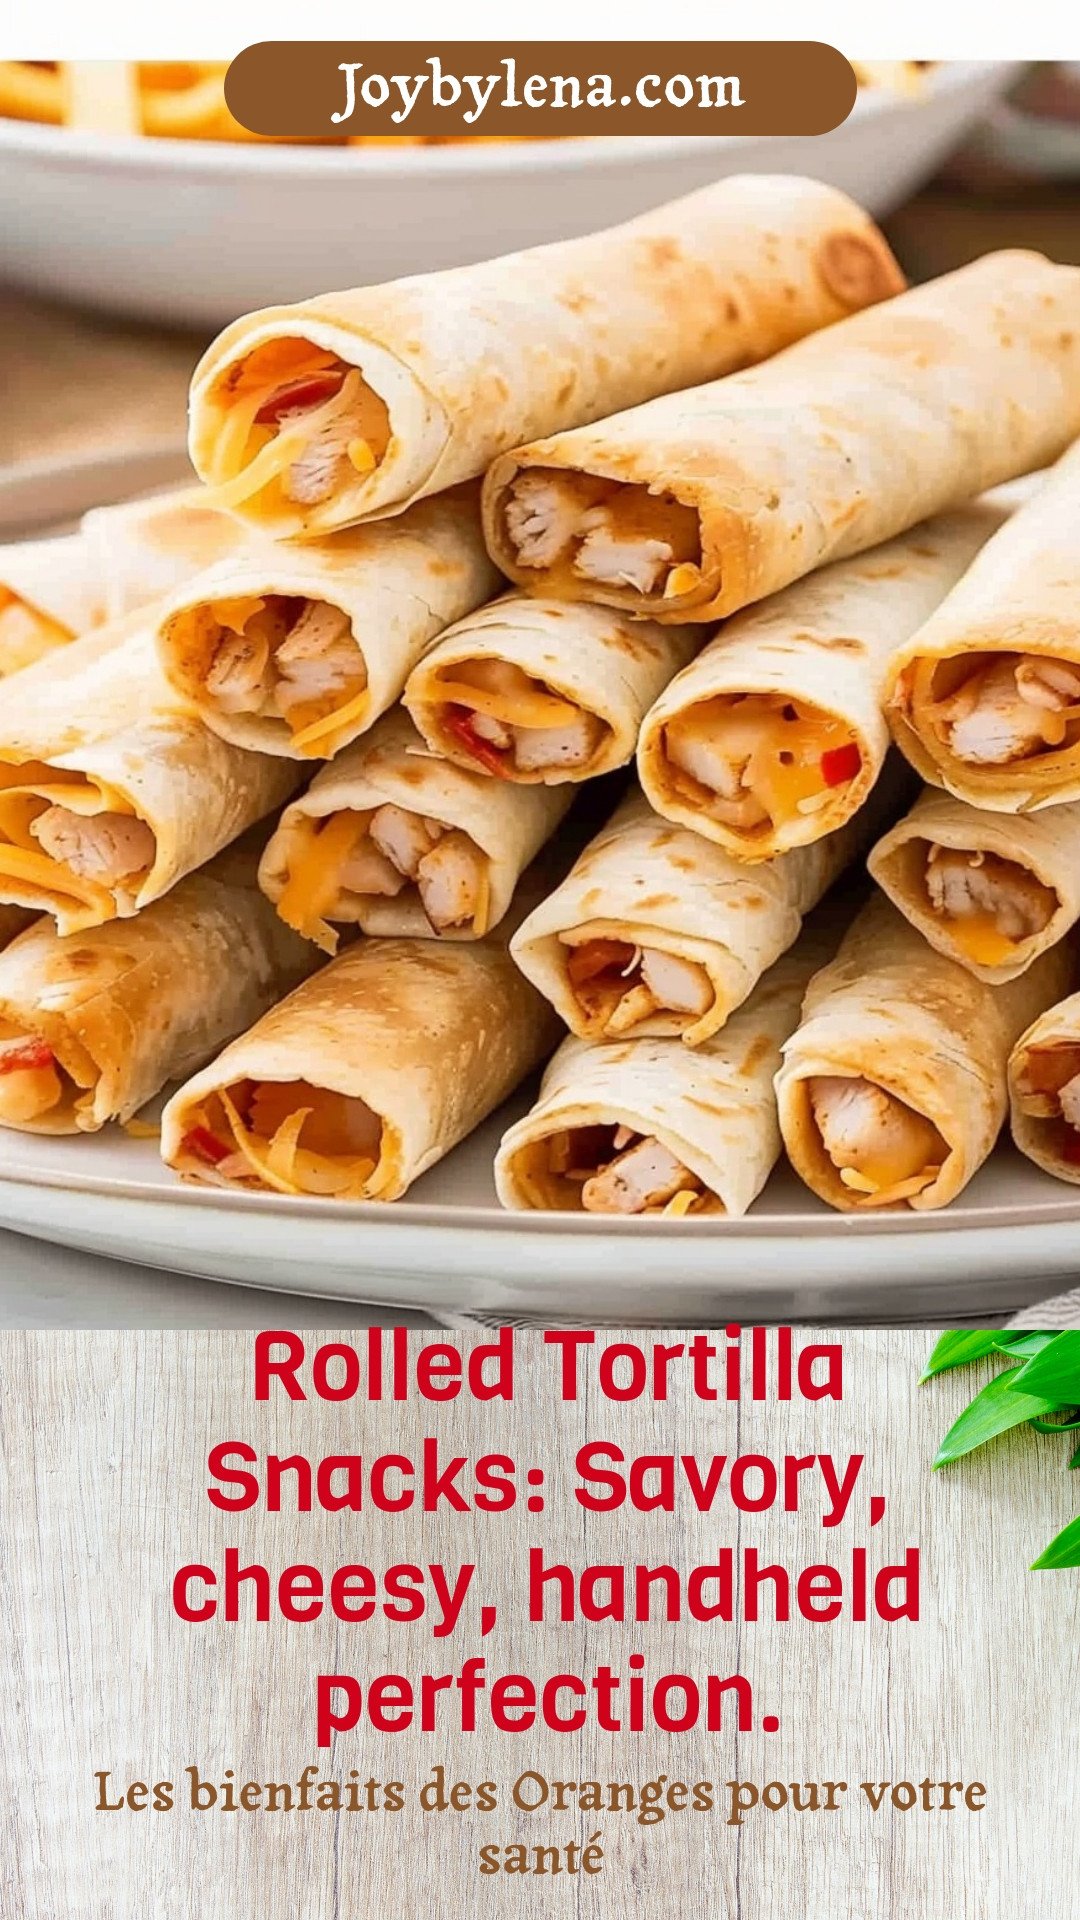
Rolled Tortilla Snacks: Savory, cheesy, handheld perfection.:
Description
Discover the ultimate savory snack! These easy, cheesy rolled tortilla snacks are perfect for parties, game day, or a quick, delicious bite. Save this pin for the recipe!
Ingredients
Instructions
- In a medium bowl, mix together the shredded chicken and Rotel Tomatoes.
- In a microwave-safe bowl, add the refried beans and microwave for 1 minute.
- On each tortilla, spread a tablespoon of refried beans down the middle, and top with 1 to 2 tablespoons of chicken and 1 tablespoon of cheese.
- Roll the tortilla and secure with a toothpick.
- Place the rolled tacos on a large baking sheet lined with parchment paper. Brush each one with a little bit of canola oil.
- Bake at 425°F for 10 to 12 minutes until golden brown.
- Remove from oven and let cool slightly before serving.
Notes
- Serve with guacamole, sour cream, and salsa for dipping.


Leave a Reply