My First Red Velvet Surprise
I first made these for my grandson’s birthday. He wanted red cake and chocolate brownies. I thought, why not both? So I swirled them together.
His eyes got so wide when he saw the red and white swirls. That is still my favorite memory. It matters because food is about making people smile. Have you ever combined two desserts into one? Tell me about it!
Why The Little Things Count
Two small steps make these brownies special. First, the white vinegar. It sounds strange, I know. But it makes the red velvet tender.
Second, the toothpick swirl. It looks fancy but is so easy. Just drag it through the batter. This matters because the simplest tricks create the most joy. Doesn’t that smell amazing when it bakes?
Let’s Make the Swirl
You start with the rich, red brownie batter. Save a little bit in a bag. Then you make the creamy cheesecake layer. Spread it right over the red.
Now, snip the bag corner. Pipe lines of red batter on the white cream cheese. Take a toothpick. Swirl it through to make a pretty pattern. I still laugh at my first messy swirl. It was still delicious! Do you like making swirls or keeping layers separate?
A Fun Pinch of History
Red velvet was not always bright red. Long ago, it was just a hint of red. The cocoa and vinegar reacted to make a rusty color.
Fun fact: The bright red we know today became popular after a food coloring company shared a recipe! Now we get to enjoy that beautiful, bold color. It makes baking feel like an art project.
Sharing Your Creations
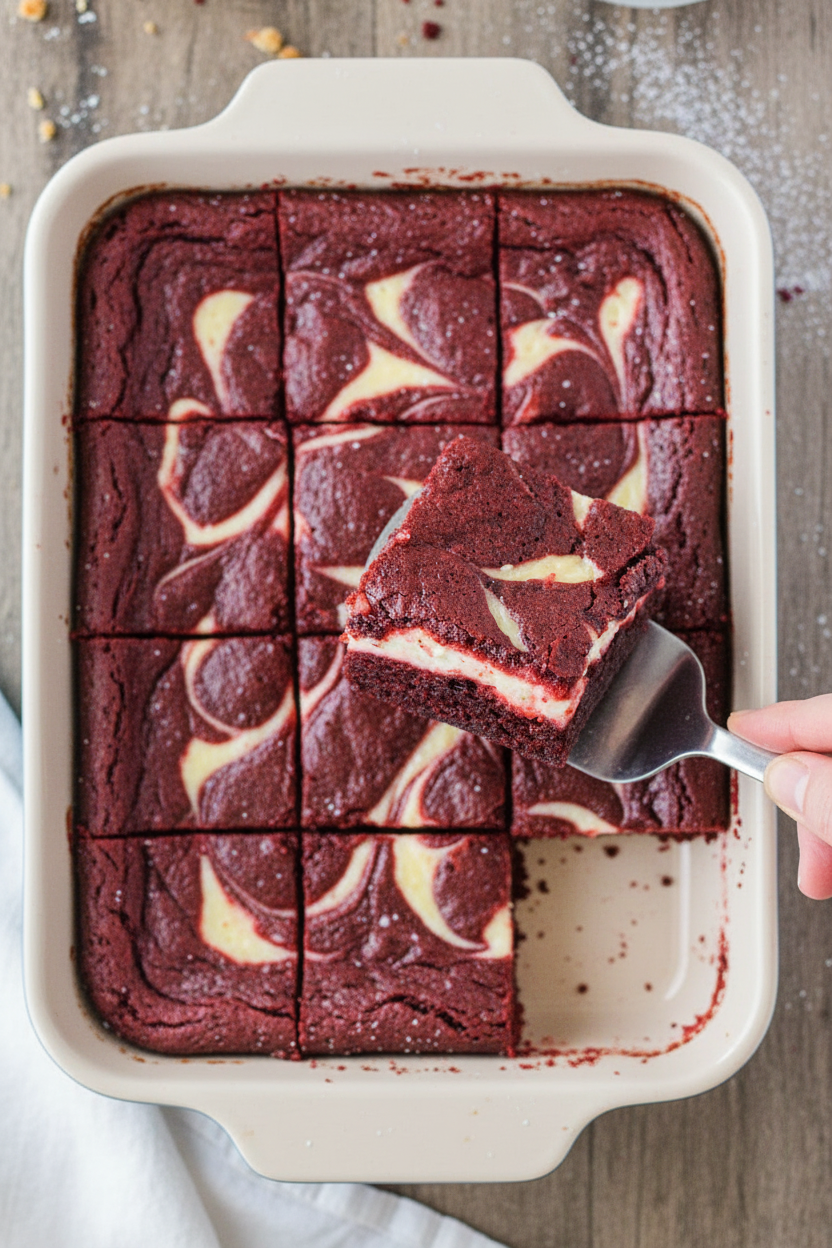
Let the brownies cool completely. This is the hard part! It helps the swirls set so you get a clean slice. Then cut them into squares.
Seeing that red and white marble inside is a small wonder. It reminds me that mixing different things can create something wonderful. This matters in baking and in life. Will you share these with family, friends, or keep them all for yourself? I am always curious.
Ingredients:
| Ingredient | Amount | Notes |
|---|---|---|
| Butter, melted | 1/2 cup | For brownie |
| Sugar | 1 cup | For brownie |
| Eggs | 2 | For brownie |
| Vanilla extract | 1 teaspoon | For brownie |
| Red food coloring | 2 teaspoons | For brownie |
| White vinegar | 1 teaspoon | For brownie |
| Cocoa powder | 1/4 cup | For brownie |
| All-purpose flour | 3/4 cup | For brownie |
| Baking soda | 1/2 teaspoon | For brownie |
| Salt | 1/2 teaspoon | For brownie |
| Cream cheese, softened | 8 oz | For cheesecake filling |
| Sugar | 1/4 cup | For cheesecake filling |
| Egg | 1 | For cheesecake filling |
| Vanilla extract | 1/2 teaspoon | For cheesecake filling |
My Swirly Red Velvet Cheesecake Brownies
Hello, my dear! Come sit. Let’s bake something special today. I’m thinking of my grandson’s birthday party last year. He asked for “red brownies.” So we made these. His smile was brighter than the red food coloring! Doesn’t that smell amazing? This recipe mixes two loves: fudgy brownies and creamy cheesecake. The swirl on top makes it look so fancy. But I promise, it’s simple. We’ll do it together, step-by-step. Just like I did with my own abuela. Ready? Let’s get our bowls.
Step 1
First, warm up your oven to 350°F. Get your square baking dish ready. I like to line mine with parchment paper. It makes cleanup so easy! Just a little spray on the paper helps. (My hard-learned tip: always spray the paper too. Nothing sticks then!). Set your dish aside. Now, find your big mixing bowl. It’s time for the red velvet magic.
Step 2
Pour your melted butter and sugar into the bowl. Mix them until they’re friends. Now crack in two eggs. Add the vanilla and that bright red food coloring. A little white vinegar goes in next. It makes the brownies rise just right. Finally, add the cocoa, flour, baking soda, and salt. Mix it all until it’s a beautiful red batter. Save about half a cup of this batter for later. Spread the rest in your pan. What does vinegar do in baking? Share below!
Step 3
Time for the cheesecake cloud! Use a clean bowl. Beat the softened cream cheese with sugar. It should look smooth. Then add one egg and a splash of vanilla. Keep mixing. You want no lumps. Now, gently spread this over your red batter. It’s like putting a soft white blanket on a red velvet bed. Be gentle so the layers stay separate.
Step 4
Remember that saved red batter? Scoop it into a plastic bag. Snip a tiny bit off one corner. Now you have a piping bag! Squeeze lines of red batter over the white cheesecake. Go up and down. Then, take a toothpick. Drag it through the lines to make swirls. I still laugh at my first messy swirls. They tasted great anyway! Don’t worry about perfection.
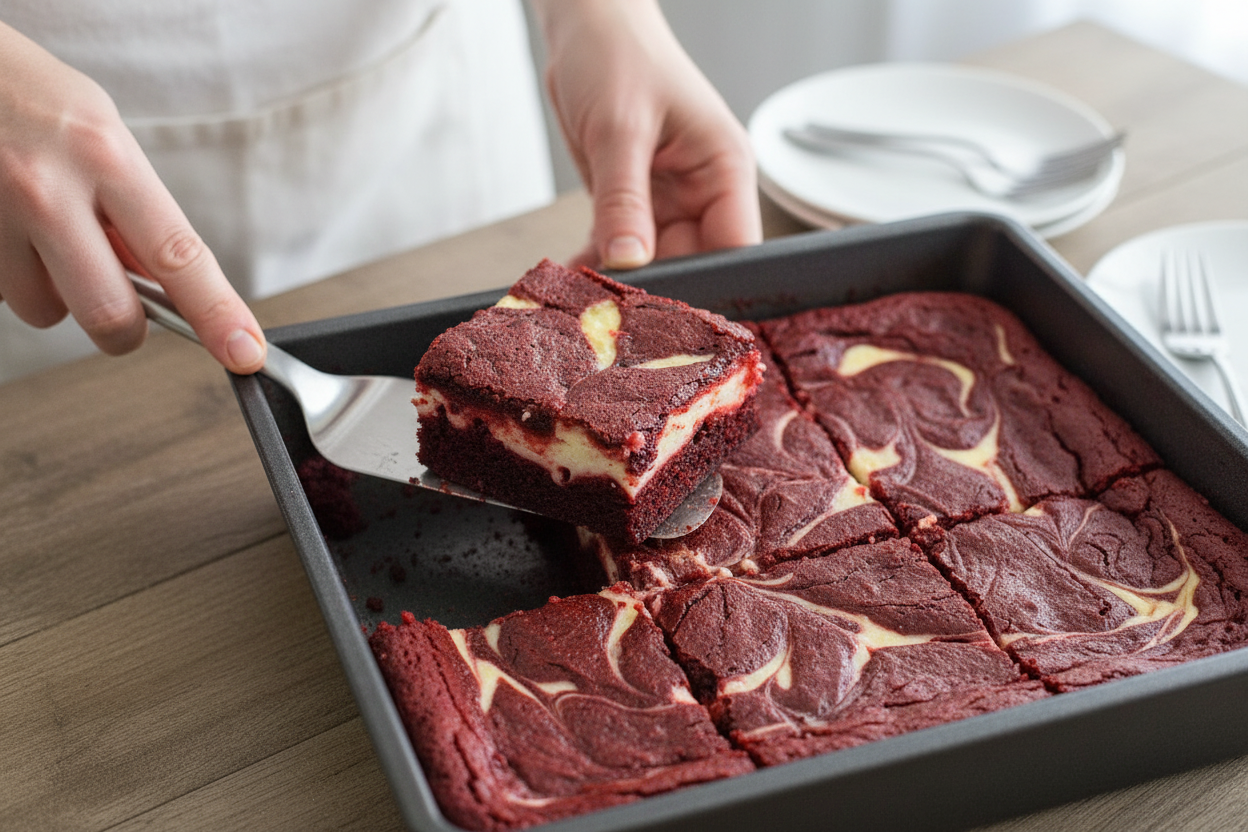
Step 5
Carefully put your pan in the oven. Bake for about 30 to 35 minutes. You’ll know it’s done when a toothpick poked in the center comes out clean. The hardest part? Letting it cool completely! I know it’s tempting. But waiting makes them slice neatly. Then, just cut into squares. You made something beautiful.
Cook Time: 35 minutes
Total Time: 50 minutes (plus cooling)
Yield: 16 rich squares
Category: Dessert, Baking
Three Fun Twists to Try
Once you master the basic recipe, you can play! Here are three ideas I love. They feel like a whole new treat. My book club adored the mint version last winter.
- Chocolate Chip Swirl: Sprinkle mini chocolate chips into the cheesecake layer. It adds little melty surprises.
- Peppermint Party: Add a drop of peppermint extract to the cheesecake. Top with crushed candy canes after baking.
- Berry Marble: Use pureed raspberries instead of red food coloring. The fruit flavor is so nice and tangy.
Which one would you try first? Comment below!
Serving Them Up with Style
These brownies are stars on their own. But a little extra touch makes them party-ready. For a fancy plate, dust the top with powdered sugar. A dollop of whipped cream on the side is always welcome. A few fresh raspberries add a pretty pop of color. So simple, but it feels special.
What to drink? For grown-ups, a small glass of creamy port wine is lovely. It sips like dessert itself. For everyone, a cold glass of milk is the classic choice. Or try a sparkling raspberry lemonade. The fizz cuts through the richness perfectly. Which would you choose tonight?
Keeping Your Brownies Fresh and Fabulous
Let’s keep these beauties tasting great. Cool them completely first. Then, cover the pan tightly with foil. They will stay fresh on the counter for two days. For longer storage, the fridge is your friend. They will last up to five days there.
You can freeze them, too. Wrap individual squares in plastic wrap. Then, place them all in a freezer bag. They will keep for three months. Thaw them overnight in the fridge. I once sent a whole frozen batch to my grandson at college. He said they tasted just-baked!
This matters because good food should never go to waste. Batch cooking means you always have a sweet treat ready. It saves you time and money. Have you ever tried storing it this way? Share below!
Simple Fixes for Common Brownie Troubles
Even grandmas have kitchen hiccups. Here are some easy fixes. First, a dry brownie. This often means it baked too long. Check it five minutes before the timer goes off. The toothpick should have a few moist crumbs.
Second, a cracked cheesecake top. I remember when this happened to me. The oven was too hot. Always use an oven thermometer. Baking at the right temperature gives a smooth, pretty top. This matters for both looks and a creamy texture.
Third, the swirls disappearing. Your brownie batter might be too thick. Thin the reserved batter with a teaspoon of milk. This makes it easier to pipe and swirl. Getting the swirl right builds your kitchen confidence. It makes the dessert feel extra special. Which of these problems have you run into before?
Your Quick Kitchen Questions, Answered
Q: Can I make these gluten-free? A: Yes! Use a gluten-free flour blend. Make sure it has xanthan gum in it.
Q: Can I make them ahead? A: Absolutely. Bake them a day before you need them. The flavors get even better.
Q: What if I don’t have white vinegar? A: Lemon juice works just fine. It provides the same little bit of tang.
Q: Can I double the recipe? A: You can! Use a 9×13-inch pan. You may need to bake it a few minutes longer.
Q: Any optional tips? A: A pinch of cinnamon in the brownie batter is lovely. Fun fact: This is an old baker’s secret for depth. Which tip will you try first?
From My Kitchen to Yours
I hope you love making these as much as I do. Baking is about sharing joy. It is about creating sweet memories with your hands. I would love to see your beautiful swirls.
Have you tried this recipe? Tag us on Pinterest! You can find me at @LenasCozyKitchen. Show me your masterpiece. I cheer for every baker, new and experienced.
Happy cooking!
—Lena Morales.
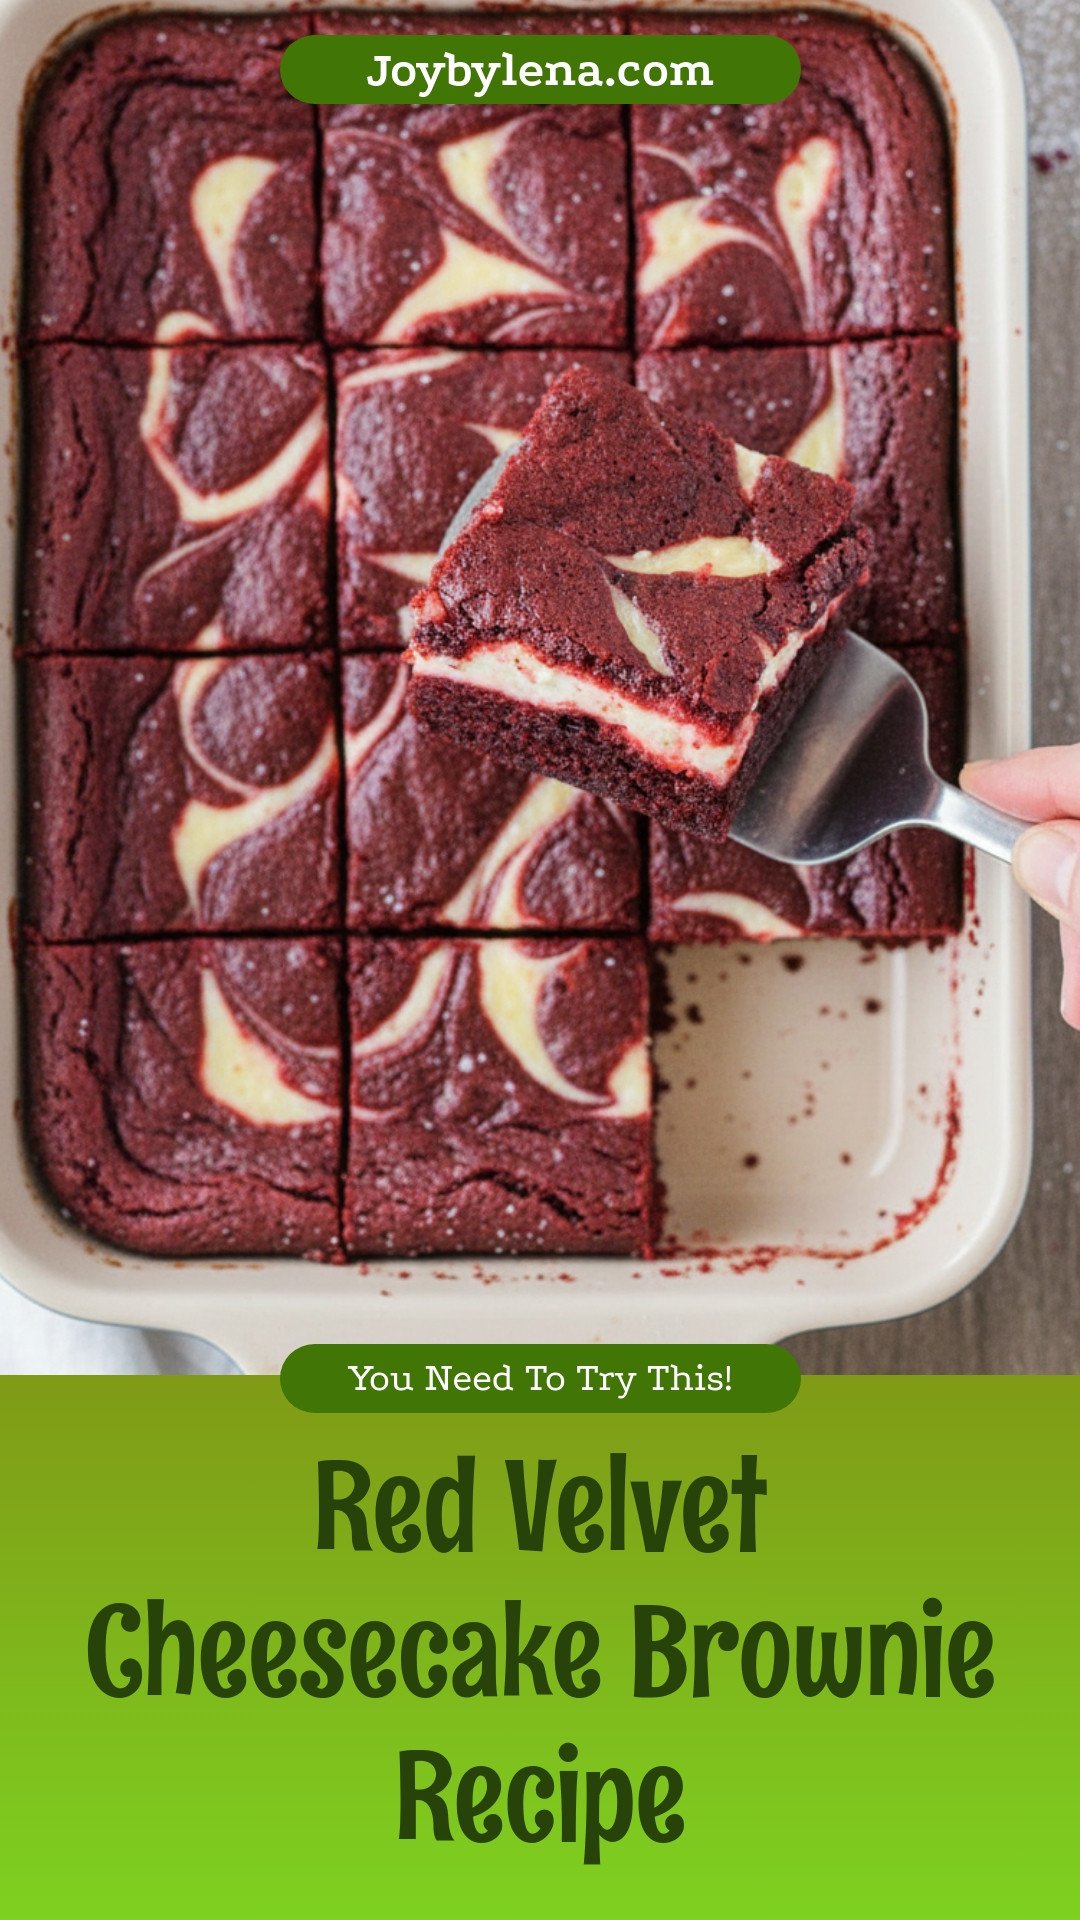
Red Velvet Cheesecake Brownies: Red Velvet Cheesecake Brownie Recipe
Description
Experience the rich, fudgy texture of red velvet brownies swirled with a creamy, tangy cheesecake layer.
Ingredients
8 oz cream cheese, softened
Instructions
- Preheat the oven to 350°F. Line a 9×9-inch square baking dish with parchment or spray with cooking spray, and set aside.
- In a large bowl or the bowl of a stand mixer, mix the butter and sugar until combined. Add the eggs, vanilla, food coloring, and vinegar, and mix to combine. Add the cocoa powder, flour, baking soda, and salt, and mix until combined. Spread the batter in the prepared pan, reserving ½ cup of batter.
- In a medium bowl, beat the cream cheese with the sugar until combined. Add the egg and vanilla, and mix until smooth. Spread the cheesecake mixture over the brownie batter.
- Scoop the remaining brownie batter into a ziplock bag and cut a small piece off the corner of the bag. Pipe the brownie batter in lines across the top of the cheesecake layer. Drag a toothpick through the lines to create a swirl pattern.
- Bake for 30-35 minutes, or until a toothpick inserted into the brownies comes out clean. Let cool before serving.
Notes
- Nutrition per serving: Calories: 197kcal | Carbohydrates: 21g | Protein: 2g | Fat: 11g | Saturated Fat: 6g | Cholesterol: 61mg | Sodium: 220mg | Potassium: 57mg | Sugar: 16g | Vitamin A: 410IU | Calcium: 23mg | Iron: 0.6mg


Leave a Reply