The Turkey and the Apple Trick
My grandson once asked me why I put apples in the bird. I told him it’s my little secret. The apples and veggies steam inside the turkey. This keeps the meat juicy and adds a sweet smell.
I still laugh at that. He thought we were making turkey-flavored applesauce! The real magic is in the steam. It makes sure every bite is tender. That matters because nobody likes dry turkey.
Why We Start Hot
We blast the heat first. This gives the skin a good, crispy start. Doesn’t that sound better than soft skin? After 30 minutes, we cover it and turn the heat down.
This method cooks the inside gently. The outside won’t burn. It’s the best way to get that perfect golden color. Fun fact: This hot-start method is called “searing.” It locks in the juices!
The Sweet, Herby Glaze
Now for the good part. The glaze is just honey, butter, and herbs. You whisk it in a bowl. It smells like a cozy fall day.
We brush it on at the end. This makes the skin shiny and sweet. The herbs stick to it. Does your family like a sweet or savory turkey best? Tell me in the comments!
The Most Important Step
You must let the turkey rest. Take it out of the oven. Then walk away for 20 minutes. I know, it’s hard to wait!
But this matters so much. The juices settle back into the meat. If you cut it right away, all the good juice runs onto the plate. Then your turkey is dry. What’s the hardest dish for you to wait to eat?
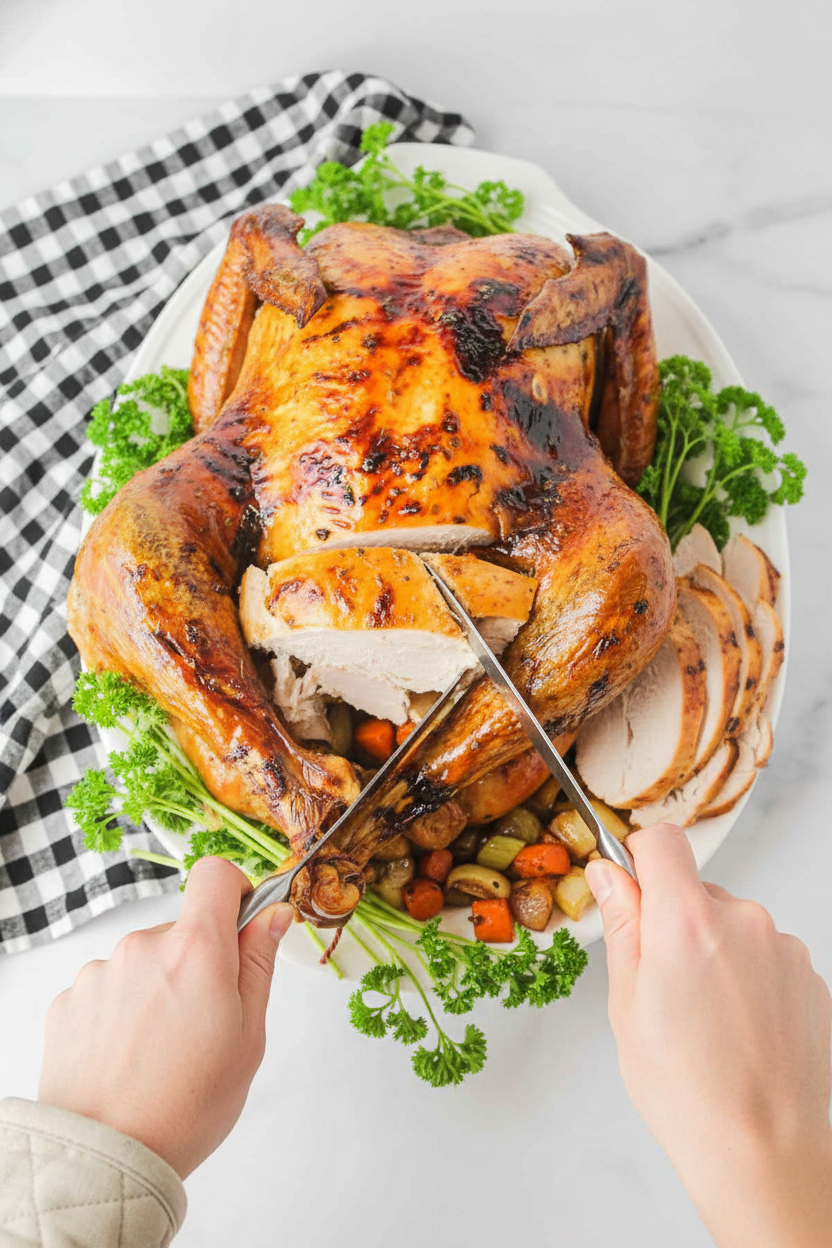
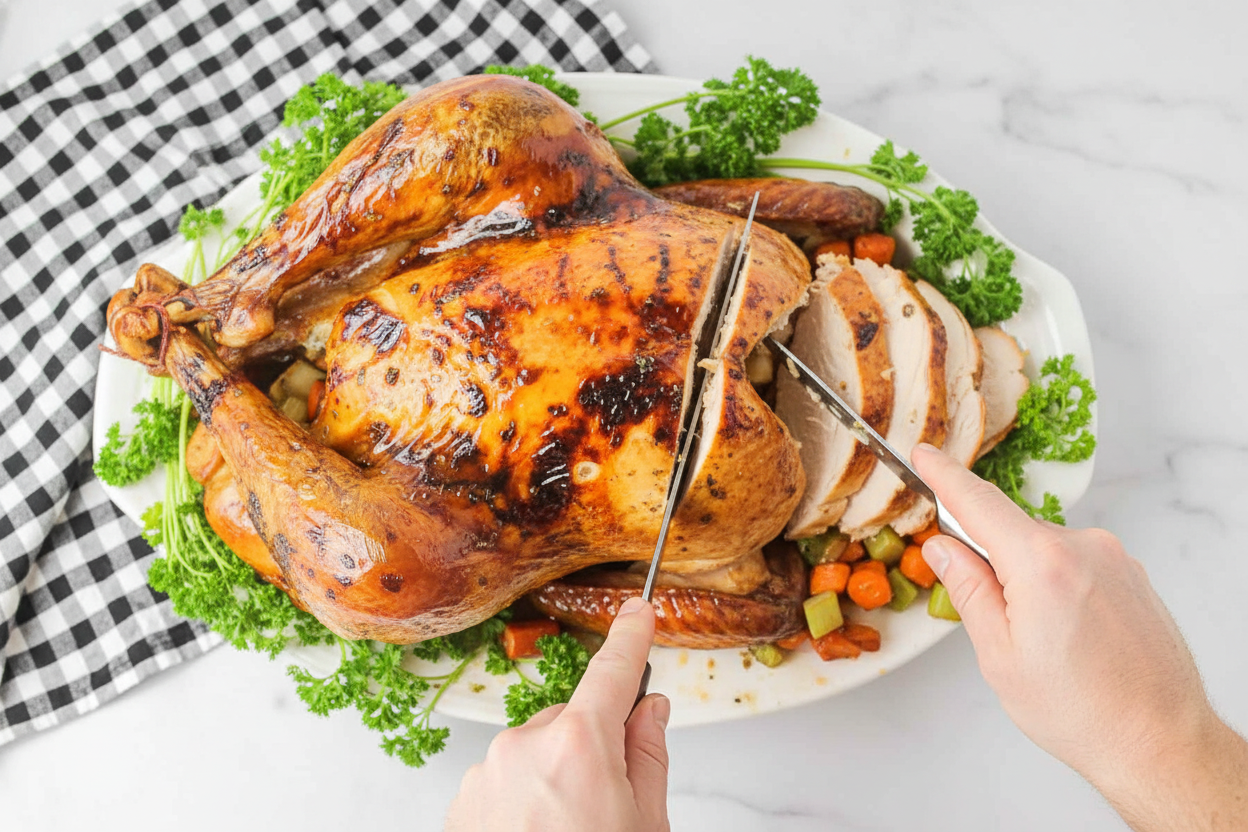
Grandpa’s Carving Lesson
My husband, God rest him, was the carver. He taught me a simple thing. Always cut against the grain of the meat. See the lines in the meat? Cut across them, not with them.
This makes each slice tender to chew. That little tip changed my holiday meals. It turns a big bird into easy, pretty slices. What’s a kitchen tip someone special taught you?
Ingredients:
| Ingredient | Amount | Notes |
|---|---|---|
| Turkey | 1 (14-16 pound) | Thawed if frozen |
| Olive oil | 1/4 cup | |
| Salt | 1 teaspoon | For turkey seasoning |
| Pepper | 1/2 teaspoon | For turkey seasoning |
| Granny Smith apples | 2 | Cored and sliced |
| Carrots | 2-3 | Cut into 1-inch pieces |
| Onion | 1 | Cut into 1-inch pieces |
| Celery stalks | 5-6 | Cut into 1-inch pieces |
| Honey | 1 cup | For glaze |
| Unsalted butter | 1/2 cup | Melted, for glaze |
| Dried sage leaves | 2 teaspoons | For glaze |
| Ground thyme | 1 teaspoon | For glaze |
| Dried parsley | 1 teaspoon | For glaze |
| Dried basil | 1 teaspoon | For glaze |
| Salt | 1 teaspoon | For glaze |
| Pepper | 1 teaspoon | For glaze |
My Family’s Perfect Roast Turkey
Hello, my dear. Come sit. Let’s talk turkey. This recipe is my old friend. I make it every Thanksgiving. The smell fills the whole house. Doesn’t that smell amazing? It reminds me of my abuela’s kitchen. She taught me the secret. It’s all about the sweet glaze and the cozy vegetables. They make the turkey so juicy. I still laugh at that one year. My nephew tried to peek in the oven too much. We lost all the heat! So let’s do it right, together.
Step 1: Prep the Bird & Veggies
First, get your bird ready. Pat it dry with paper towels. This helps the skin get crispy. Brush it all over with olive oil. Sprinkle it with salt and pepper. Now, grab your chopped veggies and apples. Place most of them in the roasting pan. They will catch all the lovely drippings. (A hard-learned tip: Dry skin is the secret to golden skin. A wet turkey steams instead of roasting!)
Step 2: Stuff & Truss
Now, lift that turkey onto the veggies. Tuck the last bit of apples and vegetables inside the cavity. It makes the meat taste so good from the inside. If the legs are loose, tie them together with string. This helps it cook evenly. Pop it into your hot oven, uncovered. This first blast of heat starts the browning.
Step 3: Roast & Check
After thirty minutes, cover the turkey loosely with foil. Turn the oven heat down. Now we let it roast slowly. This keeps it from drying out. It will need about two more hours. You must check the temperature. A thermometer in the thigh should read 165 degrees. What’s the most important tool for a juicy turkey? Share below!
Step 4: Glaze & Rest
While it roasts, make the magic glaze. Just whisk honey, melted butter, and all those herbs together. It smells like a holiday in a bowl. When the turkey is cooked, brush this glaze all over. Put it back, uncovered, for a final 15 minutes. It will become shiny and perfect. Let it rest before you carve. I know, the waiting is hard! But it lets the juices settle.
Cook Time: 3–3.5 hours
Total Time: 3 hours 45 minutes
Yield: Serves 10-12
Category: Dinner, Holiday
Three Fun Twists to Try
This recipe is like a favorite song. Sometimes you want to sing it a new way. Here are three fun ideas. They make the turkey taste a little different. I love trying new things in the kitchen. It keeps cooking exciting.
- Maple & Orange: Use maple syrup instead of honey. Add the zest of one orange to the glaze. It’s sunny and sweet.
- Herb Garden Fresh: Use fresh herbs from your garden. Swap the dried sage and thyme for fresh. Use three times as much. The flavor is so bright.
- Smoky & Spicy: Add a teaspoon of smoked paprika to the glaze. A little pinch of cayenne pepper too. It gives a warm, cozy kick.
Which one would you try first? Comment below!
How to Serve Your Masterpiece
Now, the best part. Bringing it all to the table. I always make creamy mashed potatoes. They are perfect for that delicious gravy from the pan. A simple green salad is nice too. It adds a fresh crunch. For a pretty plate, add some fresh parsley or rosemary sprigs. It looks so festive.
For drinks, I have two favorites. For the grown-ups, a glass of chilled apple cider is lovely. For everyone, a sparkling cranberry punch is so pretty. Just mix cranberry juice with ginger ale. It has little bubbles that dance. Which would you choose tonight?
Keeping Your Turkey Tasty Later
Let’s talk about leftovers. They are the best part. First, let the turkey cool completely. Then, take the meat off the bone. Store it in a sealed container in the fridge. It will stay good for three to four days.
You can also freeze it for later. I pack the meat in freezer bags. I squeeze out all the air. This keeps it from getting freezer burn. It will be good for two to three months. Thaw it in the fridge overnight when you are ready.
To reheat, add a little broth or water. Cover it and warm it gently on the stove. This keeps the meat moist and juicy. I once reheated turkey in a dry pan. It was like eating little pieces of cardboard. We learn from our mistakes.
This matters because good food should never go to waste. Planning ahead saves you time and money on a busy week. Have you ever tried storing it this way? Share below!
Fixing Common Turkey Troubles
Is your turkey skin not crispy? The oven might be too crowded. Make sure hot air can move around the pan. A crowded oven makes steam. Steam makes soggy skin.
Is the breast meat dry but the legs are not done? This happens often. I remember when my first turkey was like that. The fix is simple. Cover just the breast with foil early on. This slows its cooking.
Is the bottom of the pan burning? Your vegetables might be too small. Use big, chunky pieces like the recipe says. They will not burn as fast. They also make your kitchen smell wonderful.
Fixing these small things builds your cooking confidence. It also makes sure every bite is full of flavor. That is the real goal. Which of these problems have you run into before?
Your Turkey Questions, Answered
Q: Can I make this gluten-free? A: Yes, it is naturally gluten-free. Just check your glaze ingredients.
Q: Can I prepare anything ahead? A: Yes. Chop all your vegetables and apples the day before. Store them in a bag in the fridge.
Q: What if I don’t have Granny Smith apples? A: Any firm, tart apple will work. I have used Fuji apples in a pinch.
Q: Can I make a smaller turkey? A: Absolutely. Just roast it for less time. Use your meat thermometer to be sure.
Q: Any optional tips? A: Letting the turkey rest is not optional. It lets the juices settle back in. *Fun fact: A resting turkey can soak up about a half cup of juice back into its meat!* Which tip will you try first?
From My Kitchen to Yours
I hope you feel ready to make a beautiful turkey. Cooking is about sharing love and stories. My table has heard many of them over the years.
I would love to see your creation. It makes my day to see your family meals. Sharing our dishes connects us all.
Have you tried this recipe? Tag us on Pinterest! You can find me at @LenasCozyKitchen. I cannot wait to see your golden, glorious bird.
Happy cooking!
—Lena Morales.

Perfect Roast Turkey Recipe and Tips
Description
A classic and flavorful roast turkey recipe with a honey herb glaze, perfect for holiday dinners.
Ingredients
Glaze
Instructions
- Preheat the oven to 425 degrees F. Set an elevated rack into the bottom of a roasting pan.
- Brush olive oil all over turkey and sprinkle with salt and pepper. Place about two-thirds of the vegetables and apples on the rack in the prepared roasting pan.
- Place turkey on the rack and stuff remaining third of the vegetables and apples inside the turkey. If turkey’s legs are not already tied together, tie them with kitchen twine.
- Roast turkey uncovered in the oven for 30 minutes, then cover loosely with aluminium foil and reduce the heat to 375 degrees F. Roast for another 2-2 ½ hours, until a thermometer inserted into the thickest part of the thigh reads 165 degrees F.
- Whisk together all glaze ingredients in a medium bowl.
- Brush glaze over turkey and return it to the oven, uncovered, for 15-20 minutes, until golden. Remove from the oven, discard the vegetables, and let turkey rest for 20 minutes before serving.
Notes
- Nutrition information is per 1 pound serving. Ensure turkey is fully thawed before roasting for even cooking.


Leave a Reply