My First Peppermint Mess
I first made this dessert years ago. My grandson wanted a “snowy mint” treat. I had to get creative with what was in my pantry.
I used chocolate pudding and candy canes. It was a happy accident. The mix of cool mint and rich chocolate just works. Doesn’t that sound like a perfect pair?
Why Layers Matter
This dessert is all about the layers. Each one has a job. The crust gives a sweet crunch. The creamy mint layer is the surprise in the middle.
The pudding makes it feel like a real treat. The final whipped topping is like a soft blanket. Putting it together slowly is the secret. It teaches us that good things are built step by step.
Let’s Get Making
First, crush those wafers in a bag. It’s fun! Mix them with the melted butter. Press it into your dish firmly. This is your foundation.
Now, beat the cream cheese with sugar and peppermint. Fold in the fluffy Cool Whip gently. Spread this over your crust. Doesn’t that smell amazing already?
A Sweet Little Secret
Here is a fun fact for you. Fun fact: Peppermint is a natural hybrid plant. It’s a mix of watermint and spearmint! That’s why its flavor is so special and strong.
That’s why a little extract goes a long way. It wakes up the whole dessert. The cool feeling it leaves is the best part. What is your favorite minty candy or treat? Tell me in the comments.
The Final Touches
Make the chocolate pudding and pour it over the mint layer. Let it sit in the fridge for a bit. Patience is a cook’s friend. I still laugh at how I used to peek every five minutes.
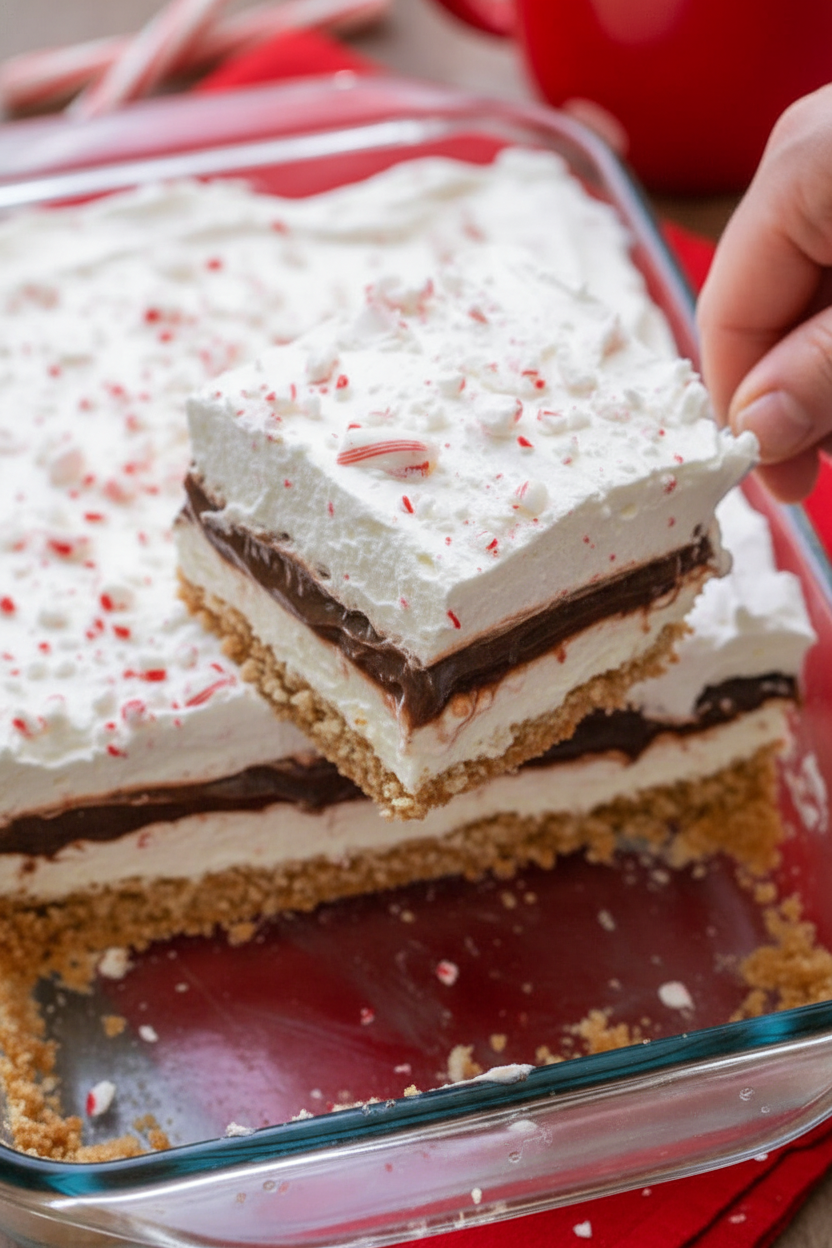
Right before serving, add the last of the Cool Whip. Sprinkle your crushed candy canes on top. The red and white bits make it so festive. Do you prefer your desserts very minty or just a hint?
Sharing is the Best Part
This dessert is meant for a crowd. It serves twelve people easily. That matters because food tastes better shared. It’s about bringing people together.
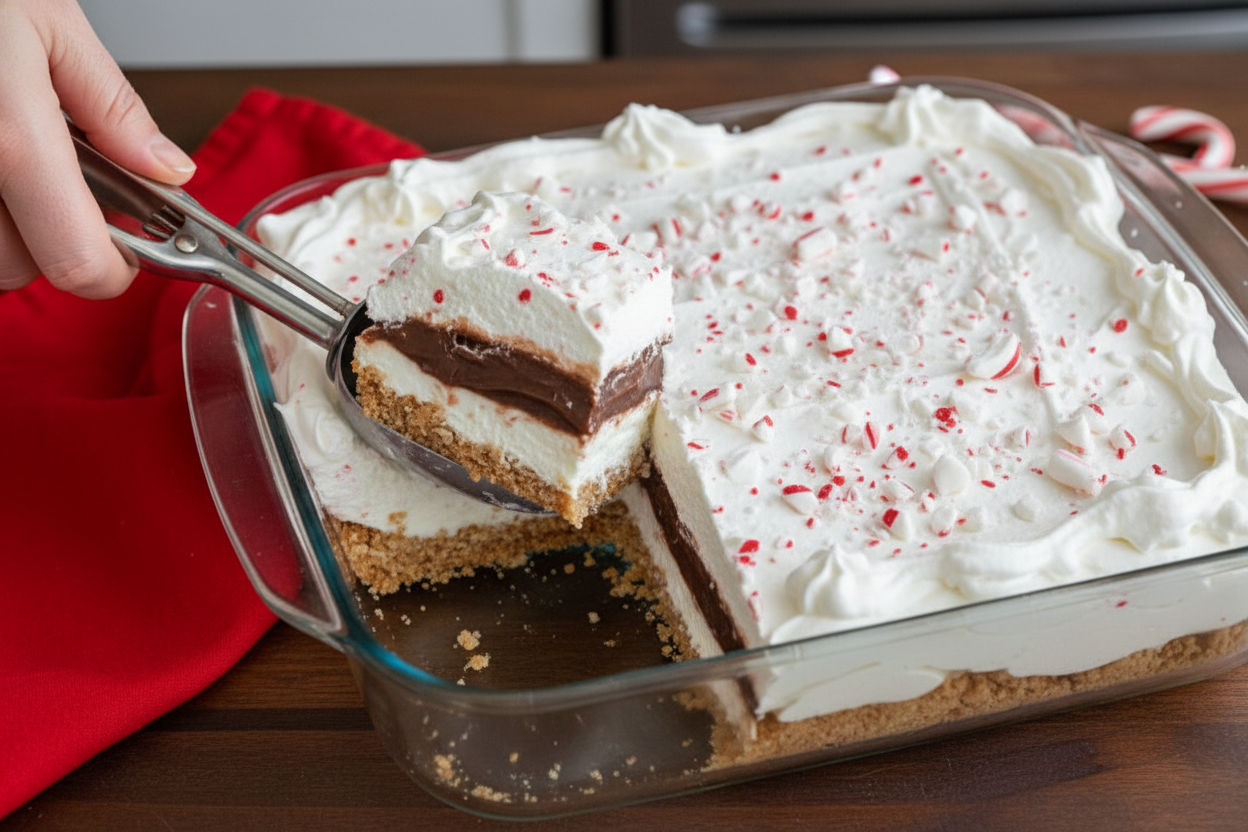
Cut it into squares and watch it disappear. Seeing people enjoy what you made is the real reward. What is your favorite dessert to share with family? I would love to hear your stories.
Ingredients:
| Ingredient | Amount | Notes |
|---|---|---|
| Vanilla wafers | 2 1/2 cups | |
| Butter | 1/4 cup | melted |
| Sugar | 1/2 cup | |
| Cream cheese | 8 oz | softened |
| Milk | 2 tbsp | |
| Peppermint extract | 1 tsp | |
| Milk | 3 cups | |
| Cool Whip (or whipping cream) | 12 oz | thawed and divided |
| Instant chocolate pudding | 7.8 oz (2 boxes) | |
| Crushed candy canes | for garnish |
My Peppermint Chocolate Delight Story
Hello, my dear! Come sit. Let’s make something magical. This dessert reminds me of snowy evenings. My grandkids call it “Christmas in a pan.” It’s cool, creamy, and minty fresh. Doesn’t that sound wonderful? We’ll build it layer by cozy layer. I still laugh at making this with my grandson Leo. He crushed the wafers a bit too enthusiastically! Our kitchen looked like it had snowed cookie dust. But that’s the fun part. Ready to begin?
Step 1: The Crunchy Base
First, let’s make our crunchy base. Put those vanilla wafers in a sturdy bag. Now, have some fun! Use a rolling pin to crush them into fine crumbs. Pour the melted butter right into the bag. Squish it all together until it feels like wet sand. Press this firmly into your dish. This is our dessert’s foundation. (A hard-learned tip: Press it down really well! A loose crust will crumble later.)
Step 2: The Minty Cloud Layer
Now for the minty cloud layer. Beat the soft cream cheese and sugar together. Add the milk and peppermint extract. Doesn’t that smell amazing? It’s like a candy cane! Gently fold in half of the fluffy Cool Whip. This makes it light as a whisper. Spread this carefully over your crust. Try to make it even. What’s your favorite minty candy? Share below!
Step 3: The Chocolate Layer
Time for the chocolate! Whisk the milk and instant pudding powder. Watch it thicken right before your eyes. It’s like a tasty magic trick. Pour this chocolate layer over the minty one. Be gentle so the layers stay separate. Pop it in the fridge for just 10 minutes. This lets the pudding set a little. It makes the next step so much easier.
Step 4: The Final Touch
The final touch is my favorite. Spread the rest of the Cool Whip over the top. Make it look fluffy and pretty. Now, walk away! Let the whole dish chill for at least two hours. Patience makes it perfect. Right before serving, sprinkle on the crushed candy canes. They add a sweet crunch and such festive color. Then, just slice and enjoy every cool, creamy bite.
Cook Time: 2 hours 15 minutes (mostly chilling)
Total Time: 2 hours 30 minutes
Yield: 12 servings
Category: Dessert, No-Bake
Three Fun Twists to Try
This recipe is like a good friend. It’s happy to change its outfit! Here are some playful ideas. Cookie Swap: Use chocolate sandwich cookies instead of vanilla wafers. That’s a chocolate-lover’s dream! Fruit Fiesta: Swap peppermint for a teaspoon of raspberry extract. Top with fresh berries for a summer version. Candy Cane Blizzard: Mix a handful of mini chocolate chips into the cream cheese layer. You get little chocolate surprises in every bite. Which one would you try first? Comment below!
Serving It Up With Style
This delight is a star on its own. But I love making it special. Serve it in pretty glass cups for a party. Add a tiny fresh mint leaf on top. It looks so fancy! For a cozy night, just scoop it straight from the pan. The best part is sharing it. For drinks, grown-ups might like a creamy peppermint schnapps latte. For everyone, a cold glass of milk or sparkling cider is perfect. Which would you choose tonight?
Keeping Your Delight Fresh
This dessert loves the cold. Always keep it in the fridge. It stays perfect for three days. Cover the dish tightly with plastic wrap.
You can freeze it for a month. I slice it into squares first. Wrap each piece well in foil. Thaw a slice in the fridge overnight.
I once tried to freeze the whole pan. It was too hard to cut later! My grandson had to wait for his piece. Batch cooking is a wonderful time-saver.
Making two dishes saves you effort later. You can share one with a neighbor. This builds community and spreads joy. Have you ever tried storing it this way? Share below!
Simple Fixes for Common Hiccups
Is your crust too crumbly? Press it down very firmly. Use the bottom of a clean cup. A solid crust holds the creamy layers.
Is the cream cheese lumpy? Let it soften on the counter first. I remember rushing this step once. My layer was bumpy, not smooth!
Is the pudding too runny? Just let it sit a bit longer. It will thicken up on its own. This patience makes the dessert set right.
Getting layers right builds your kitchen confidence. A perfect texture makes every bite joyful. Which of these problems have you run into before?
Your Quick Questions, Answered
Q: Can I make this gluten-free? A: Yes! Use gluten-free vanilla wafers. Check your pudding mix label too.
Q: How far ahead can I make it? A: Make it the night before. The flavors get even better together.
Q: What can I use instead of Cool Whip? A: Whipped cream is a fine swap. Just add a little sugar to it.
Q: Can I make a smaller batch? A: Sure. Halve all the ingredients. Use an 8×8 dish instead.
Q: Do I need the candy canes? A: No, but they add festive crunch. Chocolate shavings are pretty too. Which tip will you try first?
From My Kitchen to Yours
I hope you love making this sweet treat. It always brings smiles to my table. *Fun fact: Peppermint was used in ancient times to soothe the stomach.*
I would love to see your creation. Sharing food stories connects us all. Have you tried this recipe? Tag us on Pinterest!
Use our handle @LenasCozyKitchen. Thank you for cooking with me today.
Happy cooking!
—Lena Morales.
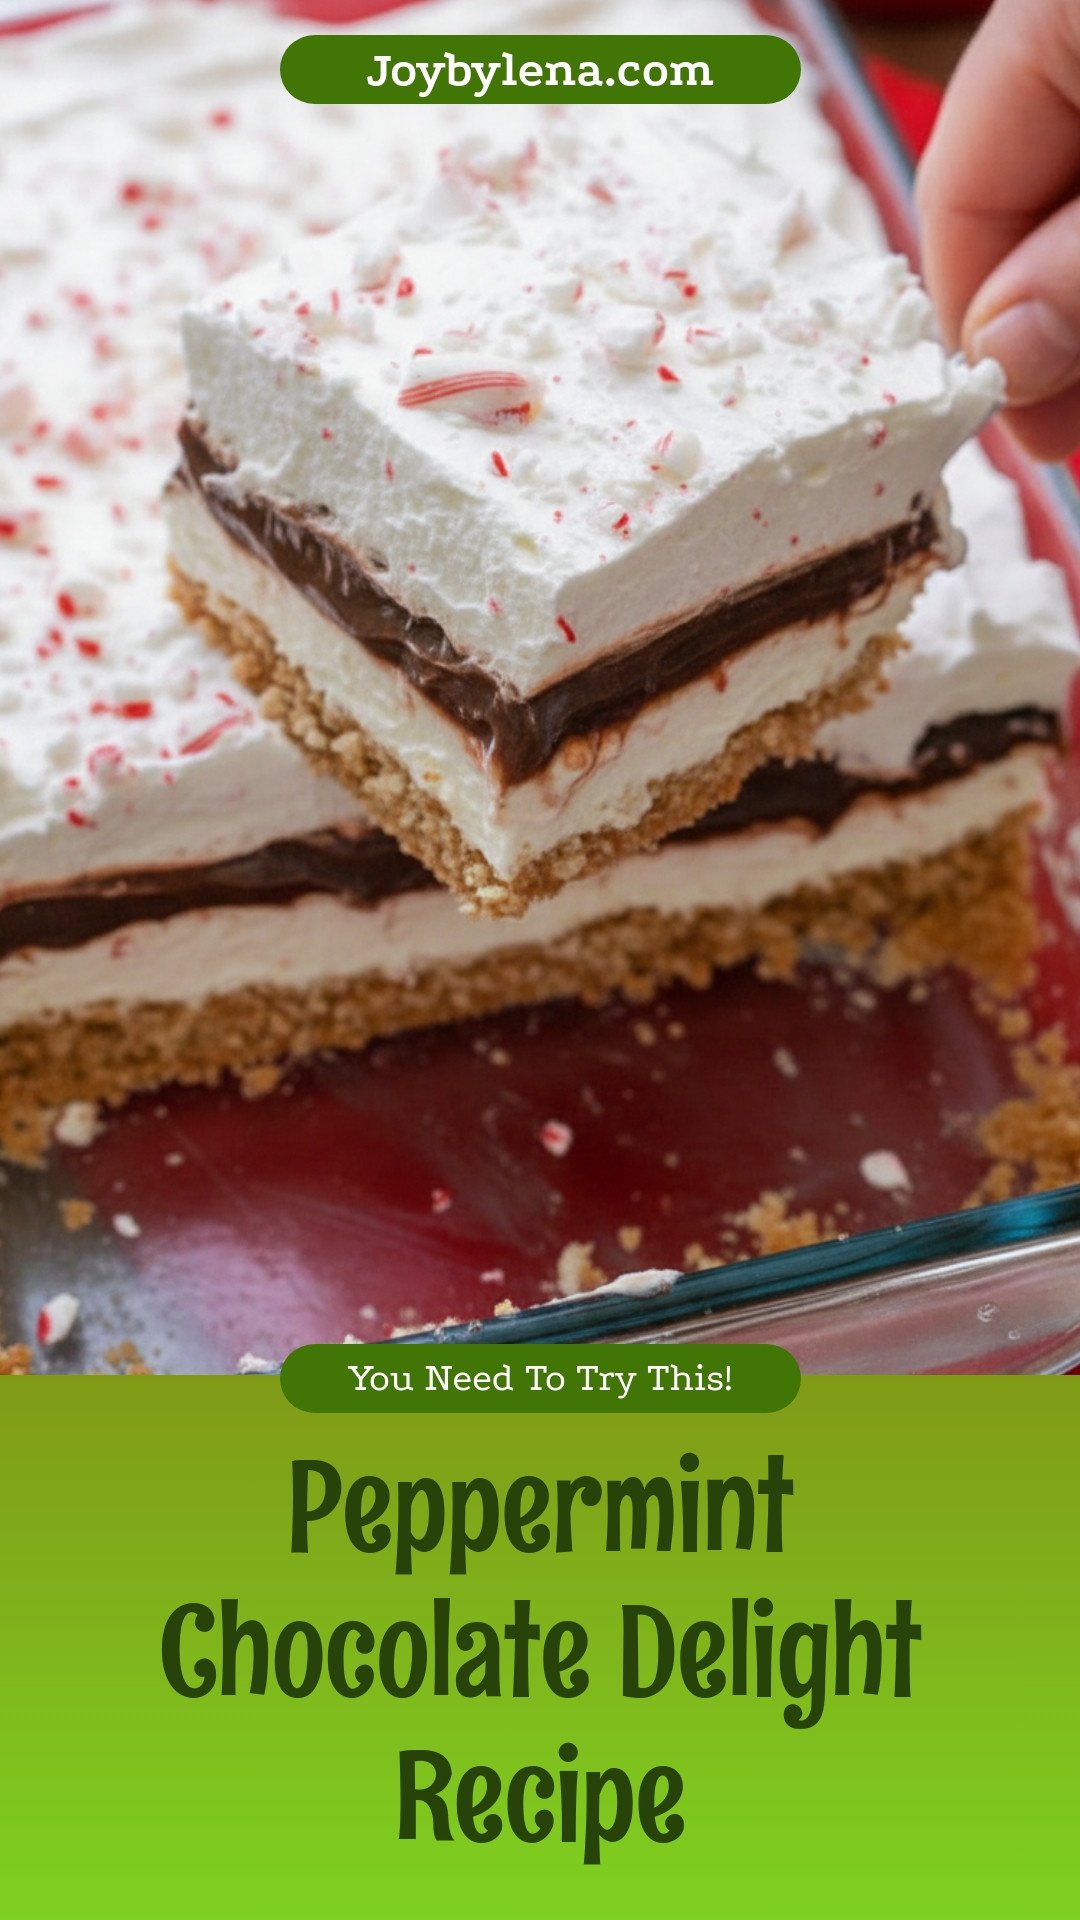
Peppermint Chocolate Delight: Peppermint Chocolate Delight Recipe
Description
A festive and easy no-bake dessert with a vanilla wafer crust, creamy peppermint cheesecake layer, rich chocolate pudding, and a topping of whipped cream and crushed candy canes.
Ingredients
Instructions
- Begin by crushing wafers in a Ziploc bag. Add melted butter and mix until well coated. Press onto the bottom of 9×13 dish.
- In a medium bowl, beat cream cheese, sugar, 2 tablespoons milk and peppermint extract until well blended. Fold in half of Cool Whip and mix well. Spread over crust.
- Make pudding by whisking milk and instant pudding in a bowl until thickened. Pour over cream cheese layer and refrigerate for at least 10 minutes.
- Top with remaining Cool Whip and refrigerate for at least 2 hours. Add crushed candy canes right before serving. ENJOY!
Notes
- For best results, ensure the cream cheese is fully softened for a smooth filling. The dessert needs at least 2 hours to set properly before serving.


Leave a Reply