The Zucchini That Almost Got Away
My grandson Leo used to hide zucchini in his napkin. He thought I didn’t see. I still laugh at that. Now, he asks for seconds of this recipe. It’s all about the crispy, cheesy top.
This dish matters because it turns a “maybe” veggie into a “yes, please!” one. It shows how a little change can make a big difference. What vegetable did you used to hide as a kid?
Your Simple Kitchen Tools
You don’t need fancy things. A good knife, a baking sheet, and your hands. That’s it. Cut each zucchini into four long sticks. Like fat little fries.
Lay them on your prepared pan. Drizzle that golden olive oil all over. Use your fingers to rub it in. This helps the cheese stick. Doesn’t that smell amazing already?
The Magic of Parmesan
Now, the fun part. Shower those zucchini sticks with grated Parmesan. Be generous! The cheese will melt into a salty, crunchy crust. A little salt and pepper on top is perfect.
Fun fact: Real Parmesan cheese is aged for over a year! That’s why its flavor is so strong and lovely. This matters because good ingredients do the work for you. What’s your favorite cheese to cook with?
Watching the Oven Work
Into the hot oven they go. Wait about 12 minutes. You’ll start to smell something wonderful. Then, use the broiler for just two minutes. Watch closely!
This broiler step is my secret. It makes the cheese bubbly and golden brown. It turns soft cheese into a crispy shell. Do you like your cheese gooey or crispy?
A Lesson on the Plate
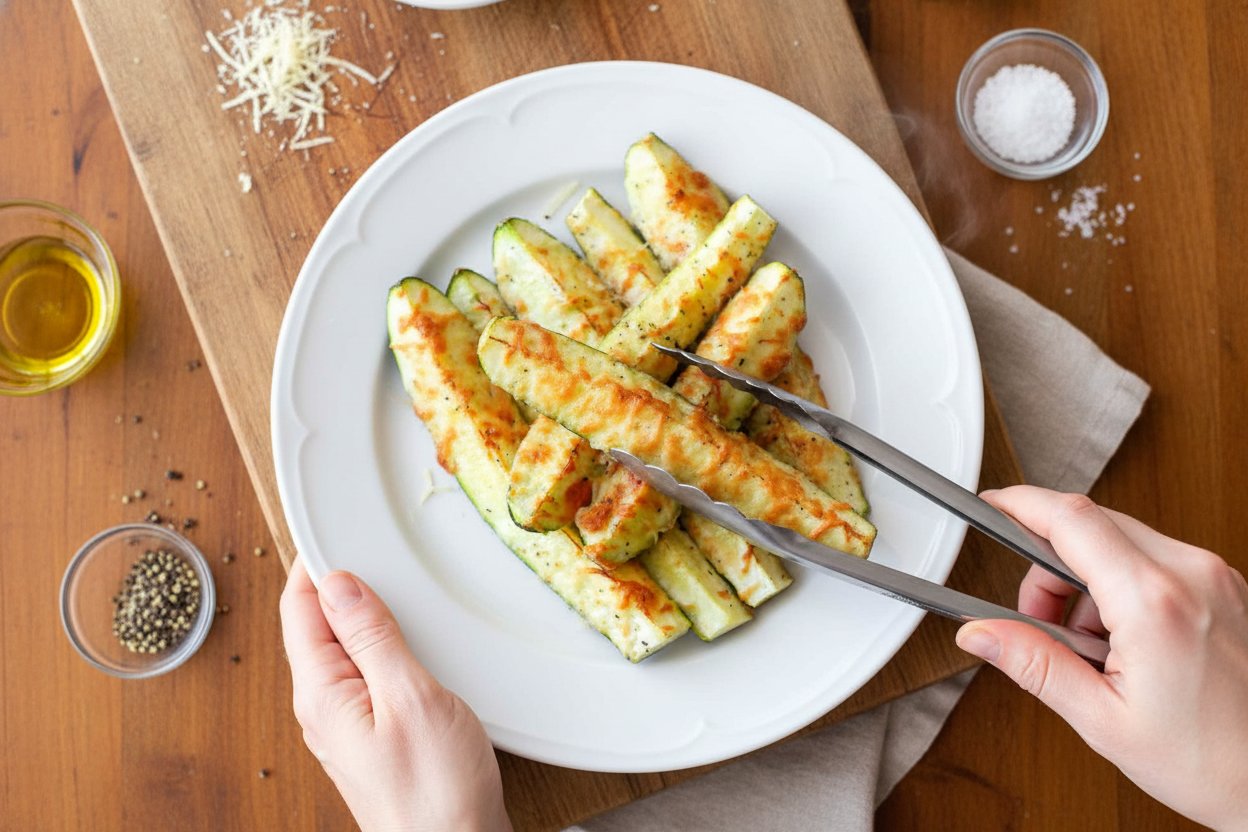
Let them cool for a minute. Then take a bite. You get the soft, warm zucchini inside. And that crunchy, salty cheese outside. It’s a happy mix.
This recipe matters because it’s easy and healthy. You are eating a whole vegetable! And you made it taste great. That’s a win. I hope you share this with someone you love.
Ingredients:
| Ingredient | Amount | Notes |
|---|---|---|
| Zucchinis | 3 medium | |
| Parmesan cheese | 1/2 cup | grated |
| Olive oil | 1/4 cup | |
| Salt and pepper | to taste |
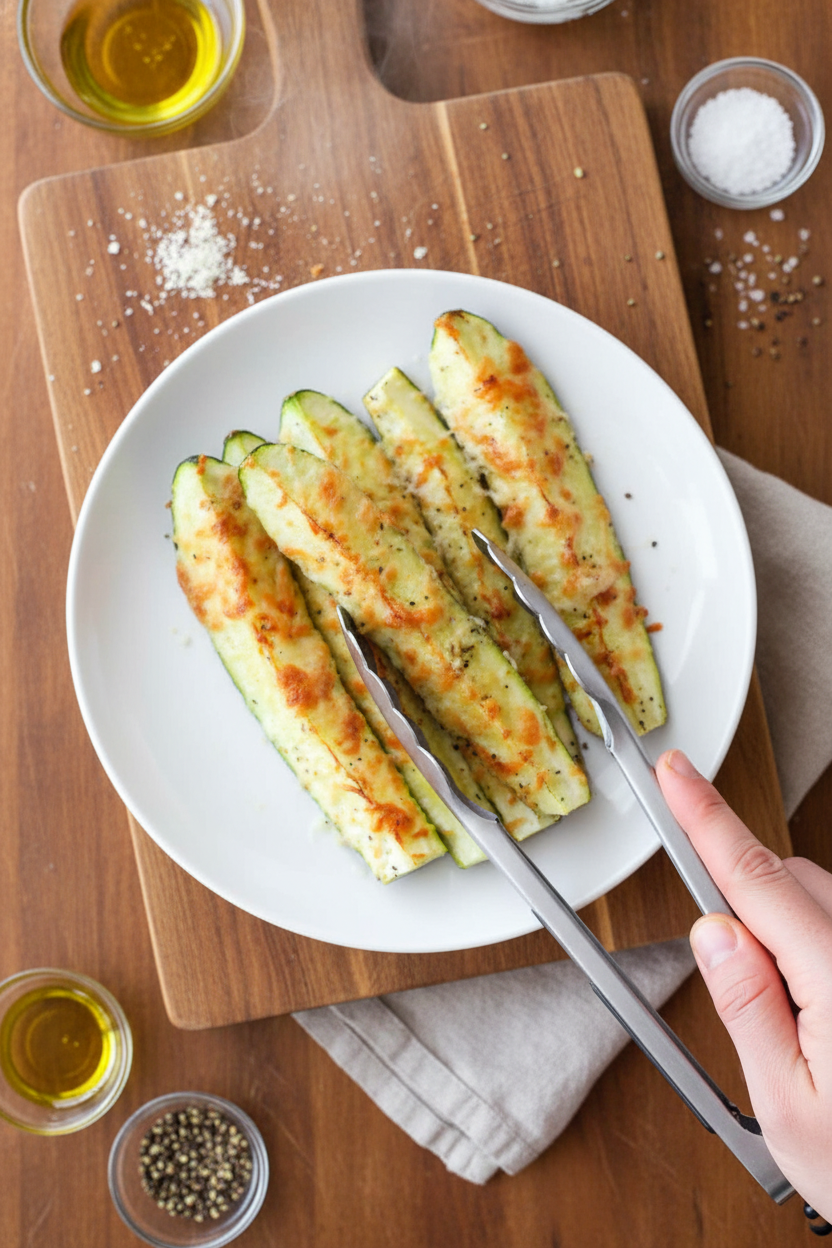
My Favorite Cheesy Zucchini Sticks
Hello, my dear! It’s Lena. Let’s make a simple, tasty snack. This recipe reminds me of my garden. Zucchinis grow so fast in summer.
My grandson, Mateo, calls these “green fries.” He loves them. The parmesan gets all crispy and golden. Doesn’t that smell amazing? It’s a happy little dish.
Step 1: First, heat your oven to 350 degrees. Then, wash your zucchinis. Cut each one into four long sticks. I still laugh at that. My first time, I cut them too thin!
Step 2: Grab a baking sheet. Cover it with foil for easy cleaning. Give it a quick spray with oil. Now, lay your zucchini sticks on it. Drizzle them with olive oil. Use your hands to rub it on. This helps the cheese stick later.
Step 3: Time for the best part! Sprinkle the grated parmesan all over. Be generous! Add a little salt and pepper too. (My hard-learned tip: Grate the cheese yourself. The bagged kind doesn’t melt as nicely.)
Step 4: Bake them for about 12 to 14 minutes. Then, turn on the broiler for 2 minutes. Watch them closely! This makes the cheese bubbly and brown. What’s your favorite cheese for snacks? Share below!
Cook Time: 14–16 minutes
Total Time: 25 minutes
Yield: 4 servings
Category: Side Dish, Snack
Let’s Mix It Up!
This recipe is like a blank canvas. You can change it with the seasons. Here are three fun twists I love.
Italian Night: Add dried oregano and garlic powder before the cheese.
A Little Kick: Sprinkle on some paprika or red pepper flakes. It’s so good!
Summer Herb Garden: Top with fresh chopped basil after baking. So fresh.
Which one would you try first? Comment below!
Serving with a Smile
These sticks are wonderful all by themselves. But they love company too. For a meal, place them next to grilled chicken. Or, dip them in a simple tomato sauce.
For drinks, I have two ideas. A cold lemonade is perfect for kids. Grown-ups might like a crisp glass of white wine. Both are delightful.
You could even make a big platter for sharing. Add some cherry tomatoes for color. Which would you choose tonight?
Keeping Your Zucchini Crispy and Cheesy
Let’s talk about keeping these zucchini sticks tasty. They are best fresh from the oven. But leftovers can still be good! Store them in the fridge for up to three days. Use a container with a tight lid.
I do not recommend freezing them. The zucchini gets too soft and watery. The cheese coating can become soggy. It loses that lovely crisp texture we love.
To reheat, use your oven or toaster oven. Set it to 375 degrees. This helps the cheese get crispy again. The microwave will make them soft. I learned that the hard way with a sad, soggy batch!
You can prep the zucchini ahead of time. Cut them and place on the baking sheet. Cover and refrigerate for a few hours. Add cheese and oil right before baking. This makes weeknight dinners so much easier.
Batch cooking saves time and energy. It turns one cooking session into two meals. That matters on busy days. You deserve a good, easy dinner. Have you ever tried storing it this way? Share below!
Simple Fixes for Common Zucchini Hiccups
Sometimes our cooking has little hiccups. That is okay! Here are easy fixes. First, soggy zucchini. This happens if there is too much water.
Pat your zucchini sticks very dry with a towel. This simple step makes a big difference. I remember when I skipped this. My cheese slid right off!
Second, cheese not browning. Your oven might need to be hotter. Use the broiler at the end. Watch it closely so it does not burn. A golden crust means more flavor.
Third, the seasoning falls off. Drizzle the oil first, then add cheese. The oil helps everything stick. This creates a perfect, tasty crust every time.
Fixing small problems builds your cooking confidence. You learn how ingredients work. That matters because cooking should feel fun, not frustrating. Getting the crust right also gives you the best bite. Which of these problems have you run into before?
Your Quick Questions, Answered
Q: Is this recipe gluten-free? A: Yes, it is naturally gluten-free. Just use plain parmesan cheese.
Q: Can I make it ahead? A: You can cut the zucchini ahead. But bake it just before eating for the best crunch.
Q: What cheese can I swap? A: Try grated pecorino or asiago. They are similar to parmesan. *Fun fact: Real parmesan cheese is named for Parma, Italy!*
Q: Can I double the recipe? A: Absolutely! Use two baking sheets. Switch their positions in the oven halfway through.
Q: Any optional tips? A: Add a sprinkle of garlic powder or paprika with the cheese. It adds a nice warmth. Which tip will you try first?
From My Kitchen to Yours
I hope you love this simple recipe. It reminds me of summer gardens. Food is best when shared with others.
I would love to see your creation. Did you add your own spice? How did your family like it? Sharing our kitchen stories connects us all.
Please show me your beautiful zucchini sticks. Have you tried this recipe? Tag us on Pinterest! You can find me at @LenasCozyKitchen. I cannot wait to see.
Happy cooking!
—Lena Morales.
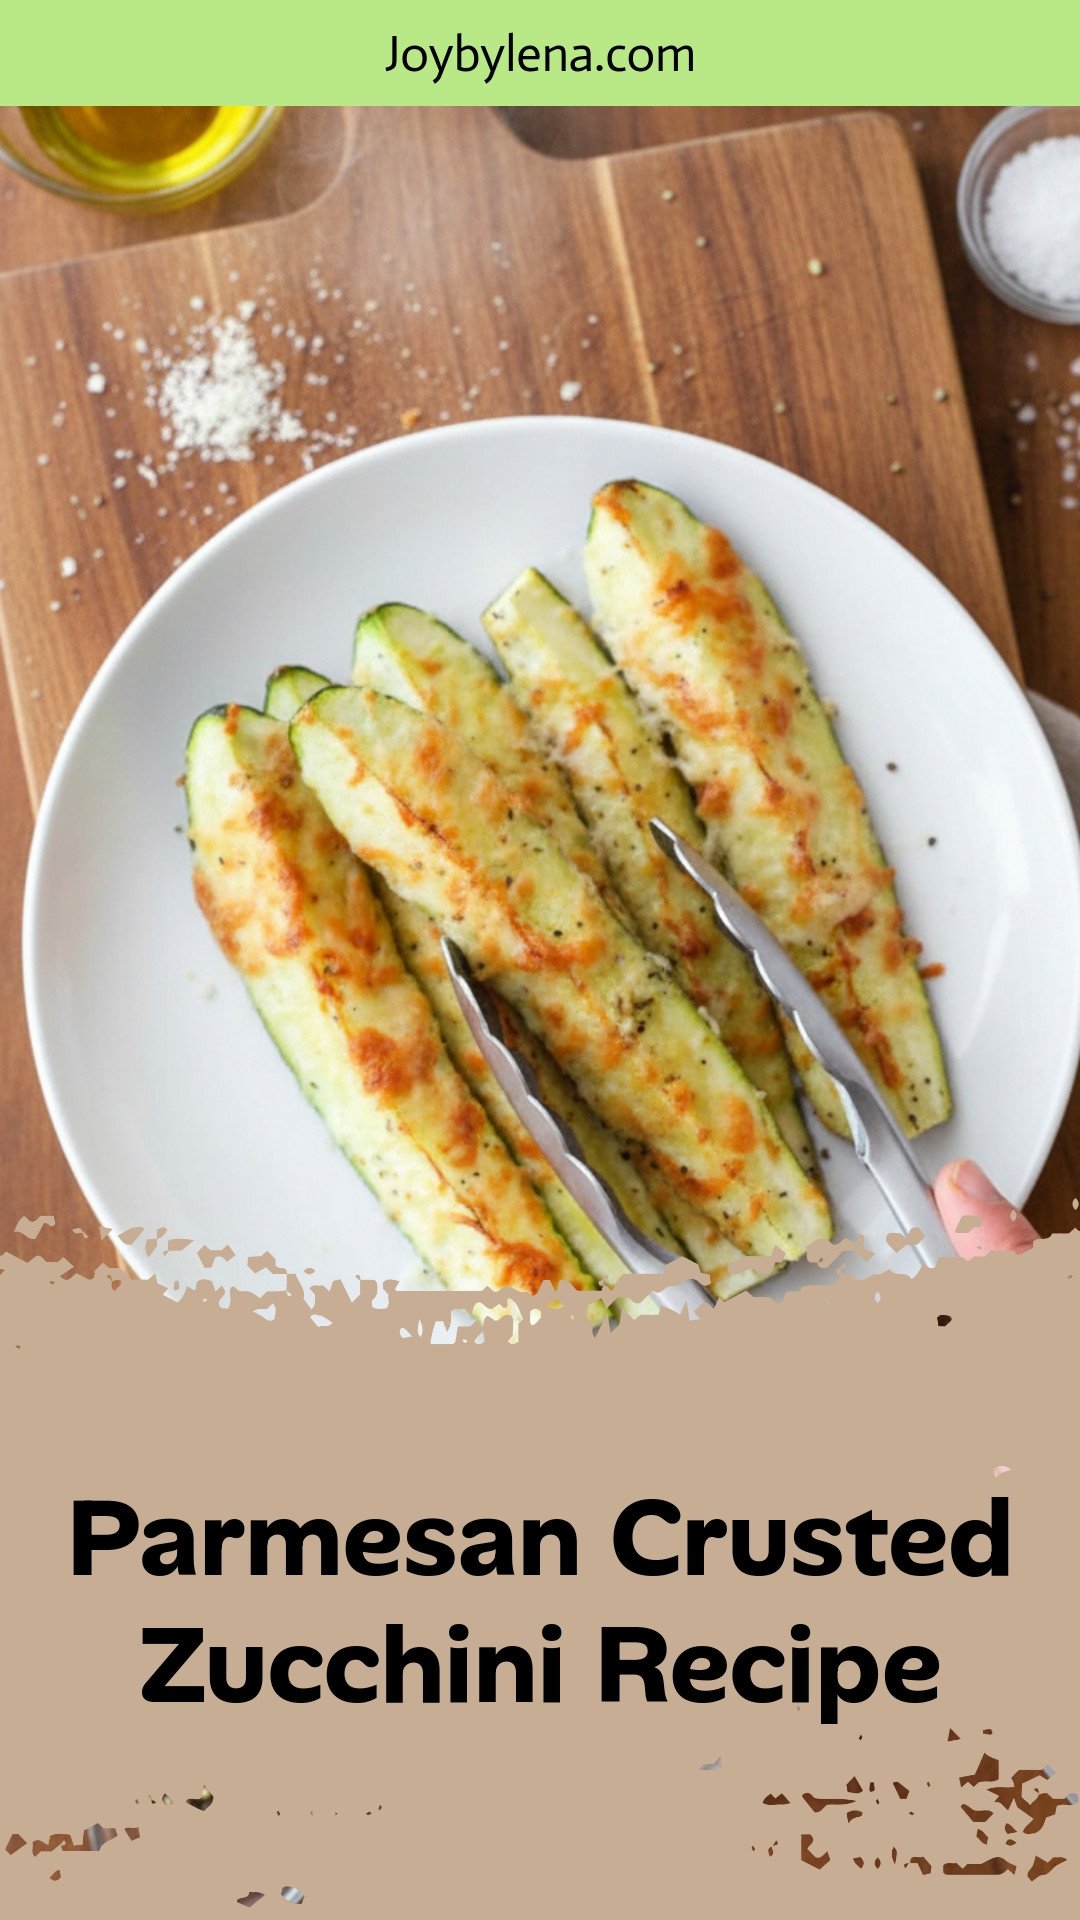
Parmesan Crusted Zucchini
Description
A simple and delicious side dish featuring tender zucchini quarters baked with a crispy, golden Parmesan cheese crust.
Ingredients
Instructions
- Preheat oven to 350°F (175°C).
- Cut the zucchinis in quarters, length-wise. Set aside.
- Line a baking sheet with foil and grease with cooking spray.
- Place zucchinis on the baking sheet and drizzle with olive oil.
- Sprinkle on grated Parmesan cheese (and any other spices desired).
- Top with a little bit of salt and pepper.
- Bake for 12-14 minutes.
- Broil for the last 2 minutes until the cheese is more browned.
Notes
- For extra crispiness, ensure the zucchini is dry before adding oil and cheese. Feel free to add garlic powder or Italian seasoning with the Parmesan.


Leave a Reply