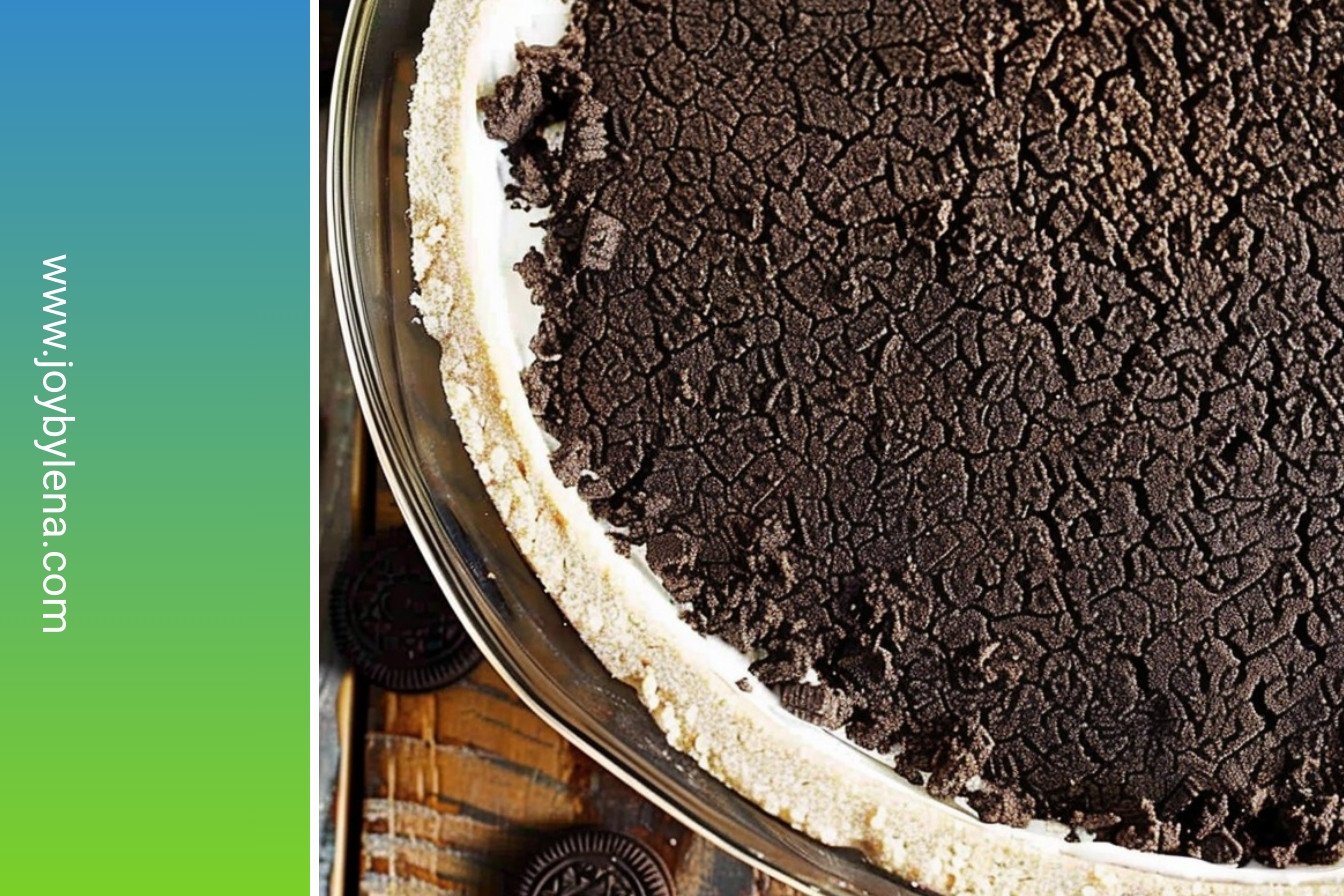
The Magic of a Cookie Crust
I love a good cookie crust. It turns a simple treat into something special. My grandson calls it “dirt you can eat.” I still laugh at that.
This crust is so easy. You do not even need to turn on the oven. It is just cookies and butter. Doesn’t that smell amazing? This matters because anyone can make it. You do not need to be a fancy baker.
A Little Kitchen Helper
Let me tell you a story. My granddaughter helped me make this last week. She was in charge of the food processor. She loved pressing the button to crush the cookies.
She got a little excited. A small cloud of chocolate dust poofed into the air. We both giggled. What is your favorite kitchen tool to use? A spoon? A mixer? I love hearing about it.
Pressing it All Together
The trick is pressing the crumbs just right. You want it to be even. I use the bottom of a dry measuring cup. It makes the crust smooth and perfect.
Press it into the bottom and up the sides. Do not press too hard. Just a firm pat is all you need. This step matters. A good crust holds your yummy filling.
To Bake or Not to Bake
Here is the best part. You get to choose. You can chill the crust in the fridge. Or you can bake it for a few minutes.
I almost always just chill it. It is one less thing to do. *Fun fact*: The Oreo filling helps the crust hold together. Do you prefer no-bake recipes or baked ones? Tell me which one you pick.
Your Turn to Create
Now your crust is ready. What will you put inside? A fluffy cheesecake filling? Some chocolate pudding? The possibilities make me so happy.
This is your creation. There is no wrong answer. What is the first filling you think of for your Oreo crust? Share your dream pie idea with me. I would love to know.
Ingredients:
| Ingredient | Amount | Notes |
|---|---|---|
| Oreo cookies* | 24 | |
| Unsalted butter | 4 tablespoons | melted |
My Favorite No-Bake Oreo Crust
Oh, this crust brings back such happy memories. My grandson, Mateo, helped me make it last summer. He loved crushing the cookies the most. His little face was so serious and covered in chocolate crumbs. I still laugh at that.
This recipe is wonderfully simple. You don’t even need to turn on your oven. It’s the perfect start to a cool, creamy pie. Doesn’t that sound amazing for a warm day?
Let’s get started. You only need two things. Grab your Oreos and some melted butter. Are you ready? Here we go.
- Step 1: First, let’s make our cookie crumbs. Put all the Oreos in a food processor. Pulse it until they look like dark, sandy soil. (A hard-learned tip: No processor? A zip-top bag and a rolling pin work great!) Pour the crumbs into a big bowl. The filling makes everything sweet and sticky.
- Step 2: Now, pour the melted butter over the crumbs. Stir it all together with a fork. You want every single crumb to get a little shiny. This butter is the magic that holds our crust together. It will look like wet sand. That’s exactly what you want.
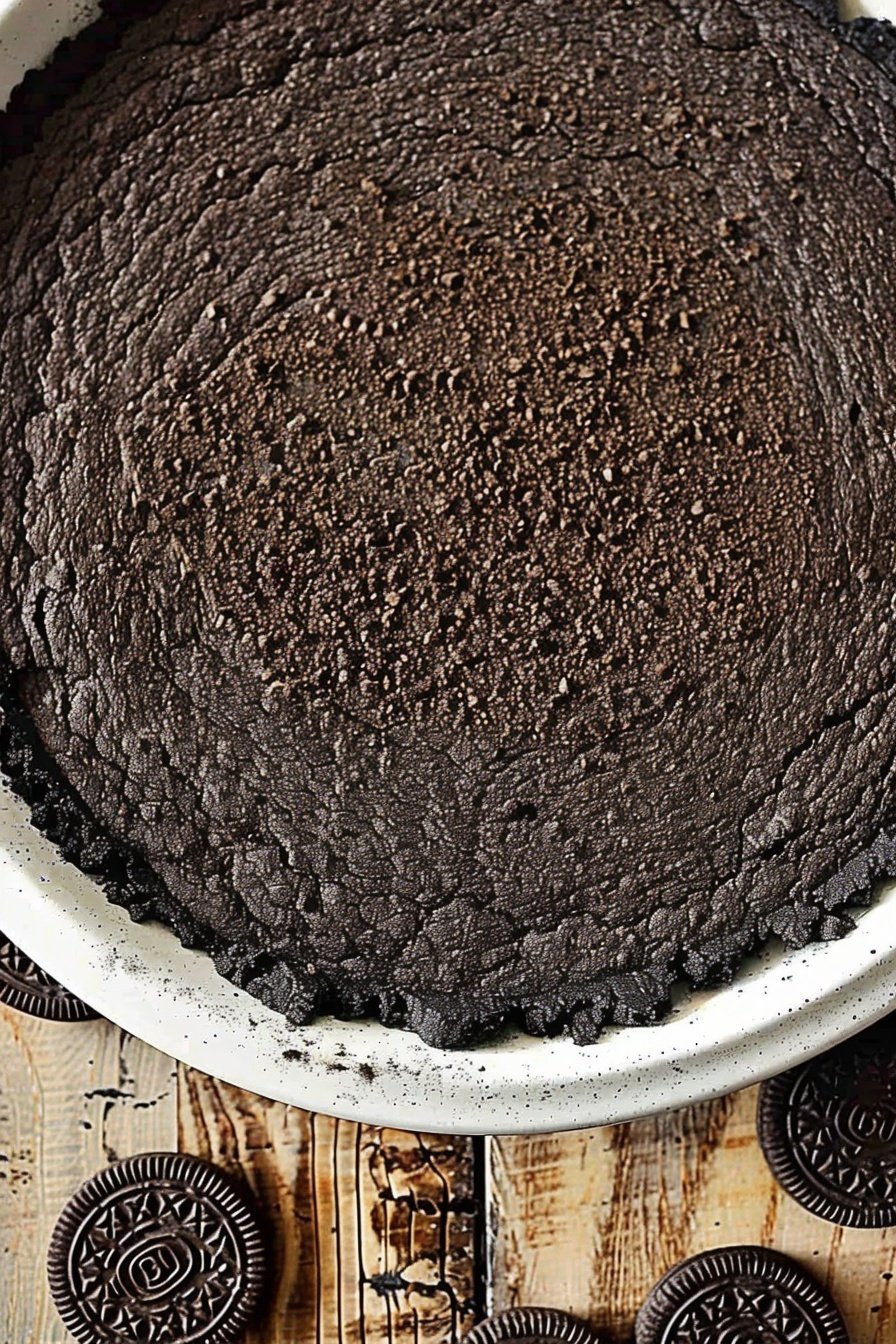
- Step 3: Time to press the crust into your pie plate. I use a dry measuring cup for this. It presses the crumbs down flat and smooth. Press them up the sides, too. Be gentle but firm. Do you press from the middle or the edges first? Share below!
- Step 4: Finally, your crust needs to set. Just pop it into the refrigerator. Let it chill for about half an hour. The butter will get firm and hold everything in place. Then it’s ready for your favorite no-bake filling. So easy!
Prep Time: 20 minutes
Total Time: 50 minutes
Yield: 1 pie crust
Category: Dessert, No-Bake
Three Fun Twists to Try
This crust is like a blank canvas. You can change it up so easily. Here are a few of my family’s favorite ideas. They are all so delicious.
- Mint Chocolate Chip: Use Mint Oreos instead of the regular ones. It tastes so fresh and cool.
- Peanut Butter Cup: Add two tablespoons of peanut butter to the melted butter. It makes the crust rich and nutty.
- Orange Zest Surprise: Stir the zest of one small orange into the crumbs. The chocolate and orange combination is a classic.
Which one would you try first? Comment below!
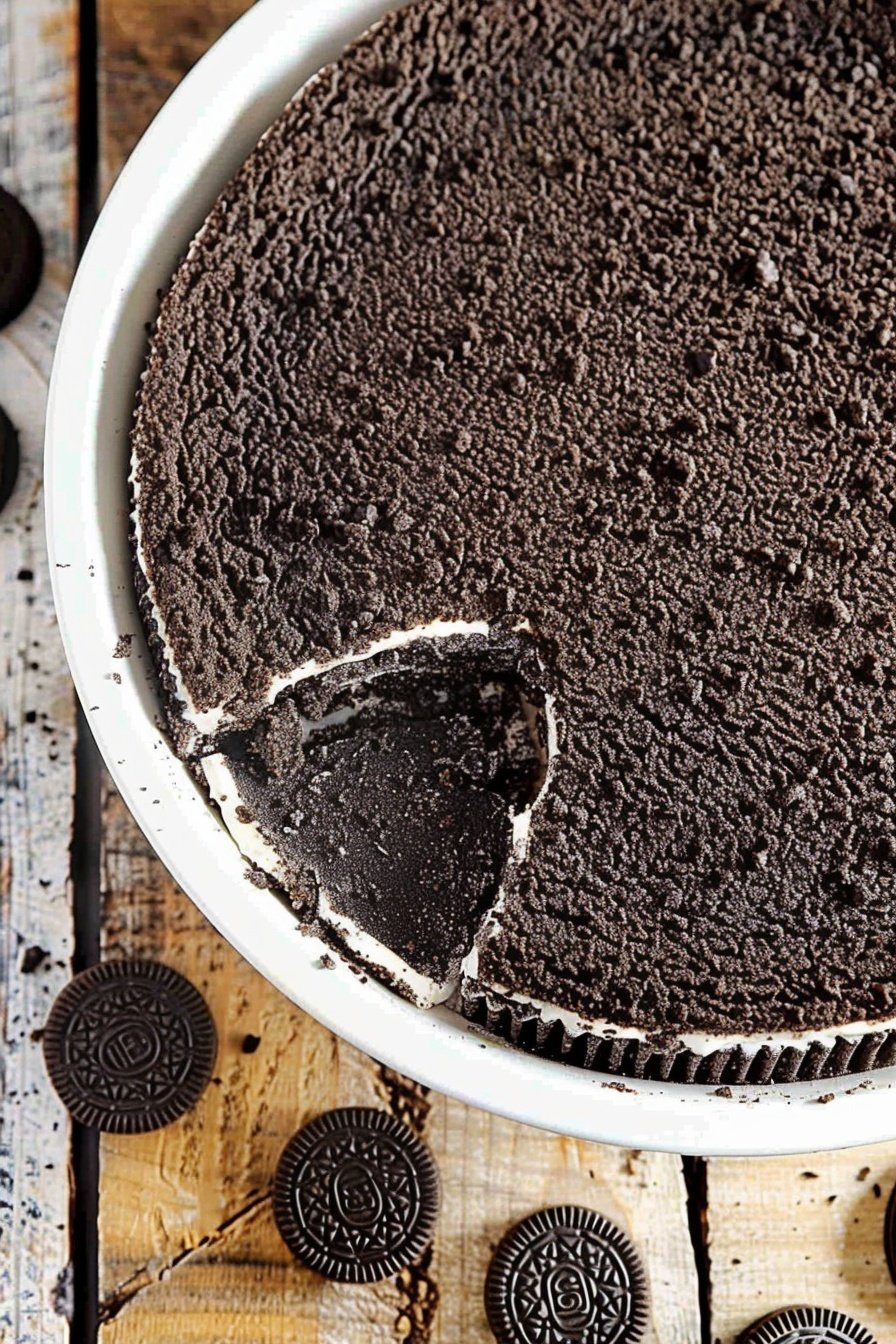
Serving Your Perfect Pie
Now, what to put inside your beautiful crust? I love a simple, creamy filling. A no-bake cheesecake is my top choice. You could also fill it with chocolate pudding. Then add some fluffy whipped cream on top.
For a fancy touch, sprinkle a few extra cookie crumbs over the whipped cream. A few fresh raspberries look pretty, too. They add a little pop of color and a tart taste.
This dessert calls for a good drink. A cold glass of milk is always the best friend for Oreos. For the grown-ups, a little glass of coffee liqueur on the side is nice. Which would you choose tonight?
Keeping Your Oreo Crust Perfect
Your crust will be happy in the fridge for two days. Just wrap it tightly with plastic. You can also freeze it for one month.
I once made three crusts for a big family party. It saved me so much time. I just pulled one from the freezer the night before.
This matters because life gets busy. Having a crust ready means dessert is easy. It helps you enjoy time with your family.
Do not reheat a no-bake crust. The butter will melt and get messy. Just let a frozen one thaw in the fridge.
Have you ever tried storing it this way? Share below!
Easy Fixes for Common Crust Problems
Is your crust too crumbly? You might not have used enough butter. The crumbs should stick together when you press them.
I remember when my crust stuck to the pie plate. Now I press it with a dry measuring cup. This makes it smooth and even.
Fixing this matters for your confidence. A beautiful crust makes you feel proud. It also gives your dessert a perfect base.
Is the crust too soft? Just chill it longer. The butter needs time to get firm in the fridge. Fun fact: The Oreo filling helps bind the crust too!
Which of these problems have you run into before?
Your Oreo Crust Questions, Answered
Q: Can I make this gluten-free? A: Yes! Just use your favorite gluten-free chocolate sandwich cookies.
Q: How far ahead can I make it? A: You can make it two days ahead. Keep it covered in the fridge.
Q: What if I don’t have a food processor? A: Put the cookies in a bag. Crush them with a rolling pin.
Q: Can I double the recipe? A: Absolutely. Double the cookies and butter for a bigger treat.
Q: Any other tips? A: A pinch of salt makes the chocolate taste even better.
Which tip will you try first?
From My Kitchen to Yours
I hope you love making this simple crust. It is the start of many wonderful desserts. I learned it from my own grandmother.
She always said food tastes better when shared. I would love to see what you create. Your pictures always make my day brighter.
Have you tried this recipe? Tag us on Pinterest!
Happy cooking!
—Lena Morales.
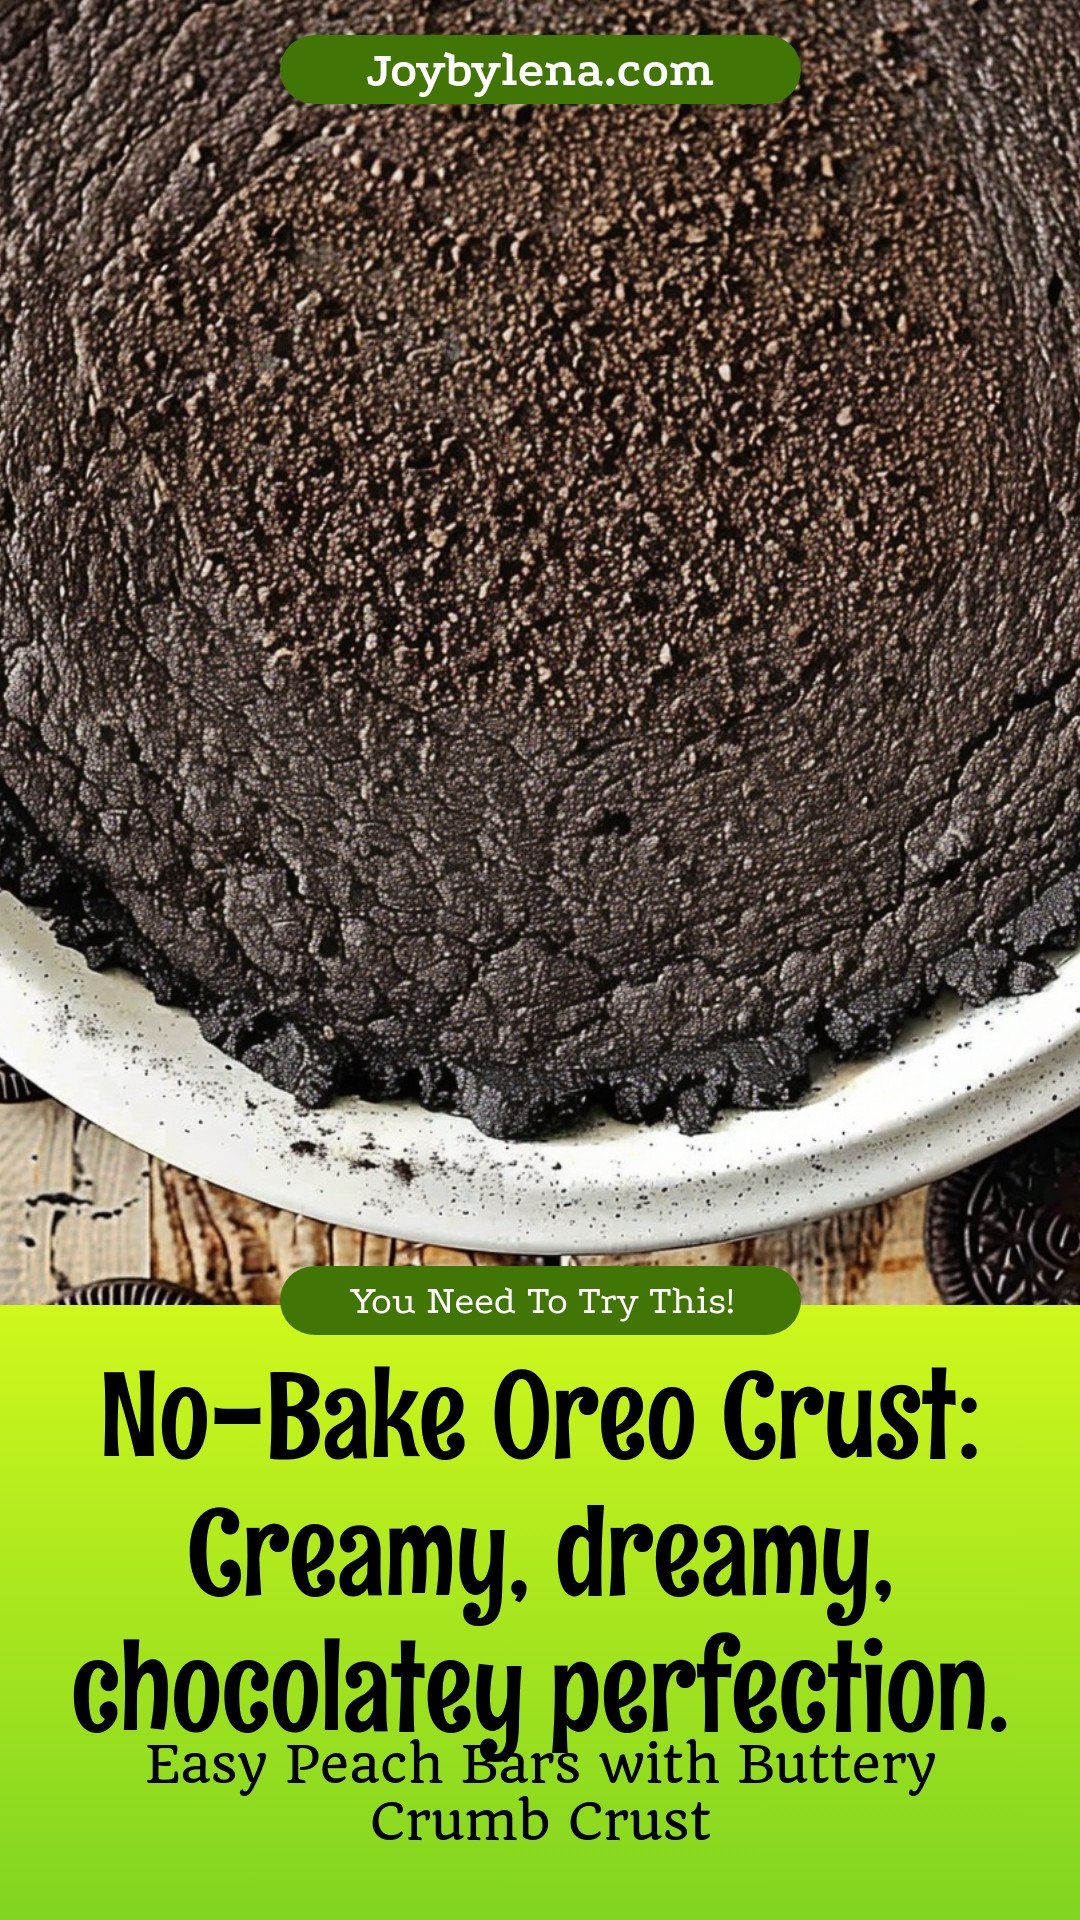
No-Bake Oreo Crust: Creamy, dreamy, chocolatey perfection.:
Description
Skip the oven! This easy, no-bake Oreo crust is the creamy, chocolatey base your cheesecakes and pies dream of. Perfect for any no-bake dessert.
Ingredients
Instructions
- Pulse the Oreos (filling included) in a food process or chopper until you get fine crumbs. Add the crumbs to a large bowl. Add the melted butter and stir to ensure the crumbs are well coated.
- Pour the mixture into a 9-inch ungreased pie plate and carefully press the mixture evenly on the bottom and sides of the pie plate. I like to use a 1/3 or 1/4 cup dry measuring cup to press it flat.
- To set the crust, you can either bake it or refrigerate it. If I’m going to use it in a no-bake recipe, I just put it in the refrigerator for about 30 minutes to allow the butter to harden and set the crust. Otherwise, you can bake it in a 350° oven for 8 to 10 minutes, then allow it to cool completely before finishing your recipe.
Notes
- *The filling from the Oreo cookies is included in the crust.


Leave a Reply