My Little Cookie Secret
I love making cookies small. A big cookie is nice. But a tiny cookie is a little joy. You can have two without feeling too full.
My grandkids call these “two-bite wonders.” They always eat more than two. I still laugh at that. Making them small means more to share. That matters. Food is about sharing happiness.
The Heart of the Dough
Let’s talk about the peanut butter. Use your favorite creamy kind. The one you eat with a spoon. That love goes right into the dough.
Now, the butter and shortening. Butter gives flavor. Shortening makes them soft. Together, they are magic. Fun fact: that criss-cross fork pattern isn’t just pretty. It helps small, thick cookies bake evenly!
A Sweet Lesson from My Mama
My mama taught me to bake. She was very patient. One day, I mixed the dry stuff right into the wet bowl. I was in a hurry.
The cookies were tough. Mama just smiled. She said, “Some things need their own space first.” She meant the flour mixture. Mixing it separately first matters. It makes the cookies tender. I think about that a lot, even now.
Time for Chocolate Chips
Here is the best part. Stir in those mini chocolate chips. Doesn’t that smell amazing? Mini chips are perfect for mini cookies. A little chocolate in every bite.
You can leave them out if you want. But why would you? Tell me, do you like milk chocolate or dark chocolate chips in your cookies? I’m always curious.
The Warm Kitchen Wait
Watch them closely in the oven. Just 5 to 8 minutes. They bake fast because they’re tiny. Take them out when the edges are just golden.
They will look soft. That’s good. Let them rest on the pan. They will firm up as they cool. The hardest part is waiting. What smell reminds you of home? For me, it’s peanut butter cookies baking.
Your Turn to Share
Now you have a whole batch. Put some in a little bag for a friend. It makes their day better. That is the real recipe secret.
Did you try the criss-cross pattern with your fork? Was it fun? Share a picture of your cookie tray if you can. I would love to see your two-bite wonders.
Ingredients:
| Ingredient | Amount | Notes |
|---|---|---|
| Butter | 1/2 cup | softened |
| Shortening | 1/2 cup | |
| Creamy peanut butter | 1 cup | |
| Sugar | 1 cup | |
| Brown sugar | 1 cup | |
| Eggs | 2 | |
| Vanilla extract | 1 tsp | |
| All-purpose flour | 2 1/2 cups | |
| Salt | 1 tsp | |
| Baking soda | 1 1/2 tsp | |
| Baking powder | 1 tsp | |
| Mini chocolate chips | 3/4 cup |
My Favorite Tiny Peanut Butter Cookie Bites
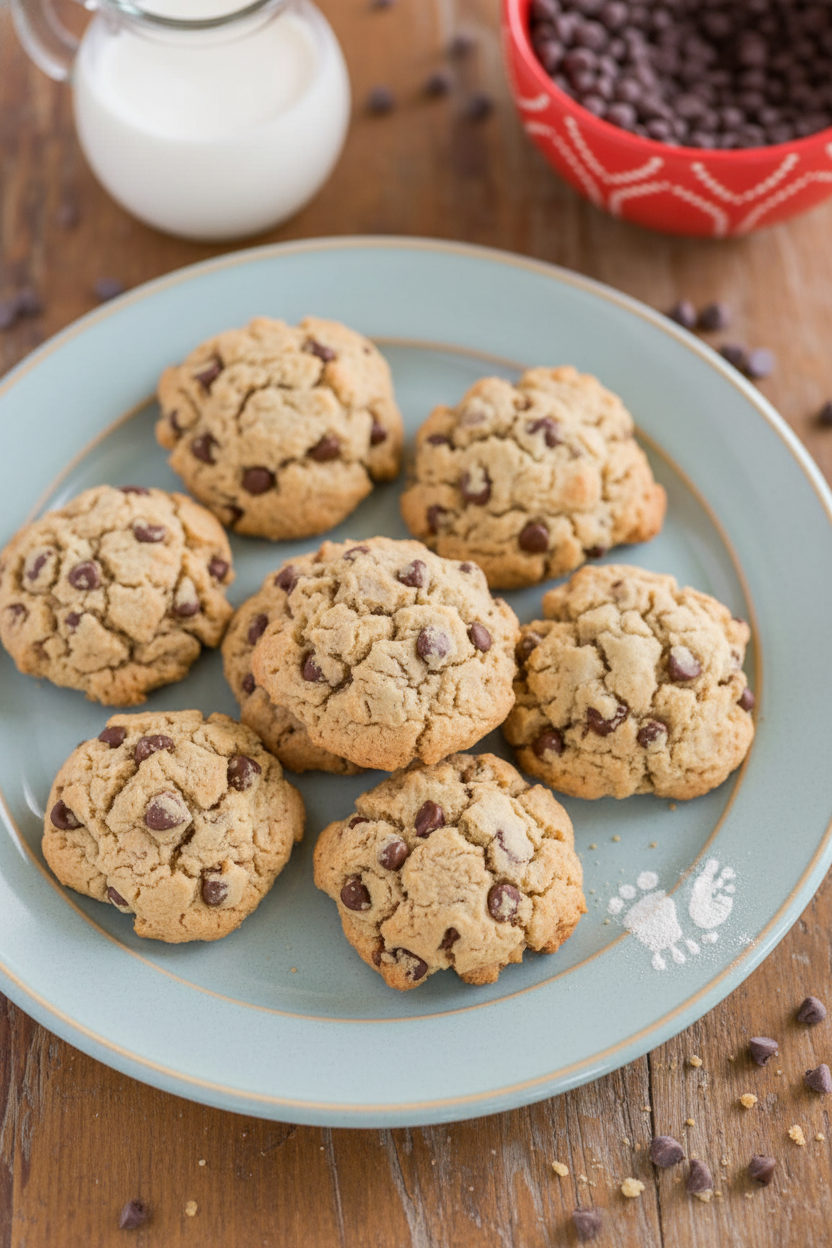
Hello, my dear! Come sit. Let’s make my tiny cookie bites. They are my grandson’s favorite. He calls them “happiness nibbles.” I think that’s just right. They are soft, peanut-buttery, and full of little chocolate bits. We make them small so you can have two. Or three! I still laugh at that.
Making them is simple. We just mix everything together with love. The smell in your kitchen will be wonderful. Doesn’t that smell amazing? It reminds me of my own abuela’s kitchen. She taught me this recipe long ago. Let’s begin.
Step 1: Mix the Wet Ingredients
First, let’s mix the wet things. Grab a big bowl. Put in the soft butter, shortening, and peanut butter. Add both sugars. Now cream them together until fluffy. This makes the cookies tender. My old mixer does a happy hum. Add the eggs, one at a time. Then pour in the vanilla. Stir it all up well.
Step 2: Combine the Dry Ingredients
Now for the dry team. Use a different bowl for this. Whisk the flour, salt, baking soda, and powder. This mixes the air in. (A hard-learned tip: measure your flour carefully. Too much makes cookies tough. I gently spoon it into the cup.) Slowly add these dry bits to our wet mix. Stir just until you see no more flour.
Step 3: Add the Chocolate & Love
The best part is next! Stir in those mini chocolate chips. They are like tiny treasures. You can add a little extra if you want. I always do. My grandson tries to sneak a handful. Can you guess my secret ingredient? It’s the love you stir in!
What’s your secret cookie ingredient? Share below!
Step 4: Shape the Cookie Bites
Time to shape our bites. Use a small spoon. Scoop about half a tablespoon of dough. Roll it into a little ball. Place it on your baking sheet. Now, take a fork. Dip it in sugar and press down softly. Make a criss-cross pattern. It looks so pretty. This also helps them bake evenly.
Step 5: Bake & Cool
Bake them in a preheated oven at 350 degrees. Watch them for just 5 to 8 minutes. They should look just set. The edges will be a light gold. They firm up as they cool. Let them rest on the sheet for a minute. Then move them to a rack. Try not to eat one right away. They are very hot! But I understand if you do.
| Cook Time | 5–8 minutes per batch |
| Total Time | About 25 minutes |
| Yield | About 4 dozen little bites |
| Category | Dessert, Cookies |
Three Fun Twists to Try
Once you master the basic bite, you can play! Here are three fun ideas. They make the cookies new again. My book club loved the pretzel version.
Pretzel Crunch:
Add 1/2 cup crushed salty pretzel pieces with the chips. Sweet and salty is perfect.
Jam Thumbprint:
Skip the fork press. Instead, make a small thumb dent in each ball. Bake, then fill the dent with strawberry jam.
Double Chocolate:
Swap 1/4 cup of the flour for cocoa powder. Use peanut butter chips instead of chocolate. So rich!
Which one would you try first? Comment below!
Serving Them Up With Style
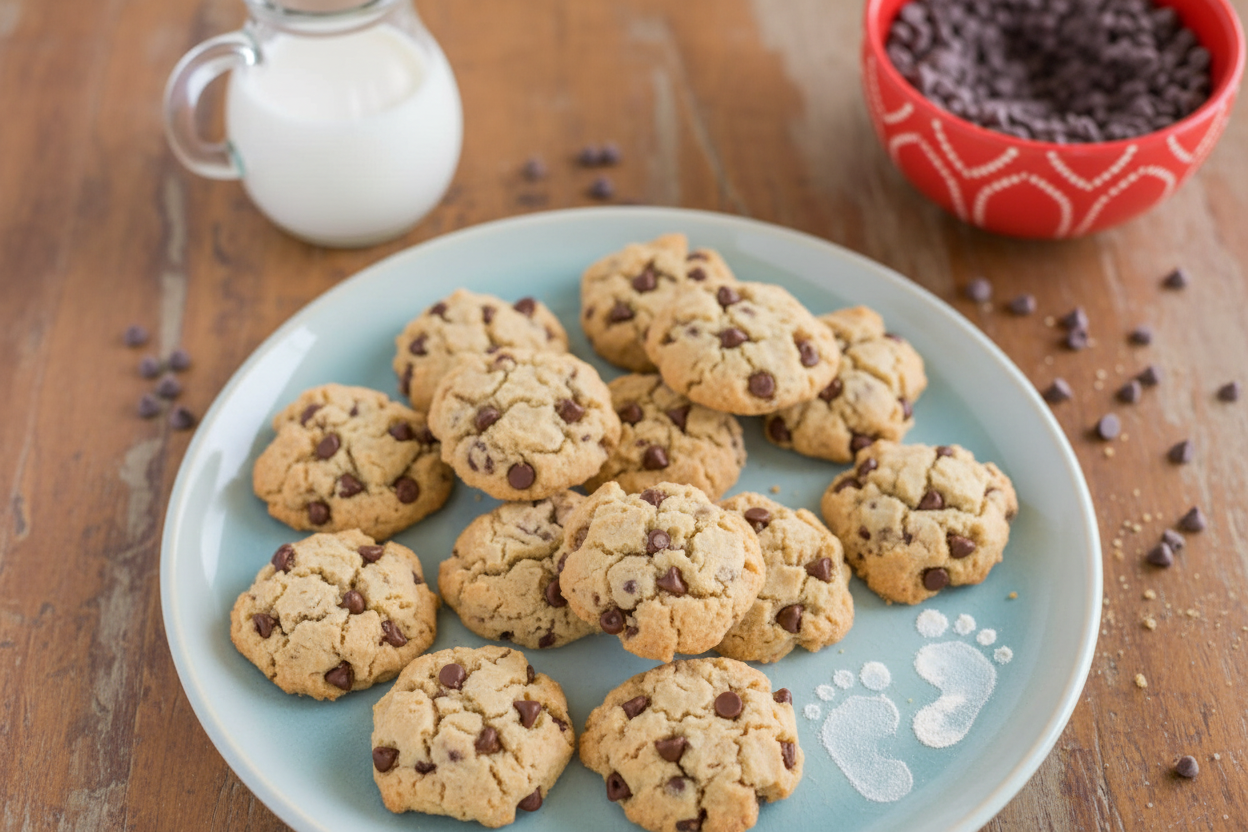
These little bites are great on their own. But let’s think about sharing. Pile them high on a vintage plate. It looks so cheerful. For a party, stick a tiny flag in one. You could also serve them with a small bowl of vanilla ice cream. Make mini ice cream sandwiches! That’s a real treat.
What to drink? A cold glass of milk is classic. It just belongs with cookies. For the grown-ups, a nice cup of coffee with cream is lovely. The peanut butter tastes so good with coffee. Which would you choose tonight?
Keeping Your Cookie Bites Happy
These little cookies freeze beautifully. Let them cool completely first. Then layer them in a container with parchment paper. They will keep for three months. You can bake the dough balls from frozen, too. Just add a minute to the bake time.
I once stored warm cookies in a tin. The next day, they were soggy. Now I always let them cool on the rack. This keeps them crisp and chewy. Batch cooking saves so much time. It means a fresh treat is always ready. That matters on busy school days.
Have you ever tried storing it this way? Share below!
Cookie Troubles? Easy Fixes Right Here
First, if your cookies spread too much, your butter was too warm. Chill your dough for 30 minutes. This helps them keep their cute shape. I remember when my first batch turned into one giant cookie. Chilling the dough fixed everything.
Second, if they are too dry, you may have over-measured the flour. Spoon the flour into your cup. Do not pack it down. This small step makes a big difference. It ensures your cookies stay tender.
Third, for a perfect criss-cross, dip your fork in sugar. This keeps it from sticking to the dough. Getting these details right builds your confidence. It also makes your food taste just right. Which of these problems have you run into before?
Your Quick Questions, Answered
Q: Can I make these gluten-free? A: Yes! Use your favorite gluten-free flour blend. The results are wonderful.
Q: Can I make the dough ahead? A: Absolutely. Keep it covered in the fridge for up to three days.
Q: What can I use instead of shortening? A: Just use all butter. The texture will be a little different, but still good.
Q: Can I double the recipe? A: You sure can. It is perfect for a big party or bake sale.
Q: Any optional tips? A: Try rolling dough balls in sugar before flattening. Fun fact: This gives them a sweet, sparkly crunch! Which tip will you try first?
From My Kitchen to Yours
I hope you love making these little bites. They always remind me of my grandkids after school. The kitchen fills with happy noise. I would love to see your creations.
Share a picture of your cookie tray. Have you tried this recipe? Tag us on Pinterest! Your stories and photos make my day. Thank you for cooking with me.
Happy cooking!
—Lena Morales.
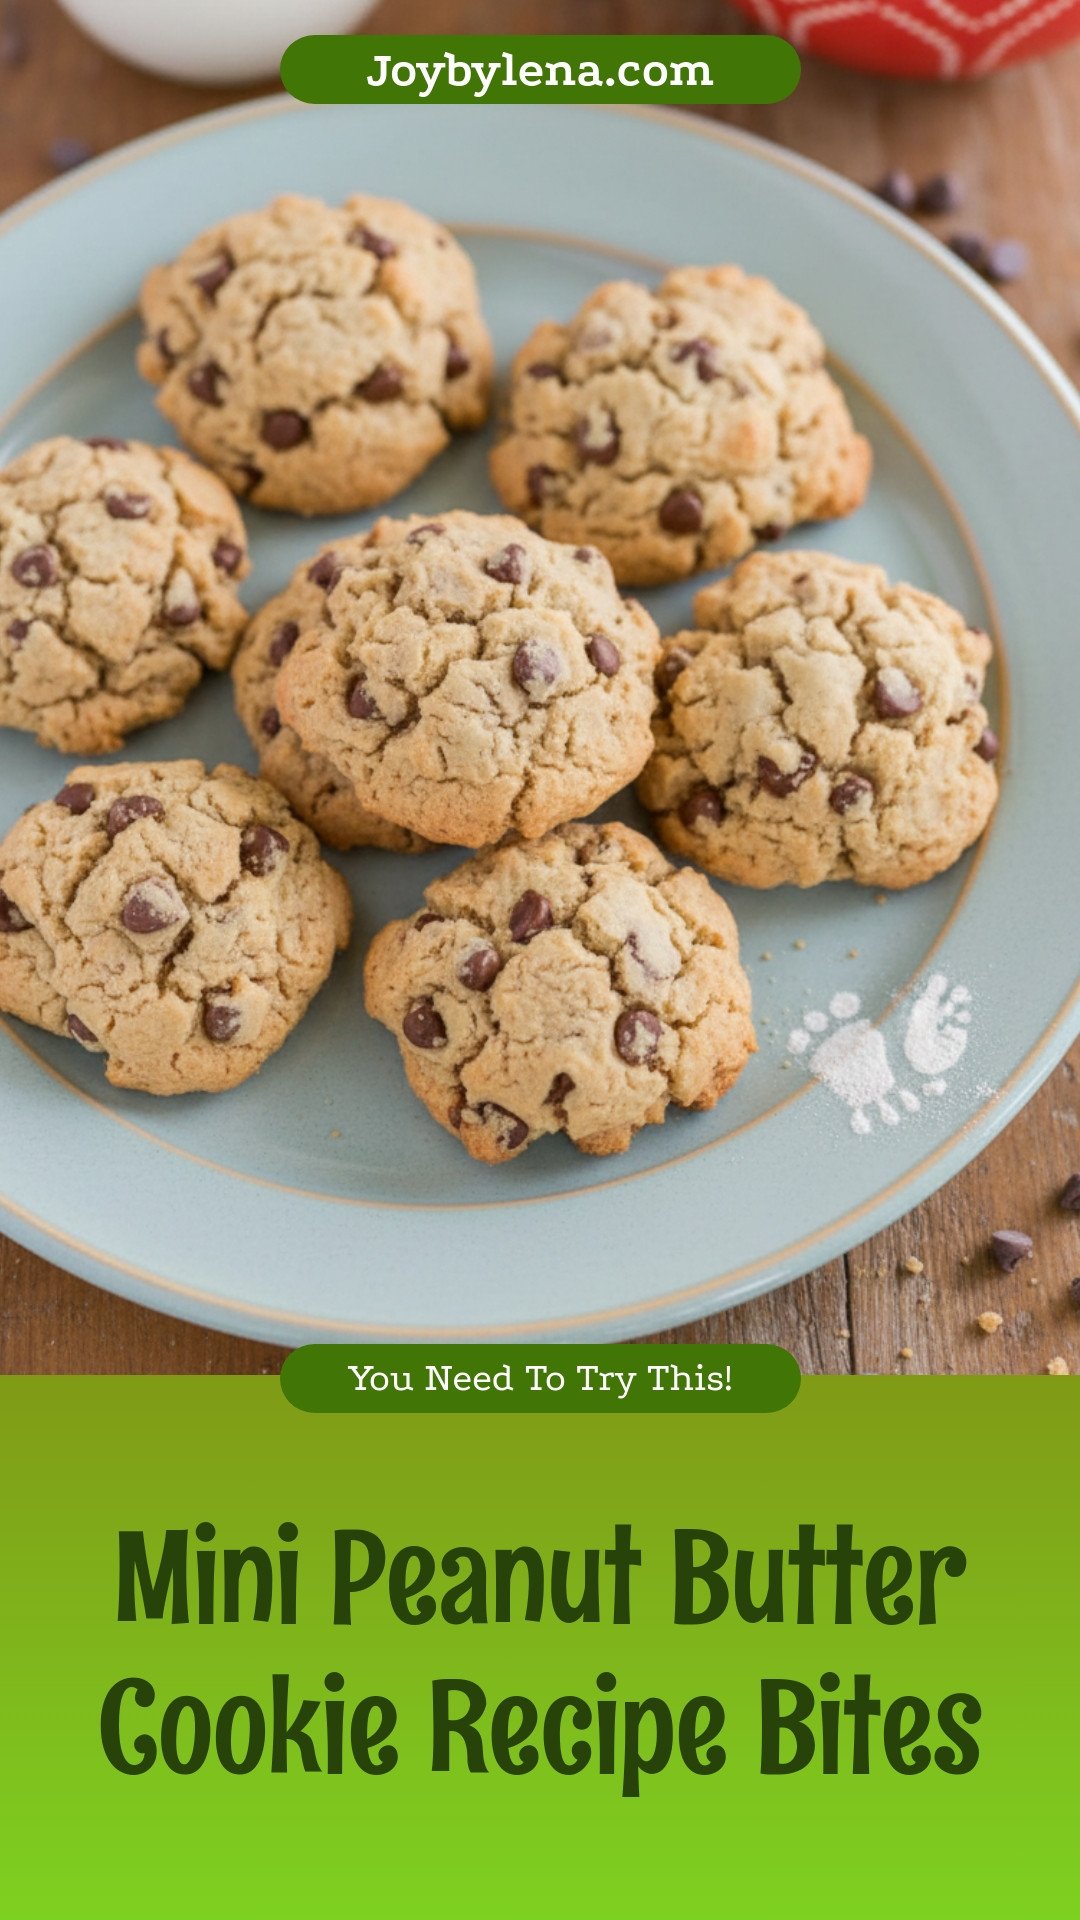
Mini Peanut Butter Cookies: Mini Peanut Butter Cookie Recipe Bites
Description
Enjoy these classic, bite-sized peanut butter cookies packed with mini chocolate chips. They’re soft, chewy, and perfect for any occasion.
Ingredients
Instructions
- Cream together butter, shortening, peanut butter and sugars. Add eggs. Stir in vanilla extract.
- In a separate bowl, combine flour, salt, baking soda and baking powder.
- Add the dry ingredients to the wet ingredients, mix well and add chocolate chips as desired.
- Scoop small ½ TB sized balls onto a cookie sheet. Softly flatten balls with a fork, making a criss cross pattern.
- Bake at 350 for 5-8 minutes.
Notes
- Nutrition per serving (approx. 48g): Calories: 142kcal, Carbohydrates: 17g, Protein: 2g, Fat: 8g, Saturated Fat: 3g, Trans Fat: 1g, Cholesterol: 12mg, Sodium: 130mg, Potassium: 60mg, Fiber: 1g, Sugar: 11g, Vitamin A: 75IU, Vitamin C: 1mg, Calcium: 16mg, Iron: 1mg.


Leave a Reply