A Little Story About My Grandson
My grandson Leo helped me make these last week. He tried to eat all the Reese’s cups before they went in the batter. I still laugh at that. We had to hide a few for the top.
This is why cooking with family matters. You make more than food. You make happy memories. What is your favorite treat to make with someone you love?
The Secret to the Crust
Do not throw away the Oreo filling. It is the best part for the baker to sneak. The crust is just crumbs and butter. Press it down hard with your fingers.
A tight crust matters. It keeps your cheesecake from falling apart. It gives you a perfect little base for all that creamy goodness. Doesn’t that sound good?
Making the Creamy Dream
Let your cream cheese get warm. This is so important. If it is cold, you will get lumpy cheesecake. And nobody wants that.
Mix everything gently. Do not whip it too much. Too much air makes the cheesecakes puff up and then fall. Fun fact: The first cheesecakes were made in ancient Greece! They were not peanut butter, I think.
The Best Part is the Topping
Melting chocolate with cream is like magic. It turns into smooth, shiny ganache. Doesn’t that smell amazing? Then you chill some and whip it.
You get two toppings from one bowl. I love little tricks like that. It feels smart. Do you like chocolate ganache or whipped cream better on your desserts?
The Hardest Step of All
You must wait. I know, it is the worst part. The cheesecakes need to chill for hours. This waiting matters. It lets all the flavors become friends.
They get firm and taste so much better. It is a lesson in patience. A good thing is worth waiting for. What do you do to pass the time while waiting for a treat?
Ingredients:
| Ingredient | Amount | Notes |
|---|---|---|
| Oreo cookie crumbs | 2 cups | from 20 Oreo cookies |
| Unsalted butter | ¼ cup | melted and cooled |
| Cream cheese | 16 ounces | room temperature |
| Granulated sugar | ¾ cup | |
| Eggs | 2 large | room temperature |
| Vanilla extract | 1½ teaspoons | |
| Creamy peanut butter | ⅓ cup | I used Reese’s brand |
| Heavy whipping cream | ¼ cup | |
| Reese’s cup minis | 1 cup | unwrapped from a 7.6-ounce bag, cut into quarters (reserve 12 for garnish) |
| Semi-sweet chocolate bar | 4 ounces | broken into small pieces |
| Heavy whipping cream | ½ cup | divided |
| Powdered sugar | 2 tablespoons | |
| Vanilla extract | ½ teaspoon |
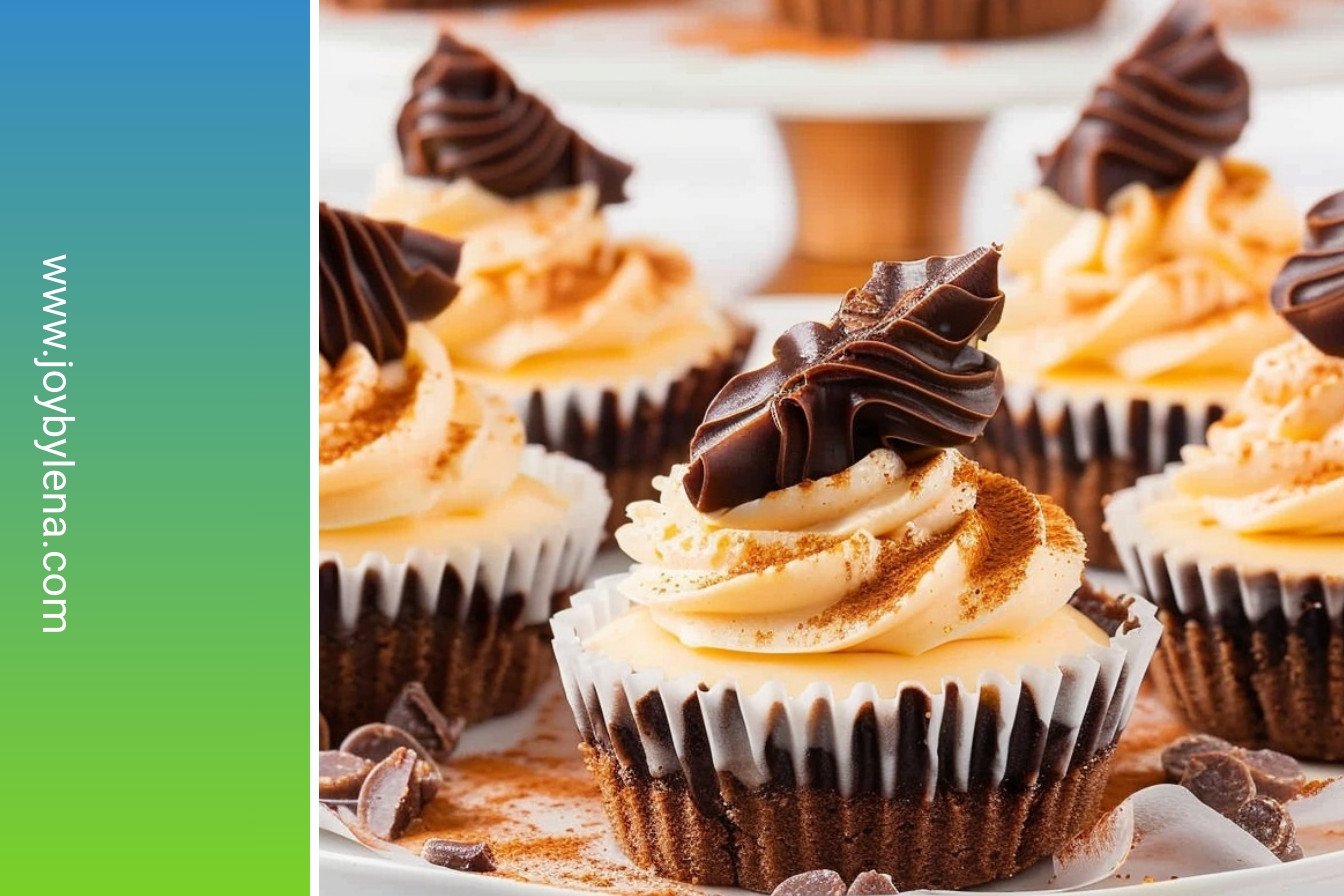
My Mini Peanut Butter Cheesecakes
My grandson Leo calls these his “happy cakes.” I think that’s the best name. They are little bites of creamy, peanut buttery joy. Making them always reminds me of baking with my own abuela. Our kitchen would get so warm and smell so sweet. I still laugh at that memory.
Let’s start with the crust. You’ll crush up those Oreo cookies. No filling to remove, just crush them all up. Mix them with the melted butter until it looks like dark, wet sand. (A hard-learned tip: use a small measuring cup to press the crumbs down firmly. A loose crust will fall apart!).
- Step 1: Heat your oven to 350°F. Line a muffin pan with twelve paper liners. I like the pretty gold ones. This gets everything ready for our little cheesecakes. It makes the whole process so much smoother.
- Step 2: Stir the cookie crumbs and melted butter together. You want it to be fully combined. It should hold together when you squeeze it in your hand. Doesn’t that smell amazing already?
- Step 3: Put one tablespoon of crumbs into each liner. Press it down hard with your fingers. You want a solid, tight base for all that filling. This is the foundation of your mini cheesecake.
- Step 4: Bake the crusts for just five minutes. This helps them set. Let them cool in the pan on the counter. They need to be cool before we add the filling.
Now for the best part. The filling is like a sweet, fluffy cloud. Make sure your cream cheese is soft. This is the secret to a smooth filling without any lumps. Room temperature ingredients are your best friend here.
- Step 5: Beat the soft cream cheese and sugar together. Use a low speed on your mixer. Keep going until it looks perfectly smooth. No one wants a lumpy cheesecake.
- Step 6: Add the eggs and vanilla. Mix them in just until you don’t see yellow streaks. (Be careful not to overbeat! Too much air makes the cheesecakes puff up and crack).
- Step 7: Now for the peanut butter and heavy cream. Mix it all in. The batter will become silky and dreamy. This is my favorite part. What’s your favorite part of baking? Share below!
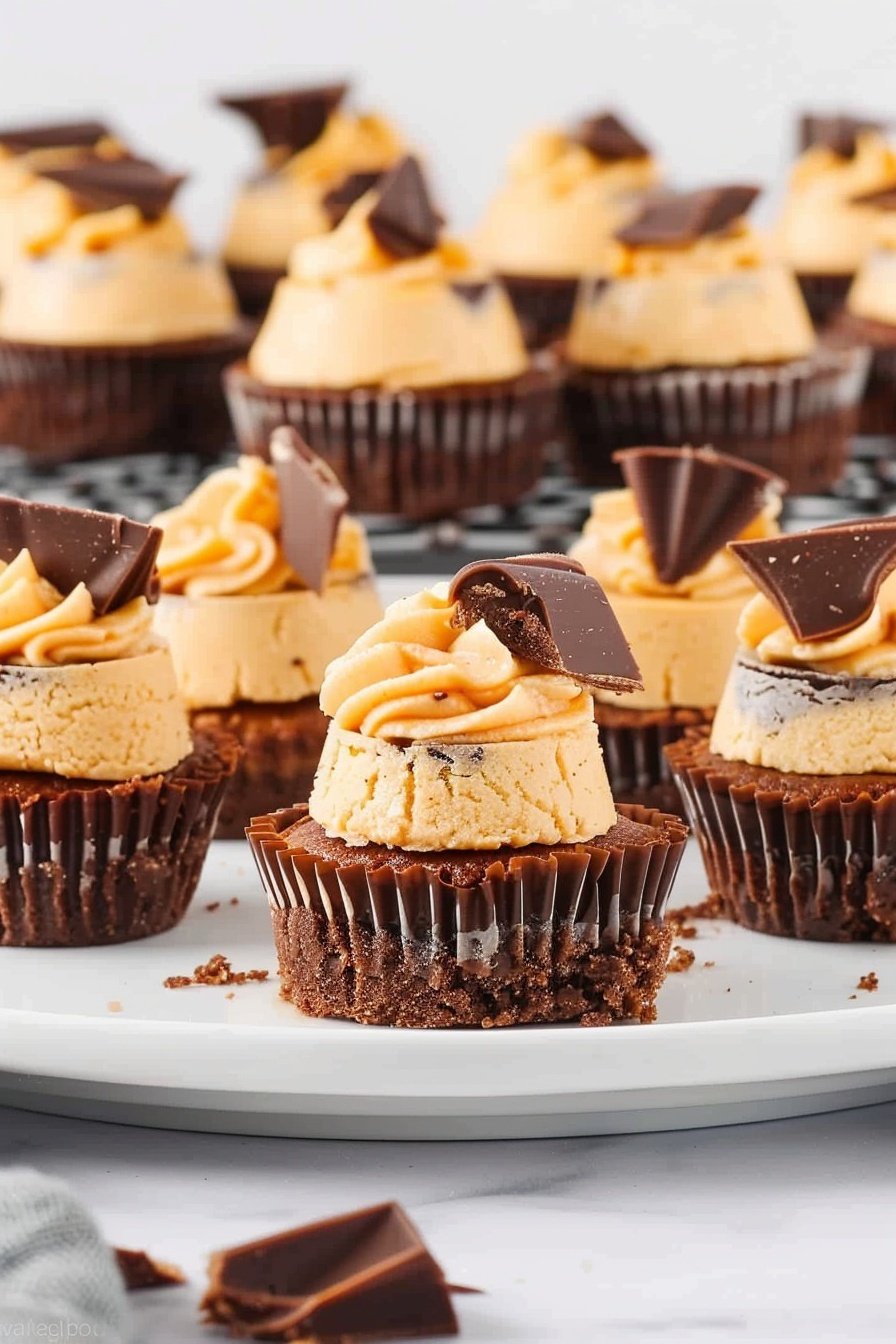
- Step 8: Gently fold in the chopped mini Reese’s. You want little peanut butter surprises in every single bite. Be gentle so you don’t deflate your beautiful batter.
- Step 9: Spoon the filling onto your cooled crusts. Fill each liner all the way to the top. Don’t be shy. They will not rise very much in the oven.
- Step 10: Bake for 20 to 22 minutes. The centers should be set, not jiggly. You can give the pan a little tap to check. Let them cool completely in the pan.
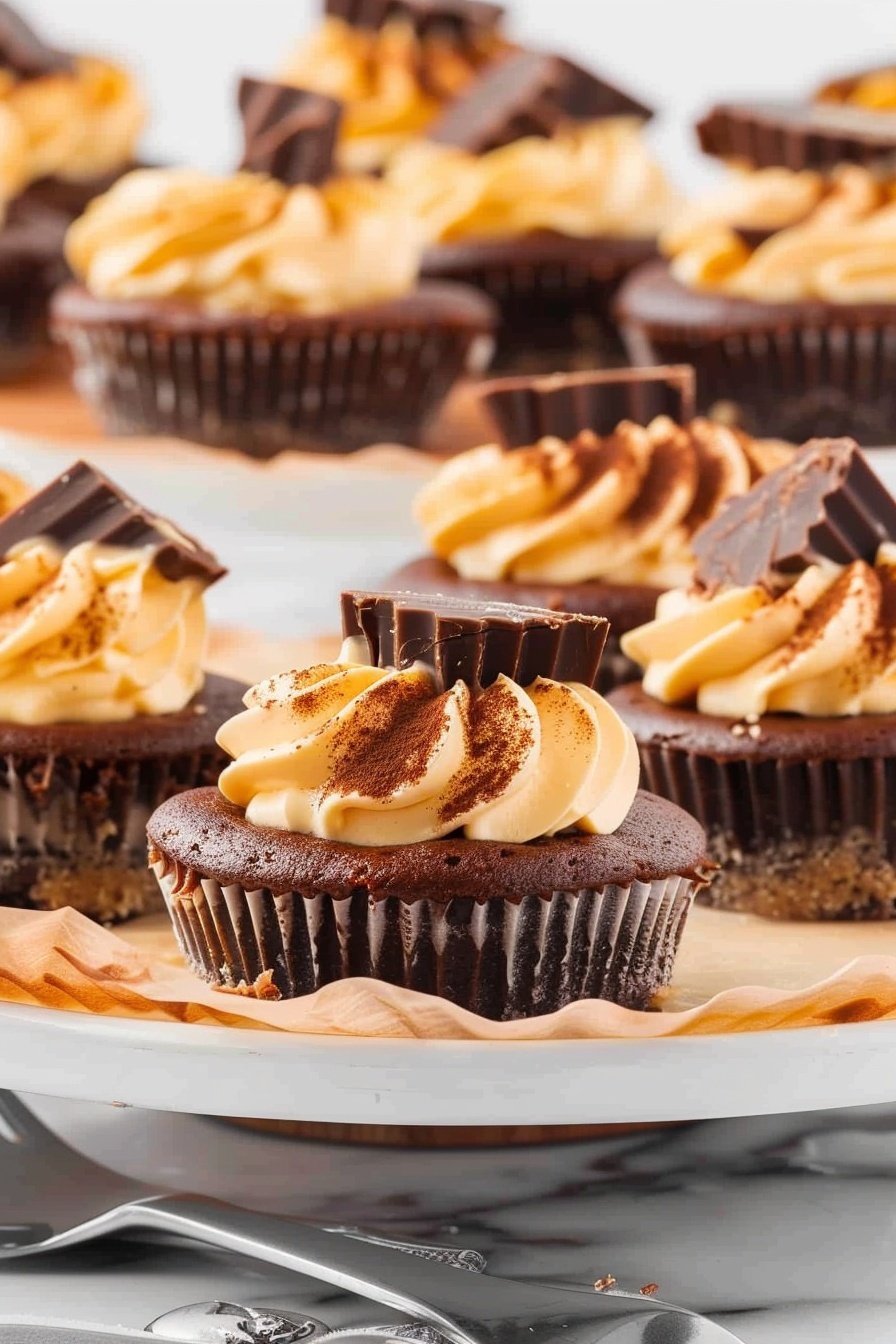
The final touches make them extra special. The chocolate ganache is so rich. The whipped topping is light as air. My grandkids love to help with this part. It can get a little messy, but that’s half the fun.
- Step 11: Make the ganache by melting chocolate with cream. Whisk it until it’s shiny and smooth. It will look like a professional chocolate sauce. So fancy!
- Step 12: Put a teaspoon of ganache on each cooled cheesecake. Spread it into a neat circle. You will have some ganache left over. We are not done with it yet.
- Step 13: Chill the leftover ganache for at least 30 minutes. This is very important. It needs to be cold to whip up properly. Patience is a baker’s tool.
- Step 14: Whip the cold ganache with more cream and sugar. It will get light and fluffy. It turns into a magical chocolate whipped cream. Pipe a pretty dollop on top of each cheesecake.
- Step 15: Top each one with a reserved mini Reese’s. Now they look like they came from a bakery. The hardest part is waiting. They need to chill in the fridge for 8 hours, or overnight. It’s worth the wait, I promise.
Cook Time: 25 minutes
Total Time: 8 hours 45 minutes
Yield: 12 servings
Category: Dessert
Three Fun Twists to Try
Once you master the basic recipe, you can get creative. I love playing with new flavors. It keeps things exciting in the kitchen. Here are a few ideas my family adores.
- Cookie Dough Swirl: Drop small spoonfuls of edible chocolate chip cookie dough into the filling before baking.
- Jelly Surprise: Make a little well in the center of each filled cheesecake. Add a teaspoon of your favorite grape or strawberry jelly.
- Salted Caramel Drizzle: Skip the ganache. Top the chilled cheesecakes with a drizzle of salted caramel sauce and a sprinkle of sea salt.
Which one would you try first? Comment below!
Serving Them Up With Style
These little cheesecakes are a treat all on their own. But you can make them even more special. I like to serve them on a big platter for parties. It always makes people smile.
For a fancy touch, add a tiny sprinkle of crushed peanuts on top. A little dusting of cocoa powder looks beautiful too. Serve them with a small cup of fresh berries on the side. The tart fruit is perfect with the sweet, rich cheesecake.
For drinks, a cold glass of milk is the classic choice. It just belongs with peanut butter and chocolate. For the grown-ups, a nice cup of coffee with cream is wonderful. Which would you choose tonight?
Keeping Your Mini Cheesecakes Fresh
These little cheesecakes are perfect for making ahead. They keep beautifully in the fridge for up to five days. Just cover them tightly with plastic wrap.
You can also freeze them for a sweet treat later. Place them in a single layer on a baking sheet. Once frozen, pop them into a freezer bag.
I once forgot a whole batch in my freezer for a month. My grandson found them and it made his day. That is why batch cooking matters, it creates little pockets of joy for later.
Let them thaw in the fridge overnight before serving. No reheating is needed, they are best enjoyed cold. Have you ever tried storing it this way? Share below!
Easy Fixes for Common Cheesecake Troubles
Sometimes, cracks can appear on top of your cheesecakes. Do not worry, the yummy ganache will cover them right up. This matters because your dessert will still look and taste wonderful.
If your crust sticks to the liner, you might not have packed it tight enough. I remember when this happened to me. I used the bottom of a small cup to press harder next time.
A runny filling often means the ingredients were too cold. Always use room temperature cream cheese and eggs. This simple step builds your confidence and makes the filling super smooth. Which of these problems have you run into before?
Your Mini Cheesecake Questions Answered
Q: Can I make these gluten-free? A: Yes! Just use gluten-free chocolate sandwich cookies for the crust.
Q: How far ahead can I make them? A: They are perfect for making a day or two before your party.
Q: What if I do not have heavy cream? A: Sour cream is a good swap for the filling.
Q: Can I make a bigger one? A: Pour the batter into a graham cracker crust for a full-size pie.
Q: Is the whipped ganache necessary? A: No, but it is a special, fluffy touch. *Fun fact: The chilling step is what makes it whip up so nicely!* Which tip will you try first?
A Sweet Note From My Kitchen
I hope you love making these little bites of happiness. They always remind me of baking with my own family. The kitchen is the heart of the home.
I would be so thrilled to see your creations. Sharing food is one of life’s greatest joys. Have you tried this recipe? Tag us on Pinterest!
Happy cooking!
—Lena Morales.
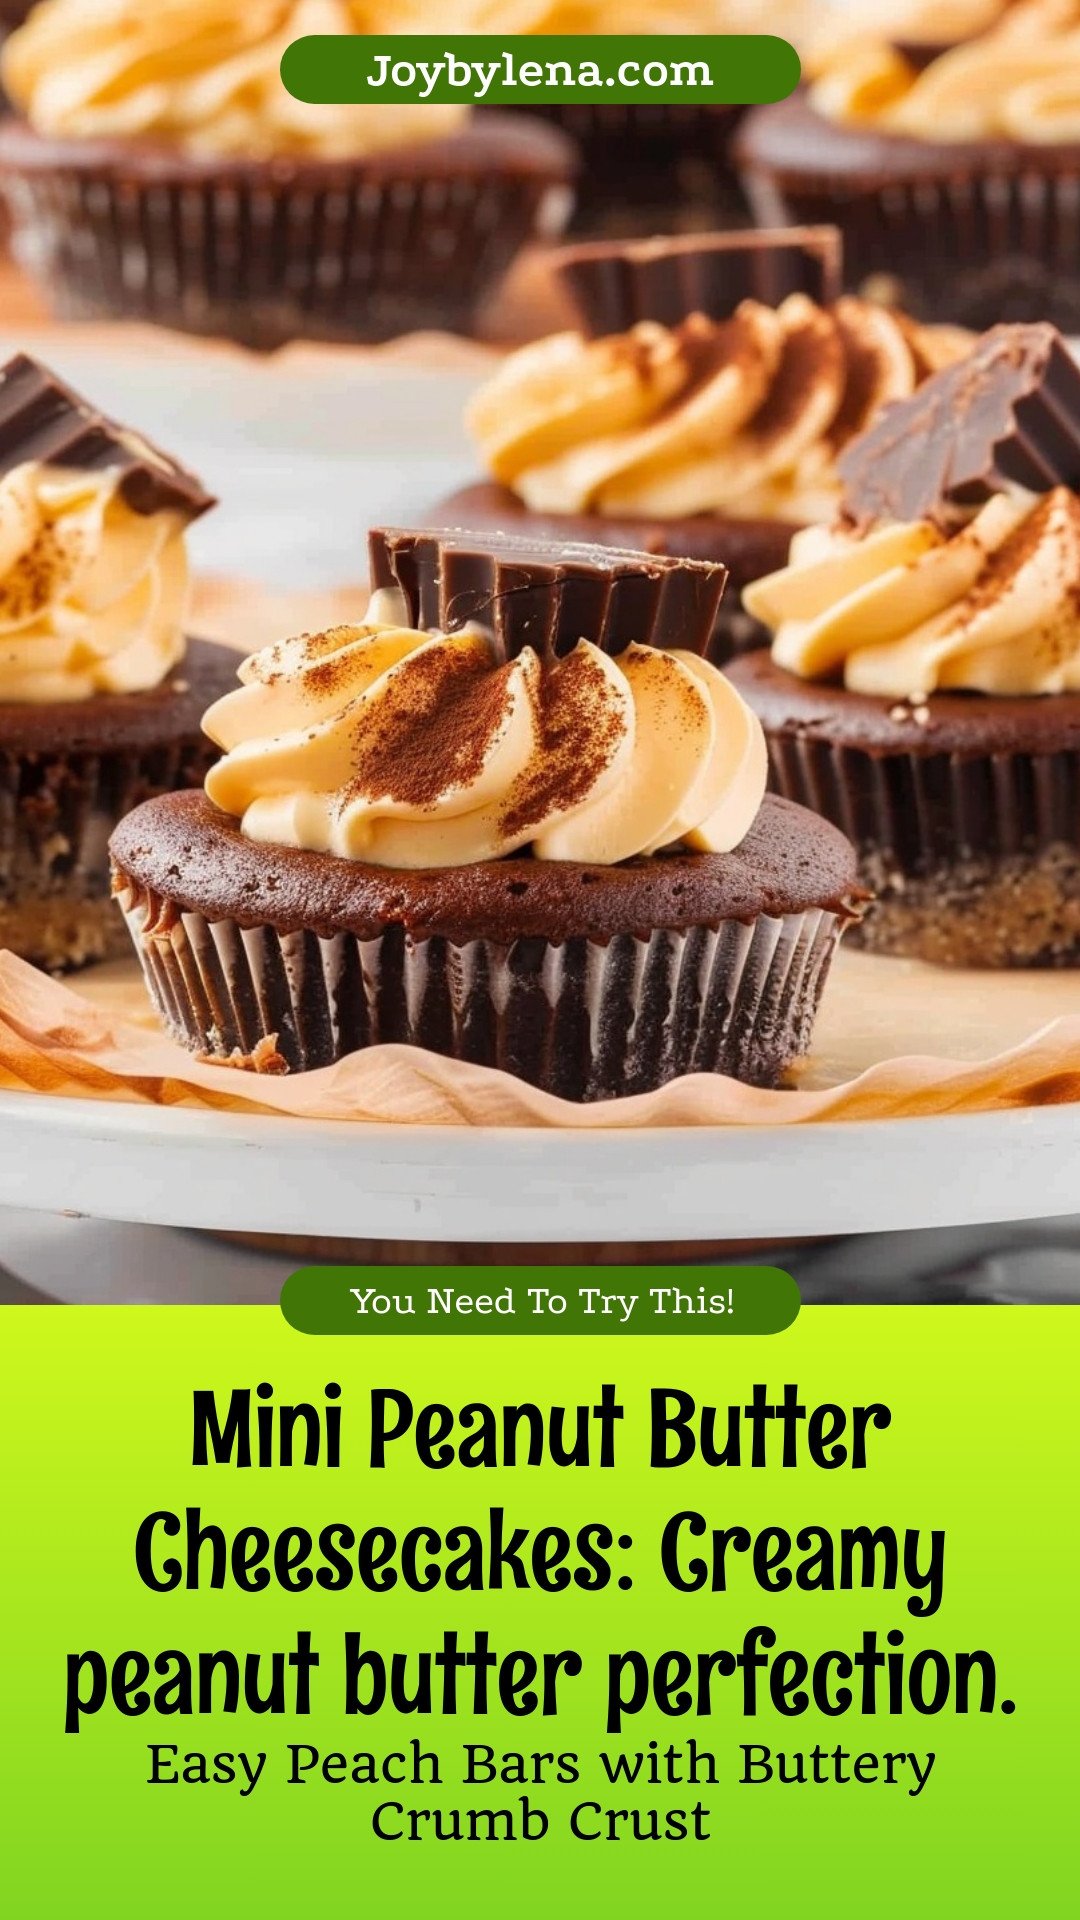
Mini Peanut Butter Cheesecakes: Creamy peanut butter perfection.:
Description
Indulge in these mini peanut butter cheesecakes! A creamy, no-bake dessert that’s easy to make and perfect for parties. So rich and delicious!
Ingredients
=== Cookie Crust ===
=== Cheesecake Filling ===
=== Chocolate Ganache & Whipped topping ===
Instructions
- Preheat the oven to 350°F. Line a standard muffin pan with 12 paper liners. Set aside.
- In a mixing bowl, stir together the Oreo cookie crumbs and melted butter until fully combined.
- Fill each paper liner with 1 tablespoon of the cookie crumb mixture and press it into an even layer onto the bottom of each. Make sure that you pack the crumbs into a tight layer. You can use your fingertips or the bottom of a small dry measuring cup to pack the crumbs tightly.
- Bake the cookie crust for 5 minutes. Allow the cookie crusts to cool, in the pan, on the counter while you make the cheesecake filling.
- In a large mixing bowl, beat together, using a handheld mixer on low speed, the cream cheese, and granulated sugar until smooth.
- To the cream cheese, add the eggs and vanilla extract and continue to beat the cream cheese until the eggs are fully incorporated. Be careful not to overbeat the cream cheese mixture, as you do not want to incorporate too much air into the batter.
- Add the creamy peanut butter and heavy cream. Beat just until all the ingredients are fully incorporated, and the batter is smooth.
- Fold the quartered mini Reese’s cup candies into the cream cheese batter.
- Fill each cookie crust with ⅛ to ¼ cup cream cheese filling. Your cheesecakes should be filled all the way to the top of each paper liner in the muffin pan.
- Bake the Reese’s peanut butter cup mini cheesecakes for 20 to 22 minutes. The centers should just barely be set and not jiggly.
- Allow the mini cheesecakes to cool completely on the counter, in the pan, before adding the chocolate ganache and whipped chocolate ganache topping.
- Once your Reese’s peanut butter cup mini cheesecakes have cooled, you can make the chocolate ganache by melting together the semi-sweet chocolate pieces and ¼ cup of the heavy whipping cream in the microwave for 1 minute.
- Whisk the melted chocolate and heavy whipping cream until completely smooth.
- Top each cheesecake with 1 heaping teaspoon of the chocolate ganache and smooth it out into a circle covering the top. You will have extra chocolate ganache left in the bowl. This will be used to make the whipped ganache.
- Allow the mini cheesecakes to sit on the counter while you chill the remaining chocolate ganache in the refrigerator for 30 minutes to 1 hour. This chill time is essential to allow the chocolate ganache to whip properly.
- To the bowl of the chilled ganache, add the remaining ¼ cup of heavy whipping cream, powdered sugar, and vanilla extract.
- Using a handheld mixer on medium-high speed, whip the chocolate ganache until it is light and fluffy.
- Transfer to a piping bag fitted with a decorative piping tip (I used a Wilton 2D tip), and garnish each of the mini cheesecakes with a dollop of whipped ganache.
- With the reserved mini Reese’s cup candies, you can either top each dollop of whipped ganache with a whole candy piece, or you can cut them in half and garnish each mini cheesecake.
- You will need to chill your Reese’s peanut butter cup mini cheesecakes in the refrigerator for 8 hours, or up to overnight, before serving them to allow the cheesecake and chocolate ganache to fully set up and firm.
Notes
- Nutrition: Calories: 696kcal | Carbohydrates: 62g | Protein: 10g | Fat: 47g | Saturated Fat: 21g | Polyunsaturated Fat: 4g | Monounsaturated Fat: 15g | Trans Fat: 4g | Cholesterol: 94mg | Sodium: 451mg | Potassium: 314mg | Fiber: 3g | Sugar: 41g | Vitamin A: 901IU | Vitamin C: 0.2mg | Calcium: 81mg | Iron: 3mg


Leave a Reply