A Sweet Idea from My Granddaughter
My granddaughter Mia dreamed up these colorful bites. She loves anything rainbow and magical. I just helped her in the kitchen.
We mixed her favorite cake mix with creamy cheese. The result was a sweet, soft dough. It was so simple, even she could help. I still laugh at how excited she got.
Why We Heat the Mix
You must heat the dry cake mix first. This is a very important safety step. It makes the flour safe to eat raw.
Just microwave it and let it cool completely. This matters because it keeps our tummies happy. Nobody wants a stomach ache from a treat! What’s your favorite no-bake dessert to make?
The Magical Coating
Now for the really fun part. We get to dip the balls in colorful candy. You use four different colors. Doesn’t that look like a pot of paint?
Roll each ball in one color. The coating hardens into a pretty shell. It’s like magic. Fun fact: The first candy coatings were invented for medicines, not sweets!
A Little Kitchen Lesson
Patience is the secret ingredient here. You must chill the dough for two whole hours. This helps the flavors come together. It also makes the dough easier to roll.
This matters because good things take time. Rushing never makes food taste better. Do you find it hard to wait for treats, or are you a patient person?
Time to Share the Magic
These bites are perfect for a party. They look so happy on a plate. Their bright colors make everyone smile.
Making food beautiful is a way to show you care. This matters. It turns a simple snack into a little gift. What color would you dip your bite in first?
Ingredients:
| Ingredient | Amount | Notes |
|---|---|---|
| funfetti strawberry cake mix with candy bits | 15.25 ounces | Unicorn cake mix |
| cream cheese | 8 ounces | softened |
| unicorn sprinkles | 3 tablespoons | or multi-colored sprinkles |
| pink candy melts | 1 cup | |
| purple candy melts | 1 cup | |
| blue candy melts | 1 cup | |
| yellow candy melts | 1 cup | |
| unicorn sprinkles | ⅓ cup | optional |
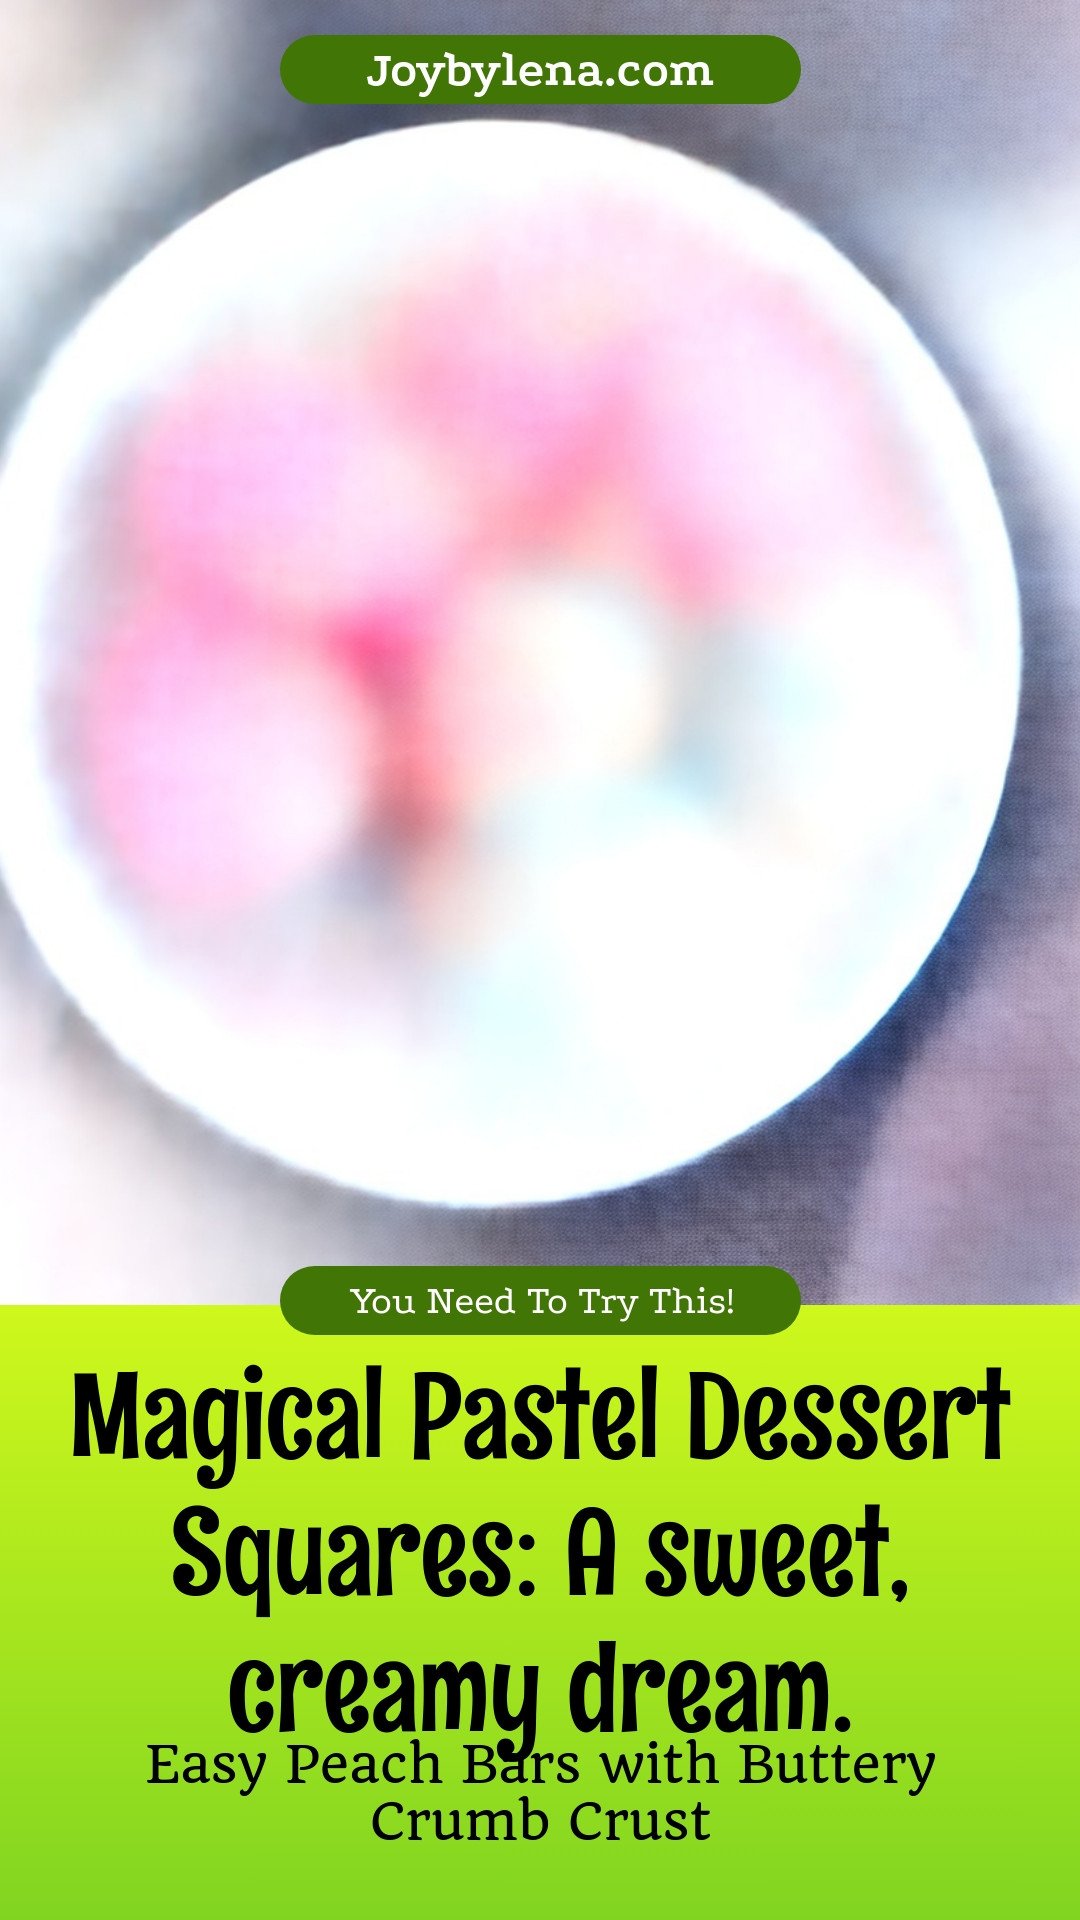
My Magical Pastel Dessert Squares
Hello, my dear! Let’s make some magic in the kitchen today. These little squares are like sweet, creamy dreams. They remind me of the colorful birthday cakes my grandkids always request. Doesn’t that sound fun? We start with a simple cake mix and some cream cheese. The best part is rolling them in pretty, pastel colors. I love how cheerful they look on a plate.
Making them is almost as fun as eating them. Just follow these simple steps with me. I will share a little story or two along the way. (My hard-learned tip: Make sure your cake mix is completely cool! A warm mix will make the cream cheese too soft.) Ready to begin? Let’s go!
- Step 1: First, we need to heat our dry cake mix. Put it in a bowl and microwave it twice for 30 seconds each. Stir it well after each time. This is a very important safety step. Let it cool completely on the counter. I sometimes wave a magazine over it to help.
- Step 2: Now, let’s make the cream cheese smooth. Beat it with a mixer for a minute or two. You want it to be nice and creamy. I always think this part looks like fluffy clouds. It makes me so happy.
- Step 3: Sprinkle the cool cake mix and three tablespoons of sprinkles over the cream cheese. Mix it all together just until it’s combined. The colors from the sprinkles start to peek through. I still laugh at how my grandson calls this “unicorn dough.”
- Step 4: Cover the bowl tightly and put it in the fridge. It needs to chill for two whole hours. This helps the dough get firm. This is a good time to clean up. Or you can just sit and rest for a bit.
- Step 5: Get a baking sheet and line it with parchment paper. This will be our landing spot for our little bites. It keeps them from sticking. I always have a roll of this paper in my drawer.
- Step 6: Now, use a tablespoon to scoop the dough. Roll each scoop into a little ball with your hands. Place all the balls on your prepared baking sheet. They look like little snowballs, don’t they? Do you like rolling dough with your hands? Share below!
- Step 7: Time for the colors! Melt each color of candy melt in its own small bowl. Use the microwave in 30-second bursts. Stir well each time until they are smooth and liquid. Seeing all those melted colors makes me feel like a painter.
- Step 8: Here is the fun part. Roll a cheesecake ball in one of the melted colors. Use a fork to lift it out and tap off the extra coating. If you see a bare spot, just drizzle a little more on top. Gently push the finished bite onto the baking sheet with a toothpick.
- Step 9: While the coating is still wet, add a pinch of extra sprinkles on top. Repeat this for all your bites. Then let them sit until the candy shell is hard. The waiting is the hardest part, I know. But it is worth it!
Cook Time: 0 minutes
Total Time: 2 hours 10 minutes
Yield: 28 servings
Category: Dessert, Snack
Let’s Get Creative!
Once you master the basic recipe, you can try new things. I love playing with flavors in my kitchen. Here are a few fun twists for these magical squares. They are all so simple and delicious.
- Chocolate Lover’s Dream: Use a chocolate cake mix and roll them in dark chocolate coating. So rich and fudgy!
- Cookie Doodle Fun: Use a sugar cookie or snickerdoodle cake mix instead. Add a little cinnamon to the cream cheese.
- Fruity Rainbow: Try a lemon or rainbow chip cake mix. Use pastel candy melts and fruity sprinkles. Doesn’t that sound fresh?
Which one would you try first? Comment below!
Serving Your Sweet Magic
These little squares are perfect for any party. I like to put them on a big platter. Arrange them in a rainbow pattern. It looks so beautiful. You could also put each one in a tiny, colorful paper cup.
What should we drink with them? A cold glass of milk is always my first choice. It is a classic for a reason. For a special grown-up treat, a little glass of sweet Moscato wine pairs nicely. The fruity wine loves the sweet candy coating. Which would you choose tonight?
Keeping Your Magical Squares Perfect
These dessert squares are best kept in the fridge. They will stay happy for about five days. Just put them in a container with a tight lid.
You can also freeze them for a sweet treat later. I once made a double batch for my grandson’s birthday. We froze half and enjoyed them weeks later.
Let them thaw in the fridge before eating. This keeps their creamy texture just right. Storing food well means less waste and more joy.
It is a simple way to show love to your family. Have you ever tried storing it this way? Share below!
Easy Fixes for Common Hiccups
Is your cream cheese mixture too sticky? Just chill it a bit longer. Cold hands also help when you roll the balls.
I remember when my coating was too thick. I learned to tap the fork gently. This removes the extra coating for a thin, pretty shell.
Are your candy melts seizing up? Make sure no water gets in the bowl. Even a tiny drop can make them clumpy.
Fixing small problems builds your cooking confidence. It also makes your food taste and look much better. Which of these problems have you run into before?
Your Quick Questions, Answered
Q: Can I make this gluten-free? A: Yes! Just use a gluten-free funfetti cake mix. It works just the same.
Q: Can I make them ahead? A: Absolutely. They are perfect for making a day or two before a party.
Q: What if I don’t have candy melts? A: You can use white chocolate chips and a little oil. Add food coloring for pastel shades.
Q: Can I make a smaller batch? A: Of course. Just cut all the ingredients in half. It is easy to do.
Q: Are the sprinkles inside necessary? A: No, but they add a fun crunch. It is your kitchen, so you decide! Which tip will you try first?
A Sweet Note From My Kitchen to Yours
I hope you have fun making these magical squares. Cooking is about creating sweet memories. I love hearing about your kitchen adventures.
*Fun fact: The first dessert I ever made was a simple no-bake cheesecake. It started my lifelong love for easy, joyful recipes.*
Please share your beautiful creations with me. Have you tried this recipe? Tag us on Pinterest! I cannot wait to see your colorful treats.
Happy cooking!
—Lena Morales.
Magical Pastel Dessert Squares: A sweet, creamy dream.:
Description
Indulge in these magical pastel dessert squares! A sweet, creamy dream that’s easy to make and perfect for any occasion. Get the recipe!
Ingredients
Instructions
- It is important to heat treat the dry cake mix before adding it to the cream cheese. Add the dry cake mix to a medium-sized heat-safe bowl. Microwave the dry cake mix in two 30-second intervals, stirring after each interval. Allow the cake mix to cool completely before mixing into the cream cheese.
- Using a medium-sized mixing bowl and a handheld mixer on medium-high speed, beat the cream cheese for 1½ to 2 minutes until completely smooth.
- Sprinkle the completely cooled dry cake mix and 3 tablespoons of sprinkles over the top of the cream cheese. Continue mixing just until well incorporated.
- Tightly cover the cream cheese mixture and chill in the refrigerator for 2 hours.
- Line a baking sheet with parchment paper and set it aside.
- Use a 1 tablespoon cookie scoop, and scoop the cheesecake dough. Roll the dough into a ball and place it on the prepared baking sheet.
- Using four small heat-safe bowls, add one color of candy melt into each bowl. Microwave in 30-second intervals, stirring well after each interval, until completely melted. (You will be able to roll 7 cheesecake bites in each color)
- Roll one cheesecake bite in one of the colors. Place the coated bite onto a fork and gently tap any excess coating off. You can use a spoon to pour the coating over any bare spots. You can use a toothpick to gently push the coated cheesecake bites onto the prepared baking sheet.
- While the cheesecake bite is still “wet”, sprinkle the unicorn sprinkles over the top of the coated bites. Repeat the coating and sprinkling process until all the bites are coated. Allow the coating to harden completely before serving.
Notes
- Nutrition per serving: Calories: 177kcal | Carbohydrates: 25g | Protein: 1g | Fat: 8g | Saturated Fat: 6g | Polyunsaturated Fat: 0.1g | Monounsaturated Fat: 1g | Cholesterol: 8mg | Sodium: 144mg | Potassium: 11mg | Sugar: 19g | Vitamin A: 109IU | Calcium: 37mg | Iron: 0.3mg

Leave a Reply