My Summer of Sweet Mistakes
I first made this cake for a hot July birthday. My grandson wanted ice cream and cake. I thought, why not both? I was so nervous it would melt. But it worked! I still laugh at that.
This cake matters because it brings joy without stress. You don’t need an oven. You just need to be willing to get a little messy. What’s your favorite no-bake dessert to beat the heat?
Let’s Build Our Sweet Sandwich Tower
Grab your bowl and a big spoon. Mix the warm fudge with some whipped cream. Doesn’t that smell amazing? Then stir in the dry pudding powder. It will get thick and dreamy.
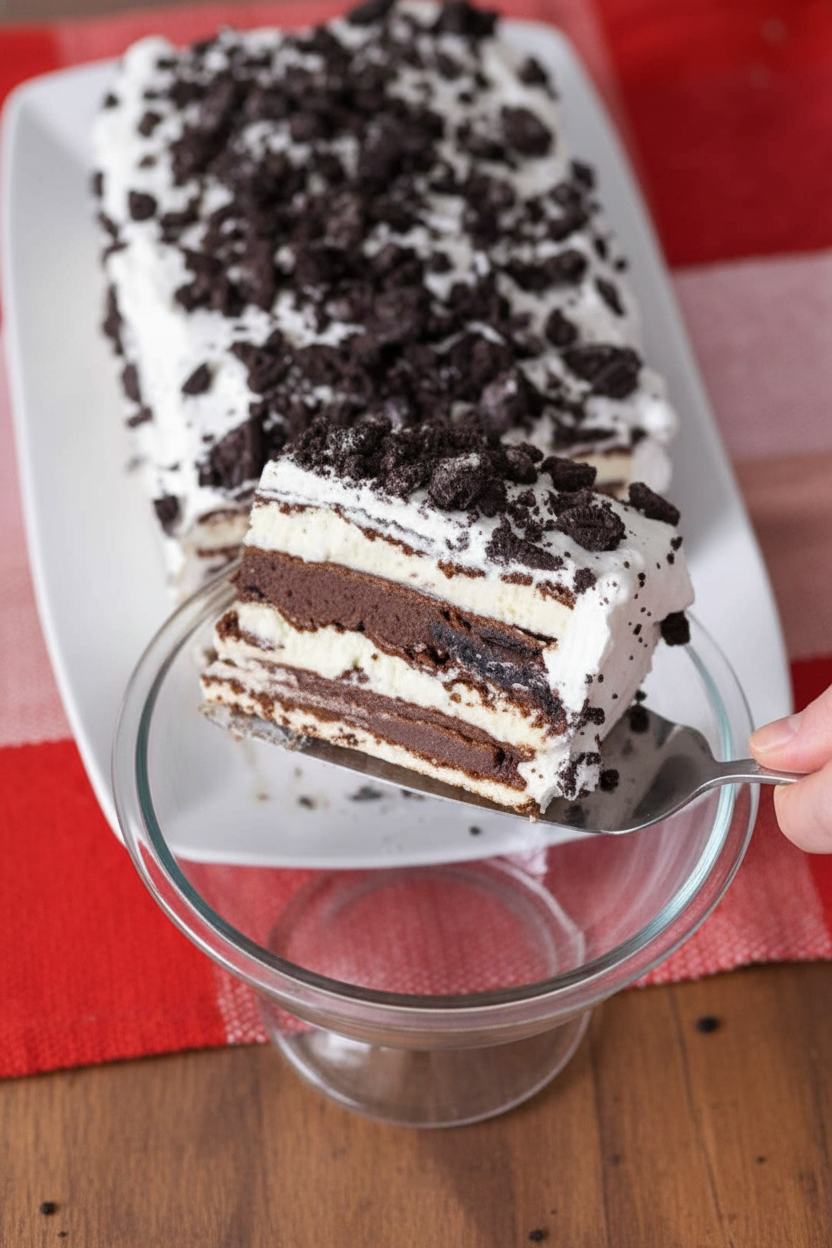
Now, the fun part. Lay four ice cream sandwiches down like bricks. Spread half that chocolate fluff on top. Do it all again. You are building a tasty tower. It’s like playing with your food, but better.
The Magic of Waiting
This is the hardest step. You must freeze it. First for one hour, then wrapped up for a few more. This waiting time matters. It lets all the flavors become friends.
The cake turns from soft to sliceable. It becomes one perfect treat. Fun fact: The freezing step is what makes it a “cake” and not a soup! Do you think you can wait, or will you peek in the freezer?
Crunchy, Creamy, Perfect
Before that final freeze, cover the whole cake with the rest of the whipped cream. Then, press in all those chopped Oreos. I like to put them everywhere. Top and sides.
That crunch is the best part. It breaks up all the cold, creamy goodness. Every bite has soft cake, fluffy cream, and a little cookie crunch. What topping would you add? More sprinkles? Maybe some peanuts?
A Treat for Sharing
This cake is big. It serves many people. That is its second job. It brings folks together around the table. Everyone gets a smile on their face.
It looks fancy but it’s so simple. That’s my favorite kind of recipe. Who will you share your first slice with? Tell me about them.
Ingredients:
| Ingredient | Amount | Notes |
|---|---|---|
| Hot fudge sauce | 1/2 cup | Warmed |
| Whipped cream | 4 cups | |
| Instant chocolate pudding | 1 (3.4-ounce) box | |
| OREO cookies | 2 cups | Chopped |
| Ice cream sandwiches | 12 |
My No-Bake Ice Cream Sandwich Dream Cake
Hello, my dear! Come sit. Let me tell you about this silly, wonderful cake. I first made it for my grandson’s birthday. It was so hot outside. The thought of turning on the oven made me sweat! This cake saved the day. Everyone loved it, especially the kids. It’s like a giant, magical ice cream sandwich. Doesn’t that sound fun? Let’s make it together. It’s easier than you think.
Step 1
Grab a medium bowl. Warm your fudge sauce just a little. Now, whisk it with about 2 cups of whipped cream. It will look like a chocolate cloud. Add the whole box of dry chocolate pudding mix. Stir for a few minutes. It will get thick and dreamy. Fold in one cup of those chopped Oreos. Set this bowl aside. This is your magic glue.
Step 2
Line a cookie sheet with foil. Place 4 ice cream sandwiches side-by-side. They are your cake base. Spread half of your chocolate mixture on top. Be gentle, but cover them completely. I still laugh at how messy my first try was! Now, repeat. Add 4 more sandwiches, then the rest of the chocolate mix.
Step 3
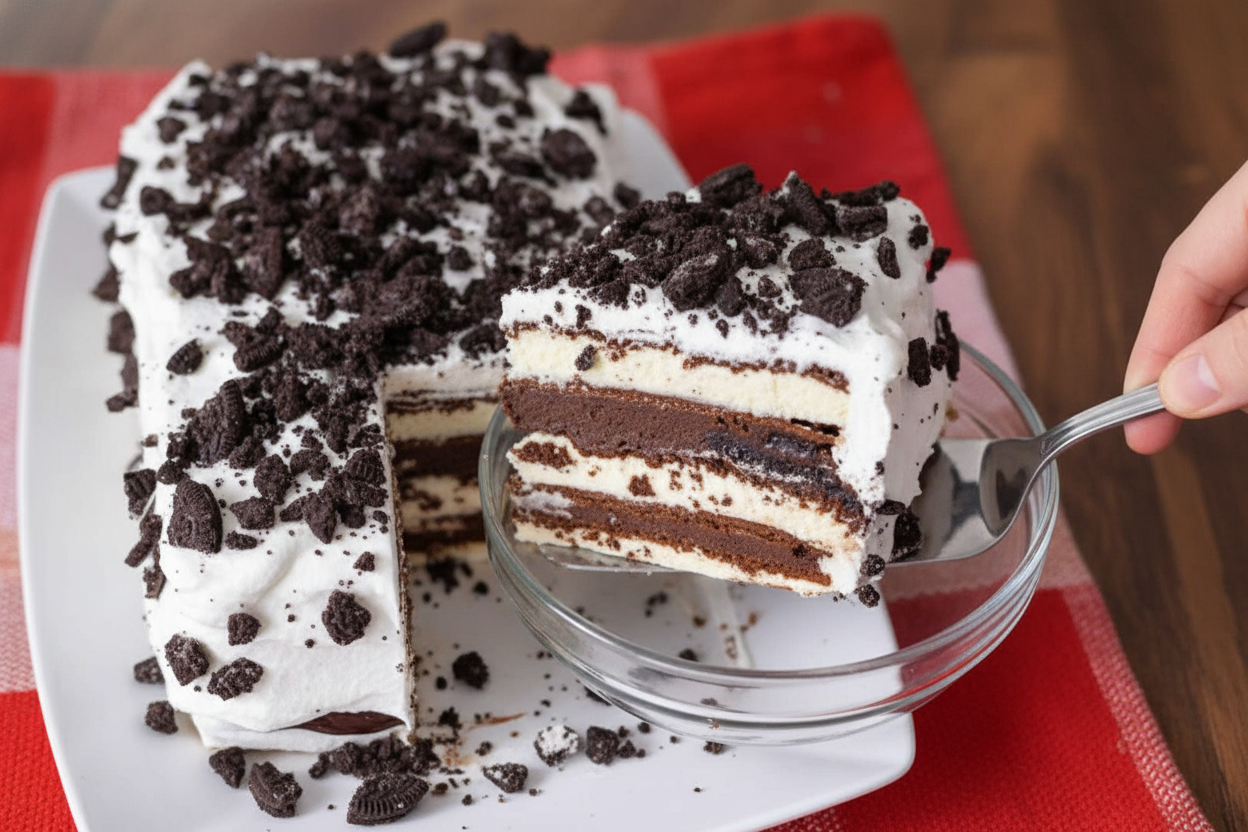
Top it all with the last 4 sandwiches. Now, use the rest of the plain whipped cream to frost the whole cake. This is the fun part! Cover the top and sides. Finally, press the rest of your chopped cookies all over. (A hard-learned tip: work fast so the sandwiches don’t melt too much!).
Step 4
Slide the cake into the freezer. Let it set for one hour. Then, wrap it lightly with more foil. Freeze it for another 2-3 hours. This waiting is the hardest part! The cake needs time to become one solid, delicious block. What’s your favorite ice cream sandwich flavor? Share below! Now, just slice and serve. See? You made a masterpiece.
Cook Time: 3–4 hours (freezing)
Total Time: 3 hours 15 minutes
Yield: 12 servings
Category: Dessert
Three Fun Twists for Your Cake
This cake is like a blank canvas. You can paint it with so many flavors! Here are my favorite ideas. They make it feel new every time. Try one next time you make it. The surprise is half the fun.
- Cookie Swap: Use mint or peanut butter Oreos. The color and taste change completely.
- Berry Blast: Swap chocolate pudding for vanilla. Fold in fresh, chopped strawberries instead of cookies.
- Caramel Crunch: Use caramel sauce instead of fudge. Mix in chopped butterfinger or heath bars. So crunchy!
Which one would you try first? Comment below!
Serving It Up Sweet & Simple
Presentation is a joy. For a party, add a dollop of extra whipped cream on each slice. A maraschino cherry on top makes everyone smile. You could also drizzle a little extra fudge or caramel right on the plate. It looks so fancy! For a simple family treat, just hand out the slices on napkins. The cake speaks for itself.
This rich cake loves a drink beside it. A cold glass of milk is the classic choice. It’s perfect. For the grown-ups, a small glass of coffee liqueur or a creamy stout beer pairs wonderfully. The bitter notes balance the sweet. Which would you choose tonight?
Keeping Your Ice Cream Sandwich Cake Perfect
This cake lives in the freezer. Keep it wrapped in foil. A big baking sheet helps it stay flat. You can freeze it whole for three days.
Cut slices before it gets too hard. I learned this the hard way. My first cake was a solid brick. A hot knife makes clean slices.
Let slices sit for five minutes before serving. This softens them just right. Batch cooking is great for parties. Make it a day ahead.
This matters because it saves you stress. Your dessert is ready for guests. Have you ever tried storing it this way? Share below!
Simple Fixes for Common Cake Troubles
Is your whipped cream mixture too runny? The freezer is your friend. Chill the bowl first. I remember a soupy mess once. Chilling fixed it.
Are the sandwiches sliding around? Work quickly but gently. Press each layer lightly. This helps everything stick together. It makes slicing easier later.
Does the cake taste icy? You did not freeze it long enough. Wait the full three hours. This matters for the best creamy texture. It builds your cooking confidence.
Fun fact: The first ice cream sandwich was sold from a cart in New York. Which of these problems have you run into before?
Your Ice Cream Cake Questions, Answered
Q: Can I make this gluten-free? A: Yes! Use gluten-free ice cream sandwiches and cookies.
Q: How far ahead can I make it? A: You can make it up to three days early.
Q: What can I use instead of Oreos? A: Try chopped pretzels or your favorite candy bar.
Q: Can I make a smaller version? A: Just cut the recipe in half. Use a loaf pan.
Q: Any optional tips? A: Drizzle extra fudge on each plate. Which tip will you try first?
From My Kitchen to Yours
I hope you love making this cake. It is pure joy to share. I would love to see your creation. Your version might inspire me.
Have you tried this recipe? Tag us on Pinterest! Use #LenasKitchenTable. Let’s build a sweet community together. Happy cooking!
—Lena Morales.
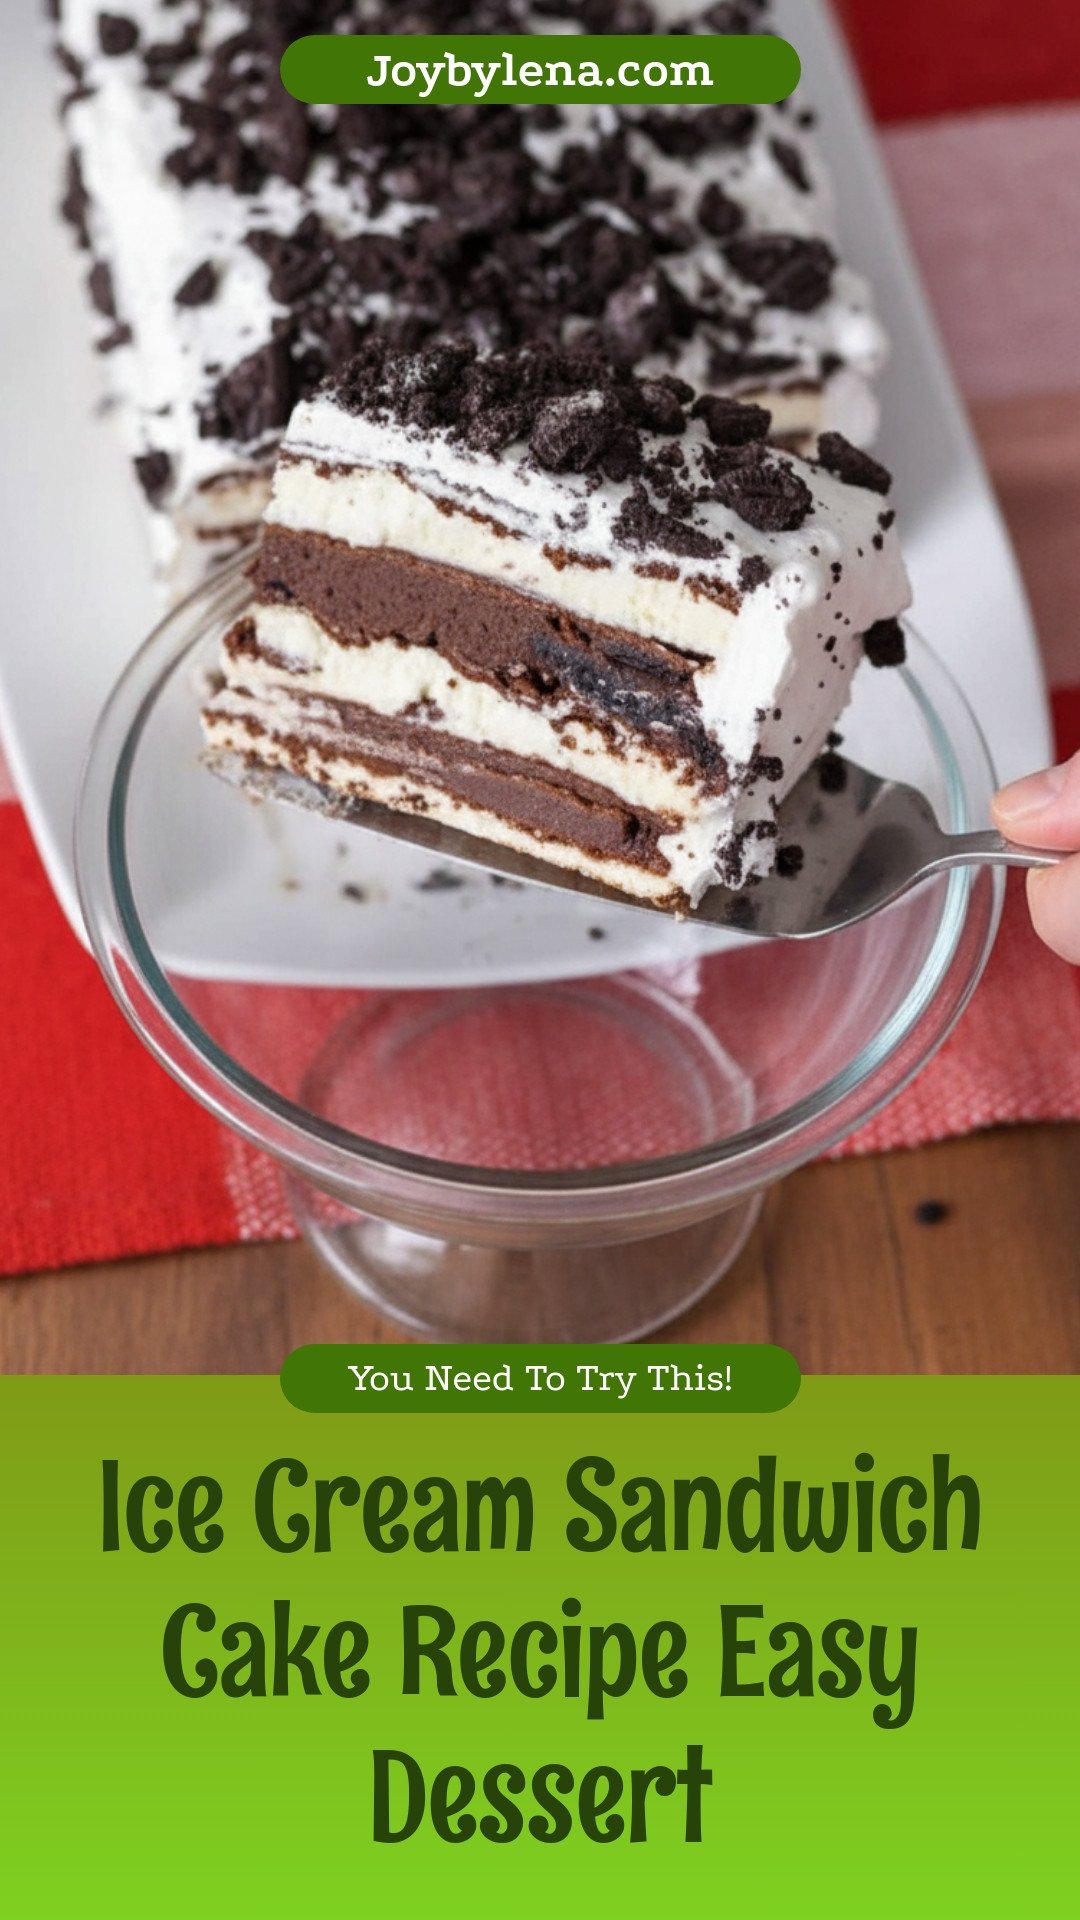
Ice Cream Sandwich Cake: Ice Cream Sandwich Cake Recipe Easy Dessert
Description
Experience the ultimate easy dessert with this Ice Cream Sandwich Cake, featuring layers of ice cream sandwiches, chocolate pudding whipped cream, and chopped Oreos.
Ingredients
Instructions
- In a medium bowl, whisk fudge topping and 1 – 2 cups whipped cream until well blended. Add the dry pudding mix and stir for a few minutes. Add 1 cup chopped cookies and mix until blended. Set aside.
- Place 4 ice cream sandwiches, side-by-side, on a foil-lined cookie sheet. Add half the whipped cream pudding mixture on top, then repeat layers.
- Add the last 4 sandwiches, then cover the entire cake with the remaining whipped cream making sure to add the rest of the chopped cookies to the cake (you can add them to the top or all over the cake).
- Freeze cake for 1 hour, then lightly wrap with foil and continue freezing for an additional 2-3 hours.
Notes
- For best results, use a serrated knife to slice the frozen cake. Let it sit at room temperature for 5-10 minutes before serving for easier slicing.


Leave a Reply