Peaches and Patience
Making a peach pie teaches you patience. You have to wait for the dough to chill. You have to wait for the pie to cool. I know, it’s hard! But it matters. That waiting makes the crust flaky and the filling just right. Good things come to those who wait, my dears.
My grandson, Miguel, never wanted to wait. He’d peek in the oven every two minutes. I still laugh at that. Now he knows. That sweet, bubbly smell is your reward for being patient. What’s the hardest part of baking for you? Is it the waiting, too?
The Secret in the Sink
Let’s talk about peeling peaches. It can be tricky! The secret is a quick bath. You dunk them in boiling water, then ice water. The skins just slip right off. It feels like magic every single time.
Fun fact: This trick is called blanching. It works for tomatoes, too! Tossing the slices with lemon juice is another small step. But it matters. It keeps the peaches bright and tasting fresh. Doesn’t that smell amazing?
Weaving a Sweet Blanket
The lattice top looks fancy. But don’t be scared! It’s just weaving. You lay some strips down. You fold a few back. You add another strip. It’s like making a sweet blanket for your fruit.
My first lattice was a mess. The strips got too warm and sticky. That’s why we keep the dough cold. Chilled dough is your friend. Have you ever tried a lattice crust before? What was your experience like?
The Golden Rule
Baking has one golden rule. Watch your oven! Every oven is different. Start hot to make the crust puff up. Then turn it down to cook the filling through. You want to see those juicy bubbles in the center.
If the edges brown too fast, cover them with foil. This matters because no one likes a burnt crust. It’s about caring for your creation from start to finish. What’s your oven’s special trick? Does it run hot or cool?
The Final Test
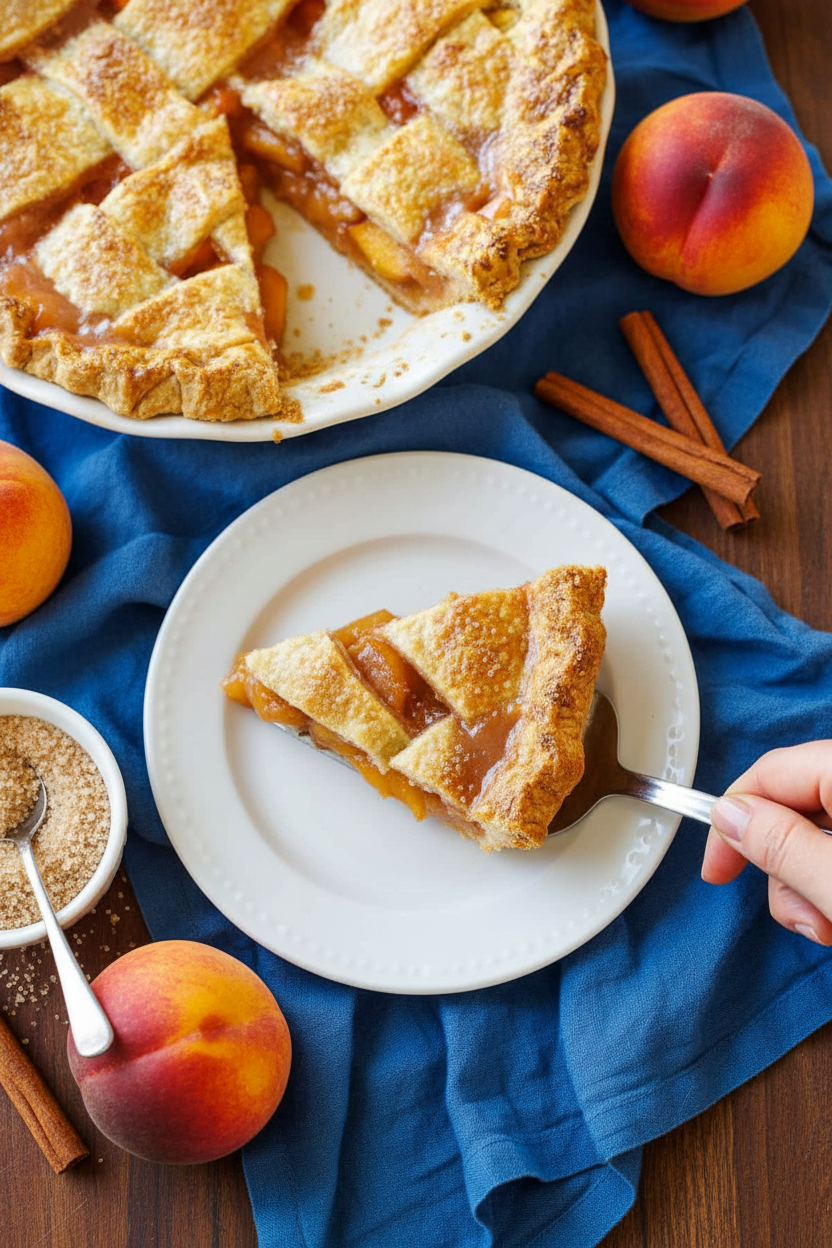
The hardest part is next. You must let the pie cool. For hours! I know, it’s cruel. But if you cut it warm, the filling will run everywhere. Let it set. It will be perfect and slice cleanly.
Serve it with a scoop of vanilla ice cream. The cold cream melting on the warm pie is heaven. This waiting matters most of all. It turns a good pie into a great memory. What’s your favorite memory of eating homemade pie?
Ingredients:
| Ingredient | Amount | Notes |
|---|---|---|
| Pie crust disks | 2 disks | 1 recipe makes 2 disks (1 for bottom, 1 for top) |
| All-purpose flour or cornstarch | ⅓ cup or 3 Tbsp | plus more flour to dust |
| Ripe peaches | 2 1/2 lbs (7-8 peaches) | about 6 1/2 cups sliced |
| Lemon juice, freshly squeezed | 1½ Tbsp | |
| Pure vanilla extract | 1 tsp | |
| Granulated sugar | ⅔ cup | *see note |
| Ground nutmeg or cinnamon | ¼ tsp | |
| Fine sea salt | ⅛ tsp | |
| Large egg (for egg wash) | 1 | plus 1 Tbsp water |
| Coarse turbinado or granulated sugar (for finishing) | 1 tsp |
My Summer Peach Pie Story
Hello, my dear. Come sit. Let’s talk about peach pie. This recipe is pure sunshine. I learned it from my Abuela. She had a giant peach tree in her yard. We would pick them together. Doesn’t that smell amazing?
The secret is in the crust. Keep everything cold. I still laugh at that. My first crust was a warm, sticky mess. Now I know better. Let me walk you through it. You can do this.
Step 1: Make your pie dough first. Let it chill in the fridge. This takes about an hour. It makes the dough easier to handle. A hard-learned tip: I even chill my rolling pin sometimes. It really helps on a hot day.
Step 2: Roll out your first dough disk. Aim for a 13-inch circle. Dust your counter with flour so it won’t stick. Gently lay it in your pie pan. Tuck it in and let it chill again. A cold crust bakes up nice and flaky.
Step 3: Now, the fun part! We blanch the peaches. Boil them for just one minute. Then plunge them into ice water. The skins will slip right off. It’s like magic. What’s your favorite summer fruit? Share below!
Step 4: Slice your peeled peaches. Toss them with lemon juice and vanilla. Then add your sugar and flour. Fold it all together gently. You want every slice coated. This mixture will become your sweet, jammy filling.
Step 5: Let’s make a lattice top. Use your second dough disk. Roll it out and cut it into strips. Weave them over the filling. It looks fancy but is simple. Just take your time. I always feel so proud here.
Step 6: Brush the top with an egg wash. Sprinkle it with coarse sugar. This makes it sparkle. Bake your pie. Watch it turn golden brown. The smell will fill your whole house. Let it cool completely before slicing. (This is the hardest part, waiting!).
Cook Time: About 1 hour 15 minutes
Total Time: About 4 hours (with chilling and cooling)
Yield: 8 delicious slices
Category: Dessert, Pie
Three Sweet Twists on the Classic
Once you master the basic pie, try a twist. It’s how new family traditions start. Here are three of my favorites to play with.
Berry-Peach Mix: Swap one cup of peaches for raspberries. It adds a lovely tart zing. The color is just beautiful.
Gingery Spark: Add two teaspoons of fresh grated ginger to the filling. It gives a warm, spicy little kick. So cozy.
Almond Crunch: Sprinkle sliced almonds on top with the sugar. They toast up and add a wonderful crunch. Which one would you try first? Comment below!
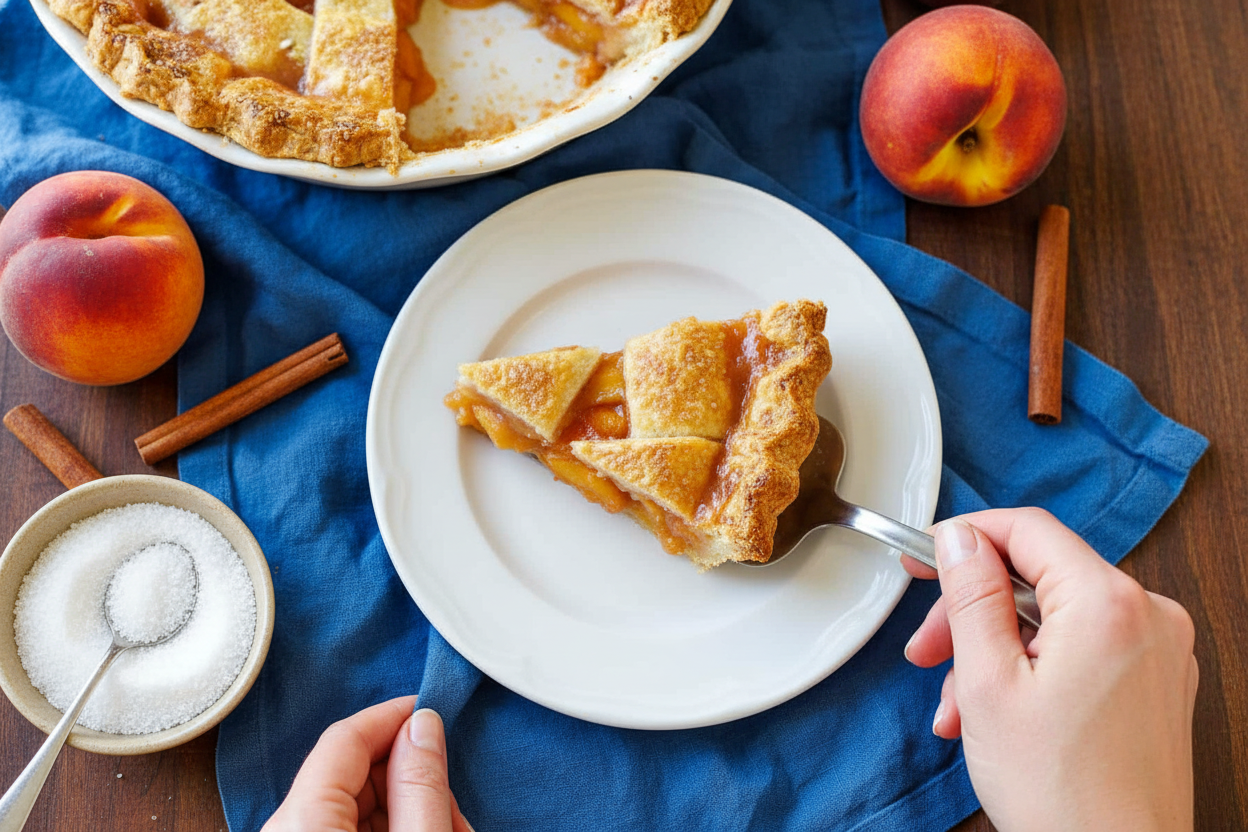
Serving Your Slice of Sunshine
A warm pie slice needs the perfect partner. My husband always wanted his plain. The kids? They had other ideas. Here is how we serve it.
A scoop of vanilla ice cream is classic. It melts into the pie. A dollop of fresh whipped cream is lovely too. For a pretty plate, add a few fresh mint leaves. It looks like a fancy bakery treat.
For drinks, I love a glass of cold iced tea with lemon. It cuts the sweetness. For a special evening, a little sweet Moscato wine pairs nicely. Which would you choose tonight?
Keeping Your Peach Pie Perfect
Fresh peach pie is a summer treasure. You will want to keep it tasting great. Store cooled pie, covered, on the counter for two days. For longer storage, wrap it well and freeze for up to three months.
You can also freeze the unbaked filling in a bag. This lets you make pie in winter! I once forgot a pie on the counter overnight. The summer heat made it sad and soggy. I learned my lesson about the fridge.
Reheat slices in a warm oven to crisp the crust. This matters because a good crust makes the whole experience better. Have you ever tried storing it this way? Share below! Batch cooking means you can share joy anytime a friend visits.
Simple Fixes for Common Pie Problems
First, a soggy bottom crust is no fun. Always chill your dough before baking. I remember when my first pie had a wet, doughy bottom. A hot oven and a chilled crust fix this.
Second, your filling might be too runny. Use ripe but firm peaches. Thickener needs to cook fully. The filling must bubble in the center to set. This matters for clean, beautiful slices.
Third, the crust edges burn before the pie is done. Use a pie shield or foil rings. This simple trick saves your dessert. Fixing small issues builds your cooking confidence. Which of these problems have you run into before?
Your Peach Pie Questions, Answered
Q: Can I make this gluten-free? A: Yes! Use a gluten-free flour blend for the crust and filling thickener.
Q: Can I make it ahead? A: You can make the dough and filling a day ahead. Keep them separate in the fridge.
Q: What if I don’t have nutmeg? A: Cinnamon is a wonderful swap. It adds its own cozy warmth.
Q: Can I double the recipe? A: You can make two pies! Just mix the filling in a very big bowl.
Q: Any optional tip? A: Add a handful of raspberries to the peaches. Fun fact: This is how my Abuela made it! Which tip will you try first?
From My Kitchen to Yours
I hope this recipe brings sweet memories to your table. Baking is about sharing love and stories. I would love to see your beautiful creations.
Share a picture of your slice of summer. Have you tried this recipe? Tag us on Pinterest! Let’s fill the world with the smell of baking peaches. Thank you for spending this time with me in my kitchen.
Happy cooking!
—Lena Morales.

Homemade Peach Pie Recipe with Video Tutorial
Description
A classic homemade peach pie with a flaky, buttery crust and sweet, juicy filling, complete with a step-by-step video tutorial.
Ingredients
Instructions
- Prepare the Crust: Make the pie crust dough recipe and chill for 1 hour in the refrigerator. Roll the first pie disk – Dust the work surface with flour and then roll the first dough disk into a 13″ circle using a rolling pin, adding more flour as needed to keep it from sticking. Transfer dough into a 9-inch pie pan and press it into the pan, letting it extend a bit over the edges. Refrigerate until ready to fill. Roll the second pie disk – flour a piece of parchment paper, and roll out the second refrigerated pie dough round to 12″ onto the paper. Use a pizza cutter or knife to cut 8 even strips. Refrigerate the dough until ready to use.
- Make the Peach Pie Filling: Preheat the oven to 425°F with racks in the middle and bottom third of the oven. Line the bottom rack with foil to catch drips. Fill a large bowl with ice water and set aside. Blanch peaches – Bring a pot of water to a boil. Add peaches to boiling water for 1 minute to loosen the skins, then remove with a slotted spoon to the ice water bath. Make the Filling – When cool, slice the peaches in half, remove the pit, and slide the skins off. Cut the fruit into 1/2″ slices and place in a large bowl. Toss peaches with lemon juice and vanilla, and then add sugar, flour, nutmeg, and salt, and gently fold again until no dry flour remains. Remove the pie dish from the fridge and pour the filling into the chilled pie pan.
- Make the Lattice Crust: Weave the lattice crust – Place 4 of the chilled strips of dough evenly over the peaches, using any longer strips at the center and shorter strips toward the edges. Pull back every other strip just past the halfway point. Lay one long strip over the center of the pie, perpendicular to the other strips. Unfold the strips, then fold back the alternating strips. Repeat with the remaining strips to create a lattice pattern. Next, fold back the alternating strips from the other side of the pie and finish weaving in the remaining strips. Finishing Touches – fold any excess dough under the bottom crust and flute the edges of the crust. In a small bowl, combine the egg and water, and beat together with a fork. Brush the egg wash all over the pie crust. Sprinkle with coarse sugar.
- Bake and Serve: Bake the pie for 20 minutes at 425°F, and then reduce the temperature to 375°F for 35-45 more minutes. Watch the crust to be sure it’s not browning too quickly, and if it is, use a pie shield or foil to cover the top. When the crust is golden and the filling has been bubbling for at least 5 minutes (the center should reach 200˚F on a thermometer). Cool the peach pie for at least 2-4 hours before cutting it to allow the filling to thicken. Slice and serve with vanilla ice cream or whipped cream if desired.
Notes
- *Use ripe but firm peaches for best results. Adjust sugar based on the sweetness of your peaches. The pie must cool completely to allow the filling to set properly.


Leave a Reply