My First Spooky Cookie Mess
Let me tell you about my first batch of these cookies. I tried to dip them with a fork. The Oreo kept spinning and fell right into the bowl! I still laugh at that. My grandson said they looked like orange monsters with one eye. We fixed them together.
That’s why this matters. Cooking is not about being perfect. It’s about the fun you have trying. The messy ones often taste the sweetest. What’s your funniest kitchen mistake? I’d love to hear your story.
Why We Make Food Look Like Fun
You might wonder why we bother with eyeballs and teeth. It’s simple. Food that makes you smile tastes better. Doesn’t that smell amazing? The orange candy melting is part of the magic. It turns a regular cookie into a tiny friend.
This matters because we eat with our eyes first. A happy plate makes a happy heart. It’s a small way to spread a little joy. Fun fact: The first candy eyeballs were made for cake decorators in the 1960s.
Let’s Talk About Your Cookies
You can use any Oreo you like. Pumpkin spice is lovely for fall. But regular ones work just fine. The orange coating makes them festive. Do you have a favorite Oreo flavor? Tell me which one you would choose.
If your candy melts seem too thick, add a tiny bit of oil. Just a teaspoon. This helps it dip smoothly. Let the extra orange coating drip off. Then place it on the wax paper. Patience is your friend here.
The Best Part: Decorating!
This is where you can be silly. Give your cookie two eyes, or three! Make a scary frown or a surprised ‘O’ mouth. The green stem on top is its little pumpkin hat. Let your imagination play.
If the eyes won’t stick, use a dot of frosting as glue. Pop them in the fridge to set quickly. Then you can eat them sooner. Do you like your cookies spooky or silly? I make a mix of both.
A Treat to Share
These cookies are perfect for a party. Kids love to help decorate them. It’s a sweet activity for a chilly afternoon. Wrap a few in a bag for a friend. It’s a little gift from your kitchen.
That’s the second reason this matters. Food connects us. Sharing something you made is a special kind of love. Who will you make these for first? I think they will be so delighted.
Ingredients:
| Ingredient | Amount | Notes |
|---|---|---|
| Oreos | 24 | Pumpkin Spice Oreos used, but any variety will do |
| Orange Candy Melts | 1 bag | |
| Green steam sprinkles or mini M&Ms | 24 | |
| Candy Eyeballs | 48 | |
| Black frosting writers | 1 tube | Comes in a tube for easy piping |
| White Jimmies | As needed |
My Spooky (and Super Easy) Oreo Ghosts
Hello, my dear! Come sit. Let’s make some silly Halloween treats. These little Oreo ghosts always make me smile. They are so simple, even my grandson Marco can help. We make a big mess and laugh a lot. Doesn’t that sound like fun? You just need a few sweet things from the store. I like using the pumpkin spice Oreos. They smell like autumn in my kitchen. But any kind will work just fine. Ready? Let’s begin our little kitchen magic.
Step 1: First, melt your orange candy. Follow the package directions, please. I use the microwave and stir every 30 seconds. Be patient so it doesn’t burn. Once it’s smooth, it’s like a tiny orange pond. (My hard-learned tip: A deep mug is perfect for dipping!)
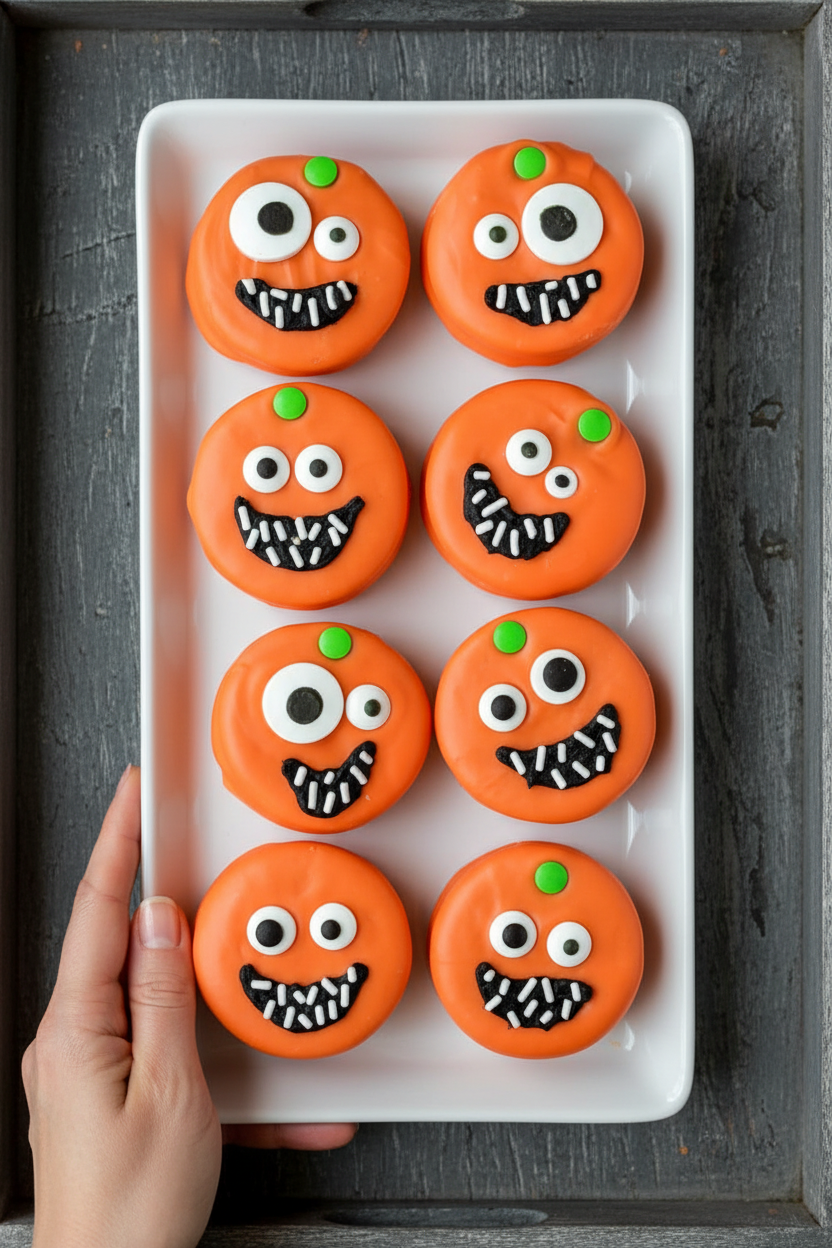
Step 2: Now, take an Oreo. Dip it right into that orange candy. Use a fork to flip it and coat it all. Lift it out and let the extra drip off. I still laugh at how messy my fingers get. Place each cookie on wax paper. They look like little orange moons.
Step 3: Time for faces! Quickly, add two candy eyeballs. Press a green sprinkle on top for a stem. You’re making a pumpkin ghost! Let them sit for a minute to get sticky. Do you think they look friendly or silly? Share below!
Step 4: Last, take your black frosting tube. Draw a funny or spooky mouth. Add a few white jimmies as teeth. Let them set completely. The fridge speeds this up if you’re impatient like me. Then, all that’s left is to enjoy your creation. Doesn’t that smell amazing?
Cook Time: 15 minutes
Total Time: 30 minutes
Yield: 24 cookies
Category: Dessert, Holiday
Three Fun Ways to Mix It Up
Oh, but we can get creative! Here are my favorite twists. You can try one next time. It makes the whole project feel new again. I love seeing what you dream up, too.
Monster Mash-Up: Use different colored candy melts. Make purple and green monsters! Mix and match the candy eyes.
Cookie Swap: Try golden Oreos with white candy melts. You’ll have classic white ghosts. Use black sprinkles for the mouth.
Fruity Spooky: Use the fruit-flavored Oreos, like strawberry. Dip them in pink candy. They become sweet little Halloween fairies.
Which one would you try first? Comment below!
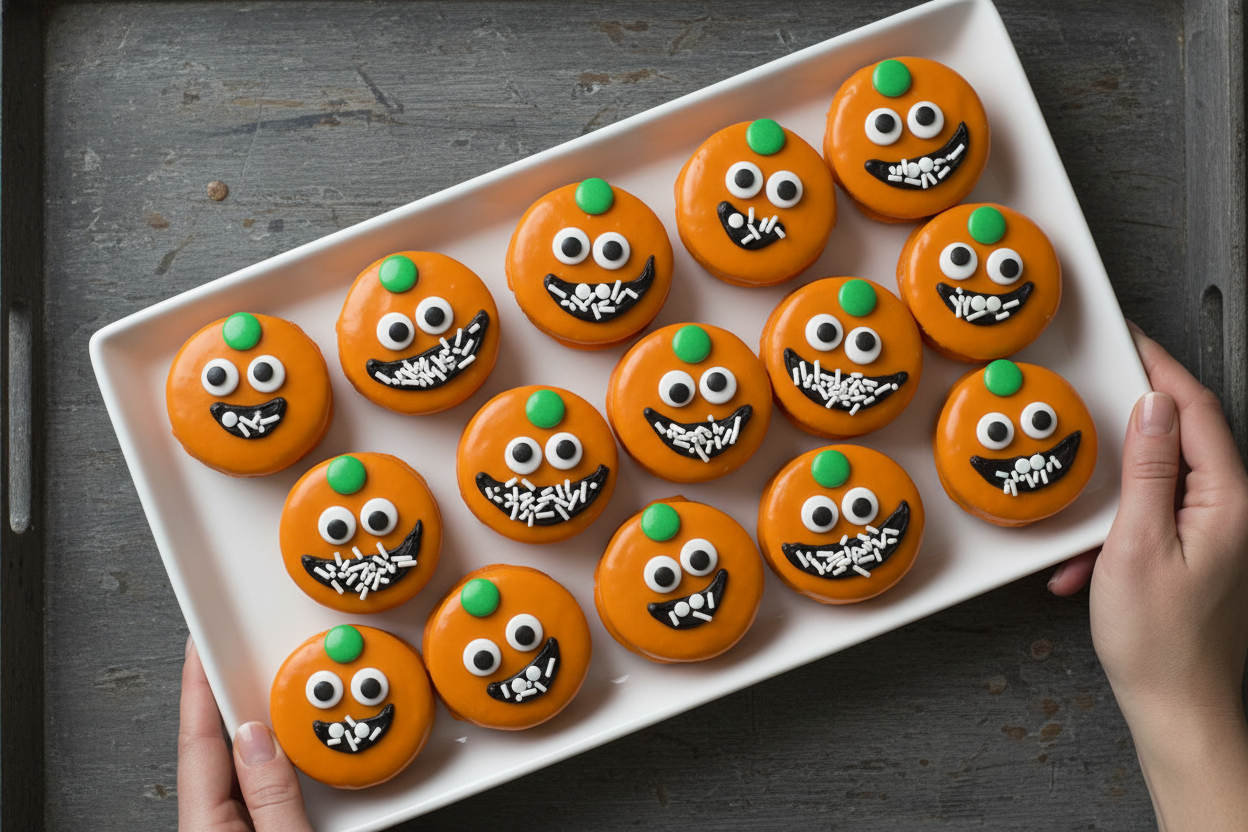
Serving Them With a Smile
These cookies are a party on a plate. Place them on a dark platter for a spooky look. Scatter some autumn leaves or more sprinkles around them. You could also put one on top of a cup of hot chocolate. That always gets a giggle. For drinks, the grown-ups might like a creamy pumpkin ale. It tastes like a fall picnic. For everyone else, a glass of cold apple cider is perfect. It’s sweet and tangy. A wonderful combination.
Which would you choose tonight?
Keeping Your Spooky Cookies Fresh
Let’s talk about keeping your Halloween Oreos yummy. Store them in a single layer in the fridge. They will stay fresh for about five days. You can also freeze them for a month. Just place them on a tray until frozen solid. Then pop them into a freezer bag.
I once left a batch out overnight. The frosting got all soft and sad. Now I always chill them right away. This keeps the decorations pretty and crisp. Batch cooking is perfect for party planning. Make your spooky faces a day or two early. This saves you so much time on the big day.
Storing food well matters. It shows care for your creations and your guests. It means no last-minute stress. You get to enjoy the fun part, decorating! Have you ever tried storing it this way? Share below!
Fixing Common Cookie Decorating Troubles
Sometimes the candy coating cracks. This happens if the Oreo is too cold. Let your cookies sit out for ten minutes first. I remember when my first batch looked like a spiderweb. It was still tasty, just a little spookier!
The eyeballs might not stick. Your candy melts might have cooled too much. Just add a tiny dot of fresh, warm melt. Then press the eye on. This little fix makes your cookies look pro. Getting details right builds your kitchen confidence.
Black frosting can be too runny. If this happens, chill the tube for a bit. Thicker frosting makes cleaner lines for mouths. This matters for flavor and fun. A neat cookie simply tastes more special. Which of these problems have you run into before?
Your Halloween Oreo Questions, Answered
Q: Can I make these gluten-free?
A: Yes! Use gluten-free sandwich cookies. The rest of the ingredients are usually safe.
Q: How far ahead can I make them?
A: You can decorate them 2-3 days ahead. Just store them in the fridge.
Q: What if I don’t have candy melts?
A: Orange frosting works. Thin it a little so you can dip.
Q: Can I double the recipe?
A: Absolutely. Just work in small batches. Keep your candy melts warm.
Q: Any optional tips?
A: Try purple melts for monsters! *Fun fact: The first Oreo was sold in 1912.* Which tip will you try first?
Share Your Spooky Creations!
I hope you have a blast making these. Cooking is about sharing joy and silliness. I love seeing your kitchen adventures. Please show me your cookie monsters. Your creations always make my day brighter.
Have you tried this recipe? Tag us on Pinterest! Use our handle @GrandmasKitchenNook. I can’t wait to see your spooky smiles. Happy cooking!
—Lena Morales.
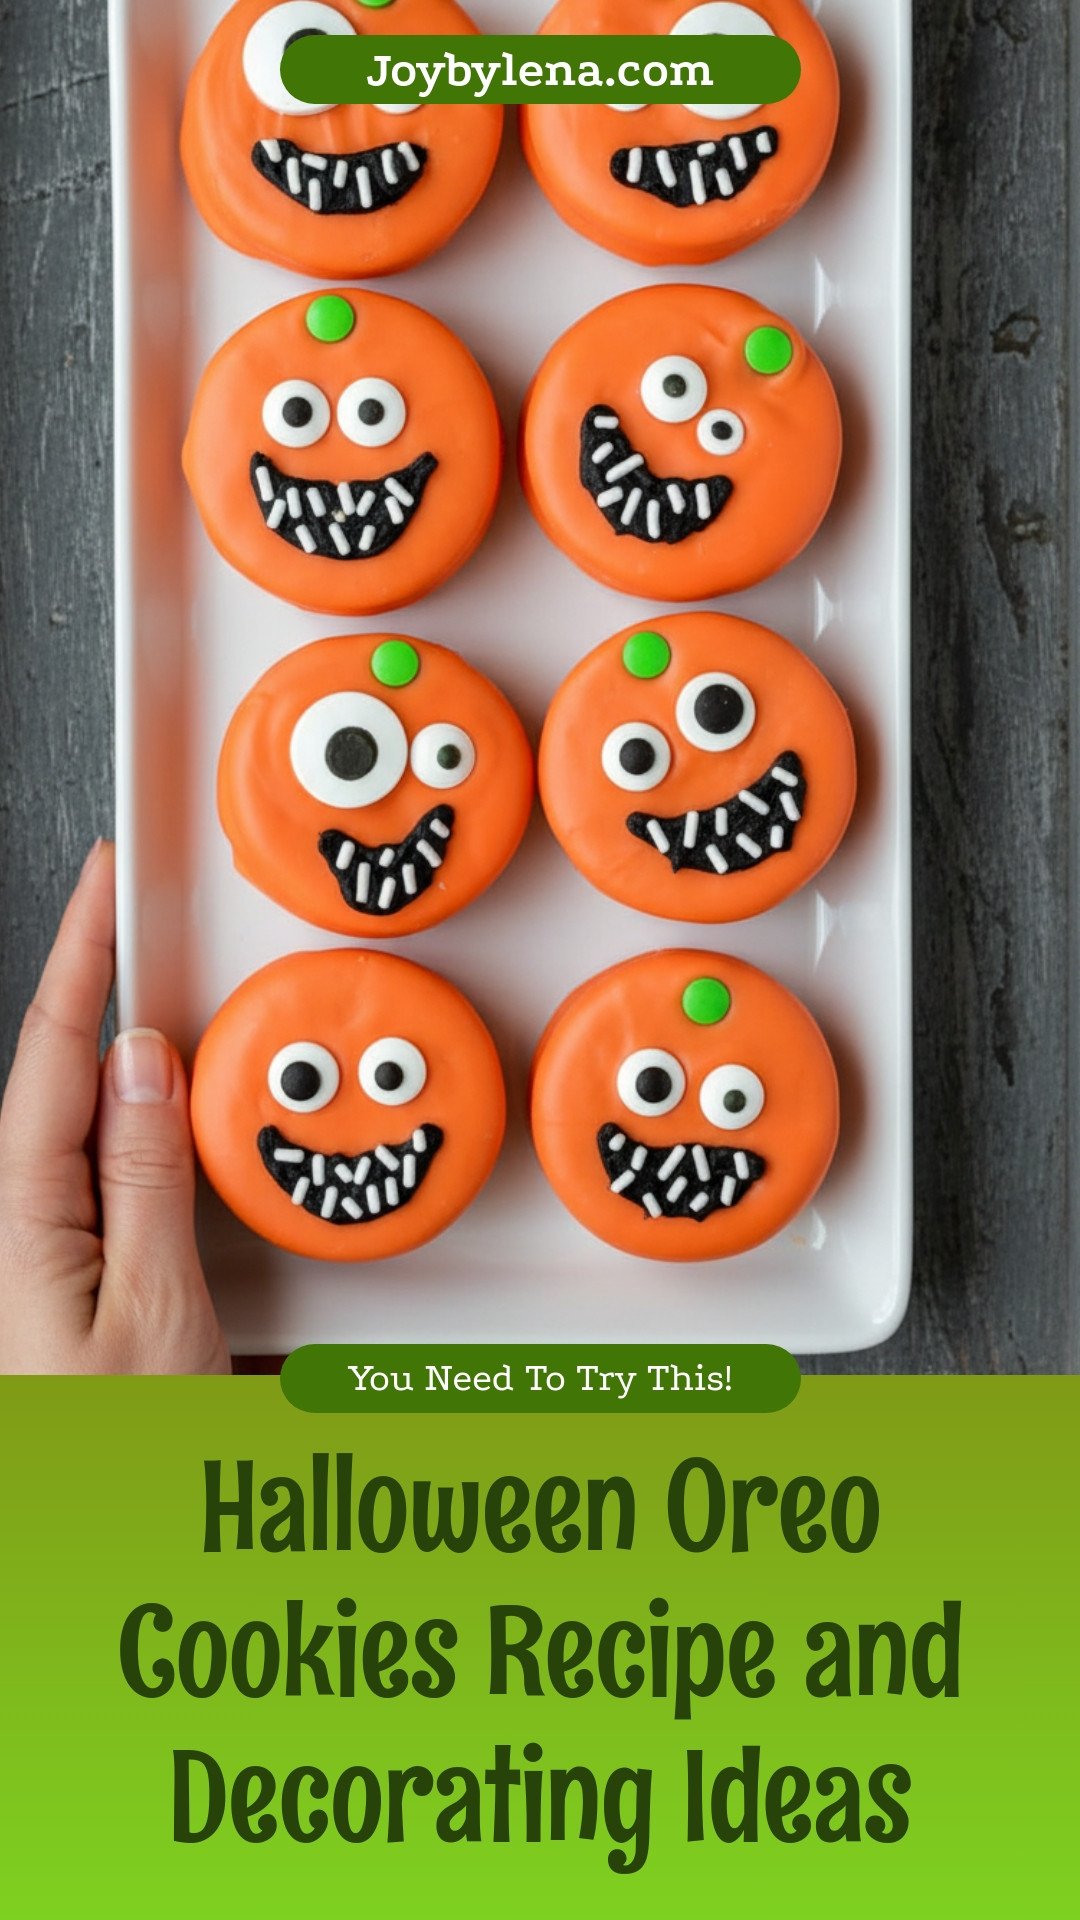
Halloween Oreo Cookies: Halloween Oreo Cookies Recipe and Decorating Ideas
Description
Create spooky and fun Halloween treats with these easy-to-decorate Oreo cookies, perfect for parties and family fun.
Ingredients
Instructions
- Melt your orange candy melts according to packaging. Dip each Oreo in melts until fully covered.
- Set out on parchment or wax paper and add candy eyeballs and green stem. Let set.
- Pipe on black frosting for mouths and add white jimmy sprinkles as teeth. Let set (refrigerate if you want it to set quicker) and ENJOY!
Notes
- Nutrition per cookie: Calories: 95kcal, Carbohydrates: 14g, Fat: 4g, Saturated Fat: 2g, Sodium: 61mg, Potassium: 25mg, Sugar: 10g, Calcium: 4mg, Iron: 1.1mg


Leave a Reply