The Secret is in the Sauce
This chicken recipe is my grandson’s favorite. He asks for it every Sunday. I love the way the sweet honey and salty soy sauce come together. It makes a shiny, sticky glaze that is so good.
You must let the sauce boil. That is the key. It gets thick and perfect for coating the chicken. Doesn’t that smell amazing? It reminds me of my own abuela’s kitchen. Food connects us to our family.
A Little Story About Spice
I once made this for my friend who does not like spicy food. I was so worried. I told her, The red pepper flakes are just for a little kick. She tried it and loved it. I still laugh at that.
You can always add less spice if you want. Cooking is about making food your own. What is a dish you were scared to try but ended up loving? Tell me about it.
Getting the Chicken Just Right
The three-step dip is very important. Flour, buttermilk, then flour again. This makes the chicken extra crispy. It creates a little jacket for the chicken. The hot oil cannot get through it.
Fun fact: Using buttermilk makes the chicken tender inside. It is a little trick my mother taught me. Always use your thermometer. This matters because no one wants raw chicken. It keeps everyone safe and happy at the table.
Why We Cook Together
This recipe has many steps. It is more fun with two people. One can mix the sauce while the other dips the chicken. It turns cooking into talking and laughing.
Sharing a meal you made together tastes better. This matters. It builds memories, not just dinner. Do you prefer cooking alone or with someone else? I would love to know.
The Final Touch
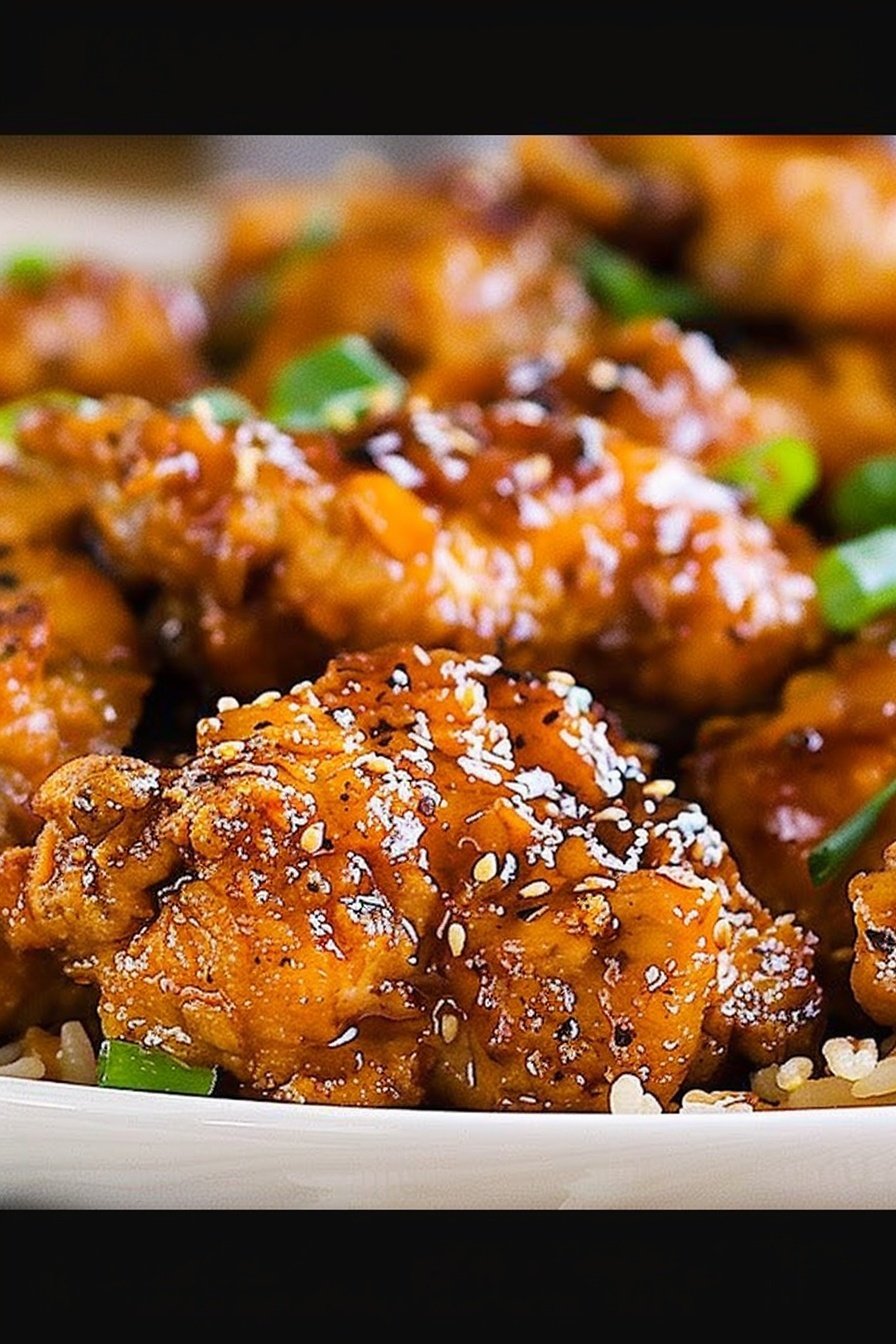
Do not forget the green onions and sesame seeds. They are not just for looks. They add a fresh crunch and a nutty taste. It makes the dish feel complete and special.
Serve it all over a big bed of fluffy white rice. The rice soaks up the extra sauce. It is the best part. What is your favorite food to serve over rice?
Ingredients:
| Ingredient | Amount | Notes |
|---|---|---|
| Vegetable oil | For frying | Should be about 2 to 3 inches deep in the skillet |
| Flour | 3 cups | |
| Cumin | 2½ teaspoons | |
| Chili powder | 2½ teaspoons | |
| Ground coriander | 1½ teaspoons | |
| Onion powder | 1½ teaspoons | |
| Salt | ½ teaspoon | |
| Ground black pepper | ½ teaspoon | |
| Buttermilk | 2½ cups | |
| Chicken breasts | 4 | Cut into 1-inch square pieces |
| Honey | ¾ cup | For the sauce |
| Soy sauce | 3 tablespoons | For the sauce |
| Water | 3 tablespoons | For the sauce |
| Sesame oil | 2 teaspoons | For the sauce |
| Rice vinegar | 2 tablespoons | For the sauce |
| Red pepper flakes | ¼ teaspoon | For the sauce |
| Cornstarch | 2 tablespoons | For the sauce slurry |
| Water | 3 tablespoons | For the sauce slurry |
| Green onions | 5 | Chopped, for garnish |
| Toasted sesame seeds | For garnish | |
| White rice | Cooked | For serving |
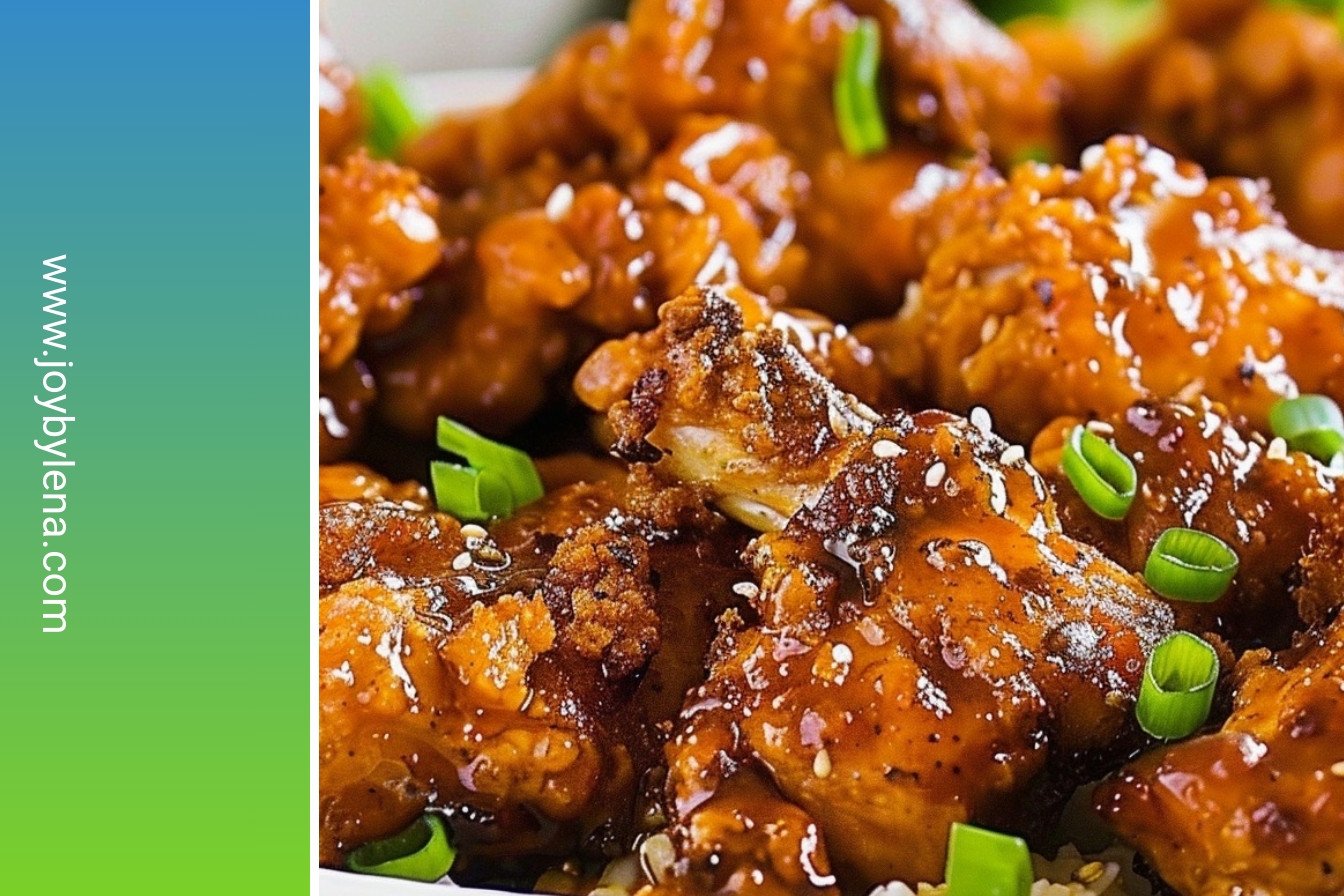
Golden Glazed Chicken: A Sweet & Savory Hug
Hello, my dear! Come sit in my kitchen. I want to share a recipe with you. It is for my Golden Glazed Chicken. This dish is like a warm hug. It is both sweet and savory.
The secret is in the double-dipping. We coat the chicken pieces twice. This makes them extra crispy. (A hard-learned tip: use one hand for the dry mix and the other for the wet buttermilk. It keeps your fingers from becoming a sticky mess!). Doesn’t that smell amazing already? Let’s get started.
Ingredients
- For the Chicken:
- 1.5 lbs chicken breast, cut into pieces
- 1 cup buttermilk
- 1.5 cups all-purpose flour
- 1 tsp cumin
- 1 tsp chili powder
- 1 tsp coriander
- Salt and pepper to taste
- Oil for frying
- For the Sauce:
- 1/2 cup honey
- 1/4 cup soy sauce
- 1/4 cup water
- 1 tbsp sesame oil
- 1 tbsp rice vinegar
- 1/2 tsp red pepper flakes
- 1 tbsp cornstarch mixed with 1 tbsp water
- For Serving:
- Cooked white rice
- Sliced green onions
- Toasted sesame seeds
Instructions
Step 1: First, let’s get our rice cooking. Follow the directions on your rice bag. Once it’s done, just set it aside. It will be warm and fluffy when we need it. I always start with the rice. It is the quiet friend for our noisy chicken.
Step 2: Now, let’s make the magic sauce. Grab a saucepan. Put in the honey, soy sauce, water, sesame oil, rice vinegar, and red pepper flakes. Whisk it all together. Then bring it to a boil. I still laugh at the first time I made this. My grandson said it smelled like a fancy restaurant!
Step 3: In a small bowl, mix the cornstarch and water. Whisk until it is smooth. No lumps allowed! This is what will thicken our sauce. It is a simple but very important step.
Step 4: Your sauce should be boiling now. Slowly whisk in the cornstarch mixture. Then turn the heat down to low. Let it simmer while we cook the chicken. Give it a stir now and then. What is your favorite smell in the kitchen? Share below!
Step 5: Time for the chicken! Pour oil into a large skillet. It should be about 2 to 3 inches deep. Heat it until it reaches 350°F. Please use a thermometer. If the oil is too hot, the chicken will burn. We want it golden, not black!
Step 6: In a large bowl, mix the flour and all those lovely spices. Cumin, chili powder, coriander. In another bowl, pour your buttermilk. This is our dipping station. I love the color of the spice mix. It looks like a desert sunset.
Step 7: Now for the fun part. Take a chicken piece. Dip it first in the flour. Then into the buttermilk. Then back into the flour. Tap off the extra. This triple-dip gives us that perfect crunch. Carefully add it to the hot oil. Work in small batches.
Step 8: Cook the chicken for 5 to 7 minutes. It should be golden brown. The inside must be at least 165°F. Use your thermometer again! Safety first. Place the cooked chicken on a plate with paper towels. This soaks up the extra oil.
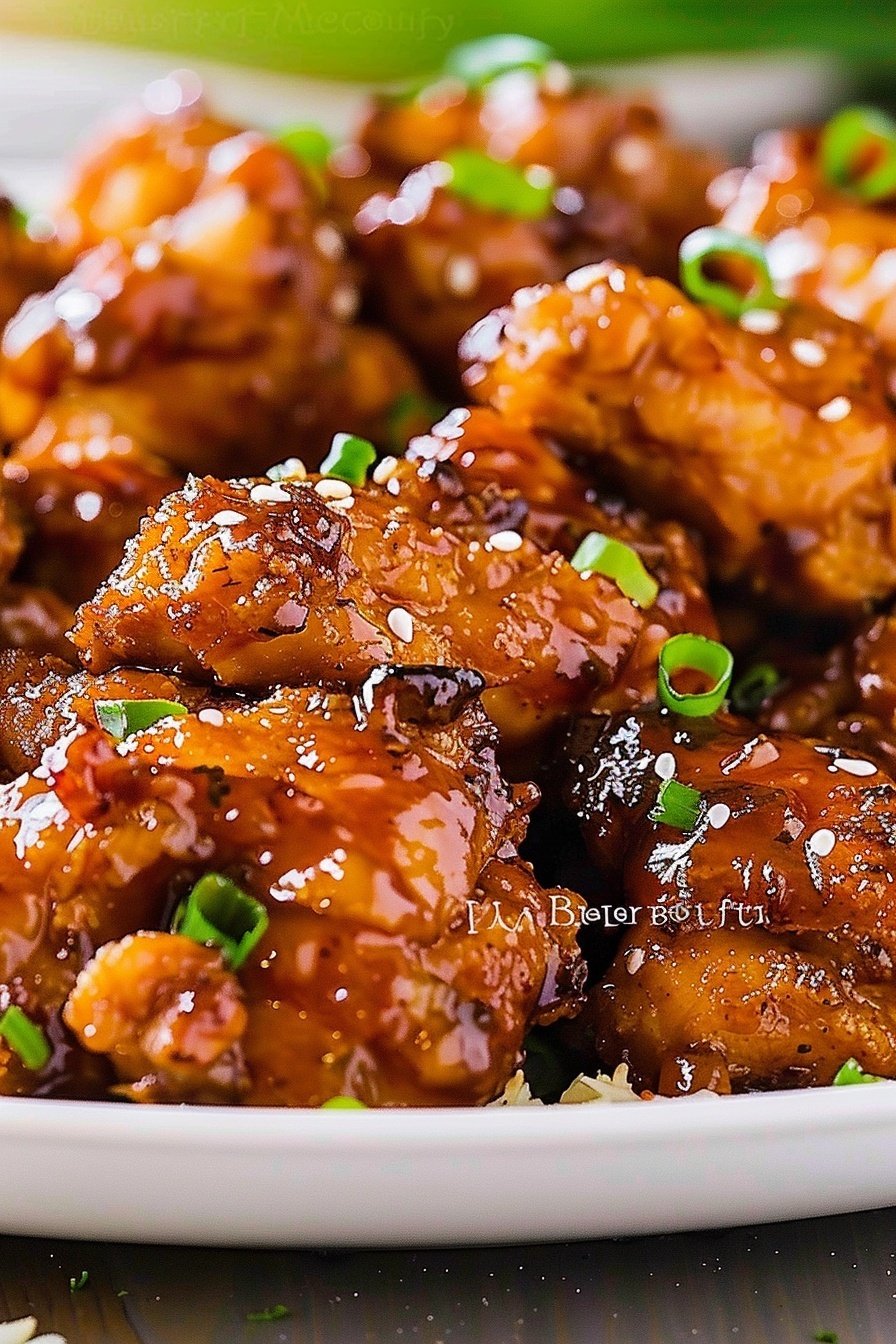
Step 9: When all the chicken is cooked, put it in a big bowl. Pour that warm honey sauce all over it. Gently toss it together. I use my big wooden spoon for this. The sound of the crispy chicken in the glaze is wonderful.
Step 10: Serve your golden chicken over that fluffy white rice. Top it with chopped green onions and toasted sesame seeds. It is a beautiful and delicious meal. I am so proud of you for making this.
Cook Time: 30min
Total Time: 50mins
Yield: 5 servings
Category: Dinner
Let’s Shake It Up!
This recipe is like a good friend. It is always welcome. But sometimes, it is fun to dress it up differently. Here are a few ideas from my kitchen.
- Spicy Dragon Twist: Add an extra teaspoon of red pepper flakes to the sauce. It will have a little kick!
- Sunshine Veggie Bowl: Skip the chicken. Use big chunks of sweet potato and cauliflower instead. Coat and fry them the same way.
- Orange Blossom Glaze: Replace half the honey with orange marmalade. It gives a lovely citrus flavor.
Which one would you try first? Comment below!
Serving It With Style
Now, what to serve with our masterpiece? A simple cucumber salad is lovely. It is cool and crisp next to the warm chicken. Steamed broccoli is another great choice. It soaks up the extra sauce so nicely.
For drinks, I have two ideas. A cold glass of milk is always a winner. It calms the spice. For the grown-ups, a chilled glass of Riesling wine is perfect. It is sweet, just like our glaze.
Which would you choose tonight?
Keeping Your Golden Glazed Chicken Golden
This chicken is best eaten the day you make it. But I know life gets busy. Let the chicken cool completely first. Then store it in a sealed container in the fridge. It will stay good for up to three days.
You can freeze it before you add the glaze. Just fry the chicken pieces and let them cool. Lay them on a baking sheet and freeze them solid. Then pop them into a freezer bag for up to three months.
I once reheated fried chicken in the microwave. It got so soggy. Now I always use my oven or toaster oven. Reheat at 375 degrees until warm and crispy again. This little step makes all the difference.
Batch cooking saves you time on a crazy weeknight. You can fry all the chicken and make a double batch of sauce. Having a ready-made meal feels like a warm hug after a long day. Have you ever tried storing it this way? Share below!
Simple Fixes for Common Chicken Troubles
Is your coating falling off the chicken? Make sure you tap off the extra flour. A light, even coat sticks much better. I remember when my first batch lost its crust. It taught me to be gentle with the tapping.
Is your chicken burning on the outside? Your oil is probably too hot. Always use a thermometer to check it’s 350 degrees. This matters because perfect heat gives you a crispy, golden crust. It makes the meal feel special.
Is your sauce too thin or too thick? The cornstarch slurry is your best friend. Whisk it until it’s completely smooth before adding it. Getting the sauce right builds your cooking confidence. You feel like a real chef. Which of these problems have you run into before?
Your Golden Glazed Chicken Questions
Q: Can I make this gluten-free? A: Yes! Use your favorite gluten-free flour blend and tamari instead of soy sauce.
Q: Can I make parts ahead? A: You can mix the dry spices and make the sauce a day early.
Q: What if I don’t have buttermilk? A: Add one tablespoon of lemon juice to one cup of regular milk. Let it sit for five minutes.
Q: Can I make a smaller portion? A: Absolutely. Just cut the recipe in half. It works perfectly.
Q: Is the sesame oil important? A: It gives a wonderful nutty flavor. But you can use a little more vegetable oil if needed. Which tip will you try first?
A Note From My Kitchen to Yours
I hope this recipe brings joy to your table. The smell of this chicken cooking always makes me smile. It reminds me of big family dinners at my grandma’s house.
I love seeing your kitchen creations. It makes my day to see you cooking. Have you tried this recipe? Tag us on Pinterest! You can find me @LenasCozyKitchen. I can’t wait to see your golden, glazed chicken.
Fun fact: Toasting sesame seeds makes them taste nuttier and crunchier. Just warm them in a dry pan for a minute.
Happy cooking! —Lena Morales.
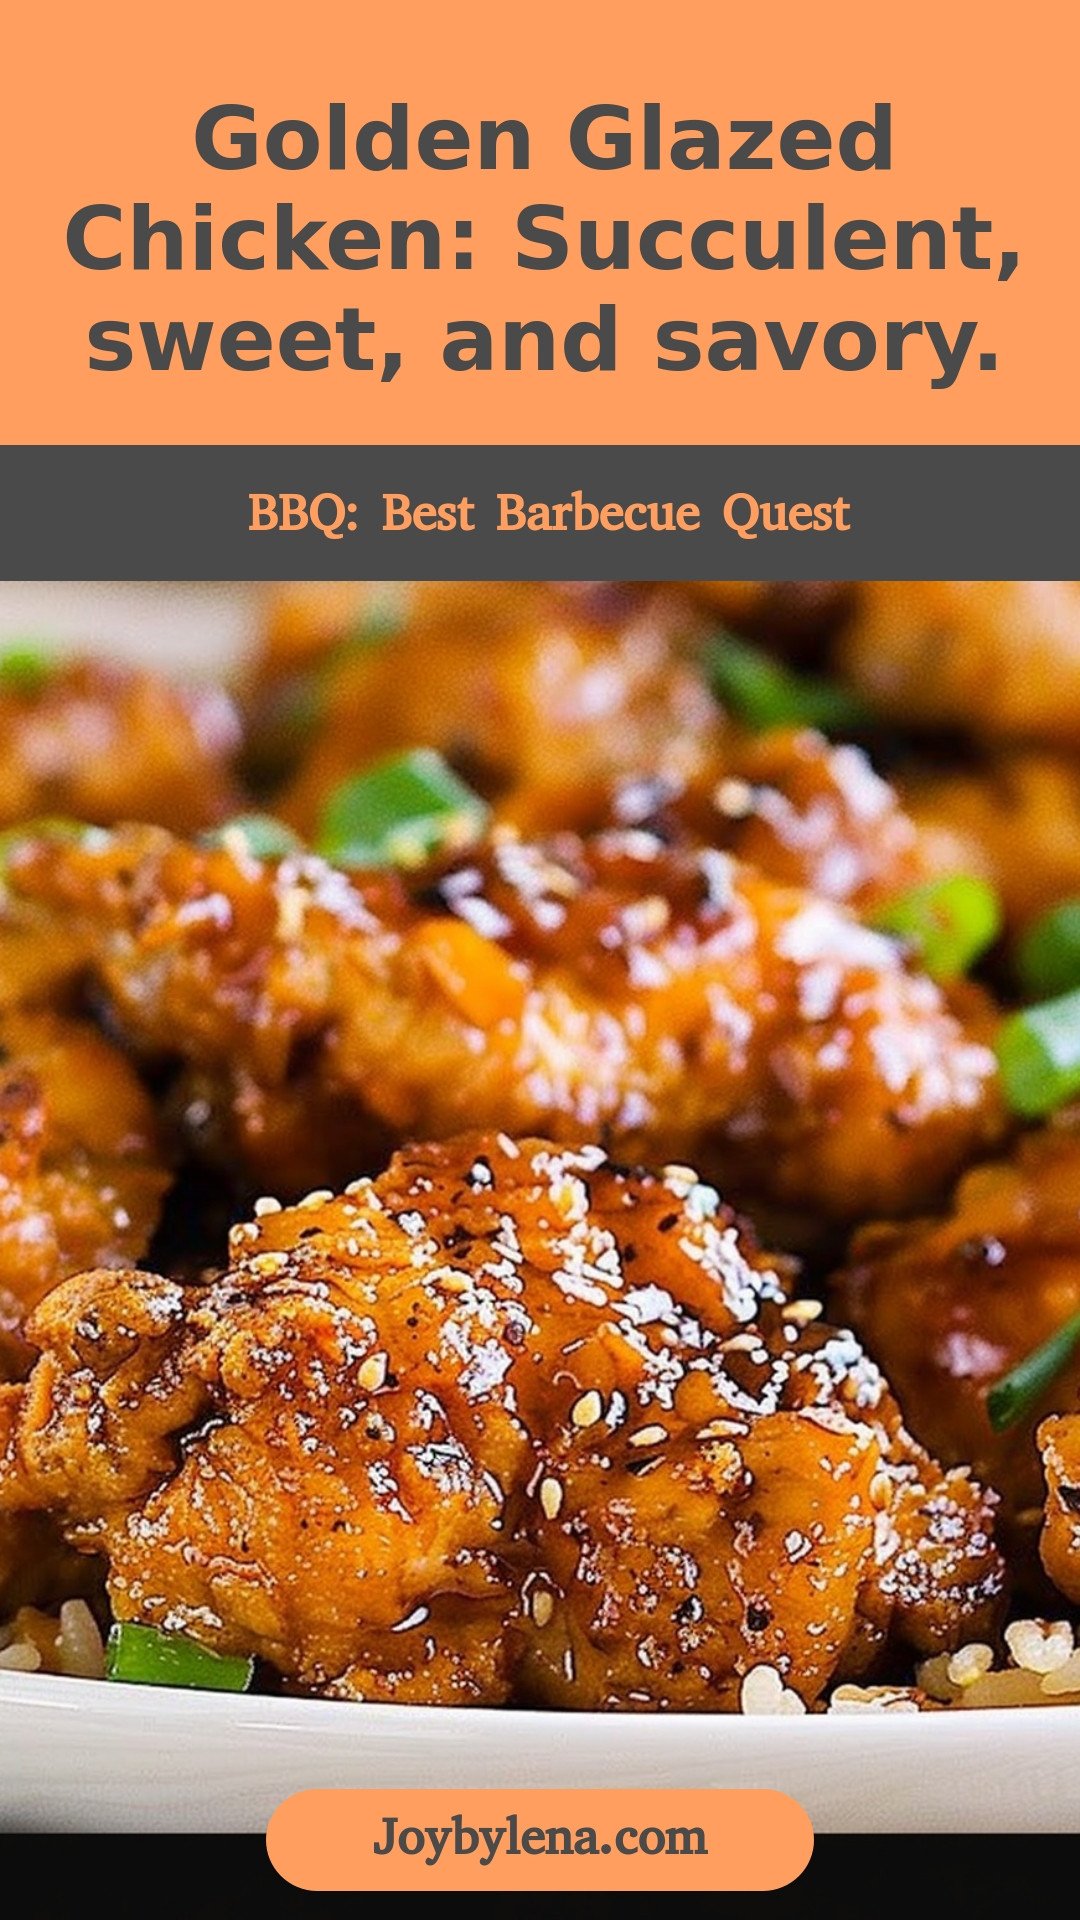
Golden Glazed Chicken: Succulent, sweet, and savory.:
Description
Discover the ultimate Golden Glazed Chicken recipe! Succulent, sweet, and savory, this easy dinner idea is pure sticky, crispy perfection.
Ingredients
Chicken
Sauce
Garnish
Instructions
- In a medium pot, cook the white rice per package directions. Set aside once done cooking.
- In a medium saucepan, combine the honey, soy sauce, water, sesame oil, rice vinegar, and red pepper flakes. Whisk together and bring to a boil.
- In a small separate bowl, combine the cornstarch and water. Whisk until no lumps remain.
- Once the sauce is boiling, slowly whisk in cornstarch. Turn the heat to low and let simmer while you prepare the chicken. Stir occasionally.
- In a large skillet over medium heat, add the vegetable oil until it is about 2 to 3 inches deep. Turn the heat to medium and let sit until the temperature reaches 350°F. It’s important that you test the temperature with a meat thermometer. If it’s too hot, it will burn the exterior of the chicken.
- In a large bowl, combine flour, cumin, chili powder, coriander, onion powder, salt, and black pepper. Whisk together. In a separate bowl, add the buttermilk.
- Work in batches to cook the chicken in the following order. Take the 1-inch chicken pieces and dip them in the flour mixture. Next, dip them in the buttermilk. Then dip them back in the flour mixture. Tap the excess flour off of the chicken pieces and add to the hot 350°F oil.
- Cook the chicken for 5 to 7 minutes, or until the internal temperature is at least 165°F when tested with a meat thermometer. Remove the chicken from the hot oil and place it on a paper towel-lined plate.
- When all the chicken is cooked, place it in a large mixing bowl. Pour the hot honey sauce over the top of the chicken. Use tongs or a large spoon to “toss” the chicken with the honey sauce.
- Serve over white rice and garnish with green onions and toasted sesame seeds.
Notes
- Ensure the oil is at the correct temperature (350°F) to avoid burning the chicken exterior while ensuring it cooks through.


Leave a Reply