A Sweet Start
I remember my first summer berry dessert. I was ten years old. My abuela let me mix the dough with my little hands. I got flour all over my nose. I still laugh at that.
This Fresh Berry Slab is just like that. It is simple and full of joy. The lemon zest makes the whole kitchen smell like sunshine. Doesn’t that smell amazing? This matters because cooking with family creates the best memories.
Making the Crumbly Crust
Making the crust is my favorite part. You mix flour, sugar, and that sunny lemon zest. Then you add the cold butter. It feels like making sandcastles with your hands.
When you add the eggs, it becomes a crumbly dough. Do not worry if it is not perfect. A little imperfection makes it taste more special. What is your favorite part of baking? Is it mixing or tasting?
The Star of the Show
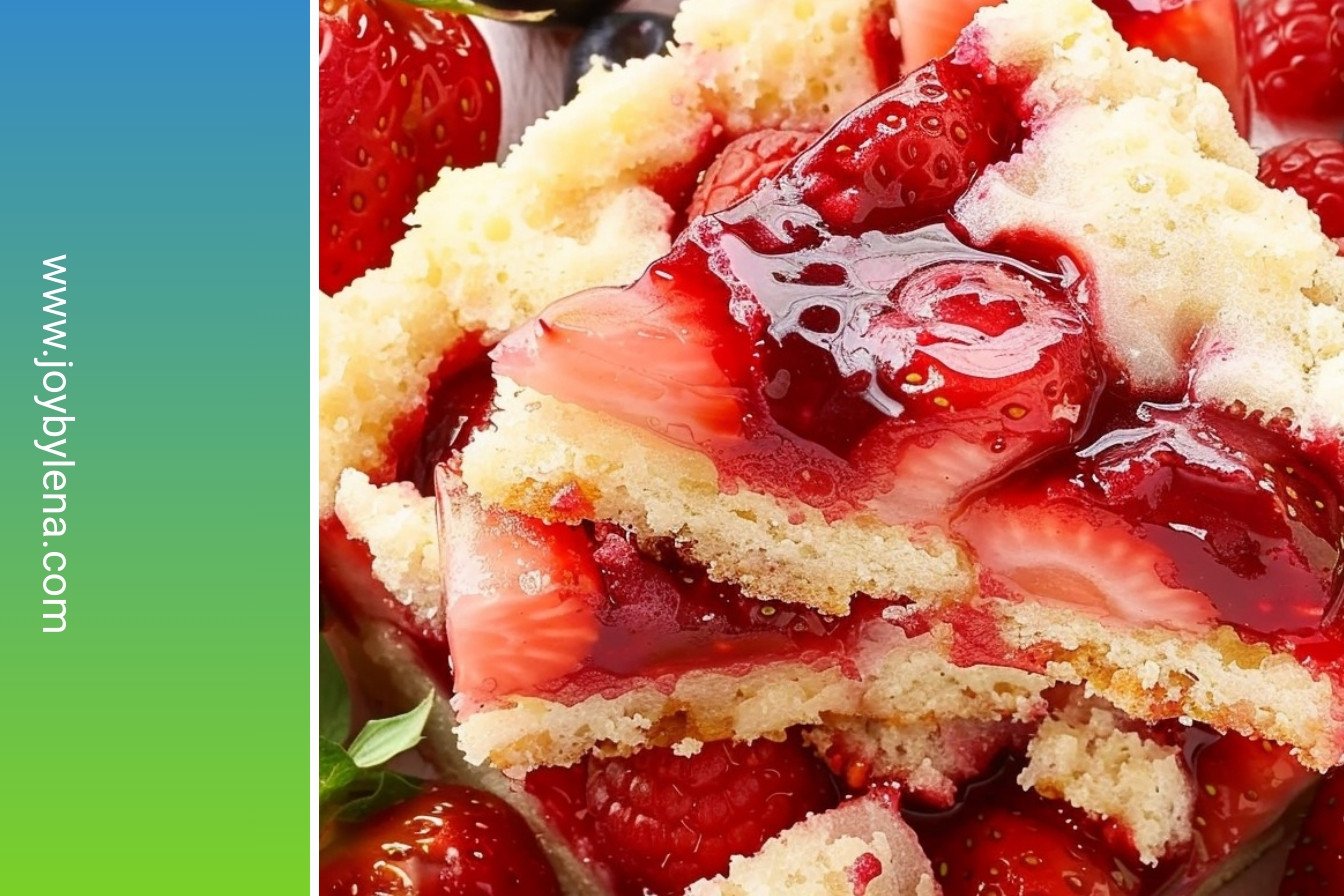
The strawberry filling is so easy. You just toss everything in a bowl. The cornstarch is the secret helper. It makes the filling thick and glossy, not runny.
Fun fact: Strawberries are the only fruit with seeds on the outside! I love using fresh berries because they are so sweet. This step matters because using fresh, simple ingredients always makes food taste better.
Putting It All Together
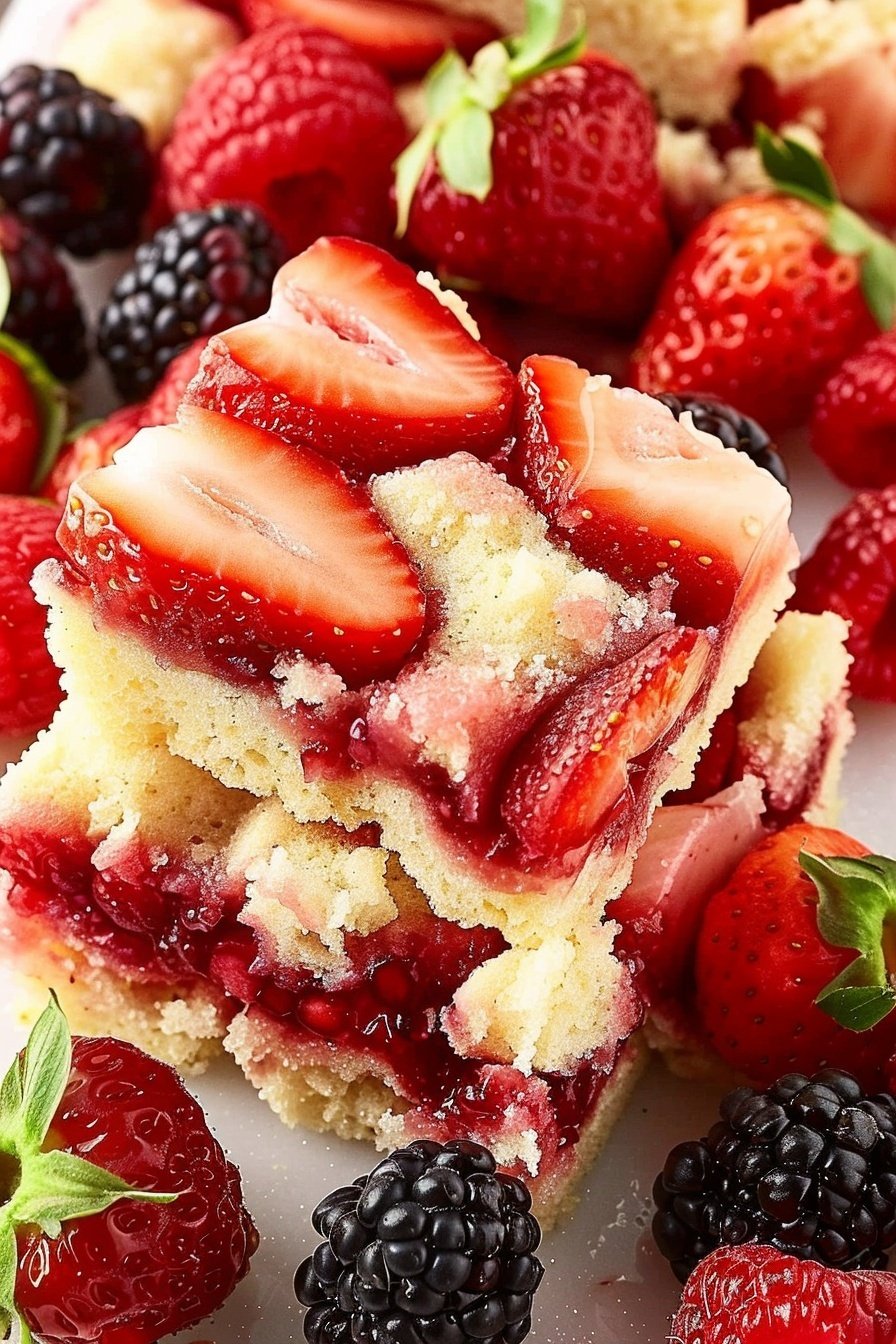
Now, press most of the dough into the pan. This is your base. Then, pour in that beautiful red strawberry mixture. It looks so pretty already.
The last step is my favorite. You crumble the rest of the dough on top. It is like giving the berries a cozy, crumbly blanket. Do you like your desserts with a lot of crumble or just a little?
The Best Part is Sharing
Waiting for it to cool is the hardest part. The smell fills the whole house. It makes everyone excited for a treat. I always have a glass of milk ready.
This recipe makes a big slab for a reason. It is meant to be shared with friends and family. Tell me, who would you share this sweet slice with?
Ingredients:
| Ingredient | Amount | Notes |
|---|---|---|
| Flour | 3 cups | |
| Granulated sugar | 1½ cups | |
| Salt | ¼ teaspoon | |
| Lemon zest | 1 large lemon | |
| Unsalted butter | ½ cup | cold and cut into cubes |
| Eggs | 3 | slightly beaten |
| Fresh strawberries | 4 cups | cut in half |
| Fresh-squeezed lemon juice | 1 tablespoon | |
| Cornstarch | 1 tablespoon | |
| Sugar | ¾ cup |
Fresh Berry Slab: Summer’s Sweetest Slice
Hello, my dear! Come sit with me. I want to share my favorite summer recipe. This Fresh Berry Slab is like a big, happy cookie full of strawberries. The kitchen smells like sunshine and sweet lemons when it bakes. I still smile thinking of my grandkids eating it. They always ask for the corner piece with extra crumble.
Let’s get our hands busy. It’s easier than you think. We will make a simple dough for the crust and topping. The secret is cold butter. It makes everything so flaky and good. Are you ready? Here is how we make it, step-by-step.
Step 1
First, turn your oven on to 350°F. This gets it ready for us. Grab a 9×13 baking dish. Line it with parchment paper, letting the paper hang over the sides. This is our magic trick for later. It lets us lift the whole slab out easily. (I learned this the hard way after trying to cut bars in the pan. What a sticky mess!)
Step 2
Now, let’s make the dough. In a big bowl, mix the flour, sugar, salt, and lemon zest. That zest is like a little sparkle of flavor. Then, add the cold, cubed butter. Use a mixer or your fingers to mix it. You want little pea-sized bits of butter. This makes the topping so crunchy.
Step 3
Pour in the slightly beaten eggs. Mix just until a crumbly dough forms. It will look like wet sand. That’s perfect! Press about two-thirds of this dough into your prepared pan. Push it down evenly with your fingers. This is our foundation.
Step 4
Time for the star of the show! In another bowl, mix your strawberry halves with lemon juice, cornstarch, and sugar. The cornstarch thickens the berry juices. Doesn’t that pink color look beautiful? Pour this strawberry mixture over the crust. Spread it out nicely.
Step 5
Take the rest of your dough. Crumble it over the strawberries with your fingers. No need to be perfect. Those little clumps will turn golden and delicious. Pop the dish in the oven for about 45 minutes. You’ll know it’s done when the top is lightly golden. What’s your favorite summer berry? Share below!
Step 6
This is the hardest part. You must let it cool completely. I know, the smell is amazing! But if you cut it warm, it will be too gooey. Let it sit on the counter. Be patient, my dear. Then, use the parchment paper to lift it out and cut clean squares.
Cook Time: 45–50 minutes
Total Time: 1 hour
Yield: 24 bars
Category: Dessert, Snack
Three Tasty Twists to Try
This recipe is like a best friend. It loves to play dress-up! You can change it with the seasons. Here are a few of my favorite ways to mix it up. They are all so simple and fun.
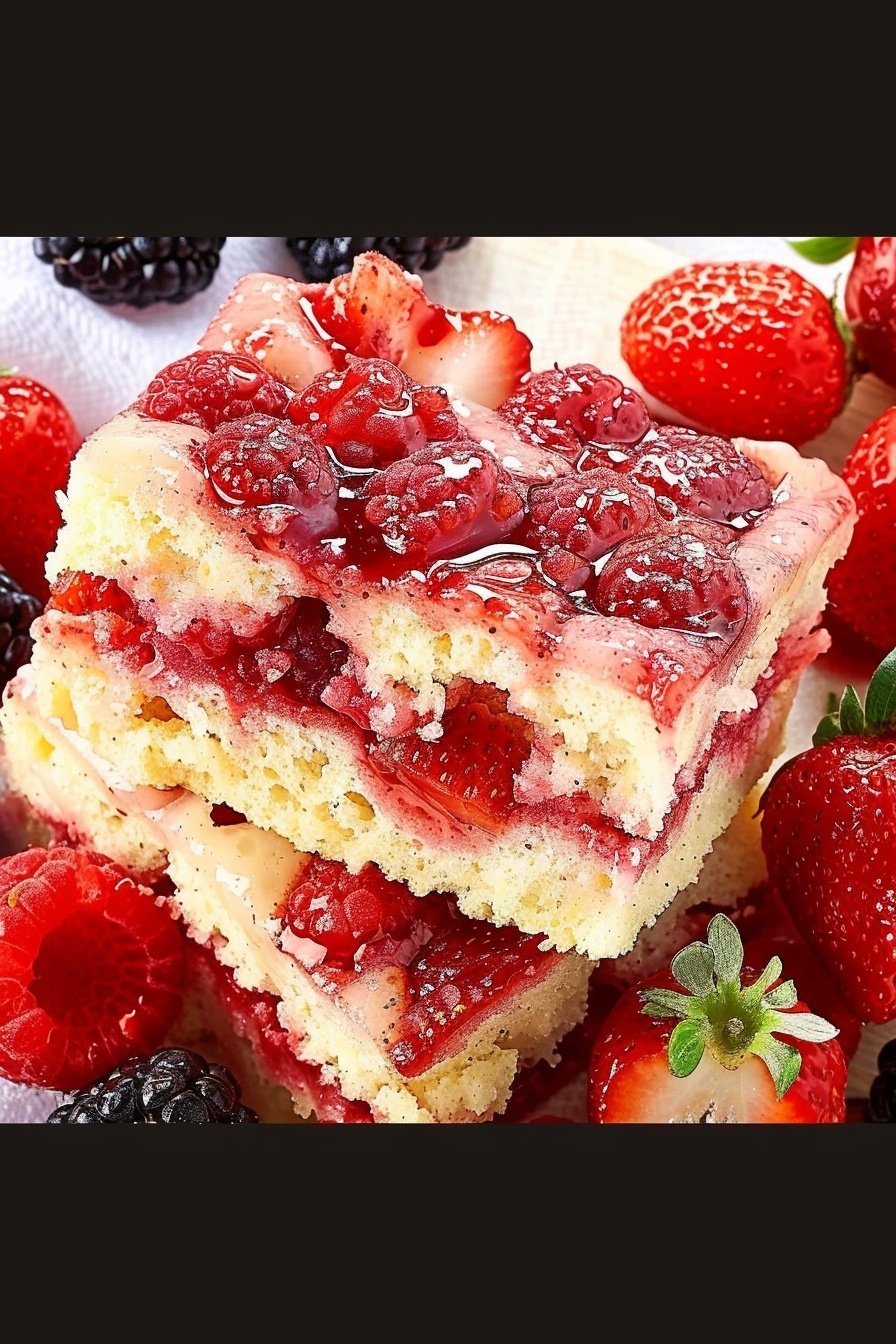
Mixed Berry Bonanza
Use a mix of raspberries, blueberries, and blackberries. The color is just gorgeous.
Peach & Berry Dream
Swap one cup of strawberries for chopped fresh peaches. It tastes like a summer afternoon.
Almond Joy Crunch
Add a handful of sliced almonds to the crumble topping. It gives a lovely, nutty taste.
Which one would you try first? Comment below!
Serving Your Sweet Slab
Now, how should we eat our creation? Of course, it’s wonderful all on its own. But sometimes, a little extra makes it special. I love to add a small scoop of vanilla ice cream on top. The warm bar and cold ice cream are a perfect pair.
For a pretty plate, dust the top with a little powdered sugar. You could also add a few fresh mint leaves. They look so pretty next to the red berries. For a drink, a cold glass of milk is always my go-to. Or, for the grown-ups, a sweet iced tea with lemon is just right. Which would you choose tonight?
Keeping Your Berry Slab Fresh
This berry slab stays fresh for three days in the fridge. Just cover the pan tightly with plastic wrap. You can also freeze the whole pan for up to three months.
I like to cut the slab into individual bars before freezing. This way, I can pull out one piece for a quick treat. It is like having a little summer in your freezer.
I once tried to freeze a whole pan without cutting it first. It was so hard to get a piece out. Now I know to slice it first.
Batch cooking like this saves you time on busy days. It means you always have a homemade snack ready. This makes your week feel a little sweeter.
Have you ever tried storing it this way? Share below!
Simple Fixes for Common Berry Slab Troubles
Is your crust too crumbly? Your butter might have been too warm. Always use cold butter right from the fridge.
I remember when my first crust fell apart. My kitchen was too warm that day. Now I work fast to keep everything cool.
Is your filling too runny? Make sure you let the bars cool completely. This lets the fruit juices thicken up nicely.
Getting this right builds your cooking confidence. A firm slice means you did everything perfectly. It also makes the flavor so much better.
Is your topping browning too fast? Just place a piece of foil loosely over the pan. This will protect the top while the inside finishes baking.
Which of these problems have you run into before?
Your Berry Slab Questions Answered
Q: Can I make this gluten-free? A: Yes. Just use your favorite gluten-free flour blend. It works very well.
Q: Can I make it ahead? A: Absolutely. Bake it a day before you need it. The flavors get even better.
Q: Can I use other fruits? A: You can. Try using blueberries or raspberries instead. They are all delicious.
Q: Can I make a smaller batch? A: Sure. Just cut the recipe in half. Use a smaller square pan.
Q: Is the lemon zest important? A: It adds a bright, sunny flavor. Do not skip it. A little lemon zest makes the berries taste even more like berries.
Which tip will you try first?
Share Your Sweet Creations
I hope you love making this recipe as much as I do. It always makes my kitchen smell wonderful. I love hearing about your cooking adventures.
Please share a picture if you make it. I would love to see your beautiful berry slab. It makes me so happy to see your results.
Have you tried this recipe? Tag us on Pinterest!
Happy cooking!
—Lena Morales.
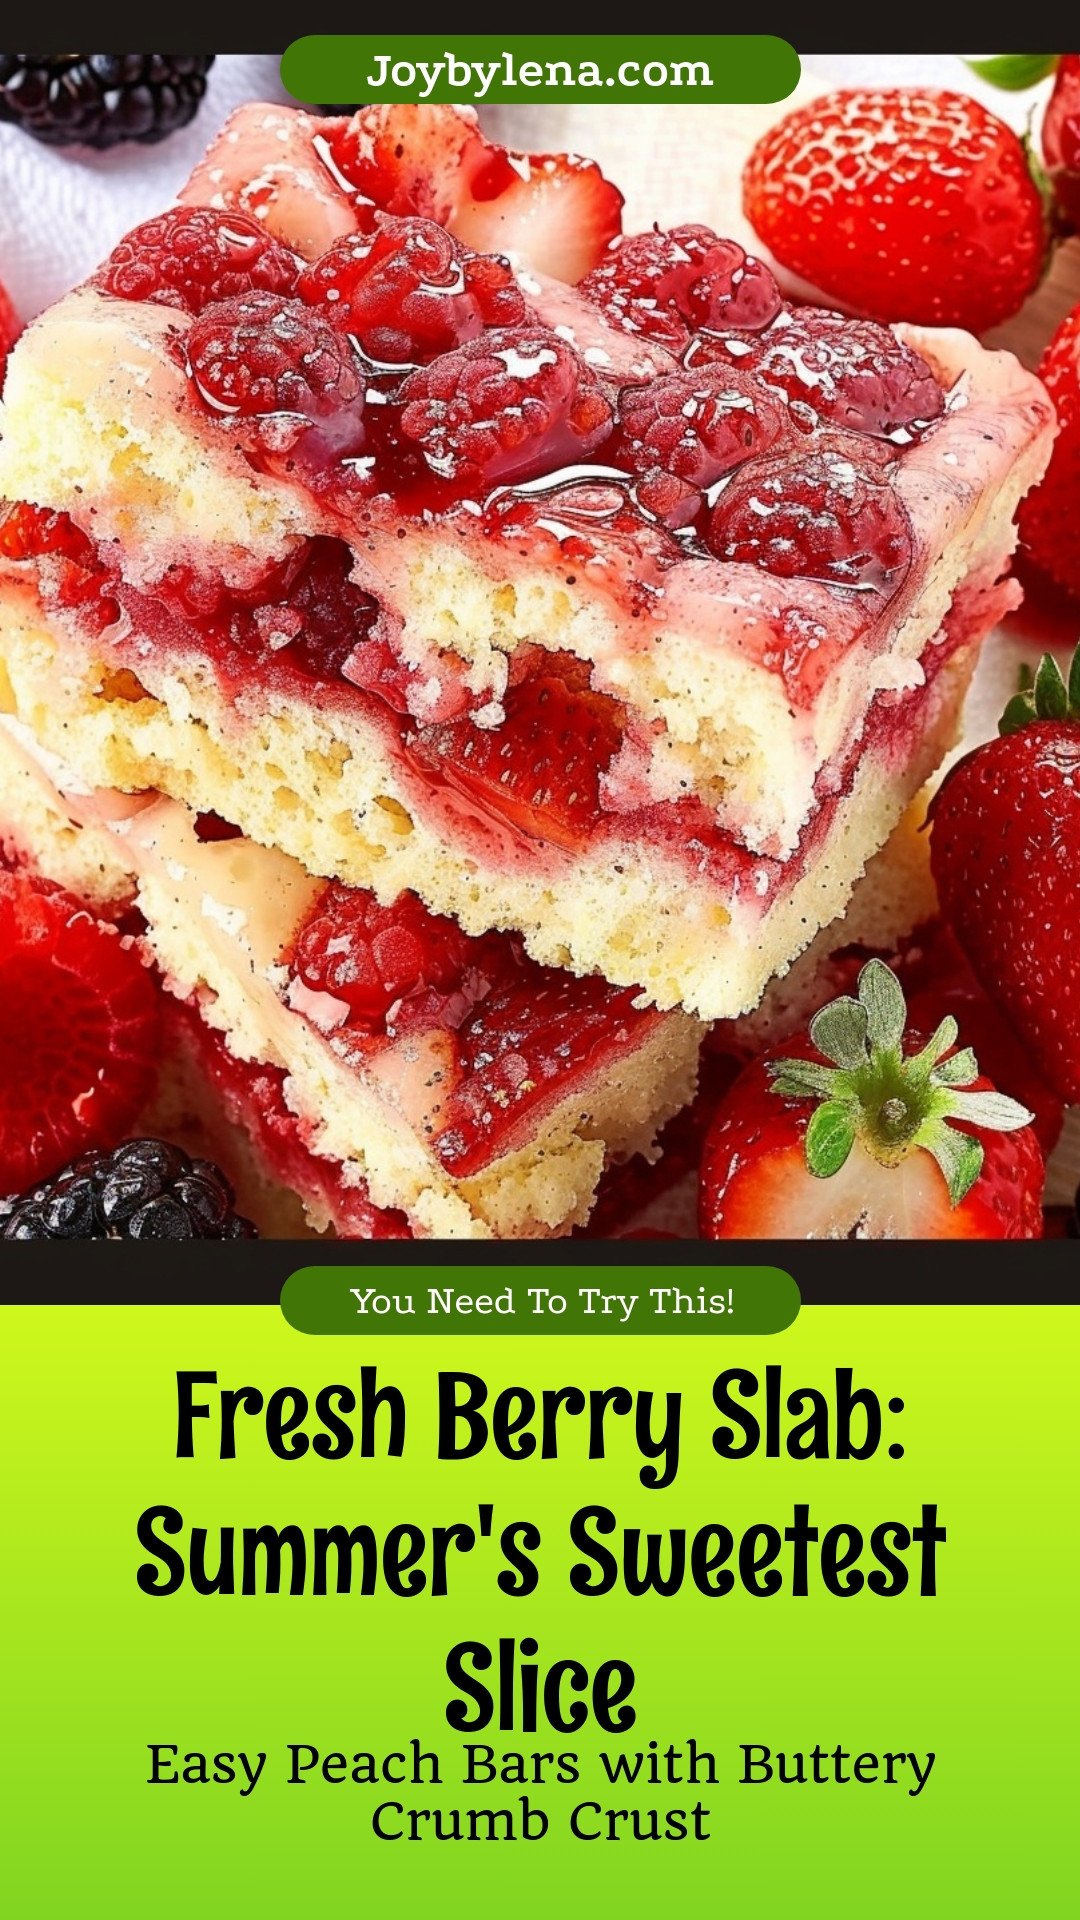
Fresh Berry Slab: Summer’s Sweetest Slice:
Description
Bake the taste of summer! This easy Fresh Berry Slab Pie is a stunning, shareable dessert bursting with juicy berries. Perfect for picnics and parties.
Ingredients
=== Crust/Topping ===
=== Strawberry Filling ===
Instructions
- Preheat the oven to 350°F. Line a 9×13 baking dish with parchment paper allowing for overhang so you can lift the cooled bars out of the pan to cut.
- In a stand mixer, add the flour, sugar, salt, and lemon zest. On low speed, mix until combined.
- Add in the butter and mix until you get pea-sized pieces of butter.
- Add in the beaten eggs and mix until a crumbly dough comes together.
- Press ⅔ of the dough evenly into the bottom of the parchment-lined baking dish and set aside.
- In a large mixing bowl, combine the strawberries, lemon juice, cornstarch, and sugar. Mix until combined.
- Pour the strawberry mixture over the crust and even it out with a rubber spatula.
- Crumble the remaining dough over the strawberry filling.
- Bake in the preheated oven for 45 to 50 minutes or until the crumble appears slightly golden brown.
- Pull the baking dish out of the oven and set it aside to cool completely before cutting the bars.


Leave a Reply