The Heart of the Feast
Gravy is the heart of the Thanksgiving plate. It ties everything together. I think a meal feels a little lonely without it. My grandpa always said it was “liquid love.” I still laugh at that.
It matters because it turns simple turkey and potatoes into a cozy, complete meal. Every spoonful is full of flavor from your own roasted bird. That is special. What dish makes your holiday table feel complete?
A Little Kitchen Magic
Do not let gravy scare you. It is just a simple sauce. You mix fat and flour. Then you whisk in your turkey juices. The magic is in the whisking!
Keep stirring and you will see it thicken. Doesn’t that smell amazing? That nutty smell tells you it is working. Fun fact: that flour and fat mix is called a “roux.” It is the secret to smooth gravy.
My First Gravy Lesson
I made my first gravy when I was twelve. I was so nervous. My abuela stood right next to me. She told me to breathe and just keep whisking.
I thought I ruined it. There were little lumps! But she showed me a trick. We just strained it through a sieve. It was perfect. This matters because cooking is about fixing mistakes, not being perfect.
Getting the Consistency Just Right
Your gravy might be too thick. That is okay. Just add a splash of milk, broth, or water. Whisk it in. Is it too thin? Let it simmer a bit longer.
You are the boss of your gravy. Make it how you like it. Do you love thick gravy or a thinner, silky kind? I like mine right in the middle.
Why Those Drippings Matter
Do not throw away the juices in your roasting pan. That is pure gold! All the turkey flavor is in there. It makes store-bought broth taste weak in comparison.
Skimming the fat off the top might seem strange. But that fat is flavor too. You use it to start your gravy. This matters because you are using every bit of your bird. It feels good and tastes better.
Your Turn to Share
Now you know my gravy secrets. It is really just about patience and a strong whisking arm. The best part is pouring it over everyone’s plate.
I would love to hear your stories. What is your favorite food to smother in gravy? Did you ever have a kitchen rescue like my lumpy gravy? Tell me, does someone at your table always get the gravy boat first?
Ingredients:
| Ingredient | Amount | Notes |
|---|---|---|
| all-purpose flour | 3 Tbsp | or use Gluten-Free 1:1 flour |
| fat drippings from roasted turkey | 3 Tbsp | |
| turkey drippings, skimmed of fat | 2 cups | add water or broth if needed to make 2 cups |
| milk, stock, or water | 1/4 cup | or added to desired consistency |
| salt and pepper | to taste |
My No-Fuss Turkey Gravy, Just Like Abuela Made
Hello, my dear. Come sit. The turkey is resting, and its juices are pure gold. We will turn them into gravy. This is my favorite kitchen magic. It ties the whole meal together with a warm, savory hug. I learned this from my own grandmother. Her gravy was always silky and perfect. Let me show you how.
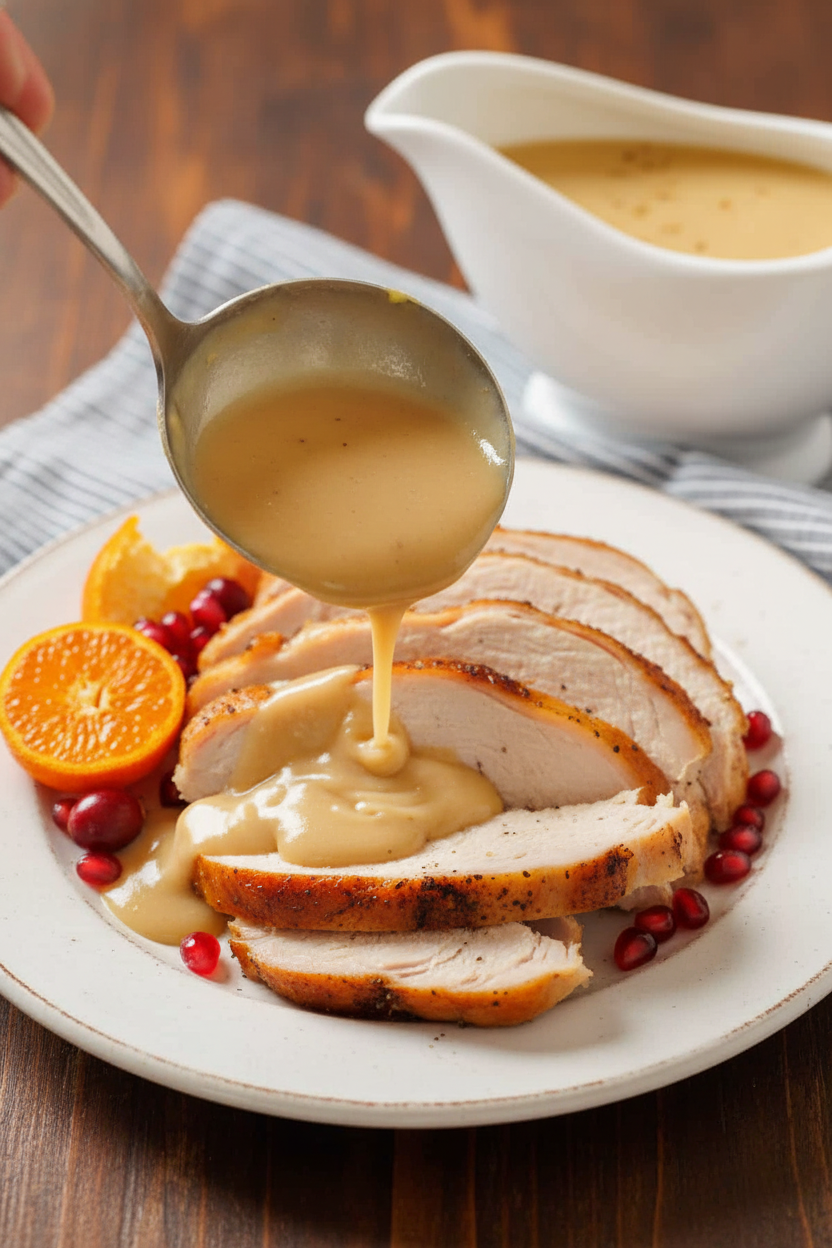
First, we need our drippings. That’s the flavorful juice in the bottom of the roasting pan. Pour it all through a strainer into a big measuring cup. This catches any little bits. Let it sit for just a minute. The fat will rise to the top like a shiny yellow pond. We need that fat for flavor. (My hard-learned tip: If you don’t have enough turkey fat, just add butter. No one will ever know!)
Step 1: Carefully skim 3 tablespoons of that clear fat from the top of your drippings. Put it right into a saucepan. Now, look at the good broth underneath. You need 2 cups of it. If you’re a little short, just add some water or chicken broth. Easy!
Step 2: Heat the fat in your pan over medium heat. When it sizzles, whisk in 3 tablespoons of flour. Keep whisking! It will look pasty. Cook it until it smells toasty, like warm nuts. This is called a roux. It makes your gravy thick and rich.
Step 3: Here’s the fun part. Slowly pour your 2 cups of broth into the pan. Whisk, whisk, whisk the whole time! This keeps lumps from forming. Bring it to a gentle bubble. The gravy will thicken before your eyes. Isn’t that amazing?
Step 4: Let it simmer for about 5 minutes. It gets smoother. If it looks too thick, add a splash of milk or water. Now taste it. Add a little salt and pepper if it needs it. What’s your family’s secret gravy ingredient? Share below! Turn off the heat. Cover it to keep it warm until dinner.
Cook Time: 10 minutes
Total Time: 15 minutes
Yield: About 2 cups
Category: Dinner, Sauce
Three Fun Twists for Your Gravy
Once you know the basics, you can play. I love adding a little surprise. It makes every dinner special. Here are three ideas I use often. They are all so simple.
Mushroom Magic: Sauté chopped mushrooms in the fat before adding the flour. Earthy and so delicious.
Herb Garden: Stir in a spoonful of fresh sage or rosemary at the very end. It smells like a holiday.
Sweet & Spicy: Add a teaspoon of apple jelly and a pinch of black pepper. A sweet little kick!
Which one would you try first? Comment below!
My Favorite Ways to Serve It
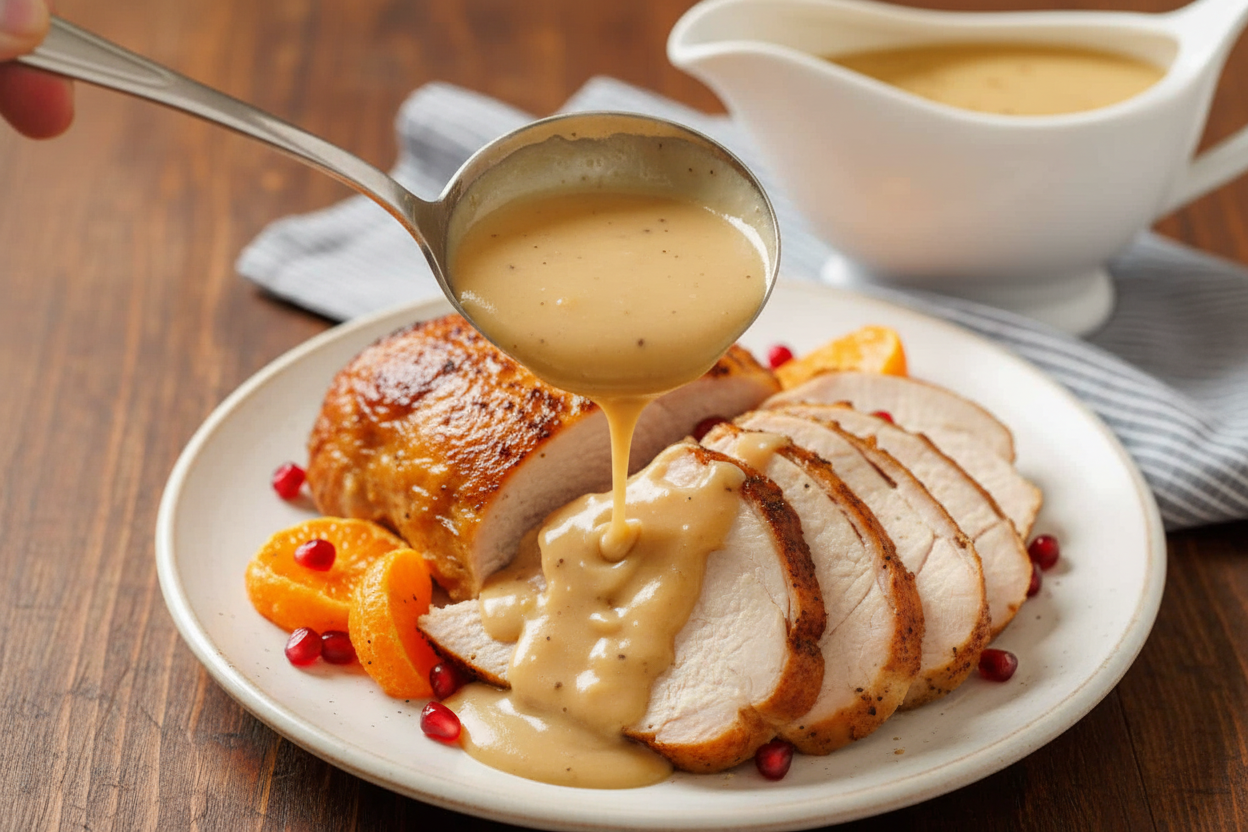
Of course, you’ll pour it over turkey and mashed potatoes. But try a little on your green beans. Trust me. For a pretty touch, serve the gravy in a small pitcher. Let everyone pour their own. I still laugh at my grandson. He makes a gravy lake on his plate.
What to drink? For the grown-ups, a glass of chilled apple cider with a dash of whiskey is cozy. For everyone, sparkling apple juice with a cinnamon stick feels fancy. It cuts through the rich meal perfectly. Which would you choose tonight?
Keeping Your Gravy Gracious
Good gravy is a treasure. You can keep it in the fridge for three days. Just put it in a sealed container. Reheat it slowly in a small pot. Add a splash of broth or water if it thickens up.
You can also freeze it for two months. Pour cooled gravy into an ice cube tray. Once frozen, pop the cubes into a bag. This way, you have single servings ready. I once froze a whole batch for a busy week. It was a lifesaver for mashed potatoes on Tuesday!
Batch cooking saves time and reduces waste. Making a double batch is just as easy. You will thank yourself later. Have you ever tried storing it this way? Share below!
Gravy Troubles? Easy Fixes Right Here
Is your gravy too thin? Let it simmer a bit longer. The extra cooking thickens it up. Is it too thick? Just whisk in more broth or water. Add it a little at a time.
Lumpy gravy is a common scare. Do not worry. Simply pour it through a fine mesh strainer. I remember when my first gravy had lumps. My grandson called it “oatmeal gravy.” We all laughed and I strained it.
If your gravy tastes bland, season it at the end. Add salt and pepper slowly. Tasting as you go gives you control. Getting the texture right builds cooking confidence. Balancing the flavor makes the whole meal sing. Which of these problems have you run into before?
Your Gravy Questions, Answered
Q: Can I make this gluten-free? A: Yes! Use a gluten-free 1:1 flour blend. It works just the same.
Q: Can I make gravy ahead of time? A: Absolutely. Make it the day before. Reheat it gently with extra liquid.
Q: What if I don’t have enough drippings? A: Use butter for the fat. Use chicken broth for the liquid. It will still taste wonderful.
Q: Can I double the recipe? A: You sure can. Just use a bigger pot. Whisk a little more to keep it smooth.
Q: Any secret tip? A: Let the flour and fat cook until it smells nutty. This fun step gives gravy its rich, toasty flavor. Which tip will you try first?
From My Kitchen to Yours
I hope this recipe becomes part of your family story. Good food is about sharing and caring. It is about the smiles around your table.
I would love to see your creations. Share a photo of your holiday plate. Have you tried this recipe? Tag us on Pinterest! Let’s fill that board with cozy, delicious moments.
Happy cooking!
—Lena Morales.
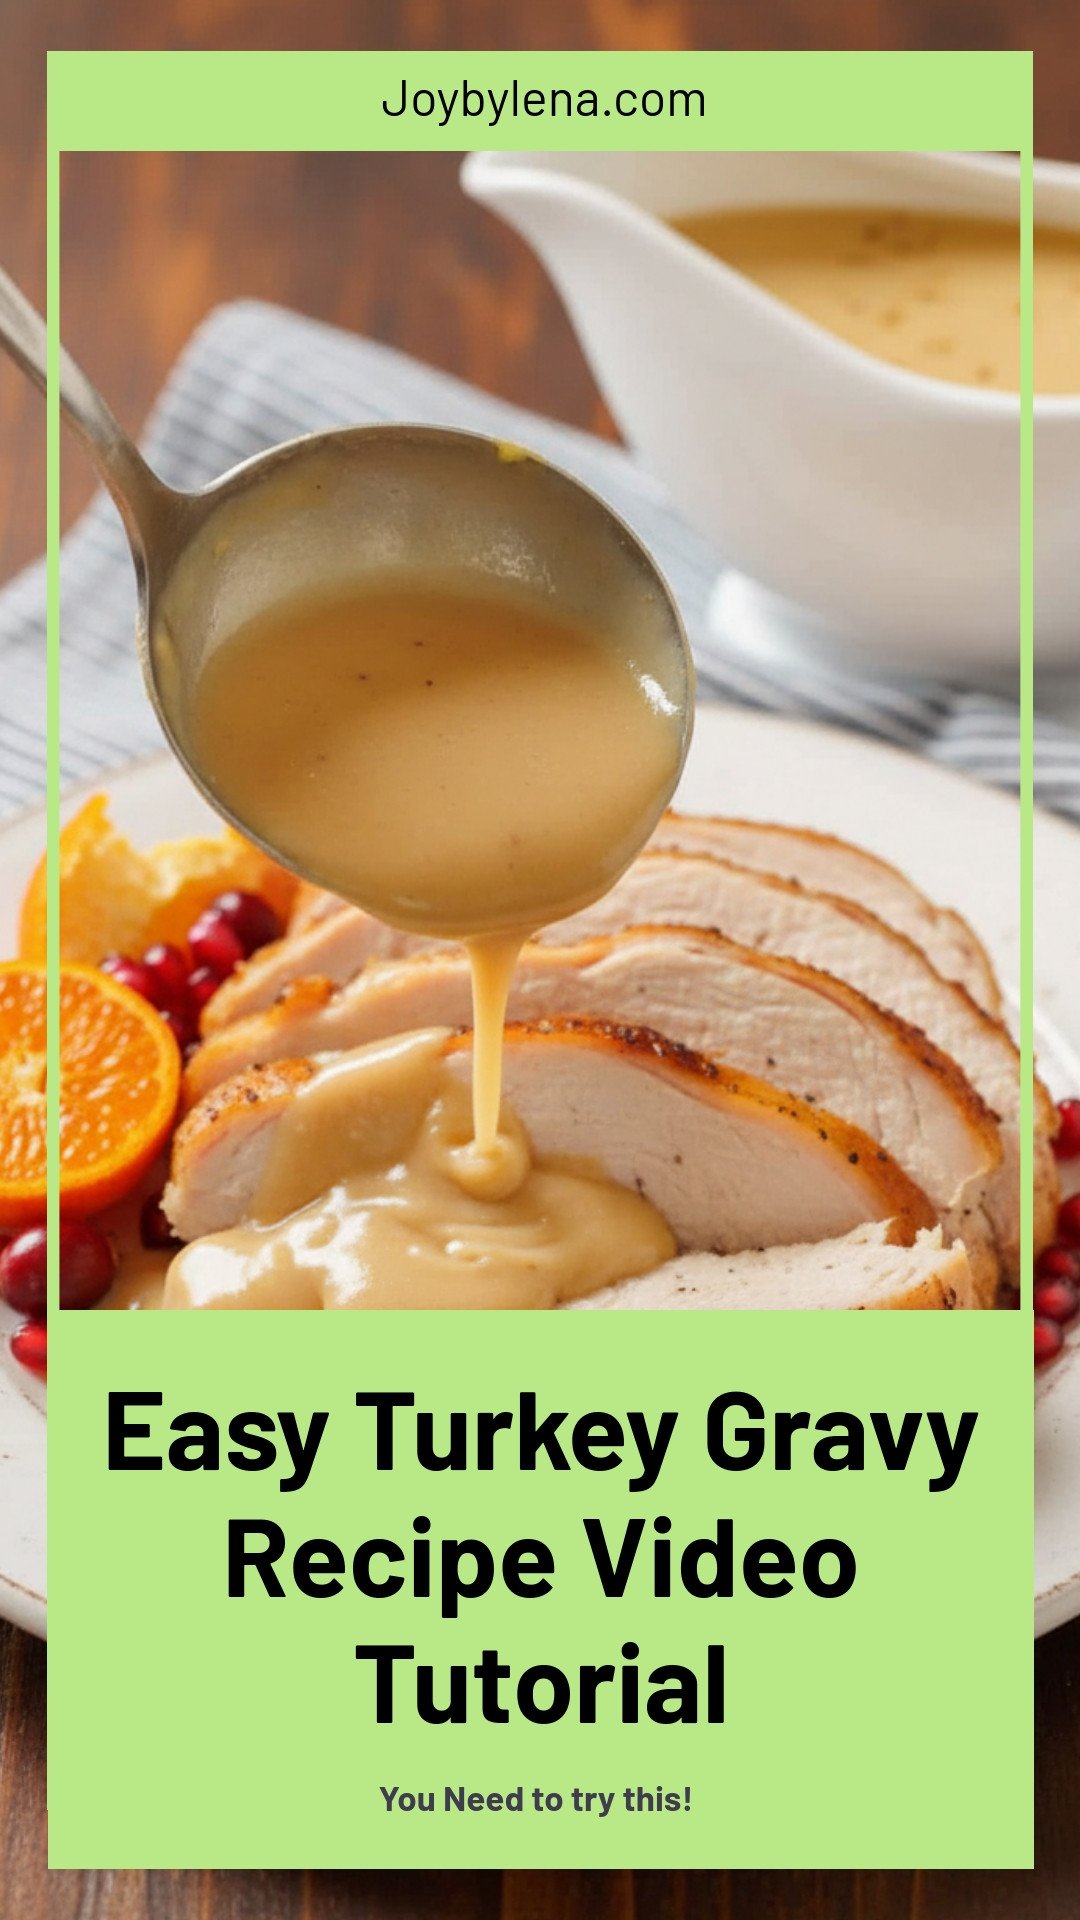
Easy Turkey Gravy Recipe Video Tutorial
Description
Learn how to make the perfect, rich, and flavorful gravy from your turkey drippings with this simple step-by-step video tutorial.
Ingredients
Instructions
- Strain drippings from the turkey roasting pan through a fine mesh sieve into a large measuring cup, then discard anything you catch in the sieve. Let drippings in the measuring cup rest for a minute, so the fat will float to the top and the broth will sink to the bottom.
- Skim off 3 Tbsp of fat (or more if doubling the recipe) and transfer into a medium saucepan. If you don’t have enough, use butter until you get 3 Tbsp., then skim off and discard the excess fat left in the measuring cup. Measure out 2 cups of the remaining broth drippings. Add more chicken broth or water to equal 2 cups.
- Heat the saucepan with fat drippings over medium heat. Once fat starts to sizzle, whisk in 3 Tbsp flour and stir until well combined. Continue whisking until the mixture is starting to turn a light golden brown and begins to smell nutty or like cereal.
- Gradually pour the 2 cups of broth drippings into your saucepan, whisking constantly to avoid lumps. Bring to a light boil while whisking.
- Add more milk, broth, or water to taste (this helps if your gravy seems too salty or too thick), and continue to simmer for 5 minutes. Season with salt and pepper if needed. Remove from heat and cover to keep warm until ready to serve, then transfer to a gravy boat or serving dish.
Notes
- Nutrition Per Serving: 65kcal Calories, 3g Carbs, 1g Protein, 6g Fat, 1g Saturated Fat, 2g Polyunsaturated Fat, 3g Monounsaturated Fat, 0.02g Trans Fat, 2mg Cholesterol, 221mg Sodium, 25mg Potassium, 0.1g Fiber, 1g Sugar, 14IU Vitamin A, 12mg Calcium, 0.2mg Iron.


Leave a Reply