The Story of a Special Cake
This cake reminds me of my granddaughter’s birthday. She wanted something pink and pretty. I made this strawberry cake for her. Her smile was my best reward.
I still laugh at that. The kitchen was a happy mess. This recipe feels like a hug in cake form. It matters because food made with love tastes better. Do you have a favorite birthday cake memory? I would love to hear about it.
Secrets to a Light Cake
Do not grease the sides of your pan. This is my little secret. The cake needs to cling to climb high. It makes the layers tall and straight.
Whisk those eggs and sugar for a full ten minutes. It seems like a long time. But you are filling them with air. That air makes the cake soft as a cloud. Fun fact: The word “biskvit” is just a fancy word for a simple sponge cake.
The Heart of the Cake
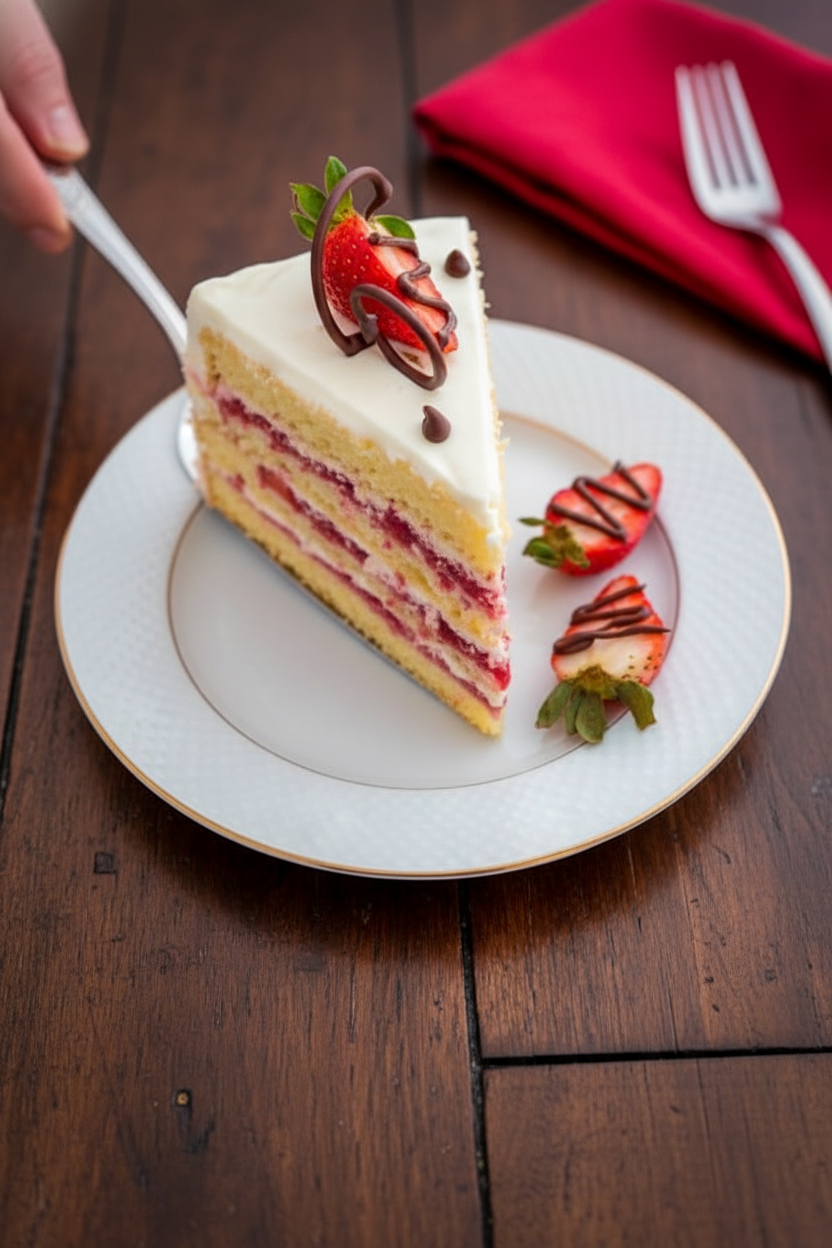
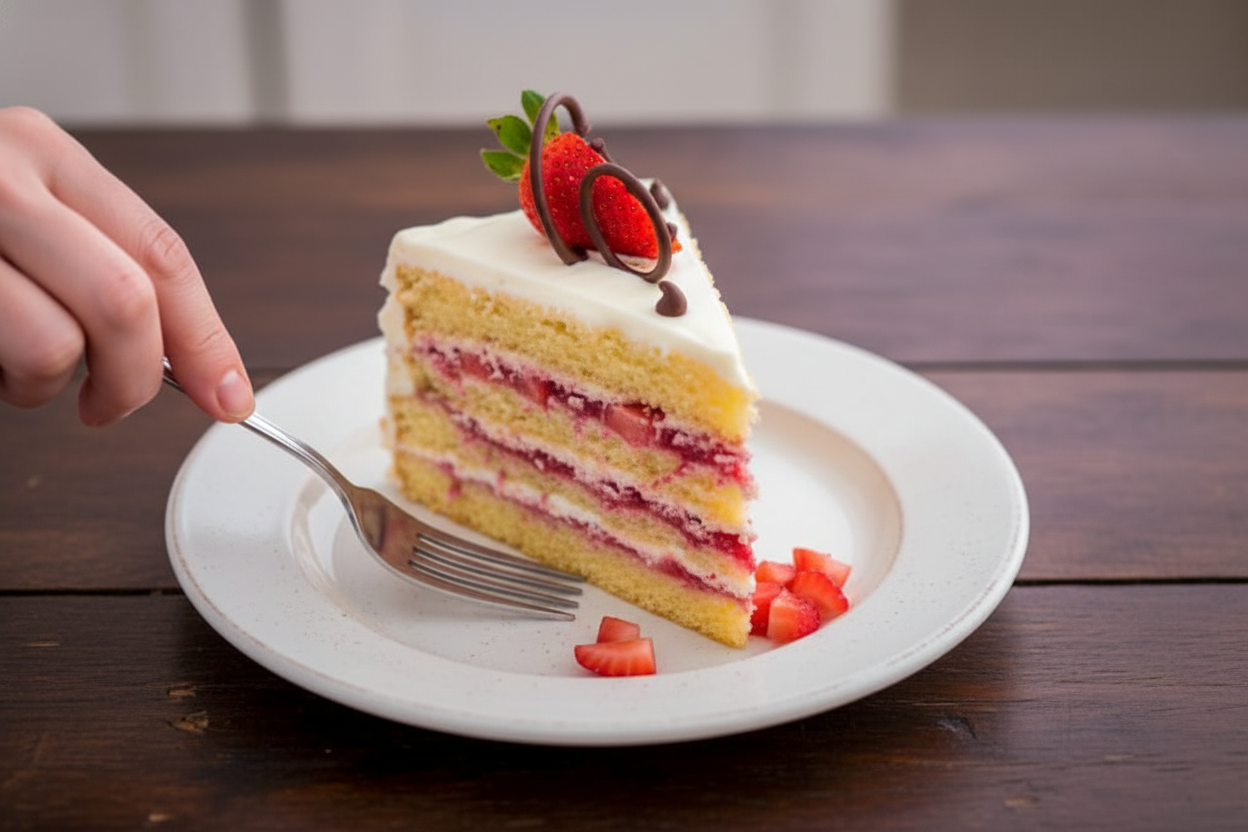
The filling is just fresh strawberries, pulsed up. Doesn’t that smell amazing? It should look like chunky applesauce. This fresh fruit is the true flavor.
Using real fruit matters. It gives you a bright, true taste. Store-bought jam can’t compare. Spread it right on the cake layer. Then comes the creamy frosting hug.
Building Your Sweet Tower
Put your first cake piece on the plate you will serve it on. This cake is a big, happy heavyweight. You will not want to move it later. Trust me on this.
Then just layer it up. Cake, strawberries, cream. Repeat. It is like building a sweet tower. The final layer is just cake and cream. What part do you think is the most fun: baking, building, or decorating?
Making It Your Own
Now for the best part. Decorate the top with fresh strawberries. You can melt a little chocolate to drizzle over. This step is for playing.
Let your heart guide you. Maybe add some chocolate chips. The cake is already perfect inside. The top is your chance to make it pretty. Will you use chocolate, or keep it simple with just berries? Tell me your plan.
Ingredients:
| Ingredient | Amount | Notes |
|---|---|---|
| large eggs, room temp | 12 | divided |
| granulated sugar | 2 cups | divided (for cake) |
| all-purpose flour | 2 cups | divided |
| heavy whipping cream | 1 cup | for frosting |
| cream cheese, softened | 16 oz | for frosting |
| granulated sugar | 3/4 cup | for frosting |
| Fresh strawberries | 2 lbs | 1 1/2 lbs for filling, 1/2 lb for decor |
| Chocolate chips | to taste | optional, to melt and decorate top |
My Easy Strawberry Layer Cake
Hello, my dear! Come sit. Let’s bake my favorite strawberry cake. It’s light as a cloud and full of berries. I learned this recipe from my Tia Rosa. She always made it for summer birthdays. Doesn’t that smell amazing? The secret is in the fluffy eggs. We’ll take our time. Baking is about love, not rushing.
Here is how we make the magic happen.
- Step 1: First, heat your oven to 350˚F. Get out your 9×13 pan. Line just the bottom with parchment paper. Do not grease the sides. (My hard-learned tip: greasy sides make the cake climb up funny. It comes out lopsided!). We want nice, straight layers for our stack.
- Step 2: Now, for the first cake layer. Put 6 eggs and 1 cup sugar in a mixer. Whisk on high for 10 whole minutes. It will get very pale and fluffy. Like a yellow cloud! Sift in 1 cup flour. Fold it in gently with a spatula. We must be gentle to keep the air in.
- Step 3: Pour that fluffy batter into your pan. Bake it for 17-20 minutes. A toothpick should come out clean. While it bakes, start your second layer. Just repeat everything with the other 6 eggs, sugar, and flour. See? You’re already a pro. Why do we not grease the pan sides? Share below!
- Step 4: Let the cakes cool completely. Now, the fun part! Make the strawberry filling. Pulse fresh berries in a food processor. Just a few times. We want it chunky, like thick applesauce. I still laugh at that. My grandson once tried to drink it like a smoothie!
- Step 5: For the frosting, beat soft cream cheese with sugar. Then add the heavy cream. Beat until it’s fluffy and dreamy. This is the glue that holds our cake together. It’s so simple, but so good.
- Step 6: Time to build our tower! Cut each big cake layer in half. Place one piece on your serving plate. Spread on some strawberry goodness. Add a thin layer of cream frosting. Top with another cake piece. Repeat, repeat, repeat! Finish by frosting the whole outside.
Cook Time: About 1 hour
Total Time: 2 hours (with cooling)
Yield: 12 big slices
Category: Dessert, Cake
Three Fun Twists to Try
This cake loves to play dress-up. You can change its outfit for any season. Here are my favorite ideas. They make it feel brand new.
- Lemon Berry Sunshine: Add lemon zest to the cake batter. Use raspberries with the strawberries. So bright and tangy!
- Tropical Vacation Cake: Swap strawberries for mango and passion fruit puree. Top with toasted coconut. Close your eyes and imagine the beach.
- Chocolate-Dipped Everything: Melt chocolate and drizzle it over every layer. Decorate with whole chocolate-dipped strawberries on top. A chocolate lover’s dream.
Which one would you try first? Comment below!
Serving It With Style
This cake is a celebration all by itself. But a little extra touch makes it special. For a pretty plate, add a few fresh mint leaves. You could also serve a small scoop of vanilla ice cream on the side. The warm cake and cold ice cream are heaven.
What to drink? For the grown-ups, a little glass of champagne or prosecco is lovely. The bubbles cut through the sweet cream. For everyone, I love a cold glass of sparkling lemonade. It’s my go-to. Which would you choose tonight?
Keeping Your Strawberry Cake Fresh & Happy
This cake is best enjoyed the day you make it. But I know life gets busy. To store it, just cover it well and put it in the fridge. It will stay lovely for about two days. You can freeze the cake layers before you assemble them, too. Wrap them tightly in plastic wrap for a month. I once froze a layer for a surprise visit from my grandkids. It was a lifesaver!
Why does this matter? Good storage keeps your hard work from going to waste. It means you can have a beautiful dessert ready for any happy occasion. Have you ever tried storing a cake this way? Share your tips below!
Simple Fixes for Common Cake Hiccups
Is your cake layer flat or dense? The eggs and sugar must be whipped for the full ten minutes. This gives the cake its lift. I remember when I rushed this step. My cake was as flat as a pancake! Is your frosting too runny? Make sure your cream cheese is truly soft at room temperature. Cold cream cheese makes thin frosting.
Are the cake layers sticking to the pan? Please, only line the bottom with parchment. Do not grease the sides. This lets the cake climb the pan as it bakes. Fixing these small things builds your confidence. It also makes sure every bite is light and delicious. Which of these problems have you run into before?
Your Cake Questions, Answered
Q: Can I make this gluten-free? A: Yes! Use a good gluten-free flour blend that works like regular flour.
Q: Can I make parts ahead? A: Absolutely. Bake the layers a day early. Wrap them and keep them at room temperature.
Q: What if I don’t have a food processor? A: Just mash the strawberries with a fork. A little texture is wonderful.
Q: Can I make a smaller cake? A: You can halve the recipe. Use an 8-inch round pan for each layer.
Q: Is the chocolate necessary? A: Not at all! The strawberries are the star. *Fun fact: Strawberries are not true berries, but bananas are!* Which tip will you try first?
Share Your Sweet Creation!
I hope this cake brings a big smile to your table. Baking is about sharing joy and making memories. I would love to see what you create in your kitchen. Did your family love it? Did you add your own special twist? Have you tried this recipe? Tag us on Pinterest @LenasKitchenTable! Your photos make my whole day brighter.
Happy cooking! —Lena Morales.
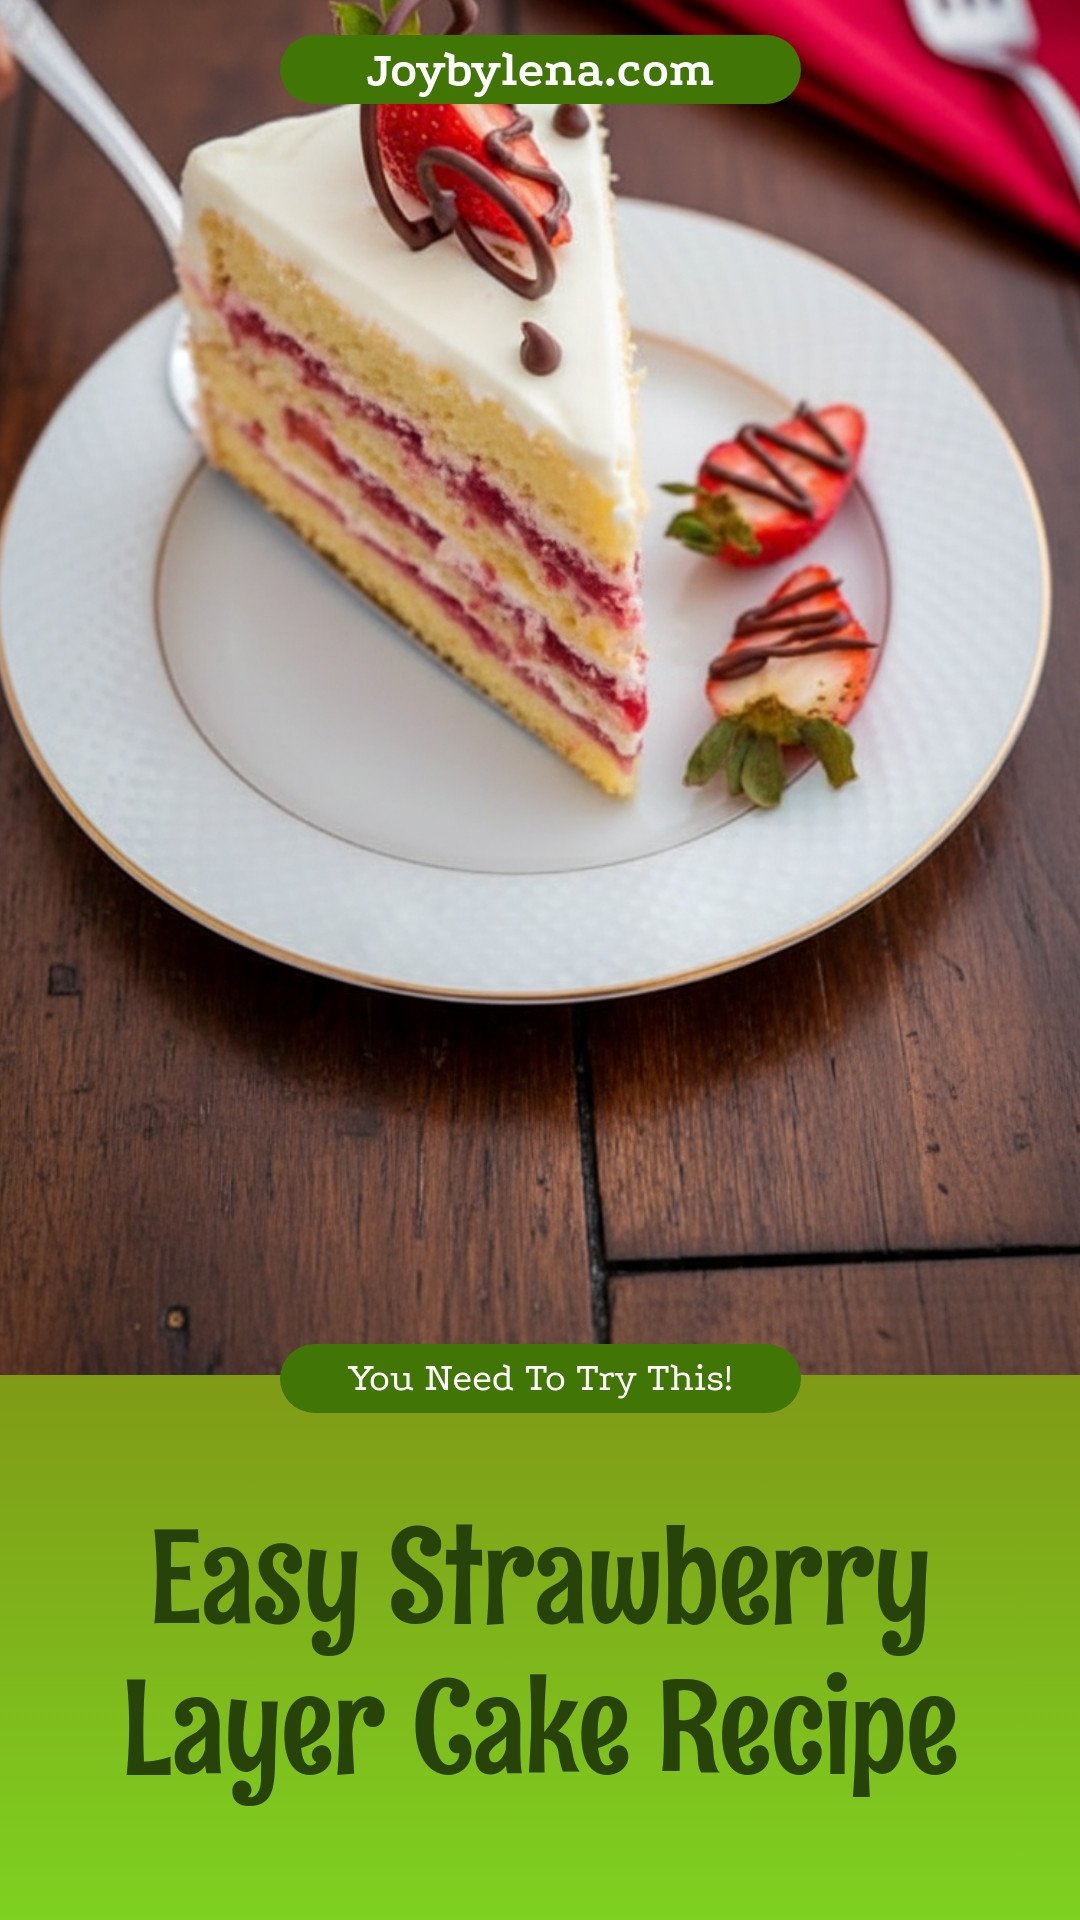
Easy Strawberry Layer Cake Recipe
Description
A delightful and impressive layered cake with fresh strawberry filling and a creamy, fluffy frosting.
Ingredients
For the Cake:
Frosting:
Filling/Decor:
Instructions
- Baking the Cake Layers: Preheat oven to 350˚F. Grease and line only the bottom of a 9×13″ cake pan with parchment paper (line 2 pans if you have 2). You will bake your cake layers separately.
- For each biskvit layer: in the bowl of an electric mixer, whisk together 6 eggs and 1 cup sugar on high speed for 10 min. It will be 3-4 times in volume.
- Sift in 1 cup all-purpose flour and use a spatula to gently fold it in just until well incorporated and no more clumps of flour remain. Scrape from the bottom of the bowl to make sure there aren’t any trapped pockets of flour, but don’t overwork the batter or it will deflate.
- Transfer to lined baking pan and bake until top is golden and toothpick comes out clean, 17-20 min. (While the first layer is baking, start making your second cake layer repeating steps 1-3 above).
- Remove baked cake from the pan by running a thin edged spatula around the sides to loosen it, then let it cool to room temperature before removing the parchment paper.
- Strawberry Filling: Cut strawberries into halves or quarters and place them in the bowl of a food processor; pulse 15 times or until the consistency of a chunky applesauce; set aside.
- Frosting: Beat together cream cheese and 3/4 cup sugar until smooth (1 min). Add 1 cup heavy whipping cream and beat on high speed until fluffy (2-3 minutes).
- Assembly: Cut each cooled cake layer in half. Place the first layer on your serving dish.
- Spread the first layer with 1/3 of the strawberry puree. Spread a very thin layer of frosting on the second half and place it over the first layer so the strawberries and cream are hugging. Repeat with the next layers.
- The order from the bottom up is: cake; strawberry; cream; cake; strawberry; cream; cake; strawberries; cream; cake; cream (frost the top and sides with remaining frosting).
- Decorate the top with fresh strawberries and optional melted chocolate.
Notes
- *Nutrition information was not provided in the text.*


Leave a Reply