My First Crust Disaster
I tried to make a pie crust from scratch once. It was a big mess. I was so young and thought I knew everything. I still laugh at that.
The dough was too sticky. It fell apart in my hands. This press-in crust is the opposite. It is my favorite trick for a perfect pie. It matters because everyone should feel like a baker.
Why This Crust is a Kitchen Hero
You do not need any special skills for this. Just mix a few things in a bowl. You get to use your hands. It feels like making a sandcastle.
The secret is the melted butter. It holds everything together so nicely. Doesn’t that smell amazing? It matters because cooking should be fun, not fussy. What is your favorite pie to eat?
The Magic of Graham Crackers
Graham crackers are not just for snacks. They make the best pie crust. They are sweet and a little bit crunchy. I love that sound when you crush them.
*Fun fact*: A man named Sylvester Graham invented them a long time ago. He thought they would help people stay healthy. Do you like crushing the crackers or mixing the dough more?
Your New Best Friend: The Measuring Cup
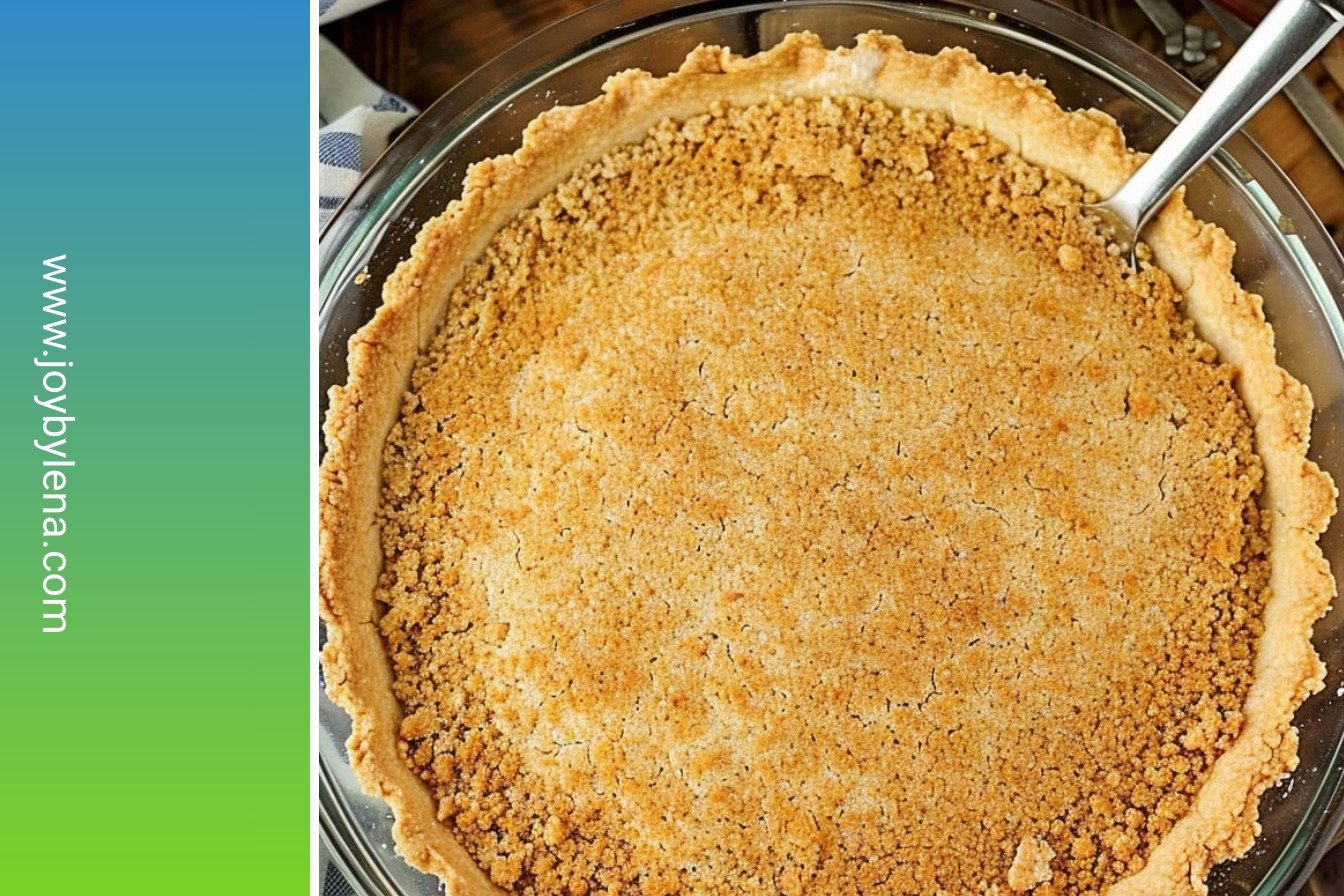
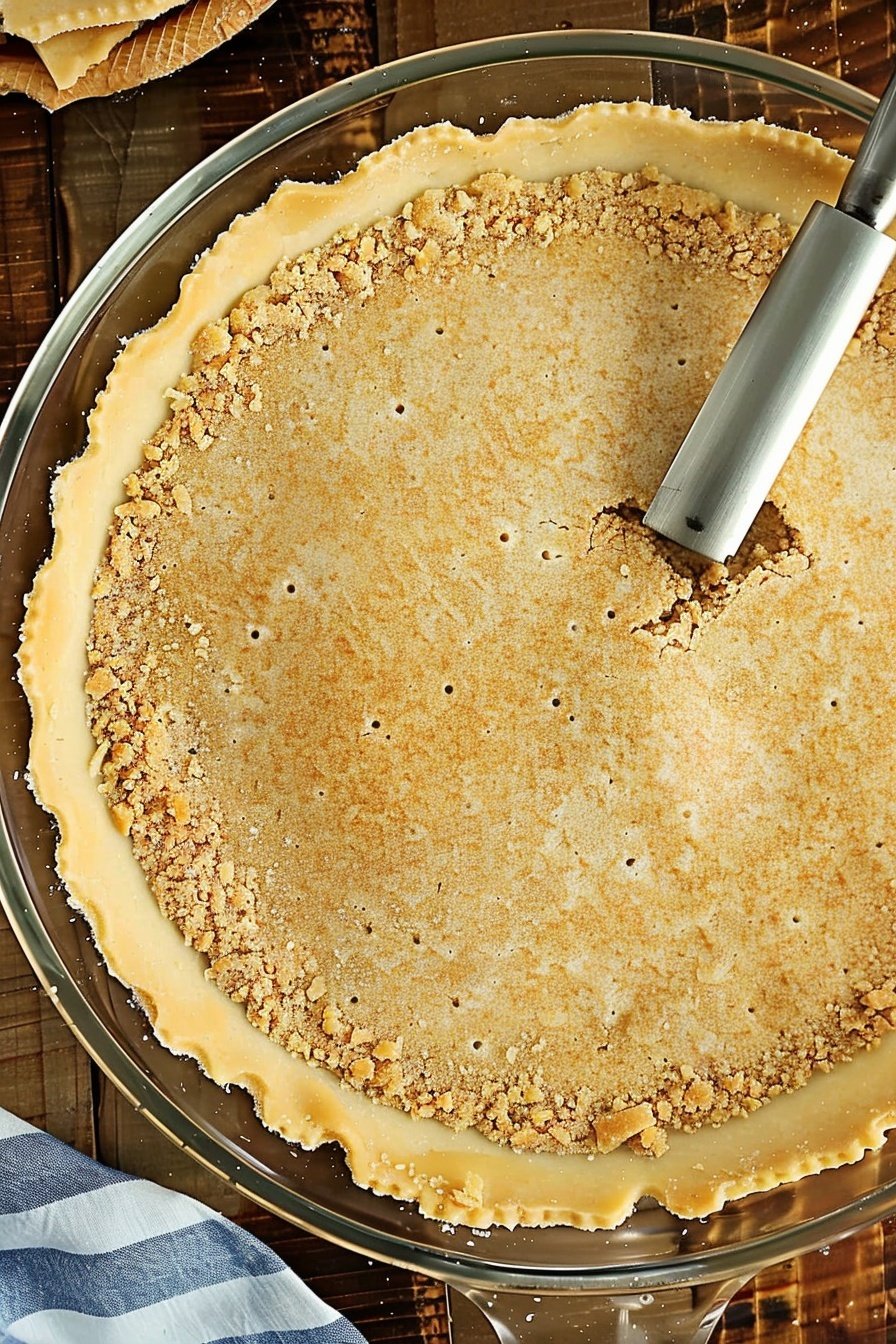
Pressing the crust with your fingers can make holes. I found a better way. Use a dry measuring cup to press it down. The bottom gets so smooth and even.
It makes the crust look like it came from a bakery. This little tip makes a big difference. It shows that the best tools are often already in your kitchen.
A Little Patience for a Perfect Pie
The hardest part is waiting for the crust to cool. I know you want to fill it right away. But a warm crust can make your filling runny.
Letting it cool makes it strong. This is a good lesson for cooking and for life. Some things are worth the wait. What will you fill your crust with first?
Ingredients:
| Ingredient | Amount | Notes |
|---|---|---|
| Graham cracker crumbs | 1 1/2 cups | about 11 whole crackers |
| Sugar | 1/4 cup | |
| Salt | 1/4 teaspoon | |
| Unsalted butter, melted | 6 tablespoons |
My Easy Press-In Crust
Hello, my dear! Come sit with me. Today we are making my favorite pie crust. It is so simple. You just press it into the pan. No rolling pin needed. I learned this from my Tia Rosa. She was always so clever in the kitchen. I still laugh at that. Her recipes were always the easiest and the best.
This crust is buttery and a little sweet. It is perfect for your cheesecakes or puddings. Let me walk you through it. You will be amazed at how simple it is. We will have it ready in no time. Doesn’t that smell amazing? The warm butter and graham crackers are a wonderful smell.
- Step 1: First, turn your oven on to 350°F. Now, get a medium bowl. Put your graham cracker crumbs in it. Add the sugar and a tiny bit of salt. Pour in the melted, golden butter. Mix it all together with a fork. Make sure every single crumb gets a little shiny and wet. (A hard-learned tip: If your crumbs seem dry, add one more tablespoon of melted butter. It makes all the difference!)
- Step 2: Pour your crumbly mix into a pie plate. Do not grease it. Now, use your fingers to press the crumbs up the sides. Then, press them on the bottom. I like to use a dry measuring cup for this. The flat bottom makes everything so smooth. It feels like patting sand at the beach. My grandson calls it building a edible sandcastle. I think that is just perfect.
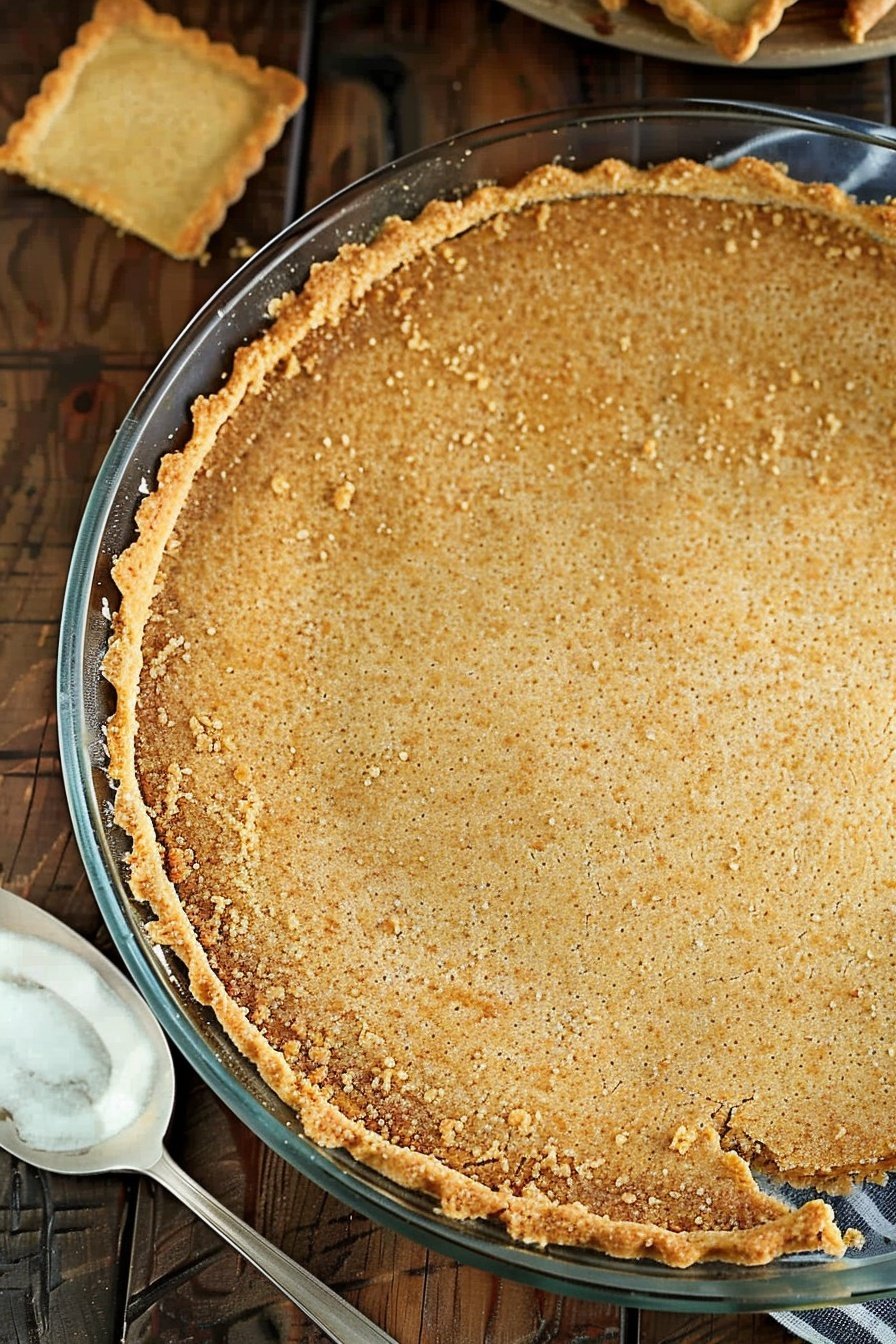
- Step 3: Pop your crust into the hot oven. Bake it for just 8 to 10 minutes. You will know it is ready when your whole kitchen smells like toasted cookies. Take it out and let it cool completely. This is the hardest part! You must wait for it to be cool before you add any filling. What’s your favorite pie filling to put in a graham cracker crust? Share below!
Cook Time: 10 minutes
Total Time: 25 minutes
Yield: 1 pie crust
Category: Dessert, Basics
Three Fun Twists to Try
This crust is like a blank canvas. You can change it in so many fun ways. I love to experiment. It makes every dessert feel new and special. Here are a few of my favorite ideas to get you started.
- Chocolate Dream: Swap half the graham crumbs for chocolate wafer crumbs. It is so rich and delicious.
- Nutty Delight: Add a handful of very finely chopped pecans or walnuts to the crumb mix. It gives a wonderful little crunch.
- Cinnamon Spice: Mix in half a teaspoon of ground cinnamon with the sugar. It makes your kitchen smell like the holidays.
Which one would you try first? Comment below!
Serving It Up Sweet
Now, what to do with your beautiful crust? I love a simple no-bake cheesecake filling. Just pour it in and let it set in the fridge. You could also fill it with chocolate pudding and piles of whipped cream. A few fresh berries on top make it look so pretty. It is a perfect treat.
For a drink, a cold glass of milk is always the best friend to a sweet pie. For the grown-ups, a little glass of creamy sherry wine pairs nicely. It is a lovely end to any meal. Which would you choose tonight?
Keeping Your Crust Fresh
This crust stays fresh in the fridge for two days. Just wrap it tightly in plastic wrap. You can also freeze it for up to a month. Thaw it in the fridge overnight before using.
I love making a few crusts at once. It makes dessert so much faster later. Batch cooking is a little gift for your future self.
I once left a crust out overnight. It got soft and sad. Now I always wrap it right away. This matters because a crisp crust makes your pie special.
Have you ever tried storing it this way? Share below!
Easy Fixes for Common Crust Problems
Is your crust too crumbly? You might not have enough butter. The mixture should feel like wet sand. Press it firmly into the pan.
Does the crust stick to your fingers? Use that dry measuring cup I mentioned. The flat bottom presses it down evenly. I remember when I used my hands. It was a sticky mess.
Is the crust burnt on the edges? Your oven might run hot. Check it a few minutes early. Fixing these small issues builds your cooking confidence. A perfect crust makes the whole pie taste better.
Fun fact: Graham crackers were invented to be a healthy snack!
Which of these problems have you run into before?
Your Crust Questions, Answered
Q: Can I make this gluten-free?
A: Yes! Just use gluten-free graham crackers. The method is exactly the same.
Q: How far ahead can I make it?
A: You can bake the crust two days before. Keep it wrapped in the fridge.
Q: What can I use instead of graham crackers?
A: Try crushed vanilla wafers or digestive biscuits. They work wonderfully.
Q: Can I double the recipe?
A: Absolutely. Double all the ingredients. Use two pie plates.
Q: Any extra tips?
A: A pinch of cinnamon adds a lovely, warm flavor.
Which tip will you try first?
From My Kitchen to Yours
I hope this crust becomes a favorite in your home. It holds so many sweet memories for me. I love seeing the recipes you all create.
Please share your beautiful pies with me. I would be so delighted to see them. Your kitchen stories make my day.
Have you tried this recipe? Tag us on Pinterest!
Happy cooking!
—Lena Morales.
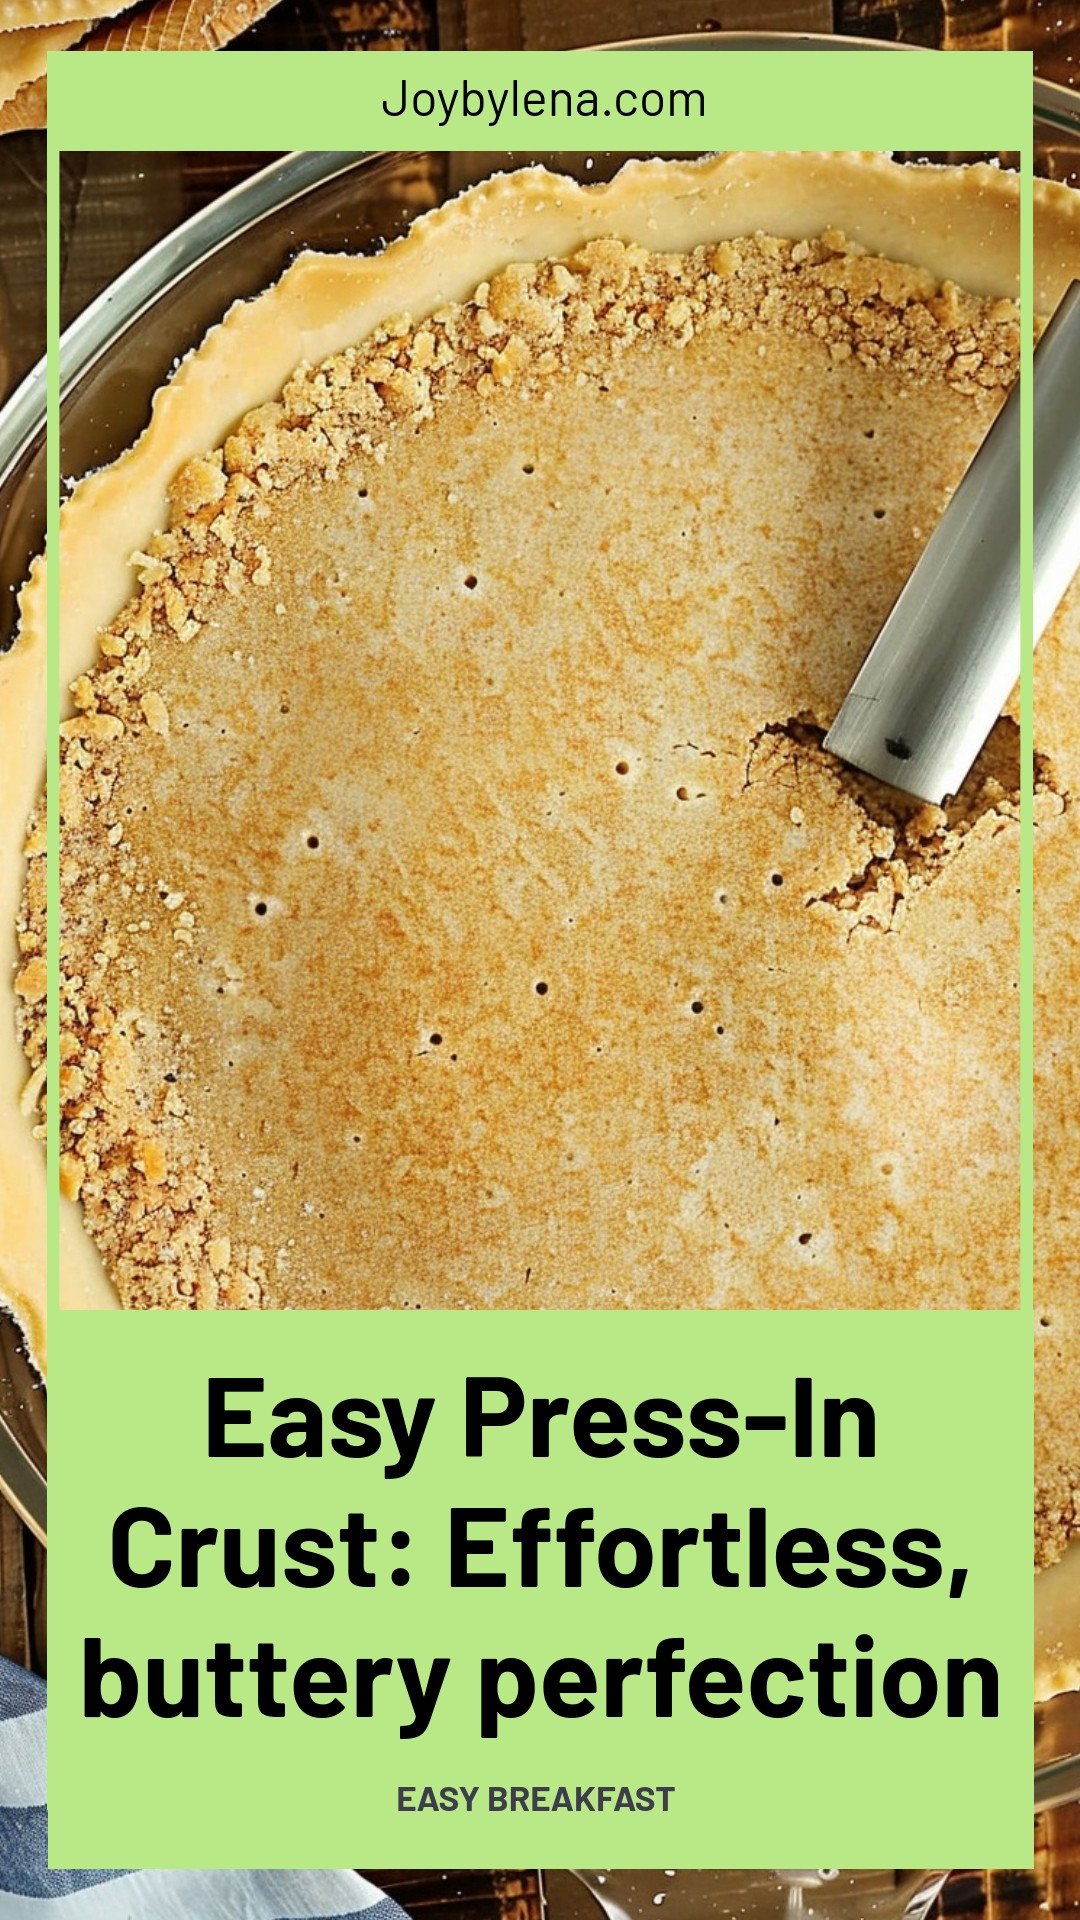
Easy Press-In Crust: Effortless, buttery perfection:
Description
No-fuss, buttery press-in crust recipe. Perfect for cheesecakes, tarts, and pies. So easy, no rolling pin needed! Get perfect results every time.
Ingredients
Instructions
- Preheat the oven to 350°F. Combine the graham cracker crumbs, sugar, salt, and melted butter in a medium bowl, being sure the mixture is well blended and all the crumbs are moistened.
- Pour the mixture into a 9-inch ungreased pie plate and carefully press the mixture evenly on the bottom and sides of the pie plate. I like to use a 1/3 or 1/4 cup dry measuring cup to press it flat.
- Bake for 8 to 10 minutes. Allow to cool completely before filling.


Leave a Reply