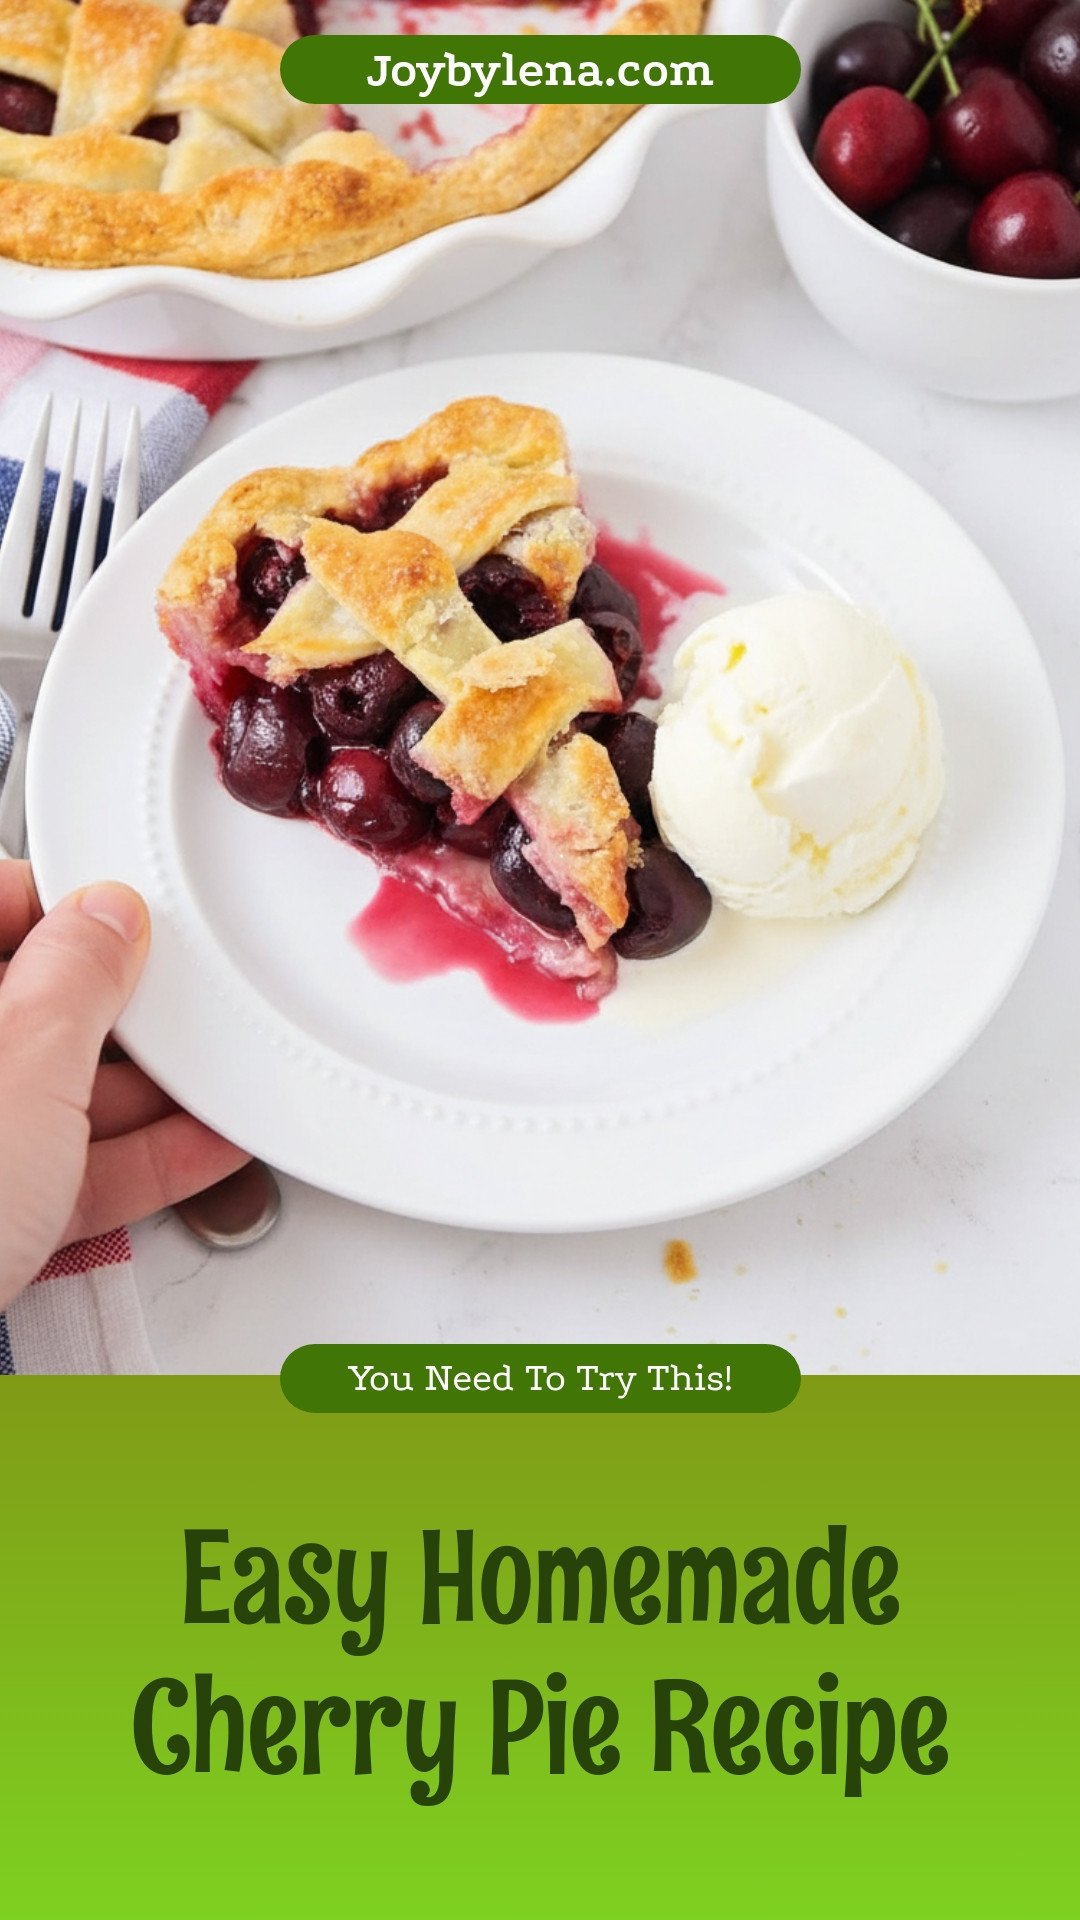
The Joy of Cherry Pie
Hello, my dear. Come sit. Let’s talk about pie. Cherry pie is pure happiness in a dish. It is sweet, a little tart, and so comforting. The smell fills your whole house with love. Doesn’t that smell amazing?
Making it is a little project. But a fun one. You get your hands busy. You see something beautiful come together. That matters. It teaches you patience and care. Good food is made with both.
A Little Story About Pits
I remember my first cherry pie. I was young. I forgot to pit all the cherries. One bite, crunch! My brother found a pit. He still laughs at that. Now I am very careful. I check twice.
So please, pit your cherries well. A cherry pitter tool is a big help. Or you can use a paperclip. *Fun fact: A cherry has a single, hard seed inside. We call that seed a stone or a pit.*
Why The Lattice Top Matters
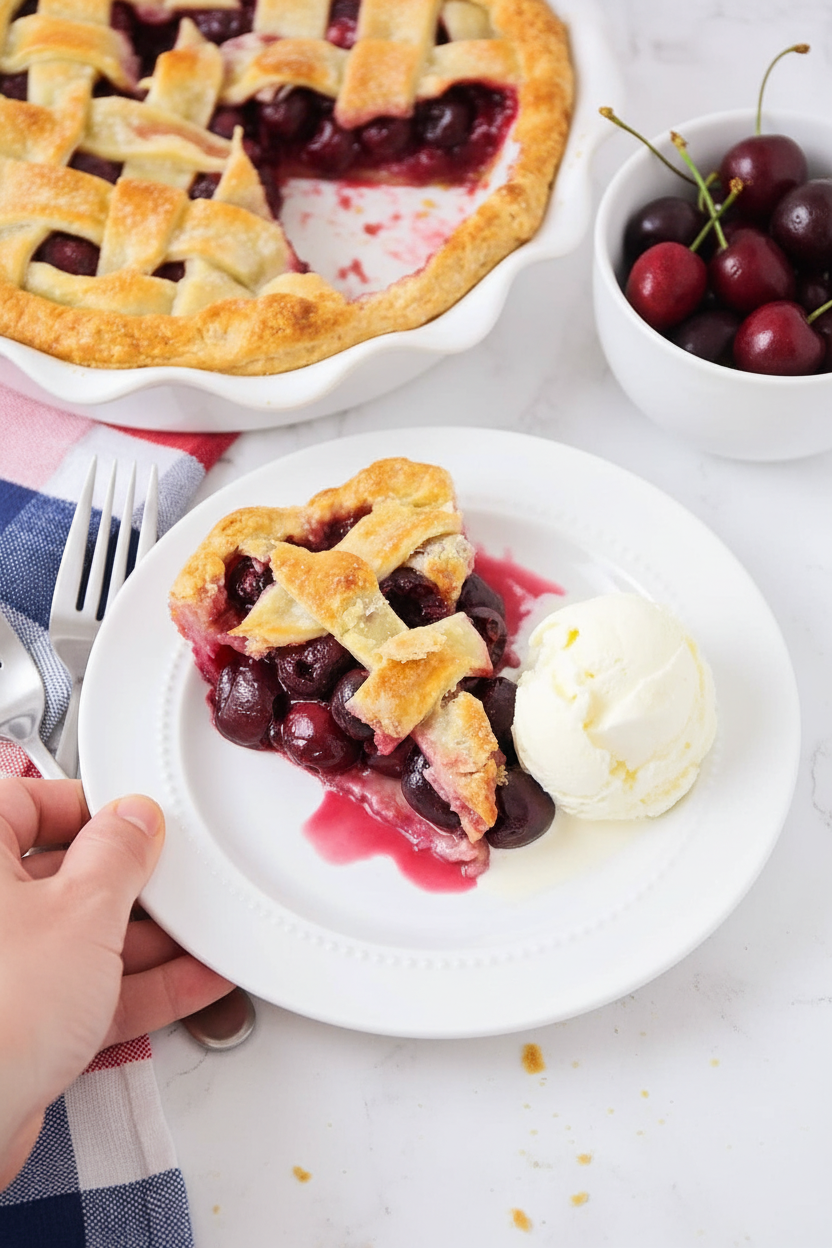
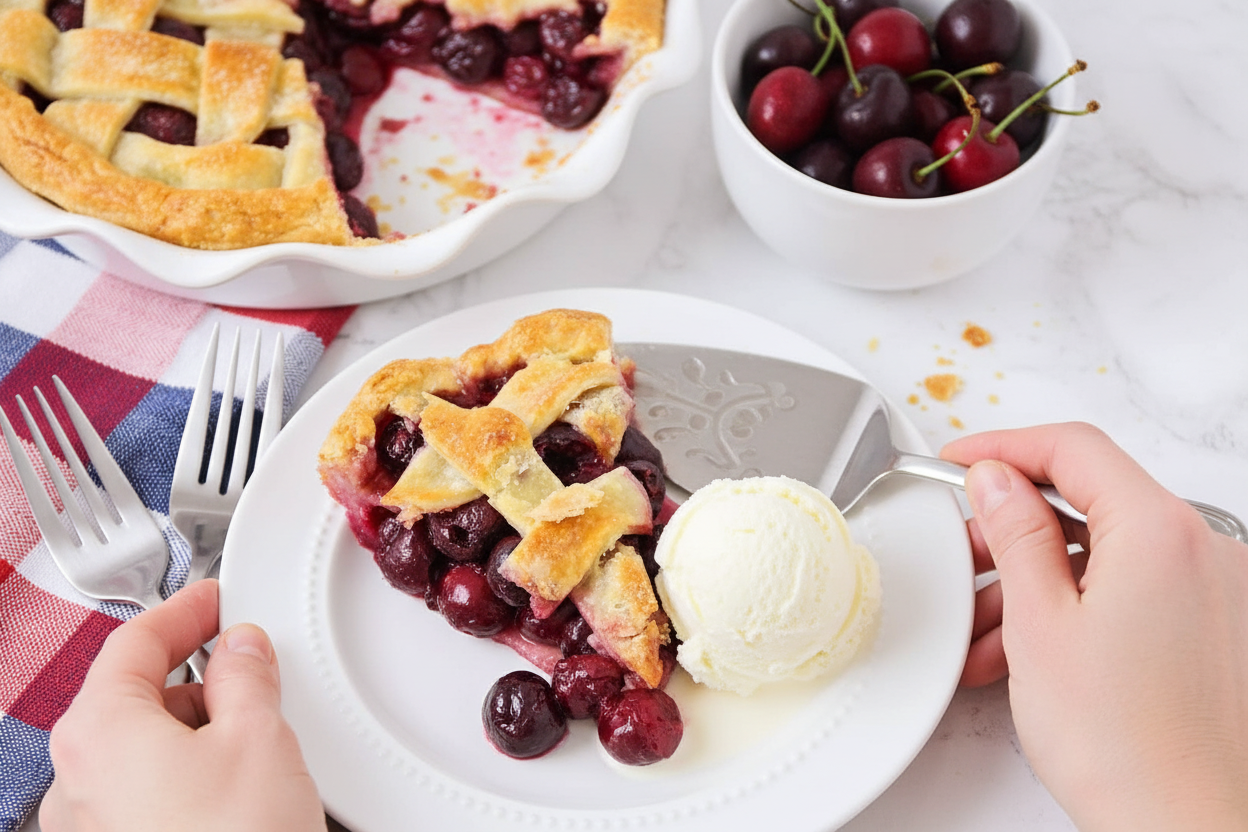
The woven crust looks fancy. But it is not just pretty. It lets the steam out. This keeps the top crust crispy. It also lets you see the ruby red filling bubbling. That is how you know it is done.
Do not worry if your strips are not perfect. Mine never are. The weaving is like a little puzzle. It is fun to figure out. What is your favorite pie crust design? A simple top with cut-out shapes is lovely too.
The Magic of Waiting
This is the hardest part. You must let the pie cool. I know, it is so tempting to cut it hot. But if you wait, the filling will thicken. It will not run all over your plate.
Letting it rest matters. It turns juice into a perfect, glossy pie filling. This waiting makes the first slice just right. Do you find it hard to wait for treats to cool? I always do.
Making It Your Own
This recipe is your friend. You can change it a little. Add a pinch of cinnamon or almond extract. It will smell wonderful. Use your hands to make a thick crust edge. I like to press mine with a fork.
Food is about sharing and memory. This pie can be part of your story. What special food does your family make for happy days? I would love to hear about it. Tell me your story.
Ingredients:
| Ingredient | Amount | Notes |
|---|---|---|
| Refrigerated pie crusts | 2 | |
| Fresh sweet cherries, pitted | 2 pounds | |
| Corn starch | 1/4 cup | |
| Granulated sugar | 3/4 cup | |
| Vanilla extract | 1 teaspoon | |
| Salt | 1 pinch | |
| Egg yolk | 1 | |
| Water | 1 tablespoon | For egg wash |
My Easy Cherry Pie, Just Like Abuela Made
Hello, my dear. Come sit. Let’s make a cherry pie. This recipe is my favorite summer tradition. I think of my Abuela every time. Her hands were always dusted with a little flour. Mine are too, now. Doesn’t that smell amazing?
We use simple ingredients. Sweet cherries are the star. The lattice top looks fancy, but it’s fun. I will show you the easy way. Ready? Let’s begin.
- Step 1: First, heat your oven to 400°F. Now, let’s mix the filling. Put your pitted cherries in a big bowl. Add the sugar, cornstarch, vanilla, and a tiny pinch of salt. Stir it all gently. You want every cherry to get a little cloudy coat. (A hard-learned tip: toss the cornstarch with the sugar first. It stops clumps!)
- Step 2: Press one pie crust into your dish. Make sure it snugs into the corners. Now, pour in that beautiful cherry mix. See how the juice already starts? That will be the good, thick syrup. I still laugh at the time I forgot this step and poured filling right on the counter!
- Step 3: The lattice is next. Unroll the second crust. Cut it into long strips with a pizza cutter. Lay half of them going one way. Then, fold every other one back. Lay a new strip across. Fold them down. It’s like a little dough puzzle. What’s your favorite pie topping: lattice or a solid crust? Share below!
- Step 4: Trim the messy edges. Pinch the top and bottom crusts together to seal. Make a simple egg wash with yolk and water. Brush it all over the top. This makes it shine like a golden sunset. A sprinkle of sugar adds a sweet crunch.
- Step 5: Bake your pie for about an hour. Wait until you see hard, bubbly juice and a golden brown crust. The waiting is the hardest part! Let it cool almost completely. This helps the filling set. Otherwise, it runs everywhere when you cut it. Trust me on this.
Cook Time: 55–60 minutes
Total Time: 1 hour 30 minutes
Yield: 8 slices
Category: Dessert, Pie
Three Sweet Twists on the Classic
Once you know the basics, you can play. Here are my favorite twists. They make the pie new again.
- Chocolate Cherry Dream: Sprinkle a handful of dark chocolate chips over the cherries before adding the top crust. The melted chocolate is a happy surprise.
- Almond Joy: Mix a half teaspoon of almond extract with the vanilla. Sprinkle sliced almonds on top with the sugar before baking. It tastes like a bakery treat.
- Summer Berry Mix-Up: Use only one pound of cherries. Add a cup of fresh blueberries or raspberries. The color is just gorgeous in every slice.
Which one would you try first? Comment below!
Serving Your Beautiful Pie
A warm slice of pie is a full happiness. I love it plain, but a scoop of vanilla ice cream is magic. The cold cream melts into the sweet cherries. You can also add a dollop of fresh whipped cream. For a pretty plate, add a few whole, fresh cherries on the side.
What to drink? A glass of cold milk is my classic choice. It’s perfect. For the grown-ups, a small glass of sweet dessert wine pairs beautifully. It echoes the fruit’s own sweetness.
Which would you choose tonight: ice cream, whipped cream, or just plain?
Keeping Your Cherry Pie Perfect
Fresh pie is a special treat. But leftover pie is a gift to your future self. Let it cool completely first. Then cover it tightly with plastic wrap.
It will keep on the counter for two days. For longer storage, freeze the whole pie. I wrap mine in two layers of foil. This matters because a good pie should bring joy for days.
To reheat, warm a slice in the oven. This keeps the crust crisp. My first frozen pie thawed into a soggy mess. I learned the oven trick from my neighbor.
You can also make the filling ahead. Just mix it and freeze it in a bag. Have you ever tried storing it this way? Share below!
Fixing Common Pie Problems
Sometimes, a pie can be tricky. Do not worry. Every baker faces these issues. First, a soggy bottom crust is common.
Place your pie dish on a hot baking sheet. This helps the bottom cook fast. I once served a pie with a raw bottom. My family still teases me about it!
Second, the filling might be too runny. Make sure your cornstarch is fresh. Mix it well with the sugar first. This matters for a slice that holds together nicely.
Third, the crust edges might burn. Use a pie shield or foil strips. Protecting the edges lets the center cook fully. This builds your confidence in the kitchen. Which of these problems have you run into before?
Your Pie Questions, Answered
Q: Can I make this gluten-free? A: Yes! Use your favorite gluten-free pie crusts from the store.
Q: How far ahead can I make it? A: Assemble and bake it one day before serving. It tastes great the next day.
Q: No fresh cherries? A: Frozen, thawed cherries work perfectly. Just drain the extra juice well.
Q: Can I make a bigger pie? A: For a deep-dish pie, just add 50% more filling. *Fun fact: I always make a big pie for my grandson’s birthday.*
Q: Any extra tips? A: A little lemon zest in the filling is lovely. It makes the cherry flavor pop. Which tip will you try first?
From My Kitchen to Yours
I hope you love making this cherry pie. It is full of sweet, simple memories for me. I would love to see your creation.
Share a photo of your beautiful lattice top. Your kitchen stories make my day. Have you tried this recipe? Tag us on Pinterest! Thank you for baking with me today.
Happy cooking!
—Lena Morales.
Easy Homemade Cherry Pie Recipe
Description
A classic and delicious homemade cherry pie with a flaky crust and sweet, juicy filling.
Ingredients
Instructions
- Preheat the oven to 400°F.
- In a medium bowl, mix the cherries, cornstarch, sugar, vanilla, and salt until the cherries are coated with the cornstarch mixture.
- Gently press the bottom pie crust into a 9-inch pie dish, making sure that it is pressed against the edges and bottom with no gaps or air bubbles. Pour the cherry mixture into the bottom crust.
- Roll out the top crust and cut into one-inch wide strips using a pizza cutter or a sharp knife. Lay half of the strips across the pie, spacing about ¼ inch apart. Fold every other strip back on itself, then lay one of the remaining strips across the middle of the pie, perpendicular to the previous strips.
- Fold the strips back down over the new strip, Repeat, alternating which strips are folded back on themselves, until the top of the pie is covered in a lattice pattern.
- Cut off the excess crust using a sharp knife. Pinch the bottom crust and top crust together to seal.
- In a small bowl, whisk the egg yolk and water. Brush the egg wash over the top of the pie, and sprinkle with additional sugar if desired.
- Bake for 55-60 minutes or until the filling is bubbling hard and the pie crust is golden brown. Let cool to nearly room temperature before slicing and serving.
Notes
- Nutrition per serving: Calories: 241kcal | Carbohydrates: 41g | Protein: 3g | Fat: 8g | Saturated Fat: 2g | Polyunsaturated Fat: 1g | Monounsaturated Fat: 4g | Cholesterol: 16mg | Sodium: 117mg | Potassium: 198mg | Fiber: 2g | Sugar: 22g | Vitamin A: 70IU | Vitamin C: 5mg | Calcium: 17mg | Iron: 1mg


Leave a Reply