My First Banana Bread
My first loaf was a funny mess. I was eight. I forgot the sugar. It tasted like warm, sweet banana mush. I still laugh at that.
But my Abuela smiled. She said, “You fed us. That matters.” She was right. Food made with love always tastes good. Even the messy tries.
Why We Use Brown Spots
Do you see bananas turning black? Don’t throw them away. Those are your secret weapon. The blacker the peel, the sweeter the fruit inside.
Mash them up good. This is why our bread is so moist. It doesn’t need much butter. The bananas do the work. Fun fact: A ripe banana has way more natural sugar than a green one!
Let’s Mix It Up
First, mix your dry things in one bowl. Flour, baking powder, soda, salt. In another bowl, mix the wet. Mashed bananas, sugars, egg, melted butter.
Now, fold the dry into the wet. “Fold” means stir gently. Don’t beat it to death. A few lumps are okay. Finally, stir in the walnuts. Doesn’t that smell amazing already?
The Magic of Waiting
Pop the pan in the oven. Now, the hard part. You must wait. The smell will fill your house. It will make your mouth water.
This wait is important. It teaches us patience. Good things take time. Use a toothpick to check if it’s done. If it comes out clean, your bread is ready. What’s the hardest part of baking for you? Is it the waiting?
More Than Just a Snack
This bread is a hug. It turns sad, old bananas into something joyful. It fights waste. That matters a lot in my kitchen.
It’s perfect for breakfast. Or a snack after school. I love it with a little butter. Do you like nuts in your bread? Or do you skip them? Tell me your way.
Your Turn to Share
Food stories are the best. Did you ever bake something funny? Maybe cookies without flour? I want to hear about it.
And when you make this bread, think of my Abuela. Share a slice with someone you love. That’s the real recipe. Who will you share your first loaf with?
Ingredients:
| Ingredient | Amount | Notes |
|---|---|---|
| all-purpose flour | 1½ cups | |
| baking powder | 1 teaspoon | |
| baking soda | 1 teaspoon | |
| salt | ½ teaspoon | |
| overripe bananas, mashed | 3 large | |
| sugar | ½ cup | |
| brown sugar | ½ cup | packed |
| egg | 1 | large |
| unsalted butter | 4 tablespoons | melted |
| walnuts | ½ cup | chopped |
My Cozy Banana Bread, Just Like Abuela Made
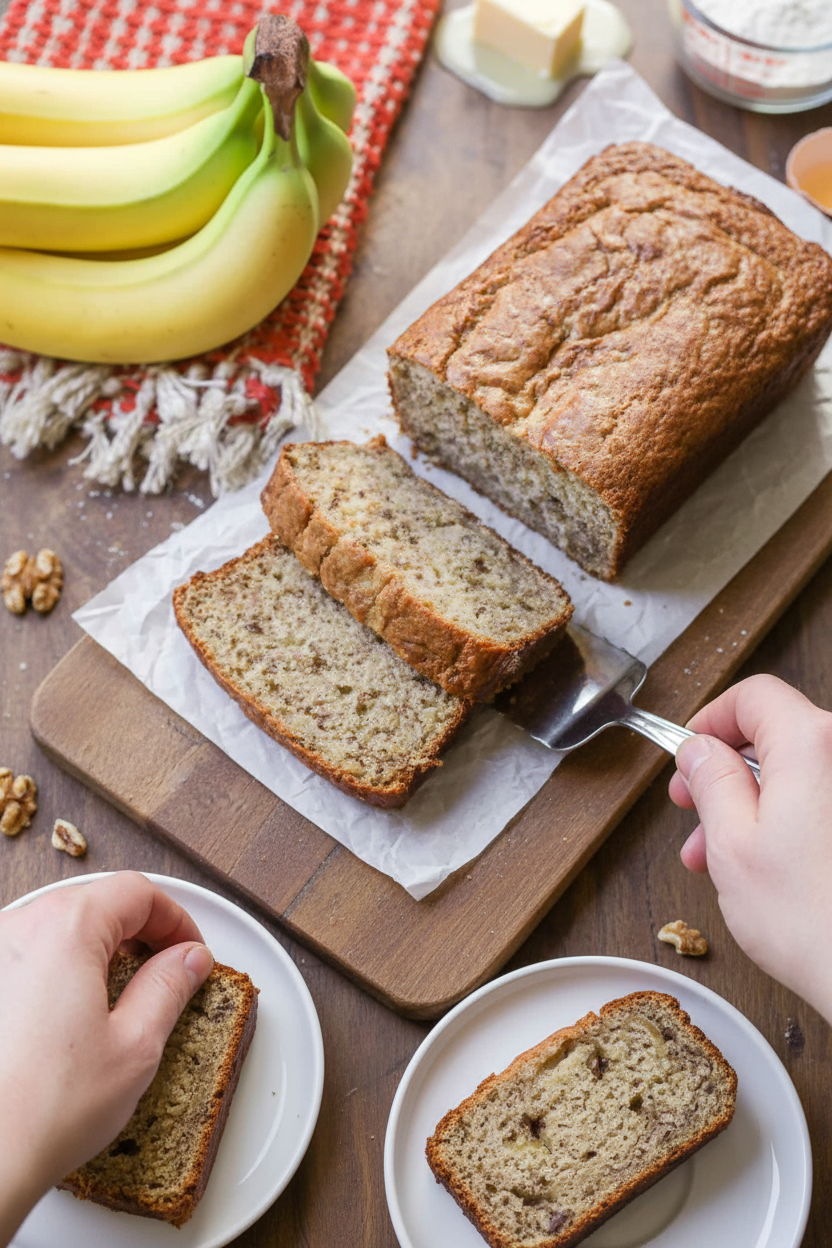
Hello, my dear! Come sit. Let’s bake something sweet. Those spotted bananas on your counter are perfect. They look sad, but they are sweet and ready. I see them and smile. I always think of my own abuela. She never wasted a single thing. Her kitchen always smelled like cinnamon and warm sugar. Doesn’t that sound wonderful? We are going to make her easy banana nut bread. It is so simple and full of love. You will fill your whole house with a happy smell. I promise.
First, let’s get everything ready. This is called “mise en place.” It just means “everything in its place.” It makes baking feel calm. Now, preheat your oven to 325°F. Grease a loaf pan lightly. I still use my old metal one. It has seen so many loaves! Are you ready? Let’s begin our steps together.
Step 1: Grab a medium bowl. Sift your flour, baking powder, baking soda, and salt right into it. The sifting makes the bread light and soft. Use a whisk if you don’t have a sifter. Just mix it very well. Set this bowl aside for now. We won’t need it for a minute.
Step 2: Now, the fun part! In a big bowl, mash those bananas. A fork works great. Get them nice and mushy. Then, stir in the white sugar and brown sugar. The brown sugar makes it taste like caramel. Add the egg and the melted butter. Mix it all until it’s one happy, gooey family. (Hard-learned tip: Let the melted butter cool a tiny bit first. We don’t want to cook the egg!)
Step 3: Toss in your chopped walnuts. I love the crunch. Now, gently fold in the flour mixture from Step 1. “Fold” means stir slowly and carefully. Stop when you see no more dry flour. The batter will be lumpy and thick. That is just right. Pour it into your greased pan. Smooth the top with your spoon.
Step 4: Bake it for 35 minutes. Then, take it out and cover the top loosely with foil. This keeps the top from getting too dark. Bake it for 20-25 minutes more. To check, poke a toothpick into the middle. If it comes out clean, it’s done! The waiting is the hardest part. What’s your favorite smell from the oven? Share below!
Cook Time: 55-60 minutes
Total Time: 1 hour 15 minutes
Yield: 1 loaf (about 10 slices)
Category: Baking, Snack
Three Fun Twists for Your Next Loaf
Once you know the basic recipe, you can play! Here are my favorite little changes. Each one makes a whole new treat. I tried the chocolate chip version with my grandson last week. He ate two slices right away! I still laugh at how fast it disappeared.
Chocolate Chip Happiness: Swap the walnuts for a half-cup of chocolate chips. Sweet and melty.
Spiced Autumn Loaf: Add one teaspoon of cinnamon and a pinch of nutmeg to the flour. So cozy.
Sunshine Loaf: Stir in the zest of one orange. It makes the kitchen smell like a sunny morning.
Which one would you try first? Comment below!
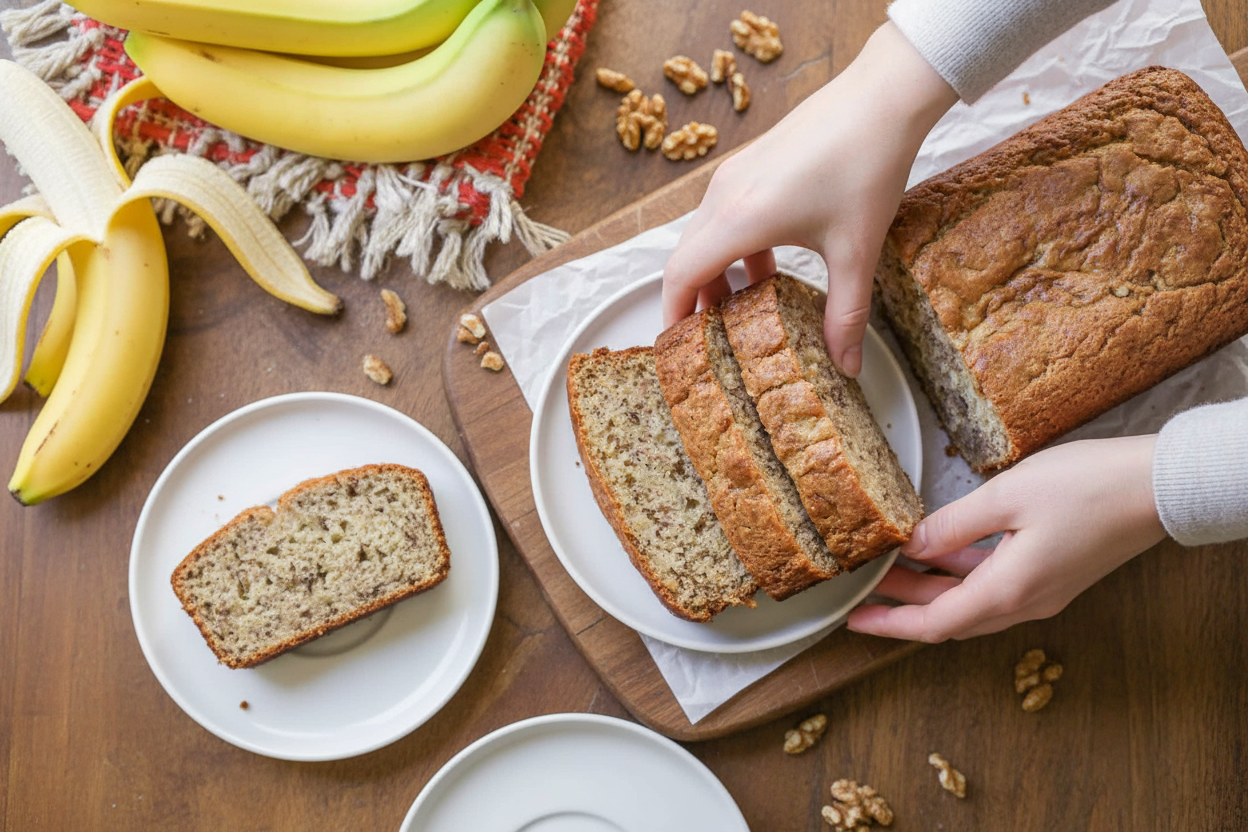
Serving Your Warm Slice of Comfort
This bread is wonderful all by itself. But a little extra love makes it special. For breakfast, toast a slice and spread it with soft butter. The butter melts into all the little holes. For dessert, add a scoop of vanilla ice cream on top. The warm and cold together is magic. You could even dollop on some whipped cream.
What to drink? With my afternoon slice, I love a glass of cold milk. It is the classic pairing. In the evening, my husband likes his with a cup of coffee. He says the nutty flavors taste even better. A warm mug of chai tea would be lovely, too.
Which would you choose tonight?
Keeping Your Banana Bread Fresh and Tasty
Let’s talk about keeping your banana bread yummy. First, let it cool completely. Then wrap it tightly in plastic wrap. It will stay good on the counter for about two days. For longer storage, the freezer is your friend.
Slice the loaf first. Wrap each slice in plastic. Then put them all in a freezer bag. This way, you can grab one slice at a time. I once froze a whole loaf without slicing it. I had to thaw the entire thing just for one piece!
To reheat, just pop a frozen slice in the toaster. It tastes like it just came out of the oven. Batch cooking like this saves time and reduces waste. You always have a sweet treat ready for surprise guests. Have you ever tried storing it this way? Share below!
Simple Fixes for Common Banana Bread Troubles
Sometimes baking doesn’t go as planned. That’s okay. Here are easy fixes. First, a soggy middle means it needed more time. Ovens can be tricky. I remember taking a loaf out too early once. We ate the edges and called it “banana bread pudding”!
Second, if your bread is too dense, check your bananas. Use the blackest, softest ones you have. They add more moisture and flavor. This matters because good fruit makes good bread. Third, if the top cracks, don’t worry. It’s normal and shows your bread rose nicely.
Fixing small problems builds your confidence. You learn how ingredients work together. Soon, you’ll feel like a baking pro. Fun fact: The brown spots on bananas are called sugar spots! Which of these problems have you run into before?
Your Banana Bread Questions, Answered
Q: Can I make this gluten-free? A: Yes. Use a good gluten-free flour blend. The results are great.
Q: Can I make the batter ahead? A: I don’t recommend it. The baking soda starts working right away.
Q: What can I use instead of walnuts? A: Chocolate chips are a favorite swap. Or use pecans, or just leave them out.
Q: Can I double the recipe? A: Absolutely. Just use two loaf pans. Bake them side by side.
Q: Any optional tips? A: Sprinkle sugar on top before baking. It gives a lovely, crunchy crust. Which tip will you try first?
From My Kitchen to Yours
I hope you love making this recipe. It holds so many sweet memories for me. Baking is about sharing joy and warmth. I would love to see your beautiful loaves.
Share your kitchen victories with me. Your photos inspire our whole cooking community. Have you tried this recipe? Tag us on Pinterest! I can’t wait to see what you create.
Happy cooking!
—Lena Morales.
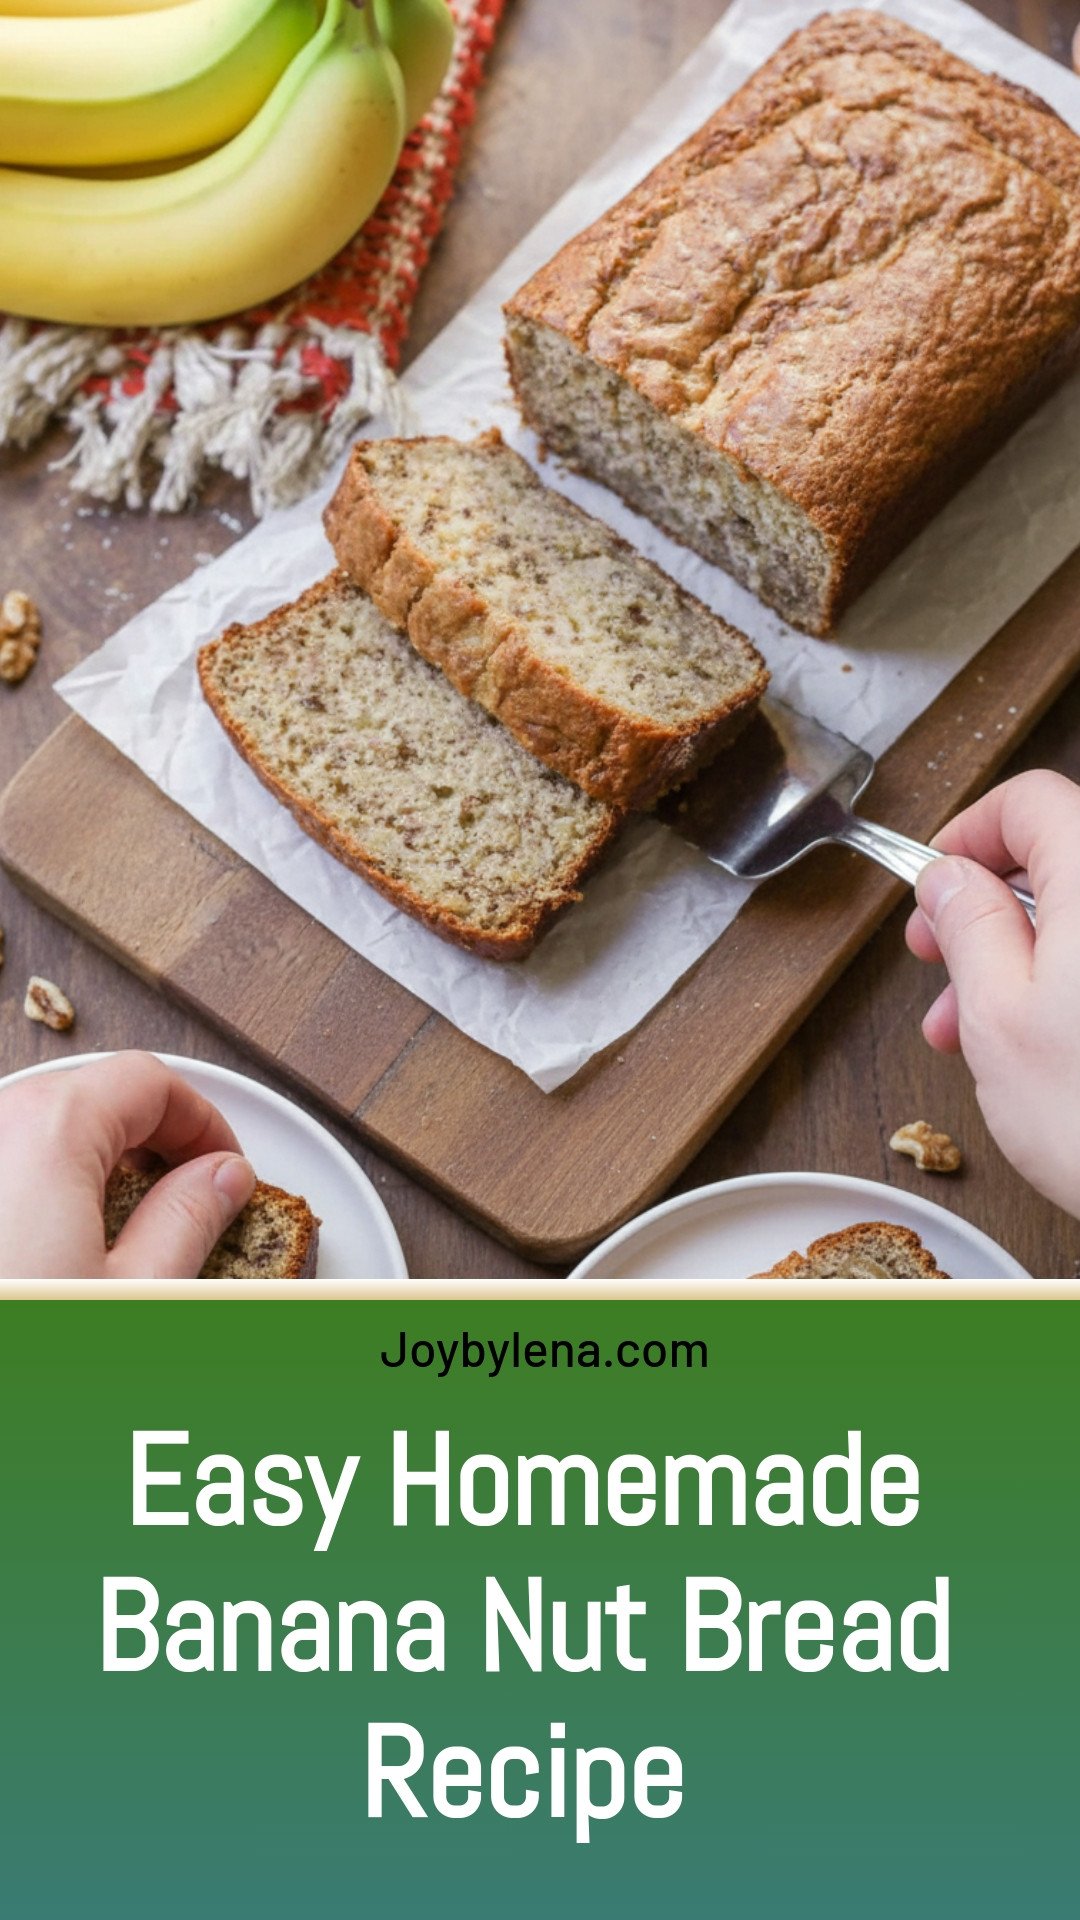
Easy Homemade Banana Nut Bread
Description
Enjoy this classic, moist banana bread packed with sweet bananas and crunchy walnuts.
Ingredients
Instructions
- Preheat the oven to 325°F. Lightly grease a 5-x-9-inch loaf pan with cooking spray.
- Sift flour, baking powder, baking soda, and salt together in a medium bowl. Set aside.
- In a separate bowl, mix together bananas, sugars, egg, melted butter, and chopped walnuts.
- Fold in the flour mixture and stir until smooth. Scoop the batter into the prepared pan.
- Bake for 35 minutes, then cover with foil and continue baking for another 20-25 minutes, or until a toothpick inserted in the center comes out clean.
Notes
- Nutrition (per 1 slice): Calories: 166kcal, Carbohydrates: 28g, Protein: 2g, Fat: 6g, Saturated Fat: 2g, Polyunsaturated Fat: 2g, Monounsaturated Fat: 1g, Trans Fat: 0.1g, Cholesterol: 18mg, Sodium: 148mg, Potassium: 147mg, Fiber: 1g, Sugar: 16g, Vitamin A: 117IU, Vitamin C: 2mg, Calcium: 25mg, Iron: 1mg


Leave a Reply