My Grandson’s Lunchbox Secret
My grandson Leo used to trade his whole lunch. He wanted those little rolled-up sandwiches. I figured out how to make them. Now he never trades.
These flatbread pinwheels are that secret. They look fancy but are so simple. You just spread, layer, and roll. Doesn’t that sound easy? I still laugh at how proud he was to show them off.
Why Rolling Matters
Always start your roll on the short side. This makes a tighter, neater log. A loose roll means fillings can fall out.
Use toothpicks before you cut. They are like little hands holding it together. A serrated knife works best. It saws gently without squashing. What’s your biggest worry when you try to roll something up? Tell me, I’ve probably squashed a few in my day!
The Three Flavors We Love
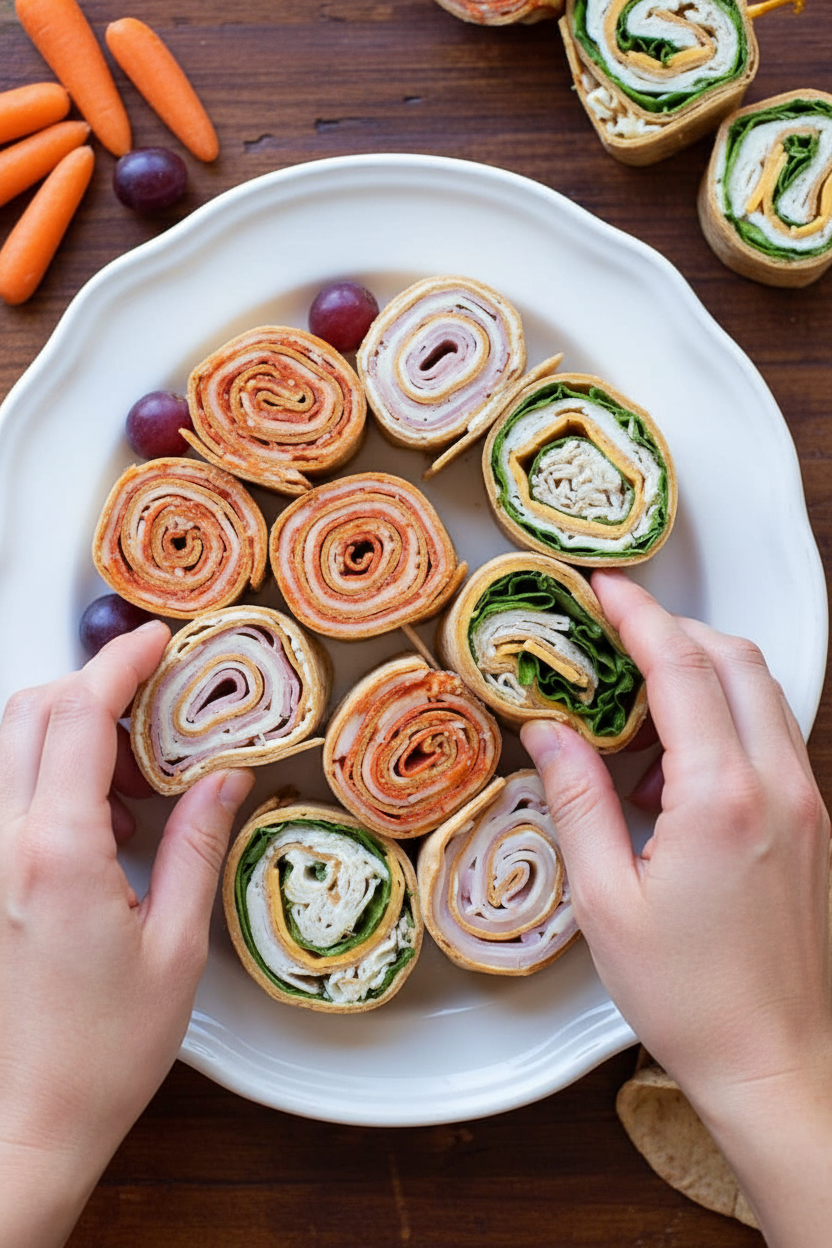
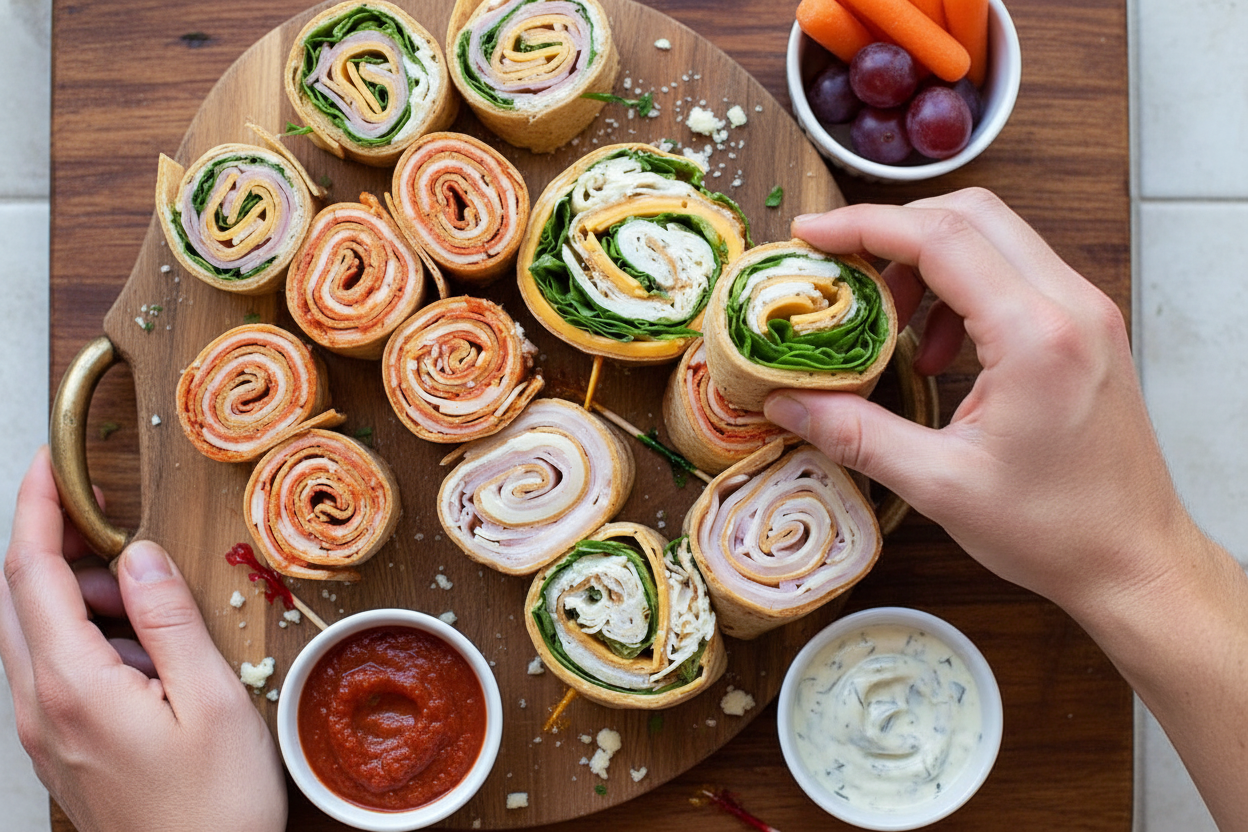
You can make three kinds from one idea. The pizza one is classic. The ham and swiss feels grown-up. The chicken one is fresh and crunchy.
Mixing them on a plate is so pretty. It’s like a party you can eat. This matters because food should be fun. It’s not just fuel, it’s a little joy. Which of the three flavors would you try first?
A Little Fun Fact for You
Fun fact: The word “pinwheel” comes from a toy. It’s a stick with colorful blades that spin in the wind. Your food pinwheels look just like that toy when you slice them!
I love that connection. Food has stories in its name. It makes cooking feel playful. Don’t you think?
Perfect for Tiny Hands
These are perfect for lunchboxes or snacks. They are neat to eat. No messy bread falling apart. Each piece is a full bite of flavor.
This matters for busy families. You can make a batch ahead. Keep them cold until you’re ready. It’s a smart trick that saves time. Do you prefer cold lunches or warm ones for school or work?
Ingredients:
| Ingredient | Amount | Notes |
|---|---|---|
| Flatout Flatbread | 1 | For each wrap variant |
| Pizza sauce or marinara | 1/4 cup | For Pizza Wrap |
| Mozzarella cheese slices | 4 slices | For Pizza Wrap |
| Pepperoni slices | 6 large or handful regular | For Pizza Wrap |
| Mayonnaise | 2 tablespoons | For Ham & Swiss, and Chicken Wraps |
| Swiss cheese slices | 4 slices | For Ham and Swiss Wrap |
| Deli ham slices | 6-10 slices | For Ham and Swiss Wrap |
| Cheddar cheese slices | 4 slices | For Chicken, Cheddar, and Lettuce Wrap |
| Deli sliced chicken breast | 6 slices | For Chicken, Cheddar, and Lettuce Wrap |
My Easy Pinwheel Party Trick
Hello, my dear! Come sit. Let me tell you about my favorite quick snack. These flatbread pinwheels are my party secret. I make them with my grandkids all the time. They are so simple and fun to roll up. Doesn’t that sound nice?
You just need a flatbread and your favorite fillings. I’ve shared three ways we love. The pizza one always disappears first! I still laugh at how fast my grandson Marco eats them. His little sister likes the ham and swiss best. Ready to make some magic? Let’s start.
- Step 1: Lay your flatbread on a clean counter. Spread your sauce or mayo all the way to the edges. This keeps every bite tasty. My first time, I didn’t spread enough. The end of the roll was so dry! (My hard-learned tip: Use the back of a spoon to spread it thin and even.)
- Step 2: Now for the fun part! Layer your cheese and meat neatly. Try to cover the whole bread. I like to make little rows. It makes a prettier spiral inside. Do you like your ingredients in rows or all mixed up? Share below!
- Step 3: Here is the trick. Start rolling from the short side. Keep it tight, like a sleeping bag. Press gently as you go. Once it’s rolled, poke in 4-5 toothpicks along the log. This holds your masterpiece together. Doesn’t that look good already?
- Step 4: Time to slice! Use a gentle sawing motion with a serrated knife. Cut between the toothpicks. Each slice should be about as thick as your thumb. See the beautiful pinwheel? I always sneak the first little piece. Just to make sure it tastes right, of course!
Cook Time: 0 minutes (no cook!)
Total Time: 10 minutes
Yield: 12 pinwheels
Category: Appetizer, Snack
Let’s Get Creative With Fillings!
You can put almost anything in these! Use what you have in the fridge. Here are some twists my family loves. They make an ordinary snack feel special.
- Thanksgiving Leftovers: Spread cranberry sauce. Add shredded turkey and a little stuffing. It tastes like a holiday!
- Garden Veggie: Mix cream cheese with herbs. Add thin cucumber, bell pepper, and spinach. So fresh and crunchy.
- Sweet Breakfast Pinwheel: Use a sweet flatbread. Spread with peanut butter. Roll up with banana slices. A perfect morning treat.
Which one would you try first? Comment below!
Serving Your Pinwheel Masterpiece
Presentation is part of the fun! Arrange pinwheels on a big platter in a circle. Tuck little bowls of extra marinara or ranch in the middle. Add some cherry tomatoes and pickle spears on the side. It looks so festive.
For drinks, I love a fizzy lemonade with these. It cuts through the richness. For the grown-ups, a light, crisp cider pairs beautifully. Which would you choose tonight?
Keeping Your Pinwheels Fresh and Tasty
Let’s talk about keeping these pinwheels happy. For the fridge, wrap them tight in plastic. They will stay good for about two days. For longer storage, use the freezer.
Place them on a baking sheet first. Freeze them for one hour. Then move them to a freezer bag. This stops them from sticking together. You can freeze them for one month.
I once froze a whole batch for my grandson’s visit. He loved having a ready snack! Thaw them in the fridge overnight. Serve them cold for the best texture.
Batch cooking like this saves future-you time. It means a tasty treat is always close by. Have you ever tried storing it this way? Share below!
Simple Fixes for Pinwheel Problems
Sometimes the flatbread tears when you roll it. Just press it gently back together. The filling will help seal it. I remember when my first one split. I patched it like a little dough doctor!
Your pinwheels might fall apart when you cut them. Always use a serrated knife. Saw gently back and forth. This keeps the shape nice and neat. It makes your food look beautiful.
The wrap can be too loose inside. Spread your filling close to the edges. Roll it as tightly as you can. A tight roll means every bite is perfect. Which of these problems have you run into before?
Your Pinwheel Questions, Answered
Q: Can I make these gluten-free?
A: Yes! Use your favorite gluten-free flatbread or wrap.
Q: How far ahead can I make them?
A: You can assemble them a day before. Just wrap and refrigerate.
Q: What are easy ingredient swaps?
A: Try turkey for ham. Use any cheese you have in the fridge.
Q: Can I make a bigger batch?
A: Absolutely. Just multiply the ingredients. Make one of each flavor!
Q: Any optional tips?
A: Let the flatbread sit out for five minutes first. This makes it more flexible. Fun fact: This is called “tempering” your bread! Which tip will you try first?
From My Kitchen to Yours
I hope you love making these easy pinwheels. They are perfect for sharing with friends. I always feel joy when I see people enjoy food.
I would love to see your creations. Show me your favorite filling combination. Have you tried this recipe? Tag us on Pinterest! You can find me at @LenasCozyKitchen. Thank you for cooking with me today.
Happy cooking!
—Lena Morales.
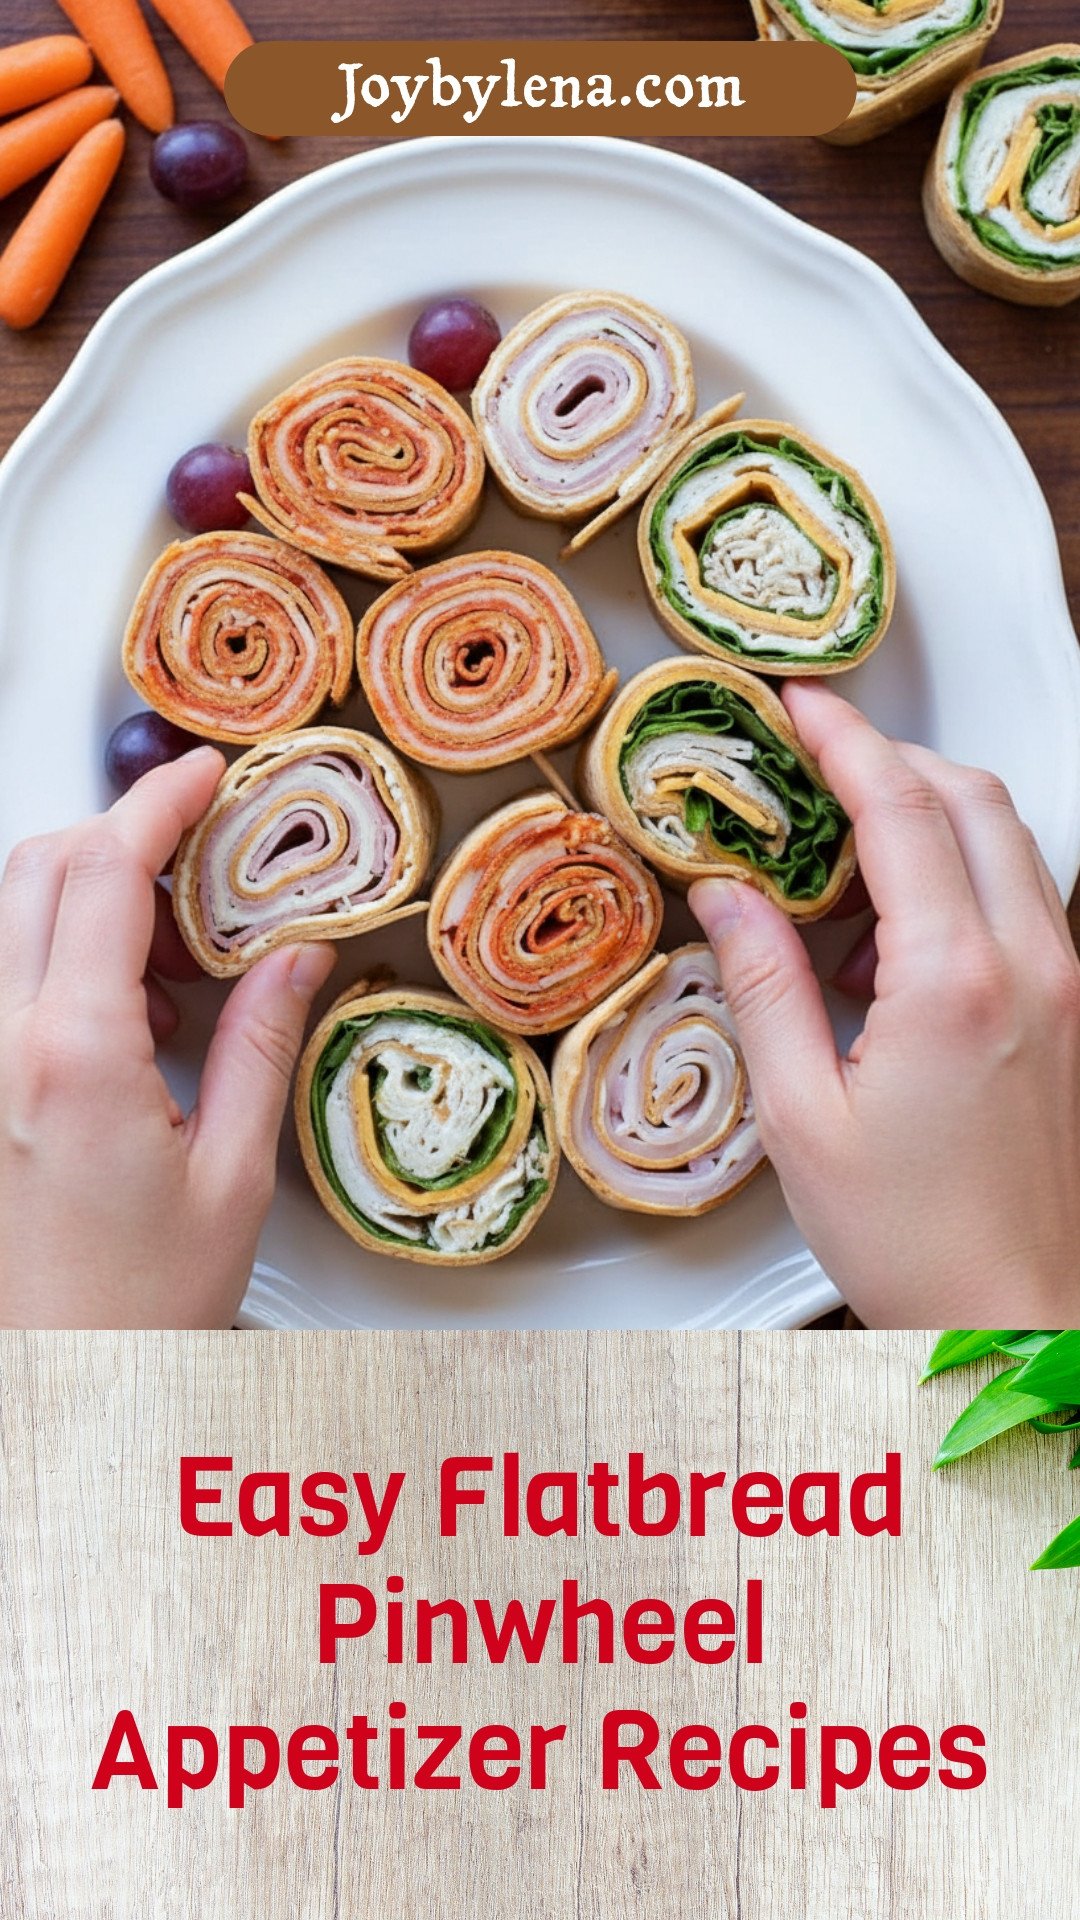
Easy Flatbread Pinwheel Appetizer Recipes
Description
Three simple and delicious flatbread pinwheel appetizer recipes: Pizza, Ham & Swiss, and Chicken Cheddar. Perfect for parties and easy to make.
Ingredients
Pizza Wrap
Ham and Swiss Wrap
Chicken, Cheddar, and Lettuce Wrap
Instructions
- Assemble desired ingredients on flatbread, and roll into a wrap starting on the short side of the flatbread.
- Use toothpicks to hold wrap together, and cut into pinwheels (at least 1.5 inches thick) using a serrated knife for best results.
- Serve cold.


Leave a Reply