The Magic of Warm Dough
Hello, my dear. Come sit. Let’s talk about bread. Not just any bread. This is a sweet, pull-apart treasure. It fills your kitchen with the best smell. It feels like a hug from the inside.
I learned this from my Tia Rosa. She never measured anything. She just used her hands. I still laugh at that. My first try was a lumpy mess. But I kept trying. Now, I share it with you. What is your favorite smell from a kitchen? Tell me, I would love to know.
A Little Science With Your Sugar
This recipe uses yeast. Do not be scared. Yeast is a tiny, living thing. Warm milk and water wake it up. *Fun fact: if the liquid is too hot, it will “kill” the yeast. Your bread won’t rise.* So we keep it just warm, like a bath.
Why does this matter? Because patience is your secret ingredient. Letting the dough rest is important. It gives the yeast time to work. It makes the dough soft and stretchy. Good things take a little time, don’t they?
The Fun Part: Stack and Cut
After the dough rests, we play. Roll it into a big rectangle. Brush it with melted butter. Doesn’t that smell amazing? Then, cover it with cinnamon and sugar. This is the sweet, spicy heart of the bread.
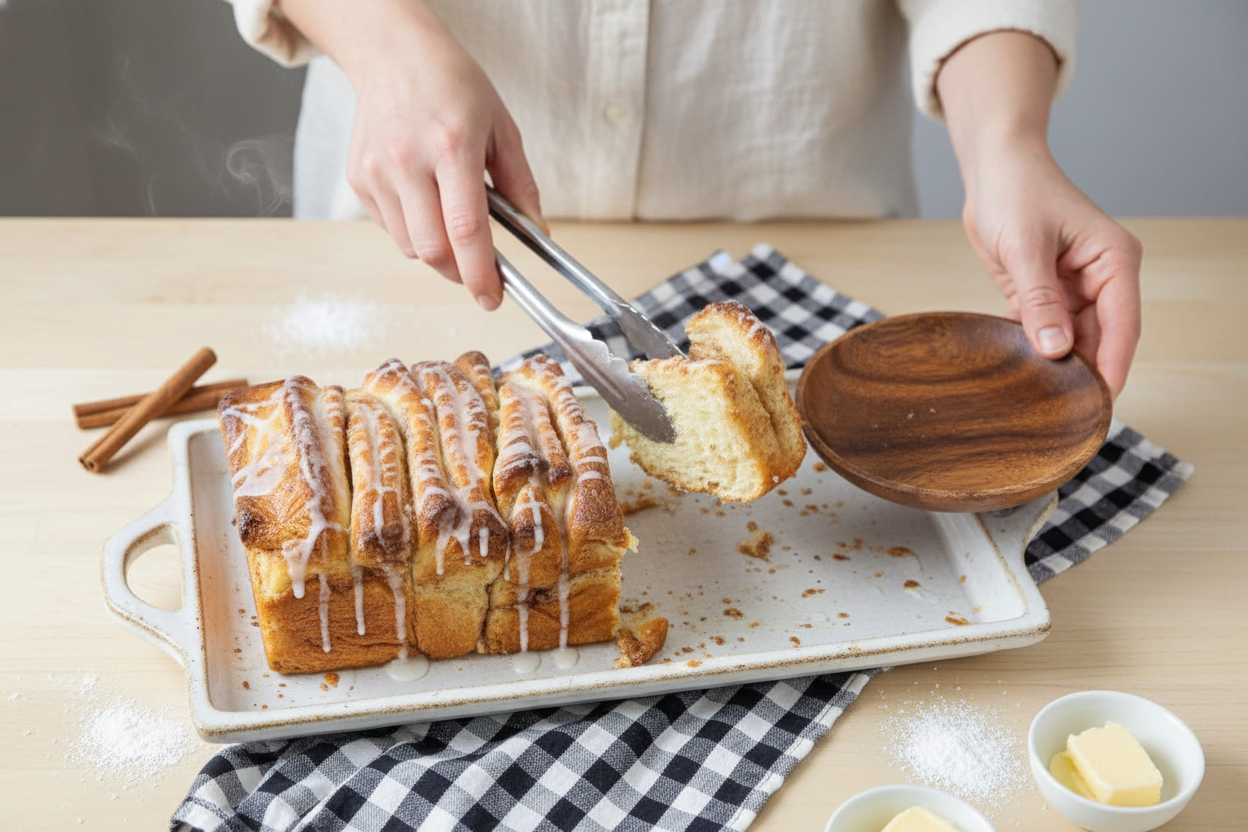
Now, cut it into long strips. Stack them up. Then, cut the stack into little squares. Toss these squares into your pan. They look messy. That is perfect. They will rise and bake into a bumpy, pull-apart loaf. Do you like recipes where you get to use your hands?
A Cozy Trick for Rising
Here is my favorite trick. Put the pan in a warm oven. Then turn the oven OFF. Close the door. Walk away for 20 minutes. The gentle warmth helps the bread rise tall. It is like tucking it in for a nap.
Why does this matter? A good rise makes the bread light and fluffy. It creates all those lovely layers. After its nap, we bake it until golden. The smell will drive you wild. I promise.
The Sweet Finale
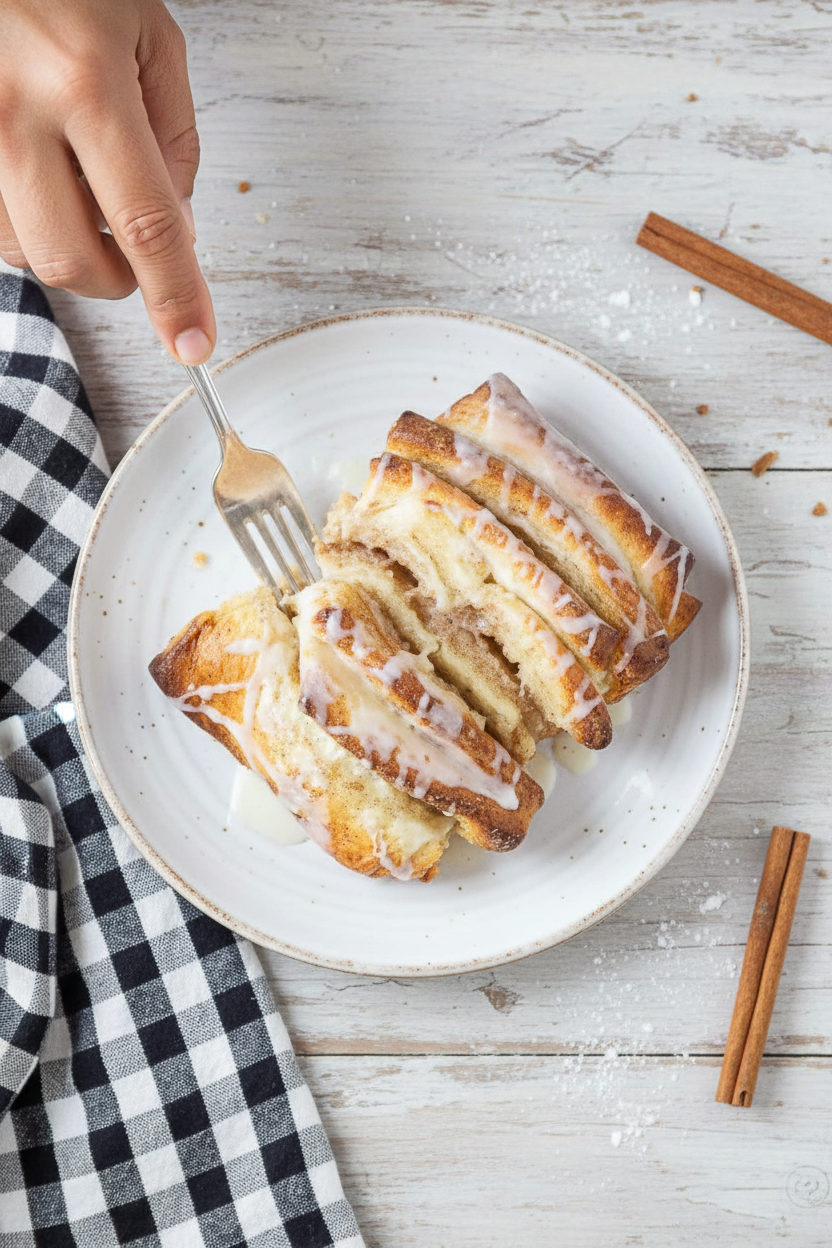
Let the bread cool a bit. Then, make the simple glaze. Just powdered sugar and a splash of milk. Drizzle it all over the warm top. It will shimmer and sink into the cracks.
Then, the best part. Pull off a soft piece. Share it with someone you love. Food tastes better when shared. What is your favorite treat to share with family or friends? I always think sharing doubles the joy.
Ingredients:
| Ingredient | Amount | Notes |
|---|---|---|
| all purpose flour | 4 – 4 1/4 cups | For the dough |
| sugar | 1/4 cup | For the dough |
| rapid rise yeast | 1 tbsp | For the dough |
| salt | 1 1/2 tsp | For the dough |
| cool water | 3/4 cup | For the dough |
| milk | 2/3 cup | For the dough |
| unsalted butter, diced | 4 tbsp | For the dough |
| butter, melted | 1/4 cup | For the filling |
| sugar | 1/2 cup | For the filling |
| cinnamon | 3 tsp | For the filling |
| powdered sugar | 1/2 cup | For the glaze |
| milk | 1 – 2 tbsp | For the glaze |
My Cozy Cinnamon Pull-Apart Bread
Hello, my dear! Come sit with me. I want to share my cinnamon bread recipe. It’s like a warm hug from the oven. My grandkids call it “magic bread” because you pull it apart. We make it on rainy Saturdays. Doesn’t that smell amazing?
It’s simpler than you think. You just need a mixer and a loaf pan. The dough is soft and forgiving. I still laugh at the first time I made it. I was so nervous! But the yeast did its job. Yours will too.
Let’s get our hands a little floury. I’ll walk you through each step. Remember, cooking is about joy, not perfection. If a square falls, just tuck it in. The oven makes everything right.
Step 1: First, mix your dry things in the big bowl. That’s flour, sugar, yeast, and salt. In another bowl, put the water, milk, and butter bits. Heat it until it’s just warm like a bath. (Hard-learned tip: Too hot and your yeast won’t grow! Test it on your wrist.) Pour the warm mix into the dry one. Step 2: Now, let your mixer’s dough hook do the work. Let it knead for a few minutes. The dough will become smooth and stretchy. If it sticks to the bowl, add a spoon more flour. Cover the bowl and let it rest. It needs a little nap. Step 3: Time for the fun part! Roll your dough into a big rectangle. Melt the butter for the filling. Brush it all over the dough. Mix your cinnamon and sugar in a little cup. Sprinkle it evenly like fairy dust. Oh, that color is so pretty. Step 4: Cut the dough into four long strips. Stack them neatly on top of each other. Then, cut the stack into little squares. My grandson loves this job. Loosely pile the squares into your greased loaf pan. They should look messy. That’s perfect! Step 5: Here’s the magic trick. Put the pan in a warm, turned-off oven. Let it rise there for 20 minutes. Don’t peek! Then bake it until it’s golden brown. Your whole house will smell like a bakery. What’s your favorite baking smell? Share below! Step 6: Let the bread cool a bit in the pan. Meanwhile, make the simple glaze. Just whisk powdered sugar and milk. Drizzle it over the warm bread. Then, gather everyone. Pull apart a piece and watch the steam rise. Pure happiness. Cook Time: 25-30 minutesTotal Time: About 1 hour 15 minutes
Yield: 1 loaf
Category: Baking, Breakfast
Three Fun Twists to Try
Once you master the basic recipe, you can play! Here are three of my favorite twists. They make this bread new again. I love changing it with the seasons.
Apple Pie: Toss in a handful of finely chopped apples with the cinnamon sugar.Chocolate Chip: Add mini chocolate chips over the butter before you stack.
Orange Zest: Mix a little orange zest into the glaze for a sunny flavor.
Each one brings a little surprise. Which one would you try first? Comment below!
Serving It Up Just Right
This bread is a star all by itself. But I love making a moment of it. For breakfast, serve it with fresh berries and yogurt. The tart yogurt is perfect with the sweet bread. For dessert, a scoop of vanilla ice cream on the side is heavenly.
What to drink? A cold glass of milk is the classic choice. It just works. For the grown-ups, a small cup of strong coffee or a sweet dessert wine is lovely. It cuts through the sweetness so nicely. Which would you choose tonight?
Keeping Your Cinnamon Bread Cozy
This bread stays fresh for days. Just wrap it tightly at room temperature. For longer storage, the freezer is your friend.
Slice it first and wrap pieces individually. Then you can grab one slice anytime. Pop a frozen slice right into the toaster.
I once left a whole loaf out uncovered. It turned dry by the next afternoon. Now I always wrap it right away.
Storing food well saves money and time. It means a sweet treat is always ready. Have you ever tried storing it this way? Share below!
Bread Troubles? Let’s Fix Them Together
Is your dough not rising? Your liquid might be too hot. Yeast is a living thing and can die. Use warm, not hot, water for best results.
Is the bread too dense? You might have added too much flour. The dough should be soft and a little sticky. I remember when my first loaf was like a brick!
Is the top browning too fast? Just lay a piece of foil over it. This lets the inside cook without burning.
Fixing small problems builds your cooking confidence. It also makes your food taste so much better. Which of these problems have you run into before?
Your Quick Questions, Answered
Q: Can I make this gluten-free? A: Yes! Use a good 1-to-1 gluten-free flour blend. The texture will be a bit different but still tasty.
Q: Can I make it ahead? A: Absolutely. Assemble the bread in the pan the night before. Cover and let it rise slowly in the fridge.
Q: What if I don’t have rapid-rise yeast? A: Use regular active dry yeast. Just let the dough rise for a full hour in a warm spot.
Q: Can I double the recipe? A: You can! Make two loaves. One to eat now and one to share or freeze.
Q: Any extra tips? A: A pinch of nutmeg in the filling is lovely. Fun fact: Cinnamon was once more valuable than gold! Which tip will you try first?
From My Kitchen to Yours
I hope your kitchen smells amazing. I hope you feel proud of what you made. Sharing food is one of life’s great joys.
I would love to see your beautiful bread. Have you tried this recipe? Tag us on Pinterest! You can find me at @LenasCozyKitchen.
Thank you for baking with me today. I am so glad you are here. Happy cooking!
—Lena Morales.
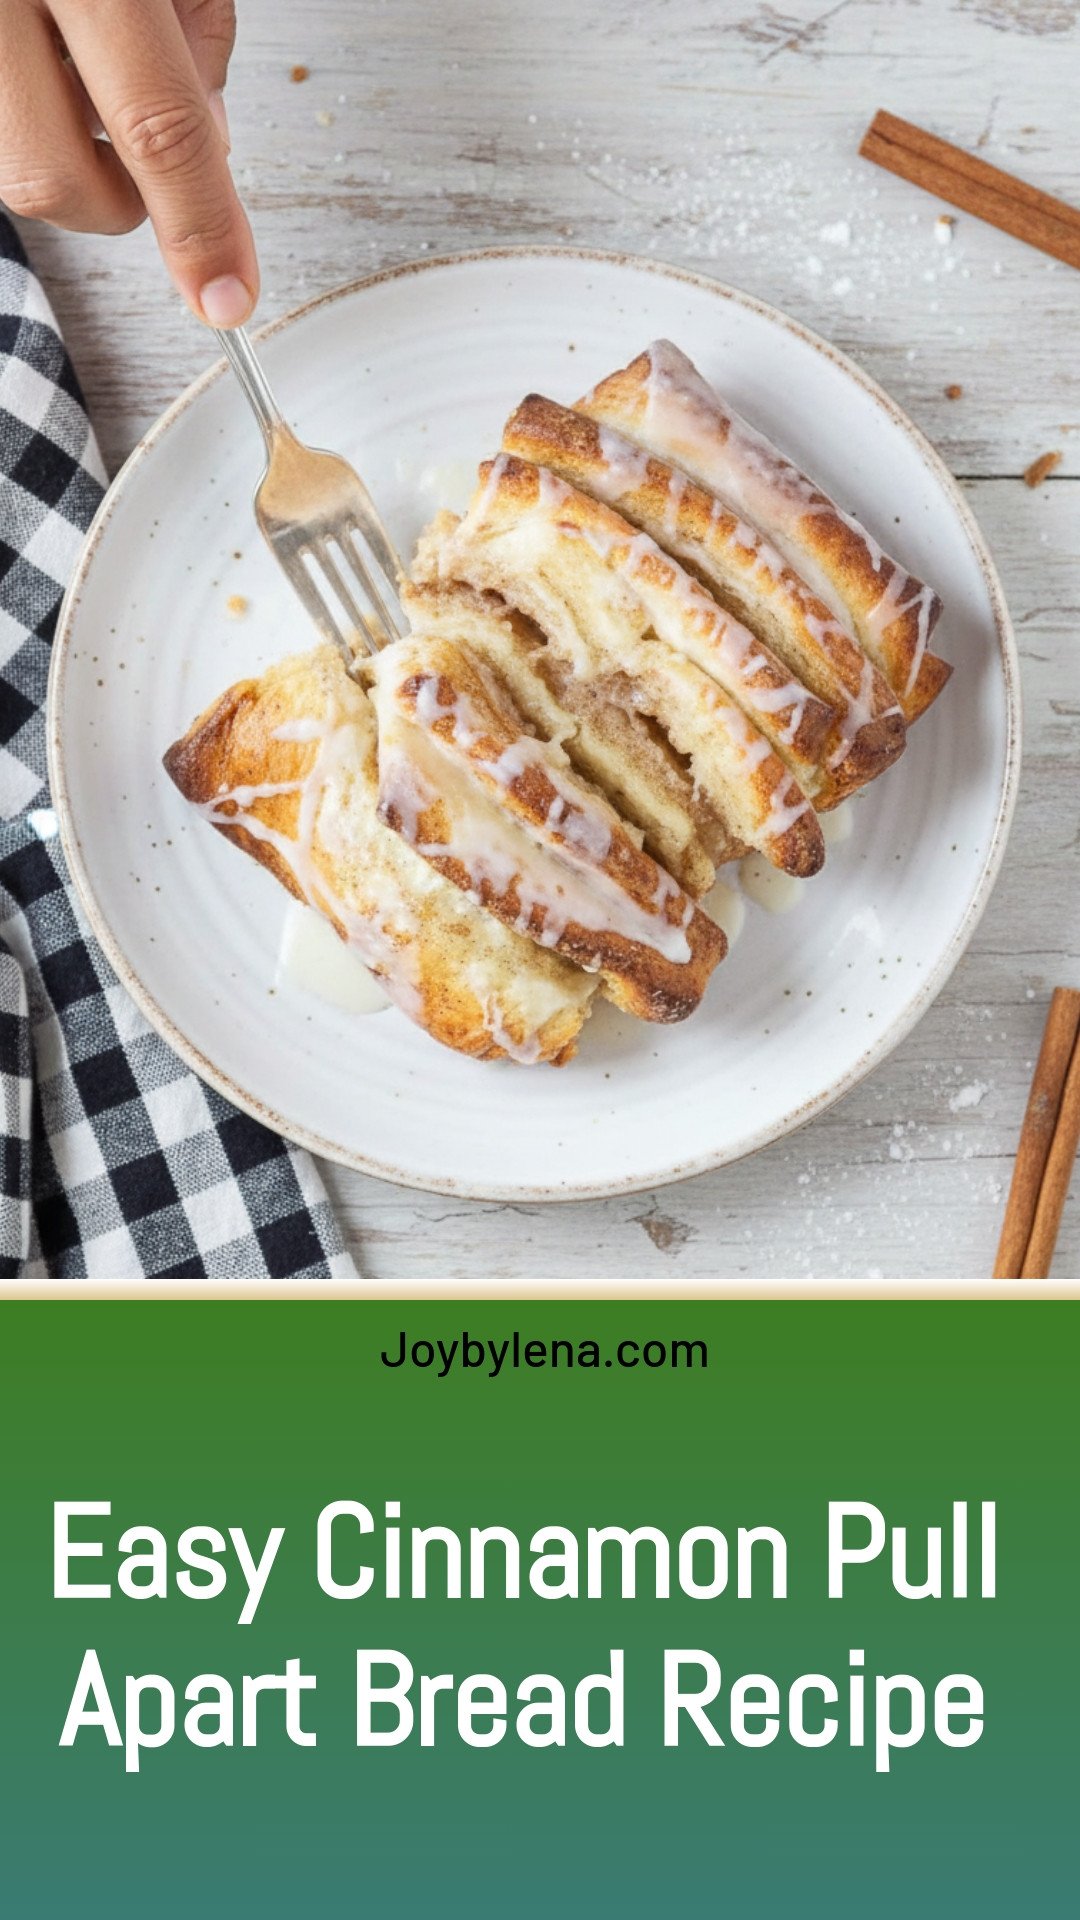
Easy Cinnamon Pull Apart Bread
Description
This simple and delicious pull-apart bread features soft, fluffy dough layered with a buttery cinnamon-sugar filling, all topped with a sweet glaze.
Ingredients
Dough
Filling
Glaze
Instructions
- Preheat oven to 180 degrees F (82 degrees C). In your mixer bowl, whisk sugar, yeast, salt & 4 cups of flour.
- In a separate medium bowl, combine water, milk & butter. Heat in microwave about 1 minute or until it reaches approx 115 degrees F (46 degrees C). Pour into dry mixture & use dough hook to knead 3-4 minutes or until smooth & elastic (add more flour if necessary).
- Cover tightly with plastic & let rest about 5 minutes. Spray a loaf pan with cooking spray and set aside.
- Drop rested dough on lightly floured surface & press & shape into a large rectangle. Melt butter for filling & brush on your dough.
- In a small bowl combine cinnamon & sugar & sprinkle evenly over buttered dough. Cut dough lengthwise into 4 large strips & stack each strip on top of each other.
- Cut into squares & loosely place on end in the prepared loaf pan. Sprinkle any remaining cinnamon & sugar you may have over the top.
- Place in your 180 degree F oven- turn oven off & allow to rise for 20 minutes (don’t open door). Remove after 20 minutes & preheat oven to 375 degrees F (190 degrees C).
- Bake 25 -30 minutes or until deep golden brown. Remove & allow to cool in pan while you make your glaze.
- Combine milk & confectioners sugar in small bowl & whisk to combine. Drizzle over baked bread & enjoy!
Notes
- Nutrition per serving: Calories: 466kcal | Carbohydrates: 79g | Protein: 8g | Fat: 13g | Saturated Fat: 7g | Cholesterol: 32mg | Sodium: 500mg | Potassium: 112mg | Fiber: 2g | Sugar: 27g | Vitamin A: 390IU | Calcium: 48mg | Iron: 3.2mg


Leave a Reply