My First Kitchen Mess
I first made these treats with my grandson, Leo. We were seven years old. We used a whole bag of marshmallows. The kitchen was a sticky, chocolatey mess.
My abuela just smiled. She said a messy kitchen is a happy kitchen. I still laugh at that. It taught me cooking is about joy, not perfection. That matters more than a clean floor.
Why We Melt and Stir
Let’s talk about that butter and marshmallow mix. You melt them together slowly. This makes a sweet, sticky glue. Doesn’t that smell amazing?
This sticky glue holds our treats together. If you rush, it won’t coat the cereal right. Fun fact: The steam from the hot marshmallows helps melt them! So take your time. Good food needs a little patience.
The Secret Ingredient
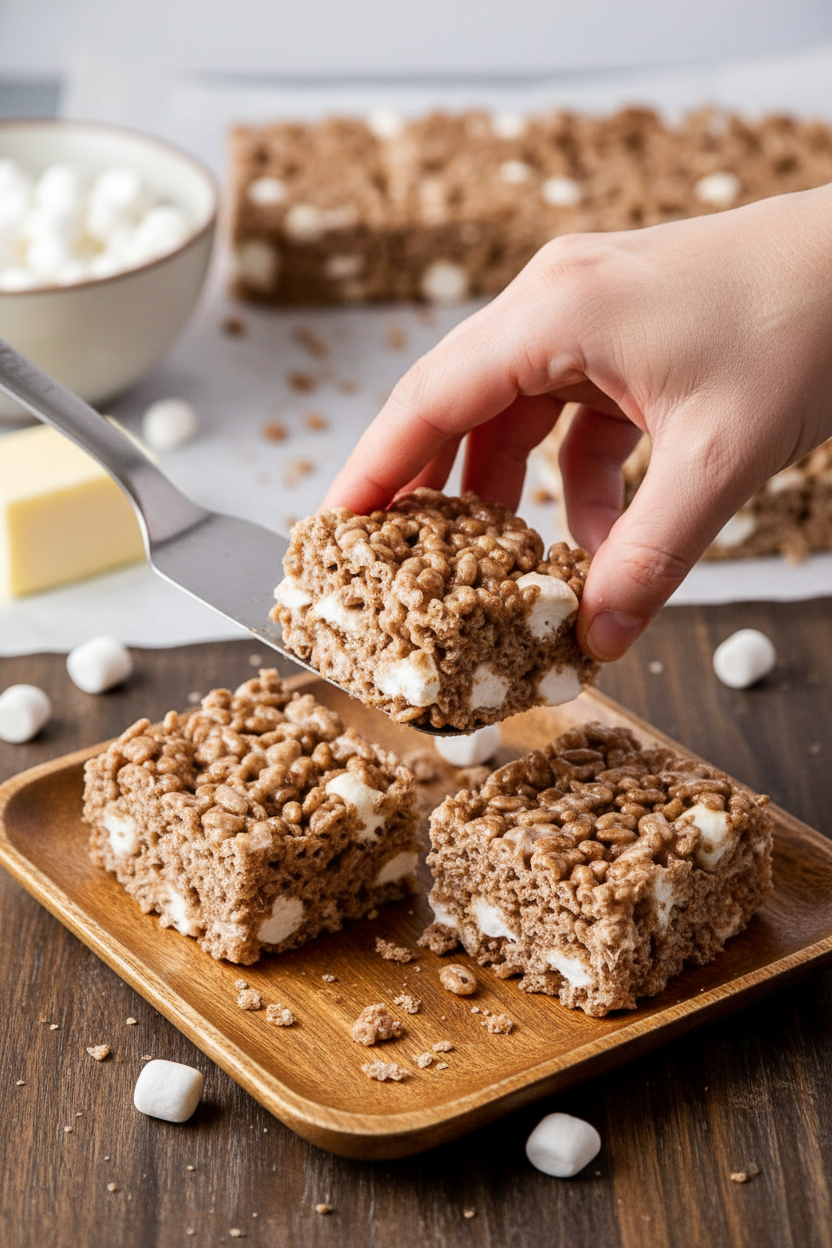
The recipe says 1-2 cups of mini marshmallows. I always use two. Here is my little secret. Toss them in at the very end.
This gives you soft, gooey pockets in your treats. It’s a wonderful surprise. Do you like your treats super chewy or more crunchy? Tell me your favorite way!
Making Memories Together
This is a perfect first recipe. No oven needed. Little hands can help stir and press the mix into the pan. The best part is sharing them after.
Food tastes better when you make it with someone you love. That is a true life lesson. Who will you make these with this week? I would love to know.
Your Turn in the Kitchen
Now it is your turn. Melt your butter. Watch those big marshmallows puff up. Stir in that chocolate cereal slowly. Then fold in those mini marshmallows.
Press it all into your greased pan. The hardest part is waiting for it to set! What other fun mix-ins would you try? Maybe peanut butter chips or sprinkles? Share your ideas with me!
Ingredients:
| Ingredient | Amount | Notes |
|---|---|---|
| Butter, melted | 3 tablespoons | |
| Large marshmallows | 12 ounces | |
| Mini marshmallows | 1-2 cups | Optional for extra gooeyness |
| Cocoa Krispies | 7-8 cups |
My No-Bake Chocolate Crispy Memories
Hello, my dear! Come sit. Let’s make something sweet and simple. I love these chocolate crispy treats. They remind me of my grandson, Mateo. He always helped me stir the big bowl. His smile was wider than the spoon! We made these on rainy afternoons. The kitchen smelled like a chocolate dream. Doesn’t that sound nice?
You don’t even need an oven. Just a big bowl and a microwave. I still laugh at that. My own abuela would be amazed. She cooked everything on the stove. Here is how we make our chocolatey magic together.
- Step 1: Grab your big mixing bowl. Put three tablespoons of butter inside. Now, melt it in the microwave. Just 30 seconds usually does the trick. Listen for that soft *pop* sound. It means it’s ready. Be careful, the bowl might be a little warm. (My hard-learned tip: Use a paper towel to hold the bowl. It saves your fingers!)
- Step 2: Now, add the big marshmallows to the butter. Back into the microwave it goes. Heat them for about three minutes. Watch them puff up like little clouds! They get very gooey. Take the bowl out and stir it right away. Stir until the butter and marshmallow become one smooth, sticky friend.
- Step 3: Here comes the fun part. Slowly pour in the Cocoa Krispies. I do it cup by cup. Stir gently as you go. You want every little cereal piece to get a chocolate hug. Can you guess what makes them extra special and chewy? Share below!
- Step 4: The secret is the mini marshmallows! Toss in one or two cups now. They will stay soft and wonderful. This gives you lovely little pockets of sweetness. Mix them in quickly. Then pour everything into your greased pan. Press it down gently with your fingers.
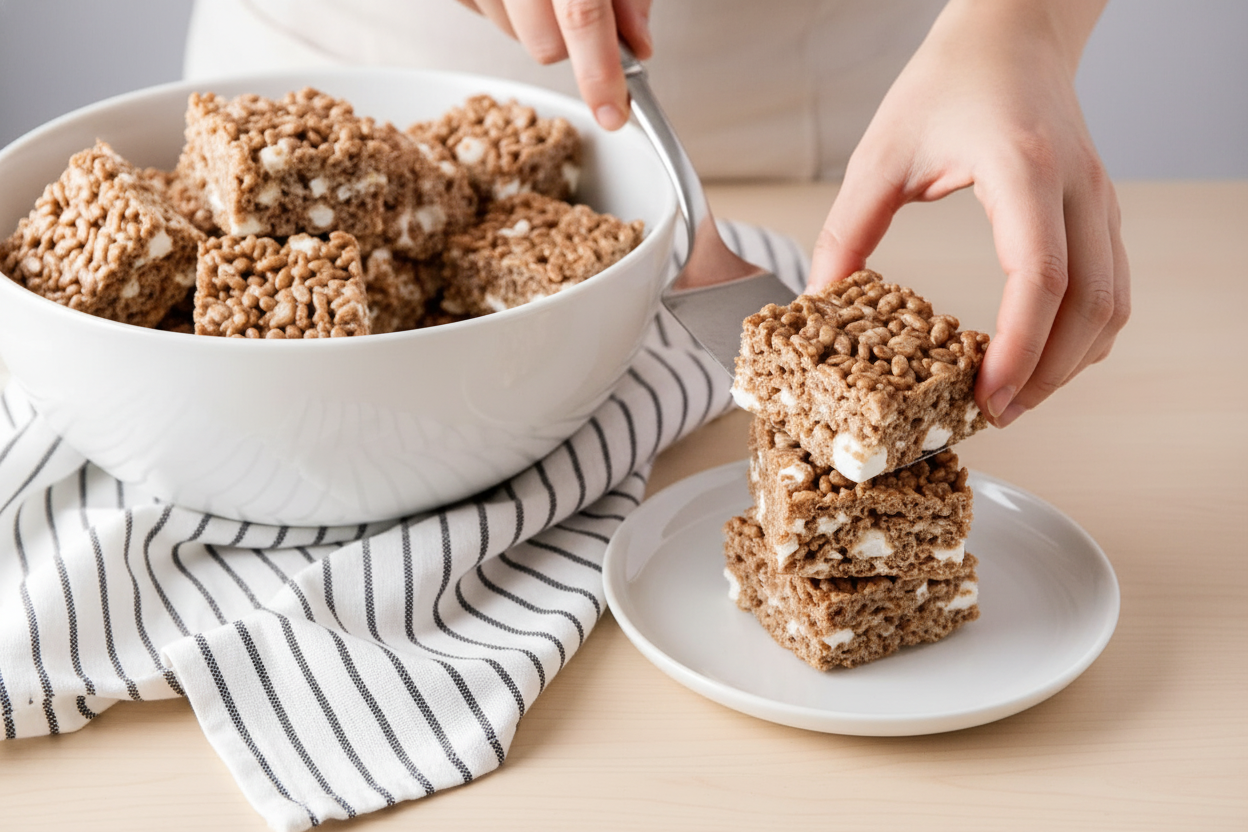
Let it all sit and set for about an hour. The waiting is the hardest part, I know. But it’s worth it. Then you can cut big squares. Enjoy the crunch and the chew! Here are the details for you.
Cook Time: About 5 minutes
Total Time: 1 hour 10 minutes
Yield: 12 big squares
Category: Dessert, Snack
Let’s Get Creative With Your Batch
Once you know the basic recipe, you can play. I love adding little twists. It makes each batch a new adventure. Here are three of my favorite ideas. They are all so easy and fun.
- Birthday Party Mix: Add a handful of rainbow sprinkles with the cereal. It’s so cheerful!
- Peanut Butter Swirl: Drop spoonfuls of peanut butter on top before it sets. Then swirl with a knife.
- Sea Salt Surprise: Sprinkle a tiny bit of flaky sea salt over the top. It makes the chocolate taste richer.
Which one would you try first? Comment below! I love reading your ideas.
Serving With a Smile
These treats are perfect all by themselves. But sometimes, I like to make them fancy. For a party, place each square in a colorful paper liner. You could also drizzle a little melted chocolate on top. Serve them with a bowl of fresh berries on the side. The tart fruit is lovely with the sweet chocolate.
What to drink? A cold glass of milk is always the classic choice. It’s my favorite. For the grown-ups, a little cup of coffee with cream pairs beautifully. The bitter coffee and sweet treat are a perfect match. Which would you choose tonight?
Keeping Your Treats Tasty
These treats stay fresh for days. Just cover the pan with foil. You can keep them on the counter.
I do not recommend freezing them. They get too hard and lose their magic chew. Trust me on this one.
My grandkids once hid a batch in the freezer. They wanted a secret stash. We found them a week later.
They were like chocolate rocks! We had to let them thaw and then snack carefully. Batch cooking is wonderful for parties.
It means you can make the fun part early. You get to enjoy your own party later. Have you ever tried storing it this way? Share below!
Fixing Common Chocolate Krispie Problems
Is your mixture too dry? You did not use enough marshmallow glue. Simply melt a few more with a tiny bit of butter.
Stir it gently into your dry mix. Are the treats too hard to cut? Let them cool completely first.
I remember rushing once and making a crumbly mess. A buttered knife slices through them perfectly. Use a gentle sawing motion.
Did they stick to the pan? Always grease your pan well. I use butter or a quick spray of oil.
This matters because a good treat should come out easily. It builds your cooking confidence. Which of these problems have you run into before?
Your Quick Questions, Answered
Q: Can I make these gluten-free? A: Yes! Just use a certified gluten-free crispy rice cereal. Check the box label.
Q: Can I make them ahead? A: Absolutely. Make them a day before your event. They will still be perfectly chewy.
Q: What can I swap for Cocoa Krispies? A: Use plain Rice Krispies and add three tablespoons of cocoa powder to the melted marshmallow mix.
Q: Can I double the recipe? A: You can, but mix it in two separate batches. One giant batch is too hard to stir well.
Q: Any fun add-ins? A: A handful of mini chocolate chips or sprinkles makes them extra special. Which tip will you try first?
My Kitchen Is Always Open
I hope you love making these as much as I do. They are a happy, simple treat. My kitchen table has seen many batches.
*Fun fact: The original Rice Krispie Treat recipe was first published in 1939!* I would love to see your creations. Have you tried this recipe? Tag us on Pinterest!
You can find me there sharing more kitchen stories. Thank you for cooking with me today.
Happy cooking!
—Lena Morales.
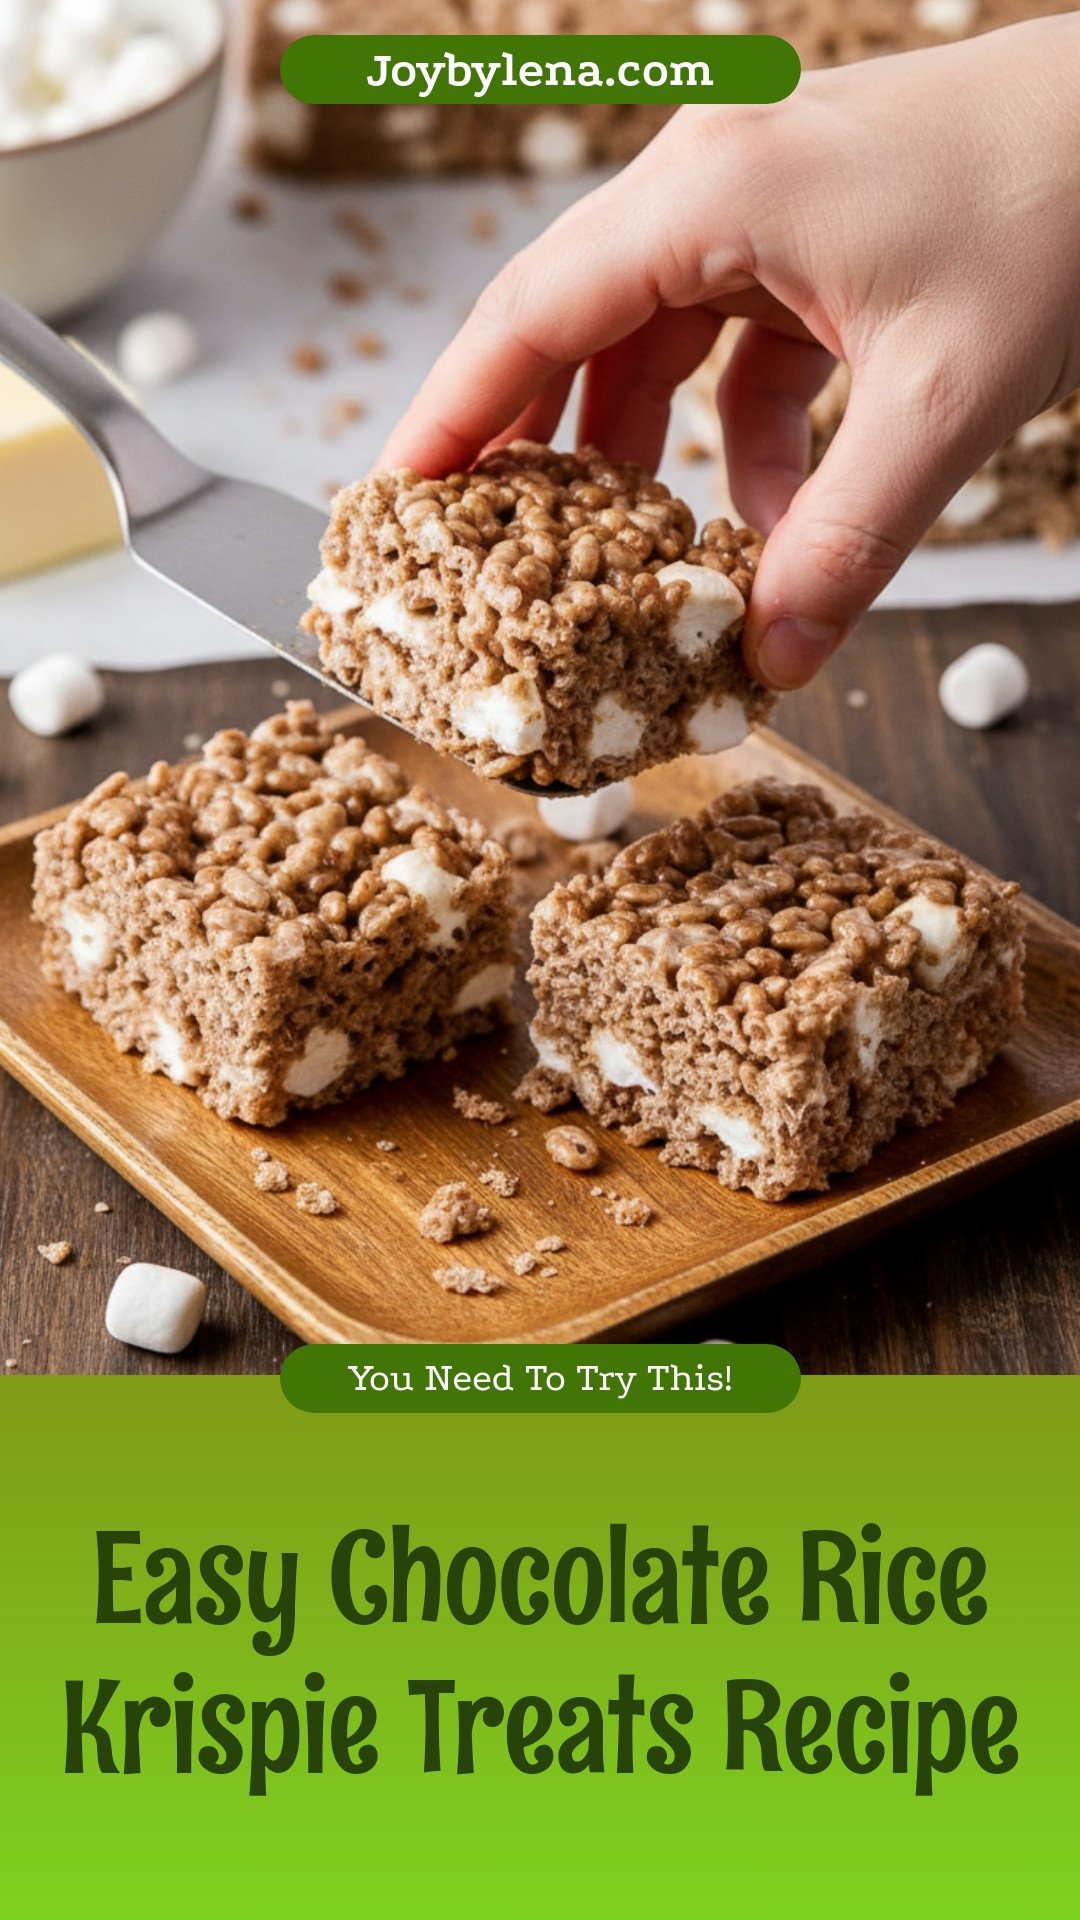
Easy Chocolate Rice Krispie Treats Recipe
Description
A quick and delicious no-bake dessert featuring gooey marshmallows and chocolatey cereal.
Ingredients
Instructions
- In a large bowl, melt butter in the microwave for 30 seconds.
- Add large marshmallows to butter bowl and microwave for 3 minutes.
- Stir well and slowly add Cocoa Krispies.
- When all combined, toss in 1-2 cups mini marshmallows and then pour into a greased 9×13 pan. Let set and enjoy!
Notes
- For a firmer treat, use the full 8 cups of cereal. For extra gooeyness, use only 7 cups.


Leave a Reply