The Secret is in the Soak
Let me tell you about my first onion rings. I was a little girl. My grandpa made them. They were soggy. I still laugh at that. He forgot a key step.
Our recipe soaks the onions in milk and vinegar first. This is called “buttermilk.” It makes the onions sweet and tender. It also helps the batter stick. This matters because no one likes a bald onion ring!
Getting Your Hands Messy
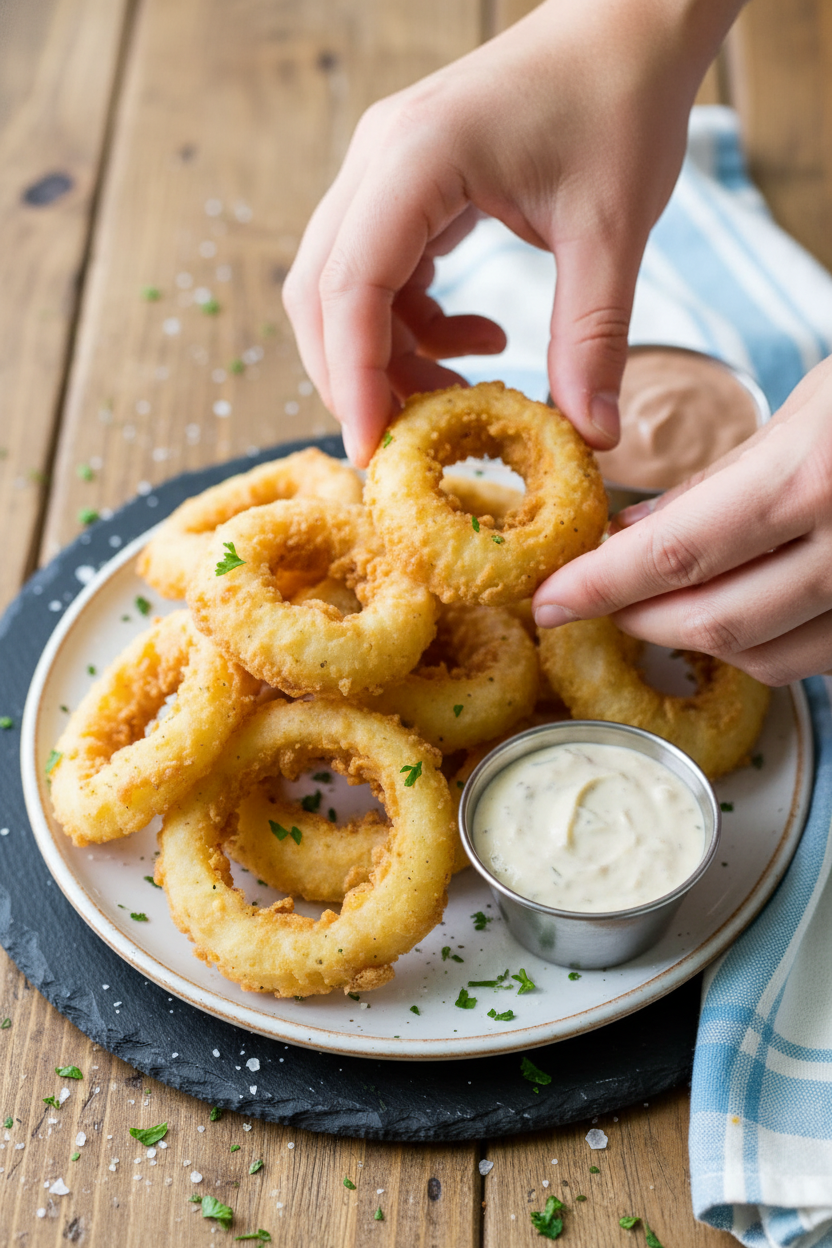
Now for the fun part. You dip the wet ring in flour. Then you do it again. Yes, twice! This double coat is the restaurant secret. It makes that super crunchy shell we all love.
I use a fork to move them between bowls. It keeps my fingers cleaner. But go ahead, use your hands! Feeling the food is part of the joy. What’s your favorite messy cooking job? Mine is bread dough.
The Sizzle and The Magic
Heat your oil until it shimmers. Drop a tiny bit of batter in. If it sizzles right up, you’re ready. Gently lay a few rings in. Don’t crowd the pot. Listen to that happy sound!
Watch them turn a perfect golden brown. Doesn’t that smell amazing? This quick, hot fry is why they stay crisp. It seals the batter fast. Fun fact: The first fried onion recipe might be from a 1930s restaurant!
The Dip That Makes It Sing
While the rings cool, make the sauce. Just stir everything together. This creamy, tangy dip is everything. The Worcestershire sauce adds a deep, savory flavor. It’s like a flavor hug for your onion ring.
This matters because food is about more than eating. It’s about sharing a whole experience. The crunch, the dip, the shared smiles. Do you have a special dipping sauce for your fries or nuggets?
Your Turn in the Kitchen
So there you have it. My grandpa’s lesson turned into a family favorite. Cooking is about trying, and sometimes laughing, and trying again. These rings are a celebration.
Will you make these for a weekend treat? Tell me, what’s a food that reminds you of your family? I’d love to hear your story. Grab an onion and let’s get cooking.
Ingredients:
| Ingredient | Amount | Notes |
|---|---|---|
| Sweet or yellow onion | 1 large | Thickly sliced into 1/2-inch rings |
| Milk | 1 cup | |
| White vinegar | 1 Tbsp | |
| Sour cream (for rings) | 1/2 cup | |
| All-purpose flour | 1 cup | |
| Salt (for rings) | 1/2 Tbsp | |
| Black pepper | 1/4 tsp | |
| Garlic powder | 1 tsp | |
| Oil for frying | As needed | Canola, grapeseed, peanut, or high smoke point oil |
| Real mayonnaise | 1/2 cup | For Awesome Blossom Dipping Sauce |
| Sour cream (for sauce) | 1/4 cup | For Awesome Blossom Dipping Sauce |
| Ketchup | 1/4 cup | For Awesome Blossom Dipping Sauce |
| Worcestershire sauce | 1 Tbsp | For Awesome Blossom Dipping Sauce |
| Creamy horseradish, or hot sauce | 2 tsp | For Awesome Blossom Dipping Sauce |
| Ground paprika | 1 tsp | For Awesome Blossom Dipping Sauce |
| Fine sea salt | 1/2 tsp | For Awesome Blossom Dipping Sauce |
My Crispy, Crunchy Onion Ring Secret
Hello, my dear! It’s Lena. Let’s make some magic today. We are making the crispiest onion rings. They remind me of weekend dinners with my grandkids. Doesn’t that smell amazing? The secret is a double dip in our special batter. It makes them extra crunchy. I still laugh at the time I made these for my husband, Carlos. He ate a whole plate before dinner was ready!
Here is how we do it. Follow these steps closely. You will have perfect rings every time.
- Step 1: First, get your oil ready. Pour about an inch of oil into a big, heavy pot. Turn the heat to medium. Let it warm up slowly. We want it nice and hot for frying. This part needs your full attention. (My hard-learned tip: never leave hot oil alone. It can get too hot too fast!).
- Step 2: Now, make the wet mix. Whisk the milk and vinegar in a bowl. Let it sit for five minutes. It will look a little funny. That’s okay! Then whisk in the sour cream. This makes the batter wonderfully tangy and rich. It’s the heart of the recipe.
- Step 3: Next, make the dry mix. In another bowl, whisk the flour, salt, pepper, and garlic powder. I love the smell of garlic powder. It makes everything taste like a restaurant. Do you have a favorite spice you always add? Share below!
- Step 4: Time for the double dip! Separate your onion rings. Dip one in the wet mix. Then coat it in the dry flour. Now, dip it in the wet mix again. Finally, give it one last coat of flour. Use a fork to keep your hands clean. Place each ring on a plate. See how fluffy the coating looks?
- Step 5: Carefully fry your rings. When the oil is hot, add 3 or 4 rings. Do not crowd the pot. Fry for about 3 minutes. Flip them halfway. They should be a beautiful golden brown. Let them cool on paper towels. Sprinkle with a little salt right away. That salt sticks to the hot oil. It’s so good.
- Step 6: Do not forget the sauce! Just stir all the sauce ingredients together. Do it in a small bowl. Refrigerate it until you are ready to eat. The flavors get happier as they sit together. I promise.
Cook Time: 15 minutes
Total Time: 30 minutes
Yield: 4 servings
Category: Appetizer, Side Dish
Three Fun Twists to Try
Once you master the basic recipe, try a twist! It is fun to play with your food. Here are three of my favorite ideas. They are all simple and delicious.
- Spicy Fiesta: Add one teaspoon of chili powder to the dry flour mix. It gives the rings a warm, happy kick.
- Herb Garden: Mix one tablespoon of dried parsley into the flour. It adds little green specks and a fresh taste.
- Cheesy Comfort: Stir a half cup of grated parmesan cheese into the flour. It makes the coating extra savory and golden.
Which one would you try first? Comment below!
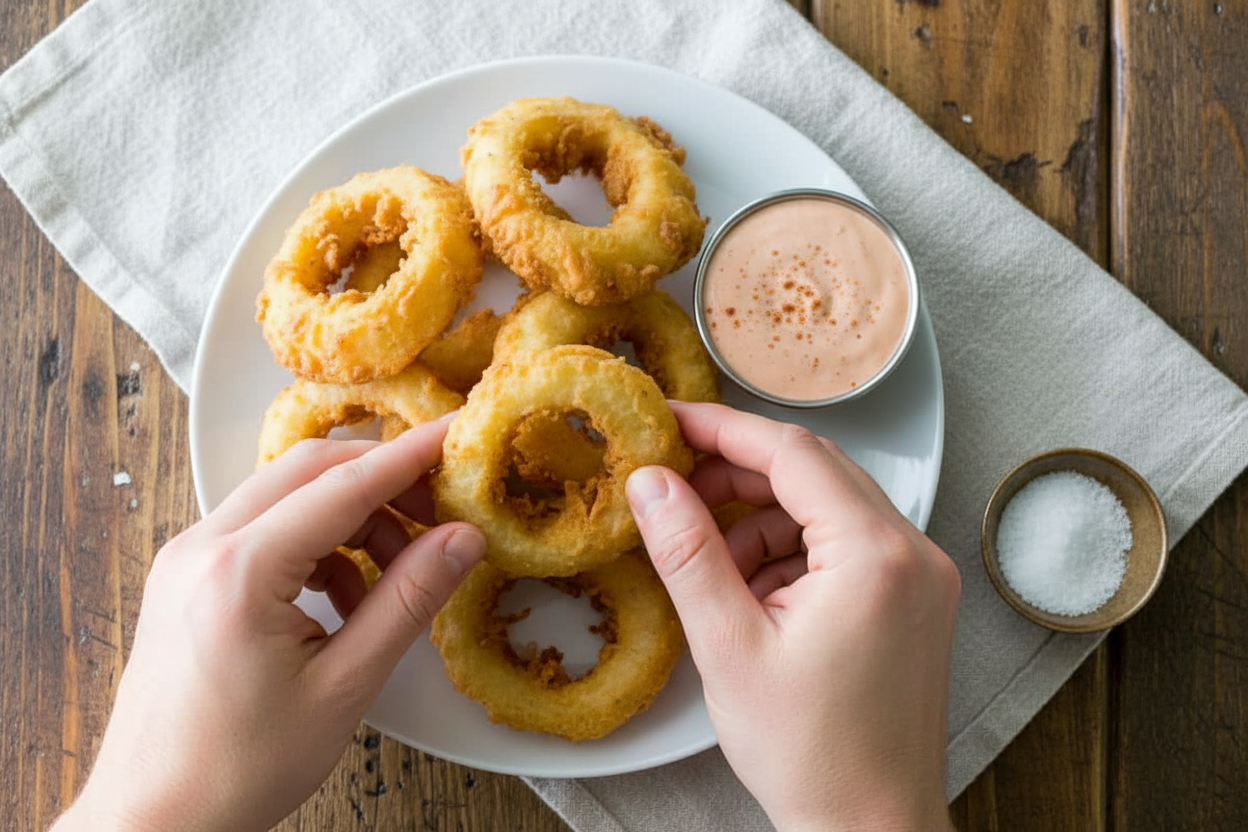
Serving Them Up Right
These onion rings are a star. I love to serve them on a big platter. Place the dipping sauce in a small bowl in the middle. It looks so inviting. For a real treat, pile them next to a juicy burger. Or serve them with a simple green salad. The cool salad is perfect with the crispy rings.
What should we drink? A cold, fizzy lemonade is my top choice. It cuts through the richness beautifully. For the grown-ups, a light lager beer is a classic pairing. It just goes together. Which would you choose tonight?
Keeping Your Onion Rings Crispy
Let’s talk about keeping these treats tasty. First, they are best eaten right away. But I know life happens. To store them, let them cool completely first. Then place them in a single layer on a plate.
Do not put them in a sealed container while warm. That steam makes them soggy. You can keep them on the counter for a few hours. For longer, use the fridge for a day or two. Reheat them in a toaster oven or regular oven. This brings back some crunch.
You can also freeze the raw, battered rings. Lay them on a baking sheet until frozen solid. Then pop them into a freezer bag. Fry them straight from the freezer later. I learned this after a big family cookout. We had so many leftover rings! Batch cooking like this saves time for busy nights. It means a fun snack is always close by. Have you ever tried storing it this way? Share below!
Fixing Common Onion Ring Troubles
Sometimes our cooking needs a little help. First, the batter might slide off the onion. This happens if the onion is too wet. Pat your onion rings dry with a paper towel first. The batter will stick much better.
Second, the coating might not be crispy. Your oil may not be hot enough. Use a thermometer if you can. The onion should sizzle right when it touches the oil. I remember when my first batch came out greasy. The oil was too cool. Getting the temperature right matters. It gives you that perfect, restaurant-style crunch.
Third, the rings might burn. Do not crowd the pot. Cook just a few at a time. This keeps the oil temperature steady. Cooking with confidence comes from knowing these simple fixes. It turns a worry into a win. Which of these problems have you run into before?
Your Onion Ring Questions, Answered
Q: Can I make these gluten-free? A: Yes! Use your favorite gluten-free flour blend. The recipe works the same way.
Q: Can I make the batter ahead? A: You can mix the dry ingredients early. But mix the wet batter just before frying.
Q: What if I don’t have sour cream? A: Plain yogurt is a good swap. Buttermilk works for the milk mixture too.
Q: Can I double the recipe? A: Absolutely. Just use a bigger pot for frying. Do not overcrowd the oil.
Q: Any optional tips? A: A pinch of cayenne in the flour adds a nice kick. *Fun fact: Onions have been grown for over 5,000 years!* Which tip will you try first?
From My Kitchen to Yours
I hope you love making these crispy rings. Food is best when shared with loved ones. I would love to see your kitchen creations. Did your family gobble them up? Did you try a fun new dip?
Share your story with me. A picture is worth a thousand words. Have you tried this recipe? Tag us on Pinterest! I can’t wait to see what you make. Happy cooking!
—Lena Morales.
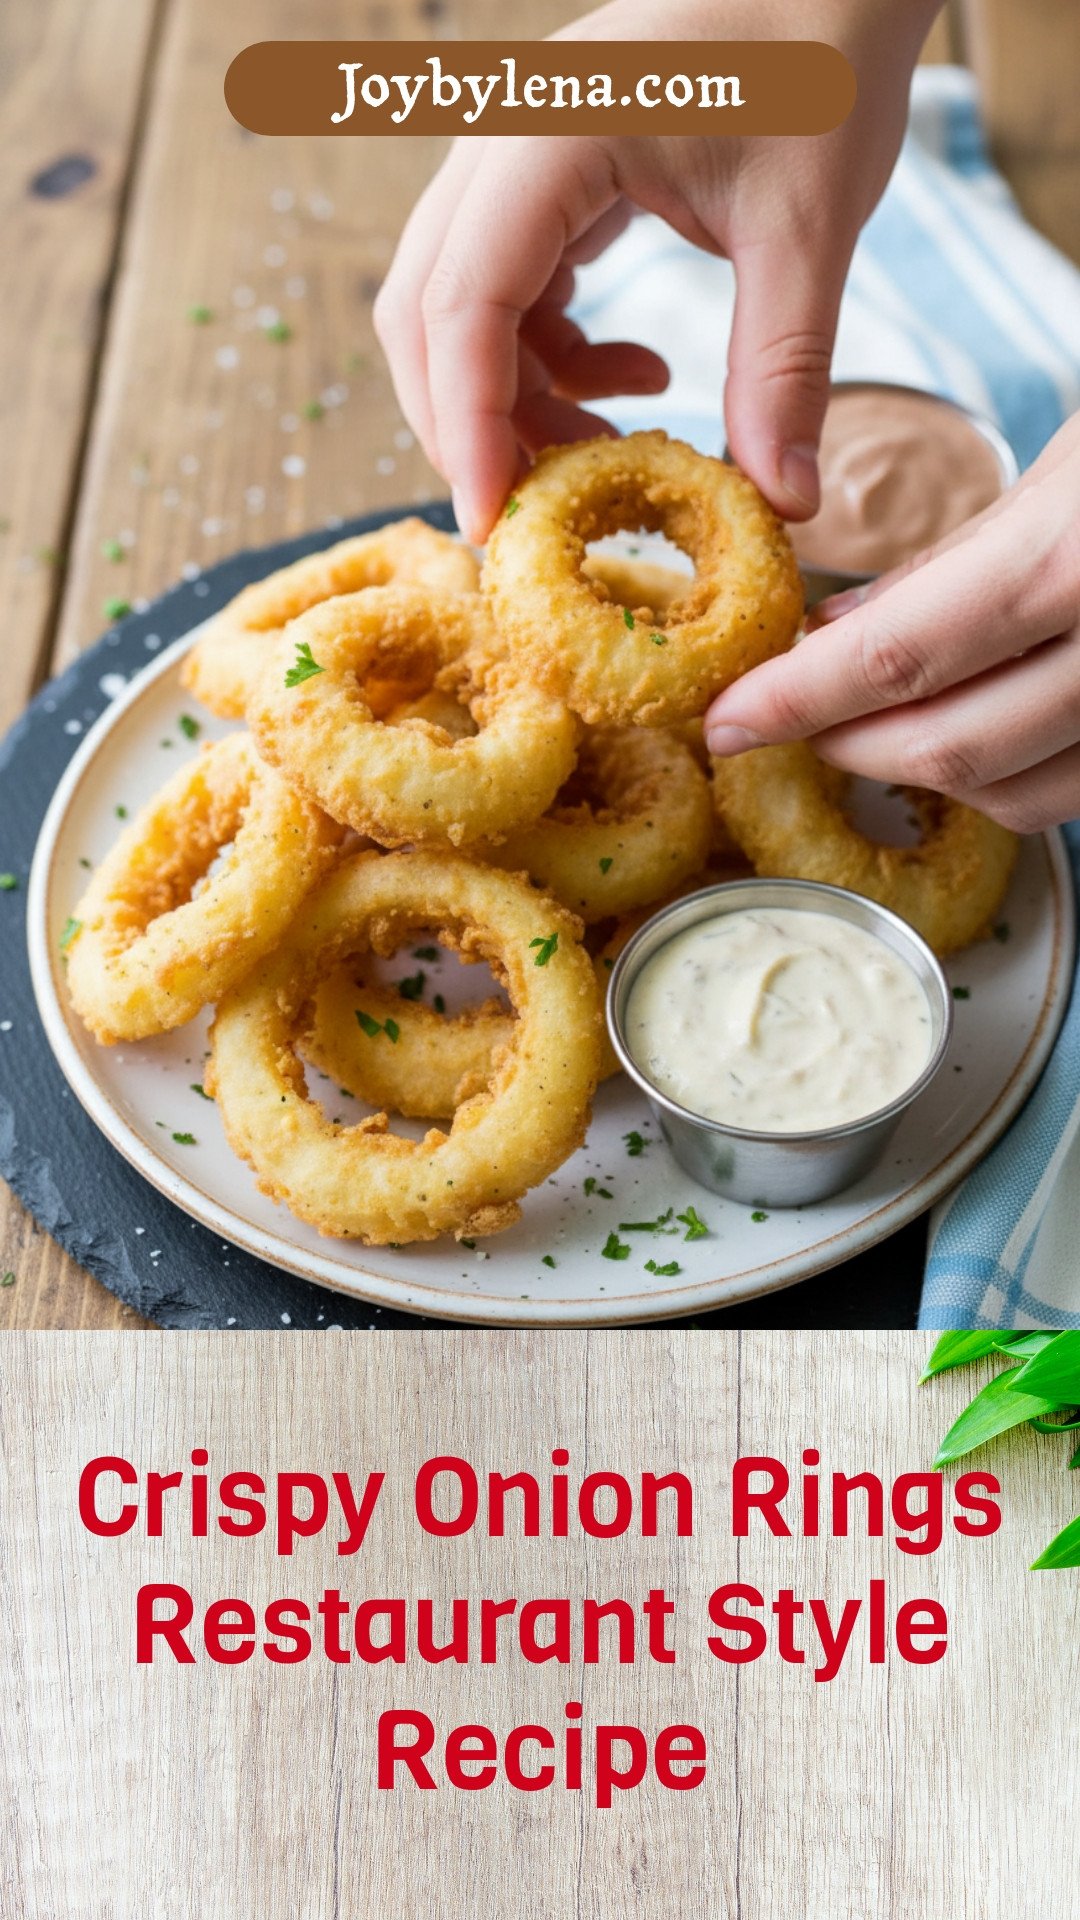
Crispy Onion Rings Restaurant Style Recipe
Description
Enjoy perfectly crispy, golden-brown onion rings with a double-battered coating and a creamy, tangy dipping sauce, just like your favorite restaurant.
Ingredients
Awesome Blossom Dipping Sauce
Instructions
- Heat a dutch oven over medium heat with 1″ of oil (or enough to cover the onion rings). You can use a deep fryer if you have one.
- In a medium bowl, whisk together 1 cup milk with 1 Tbsp vinegar and let sit 5 minutes. Whisk in 1/2 cup sour cream.
- In a separate bowl, whisk together: 1 cup flour, 1/2 Tbsp salt, 1/4 tsp black pepper, and 1 tsp garlic powder.
- Separate the onion rings and dip each ring in the milk mixture, then dredge with flour. (I used a fork to transfer from the wet bowl to the dry bowl so my hands didn’t get as gunky). Repeat by dipping in milk mixture a second time and dredging again in flour. Place the finished onion rings on a plate until ready to fry.
- Once the oil is at 375˚F on a thermometer, or hot enough for the onion rings to sizzle, place 3-4 double battered onion rings in a single layer in the hot oil and cook for about 3 minutes, flipping halfway and fry until exterior is crisp and light golden brown. Let onion rings cool on paper towels so soak up any excess oil then sprinkle with salt while still hot.
- For the Awesome Blossom Dipping Sauce: Stir sauce ingredients together in a small bowl and refrigerate until ready to serve.
Notes
- For extra crispy rings, ensure the oil is at the correct temperature (375°F) before frying and do not overcrowd the pot. The double-dip method is key for a thick, crunchy coating.


Leave a Reply