My First Taquito Fumble
I remember my first time making taquitos. I was so nervous. I didn’t warm the tortillas first. They cracked and broke all over my counter. What a mess! I still laugh at that.
That little mistake taught me a big lesson. Warm tortillas are happy tortillas. They bend and roll without a fight. This matters because cooking should be fun, not frustrating. A simple warm-up makes everything easier.
Why We Roll Them Up
Have you ever wondered why we roll them? It’s not just for fun. Rolling keeps all the good stuff locked inside. Every bite gets a bit of everything.
The chicken, cheese, and salsa become best friends in the oven. The heat makes them cozy together. Doesn’t that smell amazing? The spices toast and fill your kitchen with warmth. It’s a hug in food form.
Let’s Get Our Hands Dirty
First, mix everything in a big bowl. Use your hands if you want! Feel the textures. That’s the best part. Then warm your tortillas. Just 10 seconds in a hot pan makes them soft.
Place a spoonful of filling on each one. Roll it up tight! Put it seam-side down in your dish. This keeps it from unrolling. Give them a light spray of oil. This makes them crispy, not soggy.
The Magic of Baking
Now, into the oven they go. The baking does the magic. It turns simple rolls into crunchy, golden tubes. The cheese melts and holds everything together.
Fun fact: Baking instead of frying is my little trick. It gives you that crunch with less mess and grease. I love that. Do you prefer crunchy or soft tacos at home? Tell me!
More Than Just Dinner
This recipe matters to me. It’s about sharing. I made these for my grandkids after school. Their happy faces made my day. Food is a way to show love.
It also teaches a good skill. You learn how to handle simple ingredients. You see how heat changes food. What’s your favorite food to make with someone you love? I’d love to hear your stories.
Serving with a Smile
Serve them right from the oven. They are best hot and crispy. You can dip them in more salsa, sour cream, or guacamole. Let everyone choose their own.
This is a great meal for busy nights. You can even make the filling ahead. What’s your go-to busy night dinner? Maybe I’ll try it next week!
Ingredients:
| Ingredient | Amount | Notes |
|---|---|---|
| Chicken Breasts, cooked and shredded | 2 | |
| Cheddar Cheese, shredded | 1/2 cup | |
| Salsa | 1/4 cup | |
| Oregano | 1/2 tsp | |
| Cumin | 1/2 tsp | |
| Garlic salt (with parsley flakes) | 1/2 tsp | |
| Garlic Pepper | 1/2 tsp | |
| Green Chilis | 1 can | optional |
| Corn Tortillas | 12 | |
| Olive oil spray | for coating |
My Crispy Baked Chicken Taquitos
Hello, my dear! Come sit. Let’s make my favorite crispy taquitos. They are perfect for a busy weeknight. I love how they make the whole kitchen smell wonderful. We will bake them, so they are not too greasy. This recipe always reminds me of my grandkids. They gobble them up so fast!
First, we need to mix our filling. It’s so simple. You just combine everything in one big bowl. The smell of the cumin and garlic is so good. It reminds me of my own abuela’s kitchen. (A hard-learned tip: warm your tortillas! If you skip this, they will crack. Trust me, I’ve learned the hard way.)
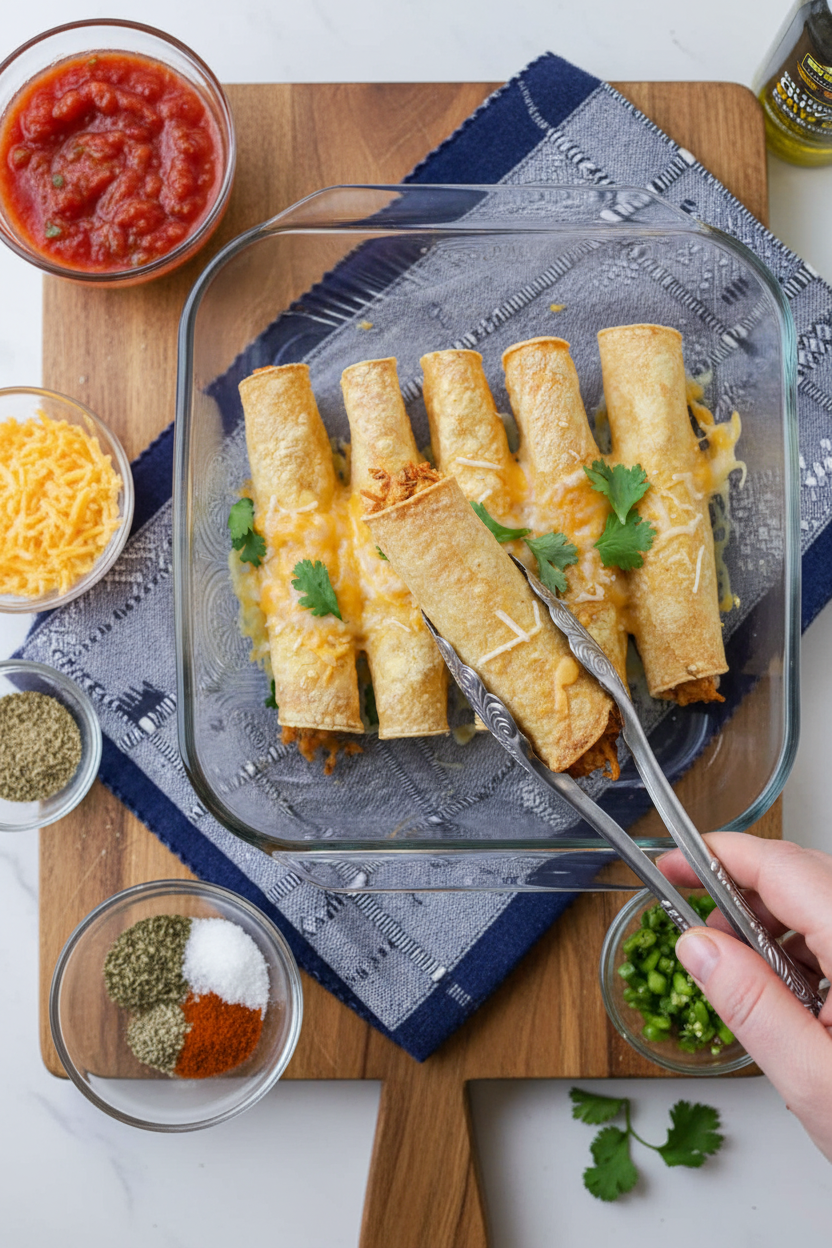
Step 1: Grab a big mixing bowl. Put your shredded chicken in it. Add the cheese, salsa, and all those lovely spices. If you like a little kick, add the green chilis now. Mix it all with a big spoon until it’s friends. Step 2: Now, warm your corn tortillas. Heat a dry skillet on medium. Warm each tortilla for about 10 seconds per side. They will become soft and flexible. Doesn’t that smell amazing? It’s the secret to a perfect roll. Step 3: Let’s fill and roll! Spoon a heaping tablespoon of filling down the middle of a tortilla. Roll it up as tightly as you can. Place it seam-side down in your greased baking dish. Keep going until the dish is full of little logs. Step 4: Give them a light spray with olive oil. This helps them get golden and crispy. Pop the dish into a 350-degree oven. Bake for about 30 minutes. You’ll know they’re ready when the edges are golden brown. Do you think the cheese gets melty inside? Share below! Step 5: Take them out carefully. They will be very hot! Let them cool for just a minute. Then serve them right away. That first crispy bite is the very best part. I still laugh at how fast they disappear from the plate.Cook Time: 30 minutes
Total Time: 45 minutes
Yield: 12 taquitos (about 4 servings)
Category: Dinner, Appetizer
Three Fun Twists to Try
This recipe is like a blank canvas. You can paint it with so many flavors! Here are my favorite ways to change it up. Each one brings a different memory to my table. Cooking should always be a little fun, don’t you think?
The “Leftover Fiesta” Twist: Use leftover roasted pork or beef instead of chicken. It’s a wonderful way to use what you have.
The “Garden Party” Twist: Skip the meat! Use mashed black beans and sweet corn. It’s so colorful and tasty.
The “Breakfast for Dinner” Twist: Fill them with scrambled eggs and crispy potatoes. Add a little chorizo if you like. My husband loves this one.
Which one would you try first? Comment below!
Serving Your Masterpiece
Now, let’s make a whole meal. A taquito is happy with friends on the plate. I always set out little bowls of toppings. It lets everyone build their perfect bite. The dipping is half the fun!
For sides, I love a simple cilantro-lime rice. A cool, crunchy cabbage slaw is perfect too. Don’t forget the garnishes! Extra salsa, creamy guacamole, and a dollop of sour cream are musts. I like to sprinkle on some fresh cilantro.
What to drink? A cold, fizzy lime soda is so refreshing. For the grown-ups, a light Mexican lager pairs beautifully. It cuts right through the richness. Which would you choose tonight?
Keeping Your Taquitos Tasty for Later
Let’s talk about saving some for tomorrow. These taquitos keep well. Let them cool completely first. Then store them in the fridge for up to four days.
You can freeze them too. Place the baked taquitos on a tray. Freeze them solid for one hour. Then pop them into a freezer bag. They will keep for two months. This matters because a ready-made meal is a gift to your future self.
Reheating is simple. Use your oven or toaster oven. Bake at 375 degrees until hot and crispy again. My first time, I used the microwave. They got soggy! The oven is always better. Have you ever tried storing it this way? Share below!
Simple Fixes for Common Taquito Troubles
Sometimes corn tortillas crack when you roll them. The fix is easy. Warm them in a dry skillet first. Just ten seconds makes them flexible. I remember when I skipped this step. I had a pile of broken tortillas!
If your filling falls out, you might have used too much. A heaping tablespoon is perfect. Roll them tightly from the filled side. Place them seam-side down in the dish. This matters because a tight roll means every bite has perfect filling.
If they aren’t crispy, your oven might need more time. Ovens can be different. Let them go a few extra minutes. Also, a light spray of oil helps a lot. This step builds cooking confidence. You learn to trust your eyes. Which of these problems have you run into before?
Your Taquito Questions, Answered
Q: Are these gluten-free? A: Yes, if you use corn tortillas. Always check your salsa label too.
Q: Can I make them ahead? A: Absolutely. Assemble them and keep them in the fridge. Bake just before eating.
Q: What can I swap? A: Use leftover pork or black beans. Any melty cheese works well. Fun fact: The word “taquito” means “little taco” in Spanish.
Q: Can I double the recipe? A: Of course. Just use two baking dishes. Do not crowd them.
Q: Are the green chilis important? A: They add a nice, mild kick. But you can leave them out. Which tip will you try first?
From My Kitchen to Yours
I hope you love making these crispy bites. Cooking should be fun and full of flavor. Share your kitchen stories with me.
I would love to see your creations. Did your family gobble them up? Have you tried this recipe? Tag us on Pinterest! You can find me at @LenasKitchenTable.
Thank you for cooking with me today. Happy cooking!
—Lena Morales.
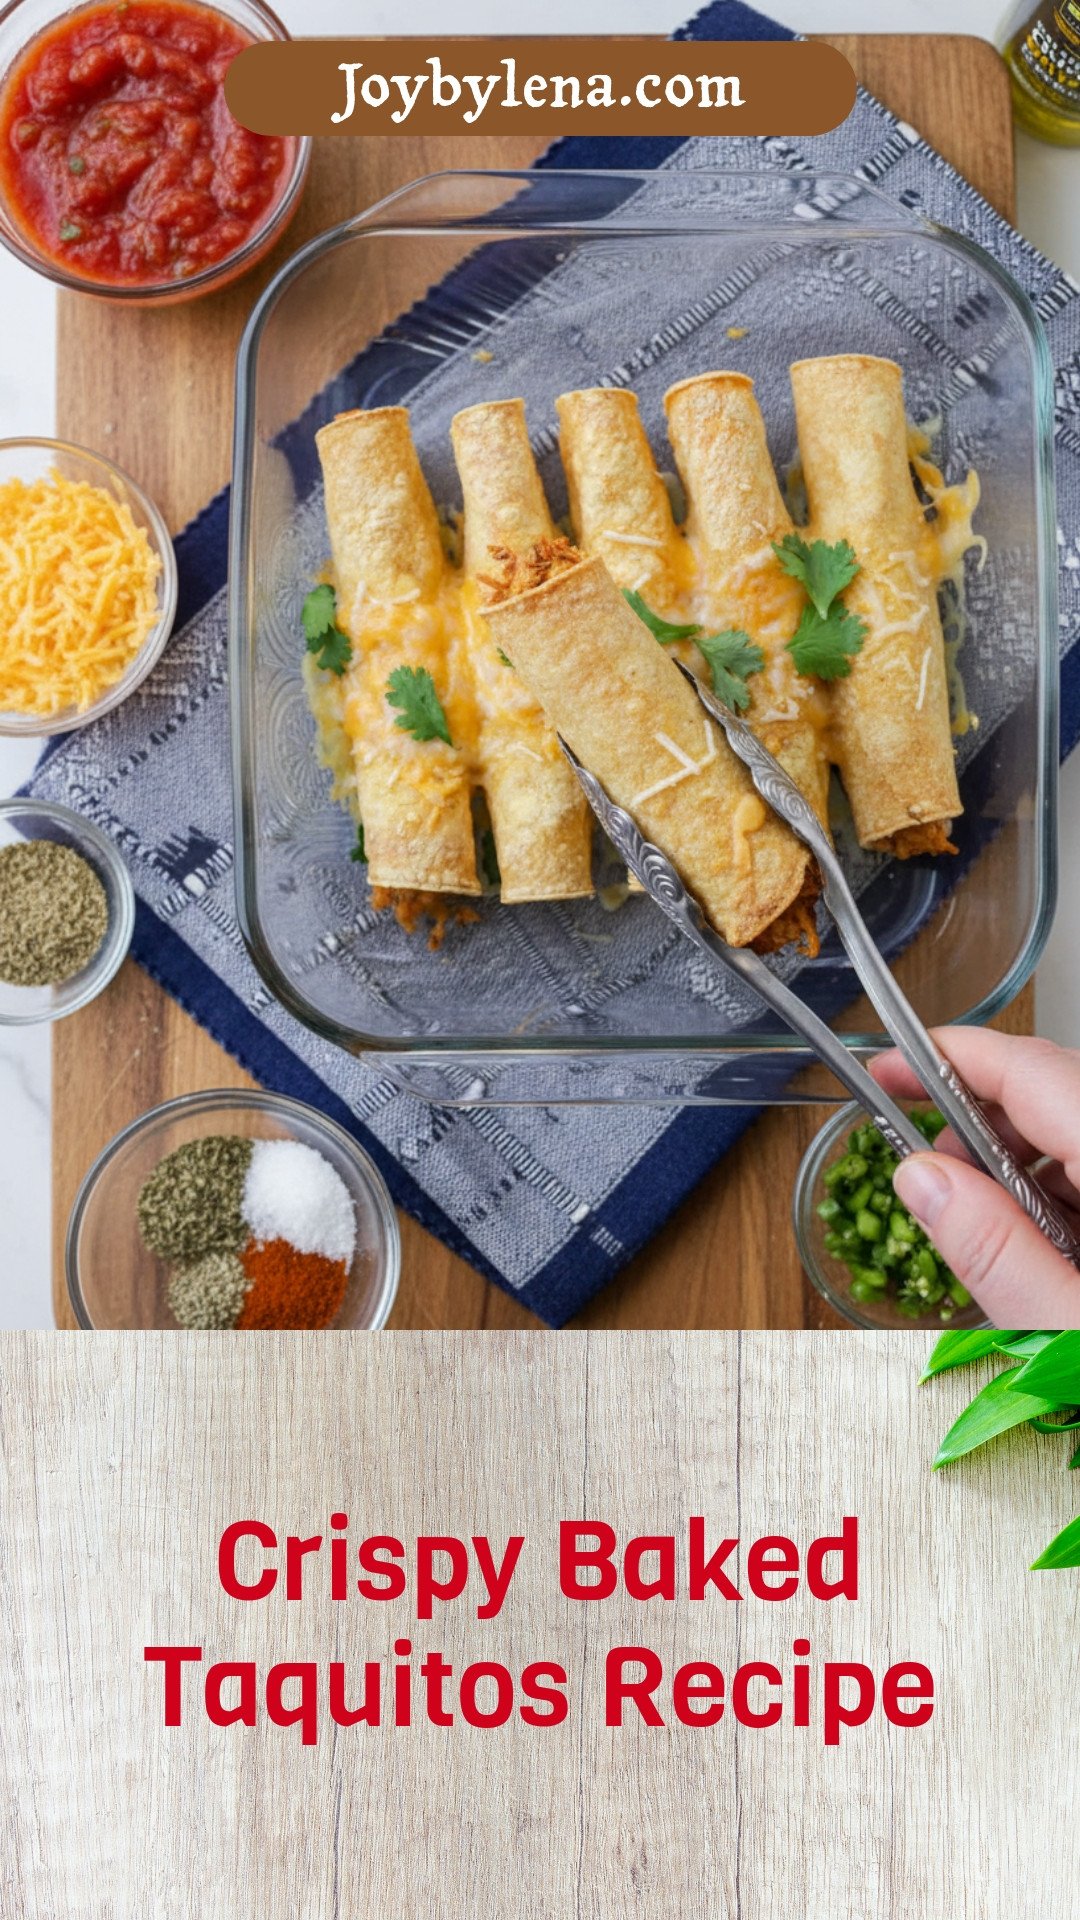
Crispy Baked Taquitos Recipe
Description
Enjoy a healthier twist on a classic with these Crispy Baked Taquitos, filled with seasoned chicken and cheese, then baked to golden perfection.
Ingredients
Instructions
- Combine chicken, cheese, salsa, spices and chiles in a bowl.
- Warm tortillas in a skillet over medium heat about 10 seconds each, until flexible.
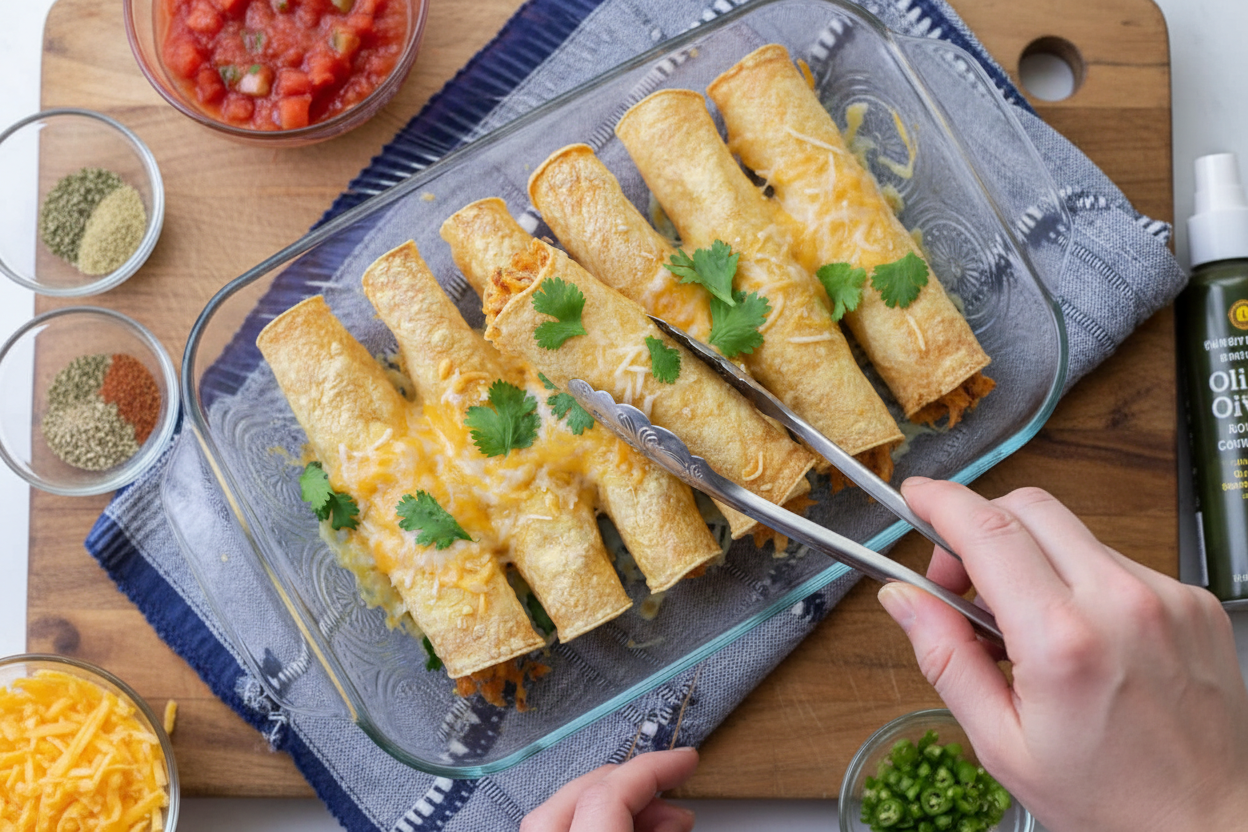
- Spread a heaping tablespoon of the chicken in the middle of each warmed tortilla. Start at the filled side of the tortilla and roll tightly to form a taquito. Place seamed side down in a lightly greased 9×13 baking dish. Lightly spray with olive oil spray.
- Repeat with the remaining tortillas. Bake at 350 for 30 minutes. Serve immediately and enjoy!
Notes
- Nutrition per serving: Calories: 255kcal | Carbohydrates: 28g | Protein: 22g | Fat: 7g | Saturated Fat: 3g | Cholesterol: 58mg | Sodium: 606mg | Potassium: 416mg | Fiber: 5g | Sugar: 3g | Vitamin A: 169IU | Vitamin C: 7mg | Calcium: 117mg | Iron: 1mg


Leave a Reply