My Grandson’s Favorite Dinner
My grandson Leo calls these “Grandma’s Magic Fingers.” He always asks for them. I still laugh at that. I started making this recipe years ago. It was for a busy weeknight.
I wanted something tasty and simple. Baking them is my little trick. It feels lighter than frying. Doesn’t that smell amazing when they are in the oven? Tell me, what’s your family’s favorite “magic” dinner?
Why This Recipe Works
The secret is in the double dip. First flour, then egg, then crumbs. This makes a perfect crispy jacket. It keeps the chicken inside juicy. Use one hand for wet and one for dry. It stops your fingers from getting too messy.
That little tip matters. It makes cooking more fun, not a chore. Fun fact: Panko bread crumbs come from Japan. They stay extra crispy! Baking them with a light spray of oil is the other key. It gives that golden color we all love.
A Little Kitchen Story
Once, I was teaching Leo to make these. He was so careful dipping each strip. Then he knocked over the flour bowl. We had a white kitchen cloud! We just laughed and cleaned up together.
That’s why this matters. The mess is part of the memory. The food tastes better when you make it with someone. Do you prefer cooking alone, or with family helping?
Making It Your Own
This recipe is like a blank canvas. You can change the crumbs. Try crushed cornflakes or crackers. Add a pinch of garlic powder to the flour. It adds a nice little kick.
That’s the second reason this matters. Simple recipes give you confidence. You learn to trust your own taste. What’s one spice you love to add to everything?
Time to Get Cooking
Preheat your oven to 400. Get your three dishes ready. Line your baking sheet. Take your time with the dipping. There is no rush here.
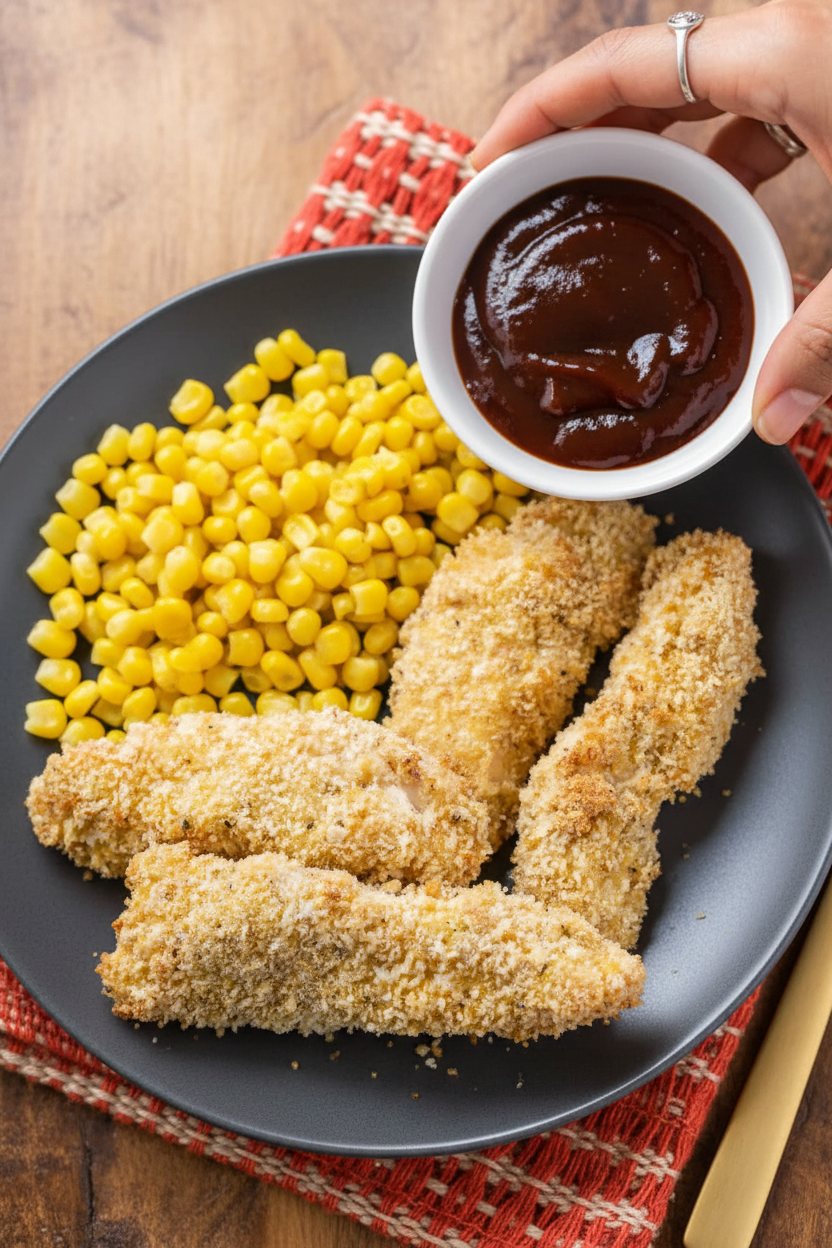
Spray them lightly. Then into the oven they go. In about 20 minutes, you’ll have golden, crispy chicken. Let them cool just a bit. Then dig in. I love mine with a little honey for dipping.
Ingredients:
| Ingredient | Amount | Notes |
|---|---|---|
| Chicken breast | 1 1/2 lbs | trimmed and cut into strips (approximately 3 large breasts) |
| All-purpose flour | 1 cup | |
| Salt | 1 tsp | |
| Pepper | 1/2 tsp | |
| Eggs | 2 | |
| Bread crumbs | 3/4 cup | Italian or regular |
| Panko bread crumbs | 1 cup | |
| Cooking spray | as needed |
My Crispy Chicken Fingers (No Frying Pan Mess!)
Hello, my dear! Come sit. Let’s make the crispiest baked chicken fingers. My grandkids beg for these. They think I have a secret. I just use my oven and a little trick. Doesn’t that smell amazing already? We’ll make them golden and perfect. No greasy stovetop mess to clean up later. I still laugh at that. My first try years ago was a floury disaster. You will do much better.
Step 1
First, get your oven ready. Heat it to 400 degrees. This is important for the crisp! Then, line your baking sheet. I use parchment paper. It makes everything so easy. (My hard-learned tip: always do this first. A cold oven means soggy chicken!).
Step 2
Now, set up your three stations. Use pie plates or shallow bowls. One gets flour mixed with salt and pepper. The next gets eggs, beaten lightly. The last gets both kinds of bread crumbs, all mixed up. See my three little dishes? I feel like a scientist when I do this.
Step 3
Time for the fun, messy part! Dip each chicken strip. Flour first, then egg, then crumbs. Use one hand for dry stuff and one for wet. Trust me, you’ll thank me. Your fingers won’t become breaded! Place each strip on your prepared pan. Which station do you think is the messiest? Share below!
Step 4
Here’s the magic trick. Give all the strips a light spray with cooking oil. This makes them golden and crunchy. Then, into the hot oven they go! Bake for 20 to 25 minutes. You’ll know they’re done. They will be gorgeous and brown. The kitchen will smell like a happy place.
Cook Time: 20–25 minutes
Total Time: 35–40 minutes
Yield: 4 servings
Category: Dinner, Kid-Friendly
Let’s Shake Things Up!
Once you know the basic dance, you can change the music. Try these fun twists next time. They make a simple meal feel special. My grandson Marco loves the spicy one. He’s a brave little eater.
Honey Mustard Glaze: Mix a little honey and mustard. Brush it on before baking. It gets sticky and sweet.
Everything Bagel: Use everything bagel seasoning in your bread crumbs. Oh, the flavor! It’s so good with a cool dip.
Parmesan Herb: Add grated parmesan and dried Italian herbs to the panko. It tastes fancy but is so easy. Which one would you try first? Comment below!
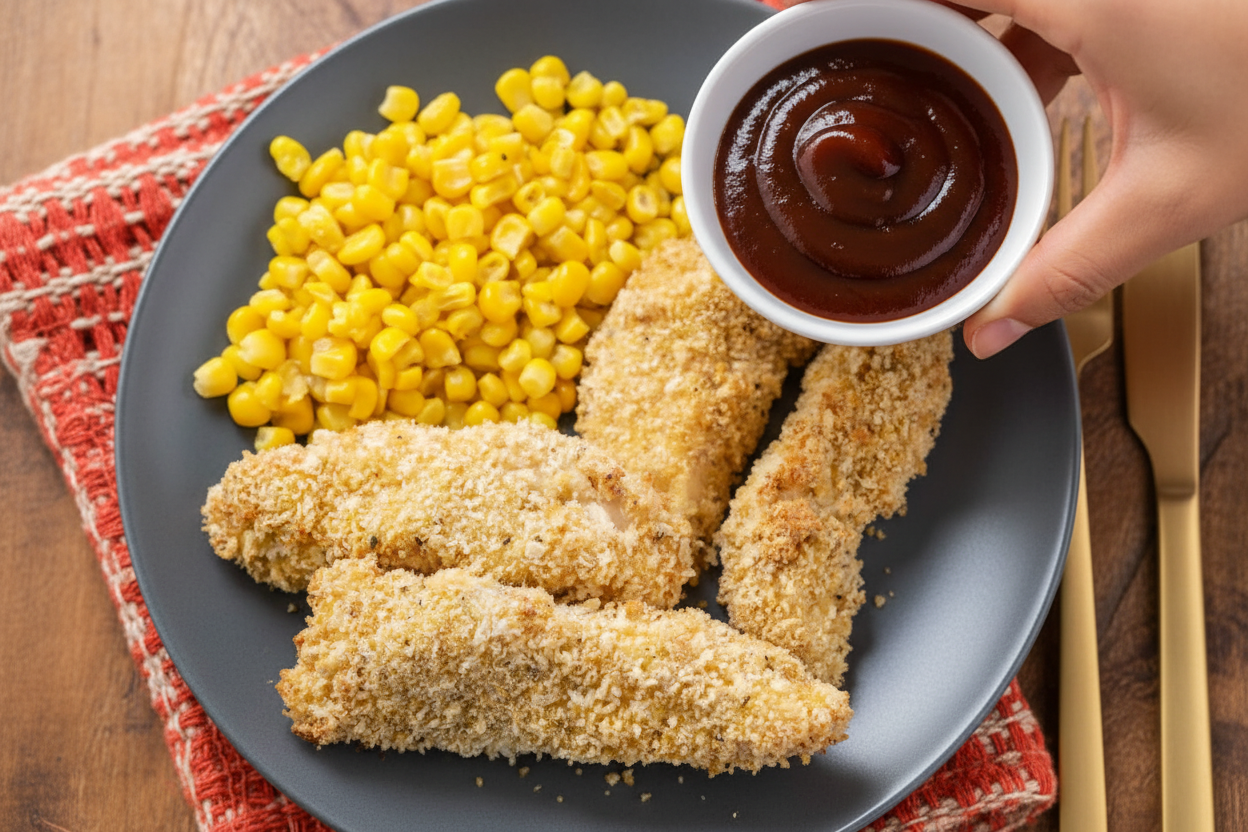
The Perfect Plate
Now, what to serve with your masterpiece? I love a big, simple salad. It makes the meal feel balanced. Sweet potato fries are another favorite. They bake right alongside the chicken. For dipping, you need sauces. Ranch is classic. But a squeeze of fresh lemon is wonderful too.
To drink, I think of two choices. A cold glass of milk is always perfect. For the grown-ups, a crisp apple cider is lovely. It has those autumn feelings. Which would you choose tonight?
Keeping Your Chicken Fingers Perfect for Later
Let’s talk about storing these crispy bites. First, let them cool completely. Then, pop them in a sealed container in the fridge. They will stay good for three days. You can also freeze them for a month. I lay them on a baking sheet to freeze first. Then I bag them up. This stops them from sticking together.
To reheat, use your oven or toaster oven. Set it to 375 degrees. Bake for about 10 minutes. This keeps them crispy. Microwaving makes them soggy. I learned that the hard way with my grandson, Mateo. He was so sad about soft chicken fingers!
Batch cooking is a lifesaver for busy nights. Double the recipe on a Sunday. You will thank yourself on Wednesday. Having good food ready matters. It means less stress and more family time at the table. Have you ever tried storing it this way? Share below!
Simple Fixes for Common Chicken Finger Troubles
Is your coating not sticking? Pat the chicken strips very dry first. A wet chicken makes the flour slide right off. I remember when I forgot this step. My coating ended up mostly in the bowl, not on the chicken!
Are they not crispy enough? That cooking spray is key. A light spray helps the crumbs brown and crisp. Also, do not crowd the pan. Give each piece some space. This lets the hot air move around them.
Worried about them being dry? Do not over-bake them. Use a meat thermometer if you have one. They are done at 165 degrees inside. Fixing these small issues matters. It builds your cooking confidence. It also makes your food taste so much better. Which of these problems have you run into before?
Your Quick Questions, Answered
Q: Can I make these gluten-free? A: Yes! Use gluten-free flour and breadcrumbs. The method stays the same.
Q: Can I make them ahead? A: You can coat them and refrigerate for a few hours. Bake them just before eating.
Q: What are easy ingredient swaps? A: Use crushed cornflakes instead of panko. Try different spices in the flour.
Q: How do I scale the recipe? A: Just keep the coating stations in the same ratios. You may need more dishes!
Q: Any optional tips? A: A fun fact: letting the coated strips sit for 10 minutes helps the coating set. Which tip will you try first?
From My Kitchen to Yours
I hope you love making these chicken fingers. I have made them for years for my own family. The best part is seeing everyone enjoy a meal together. I would love to see your creations. Share a photo of your dinner plate. Have you tried this recipe? Tag us on Pinterest at @LenasKitchenTable.
Your stories and tips make our community so special. Thank you for cooking with me today. Happy cooking! —Lena Morales.
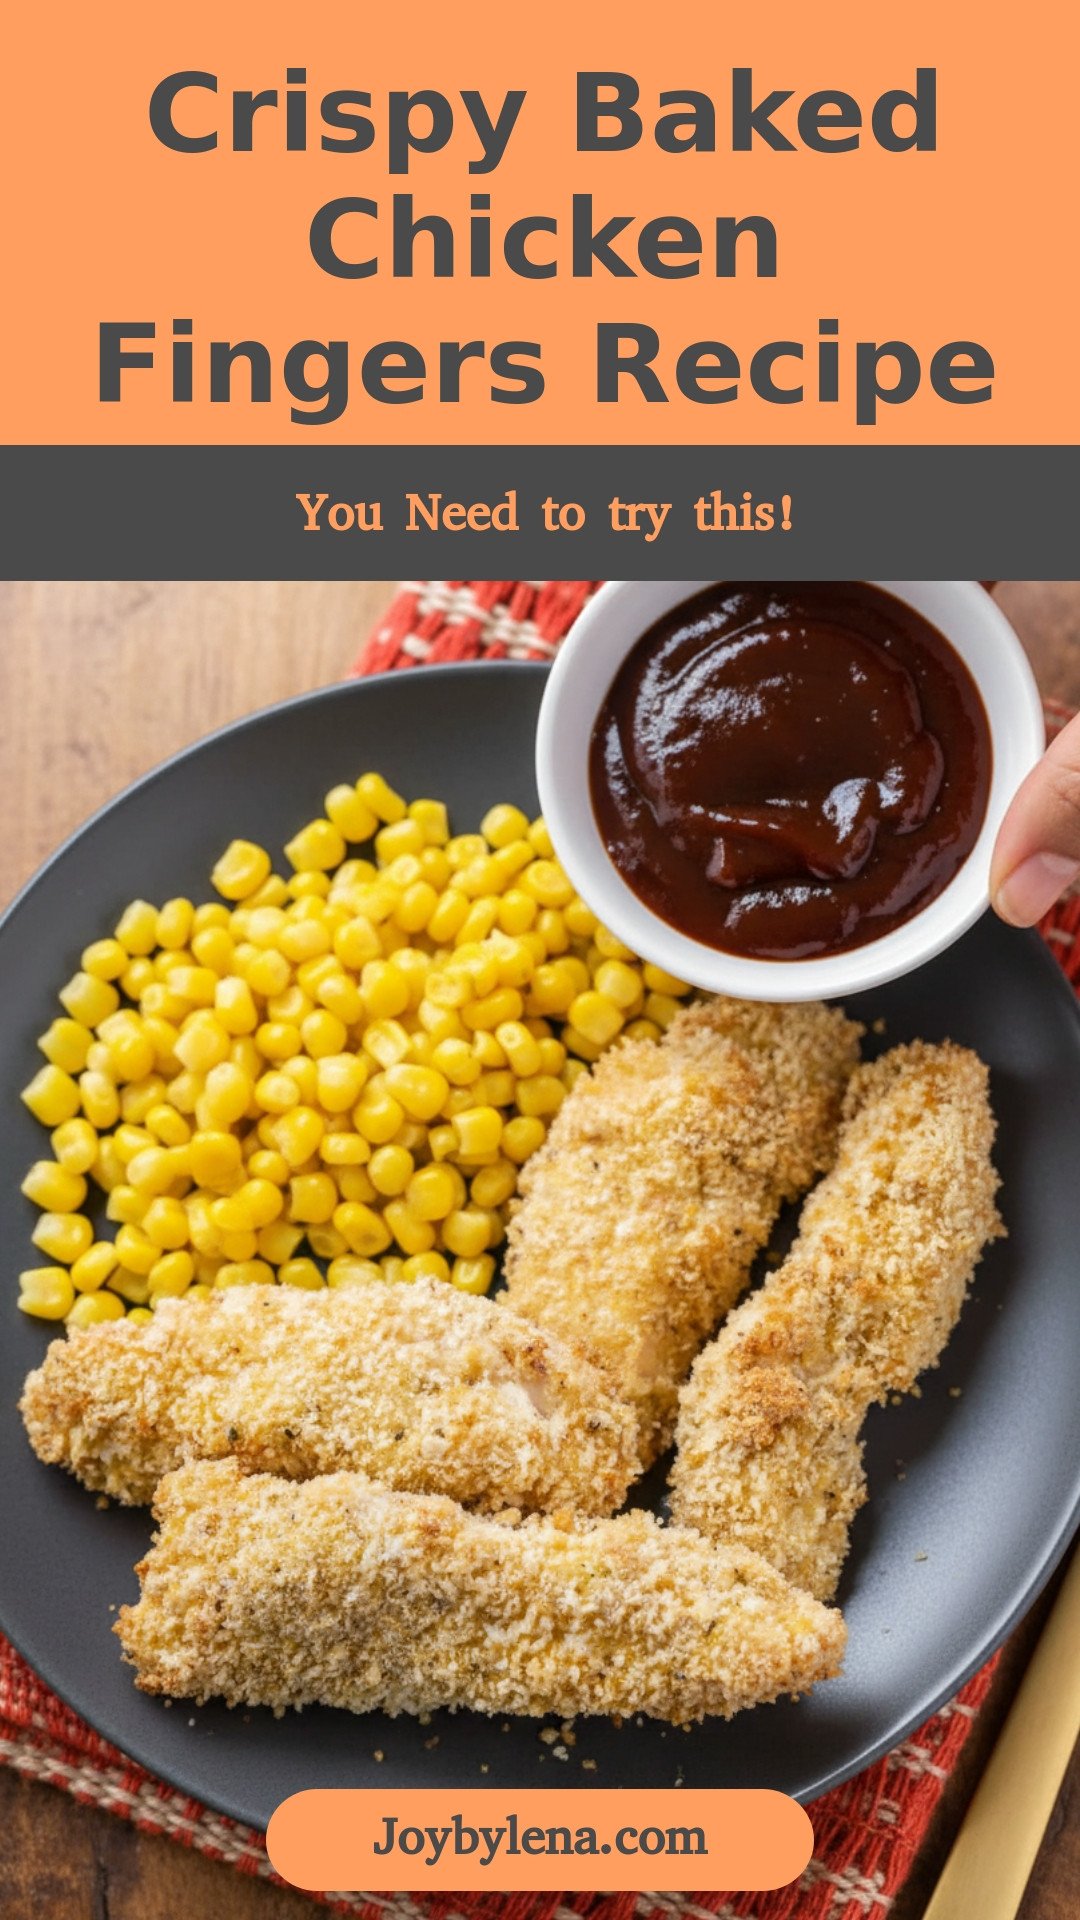
Crispy Baked Chicken Fingers
Description
Enjoy a healthier, oven-baked version of a classic favorite. These chicken fingers are crispy on the outside, tender on the inside, and perfect for dipping.
Ingredients
Instructions
- Preheat the oven to 400°F (200°C). Line a baking sheet with parchment paper or spray with cooking spray.
- In a shallow dish or pie pan, whisk together the flour, salt and pepper. In another shallow dish, beat the eggs lightly. In a third dish, whisk together the regular and panko bread crumbs.
- Dip each piece of chicken in the flour, then in the egg, then in the bread crumbs, and place on the prepared baking sheet. (Tip: use one hand for dry ingredients and one for wet to prevent a mess.)
- Spray each of the chicken strips lightly with cooking spray. Bake for 20-25 minutes, or until golden brown and cooked through. Enjoy!


Leave a Reply