A Happy Accident
I first made these cone cakes for my grandson’s birthday. I was so nervous. I thought they might tip over in the oven.
But they stood up tall and proud. I still laugh at that worry. It taught me that sometimes, the best treats come from trying something new. Have you ever been nervous to try a new recipe? What happened?
The Secret to a Super-Moist Cake
The magic is in the sour cream and pudding mix. They make the cake so soft. It stays moist for a long time.
This matters because nobody likes a dry cake. A little extra care makes a big difference. It’s like a warm hug in every bite. Doesn’t that smell amazing when it bakes?
Filling the Cones Just Right
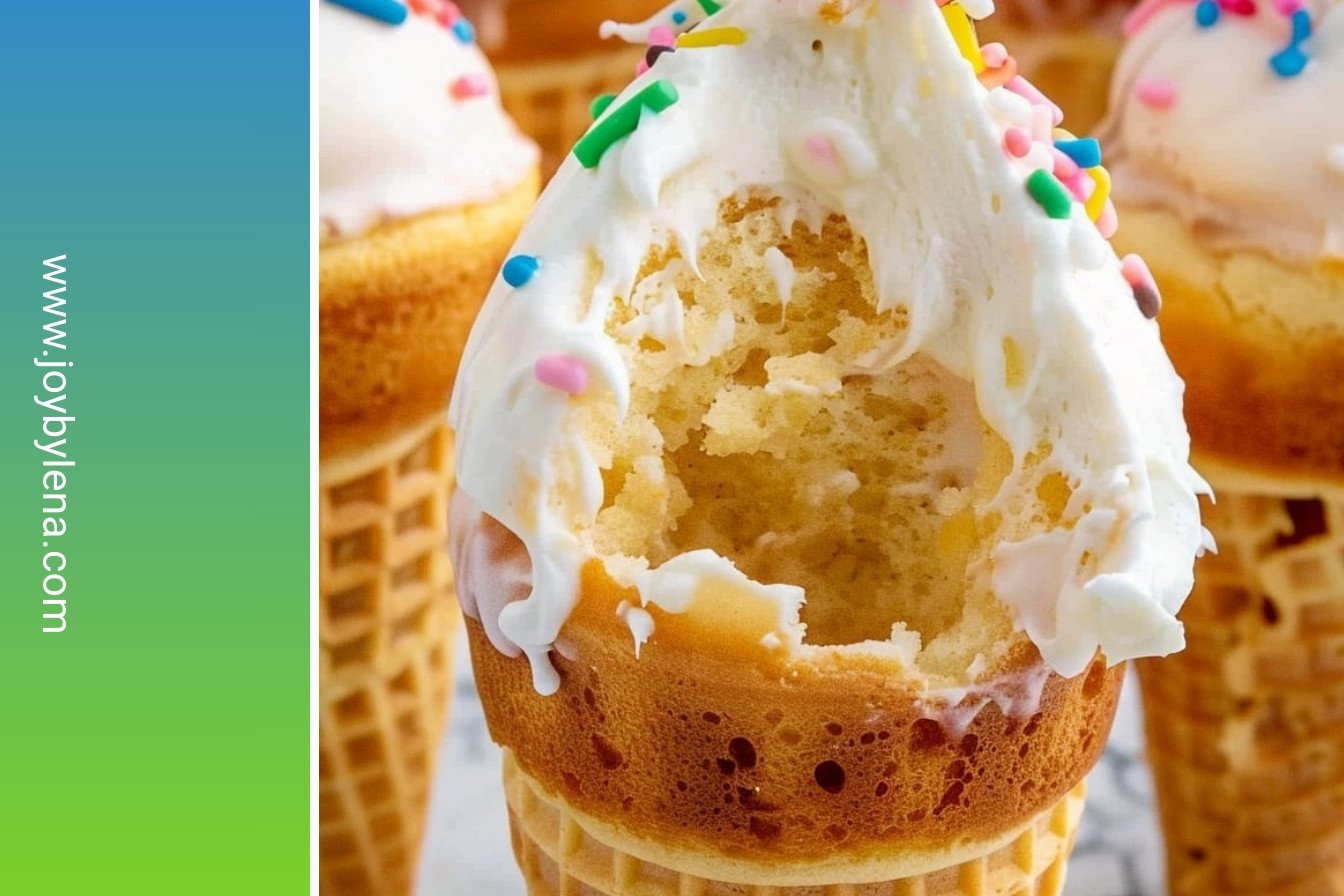
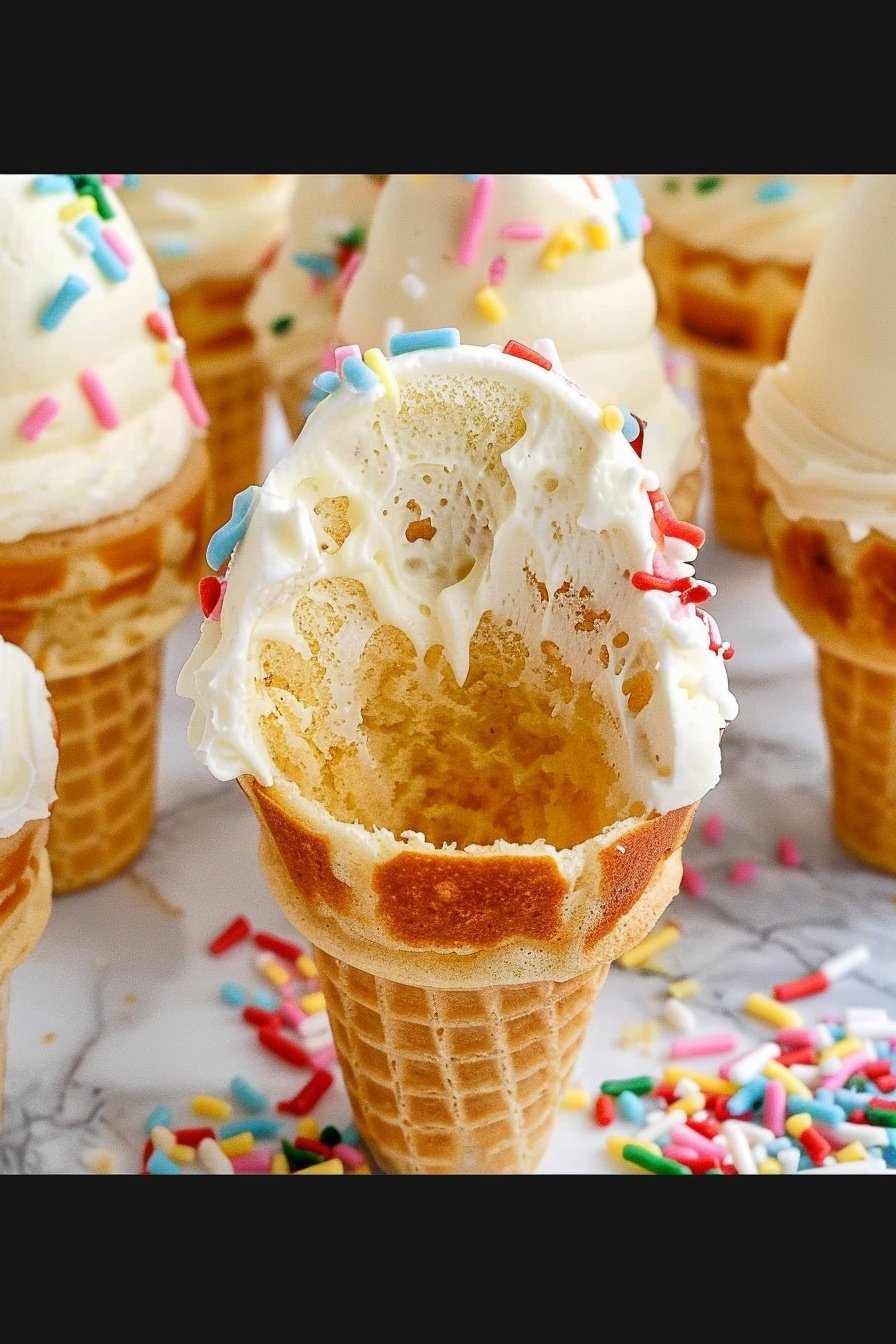
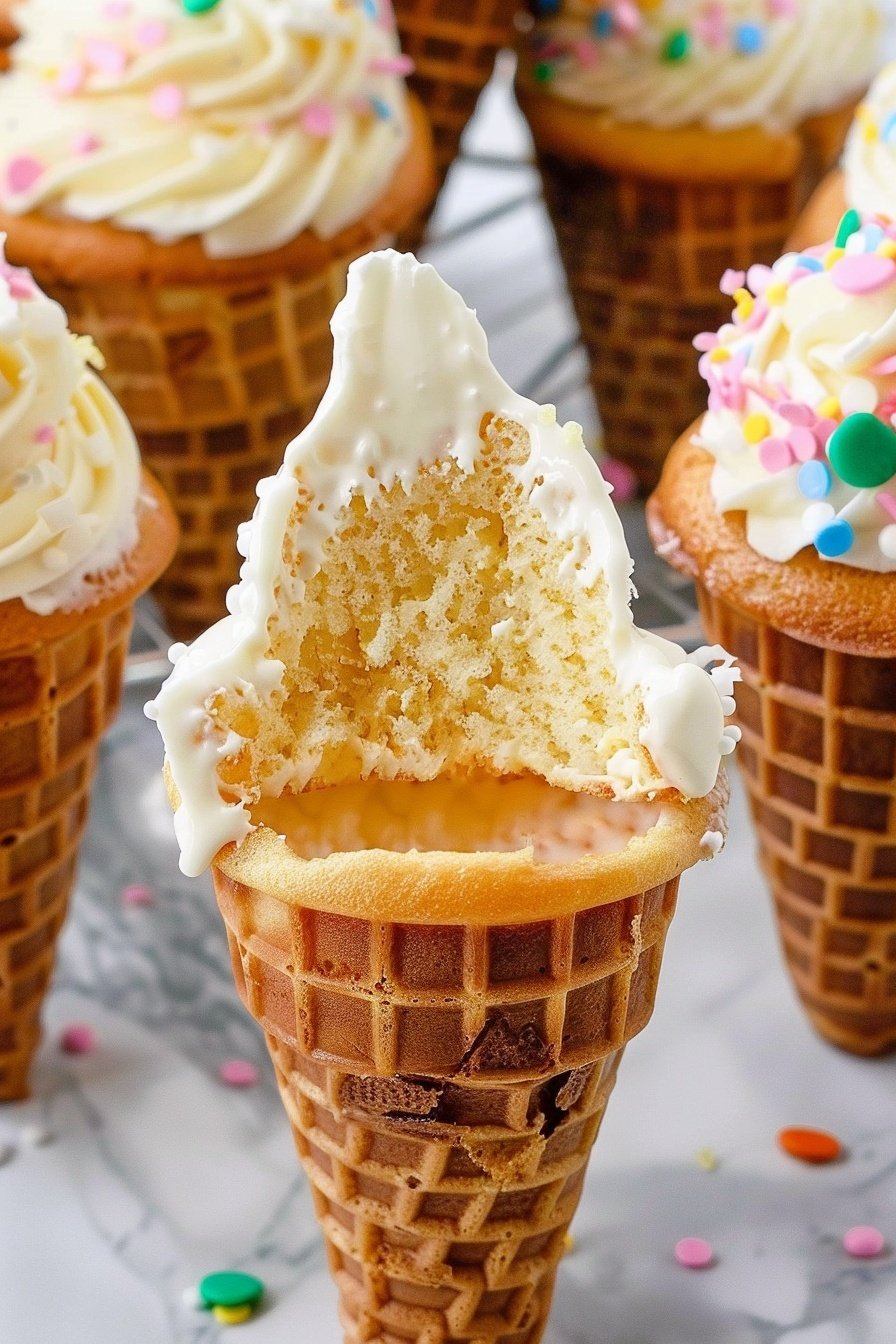
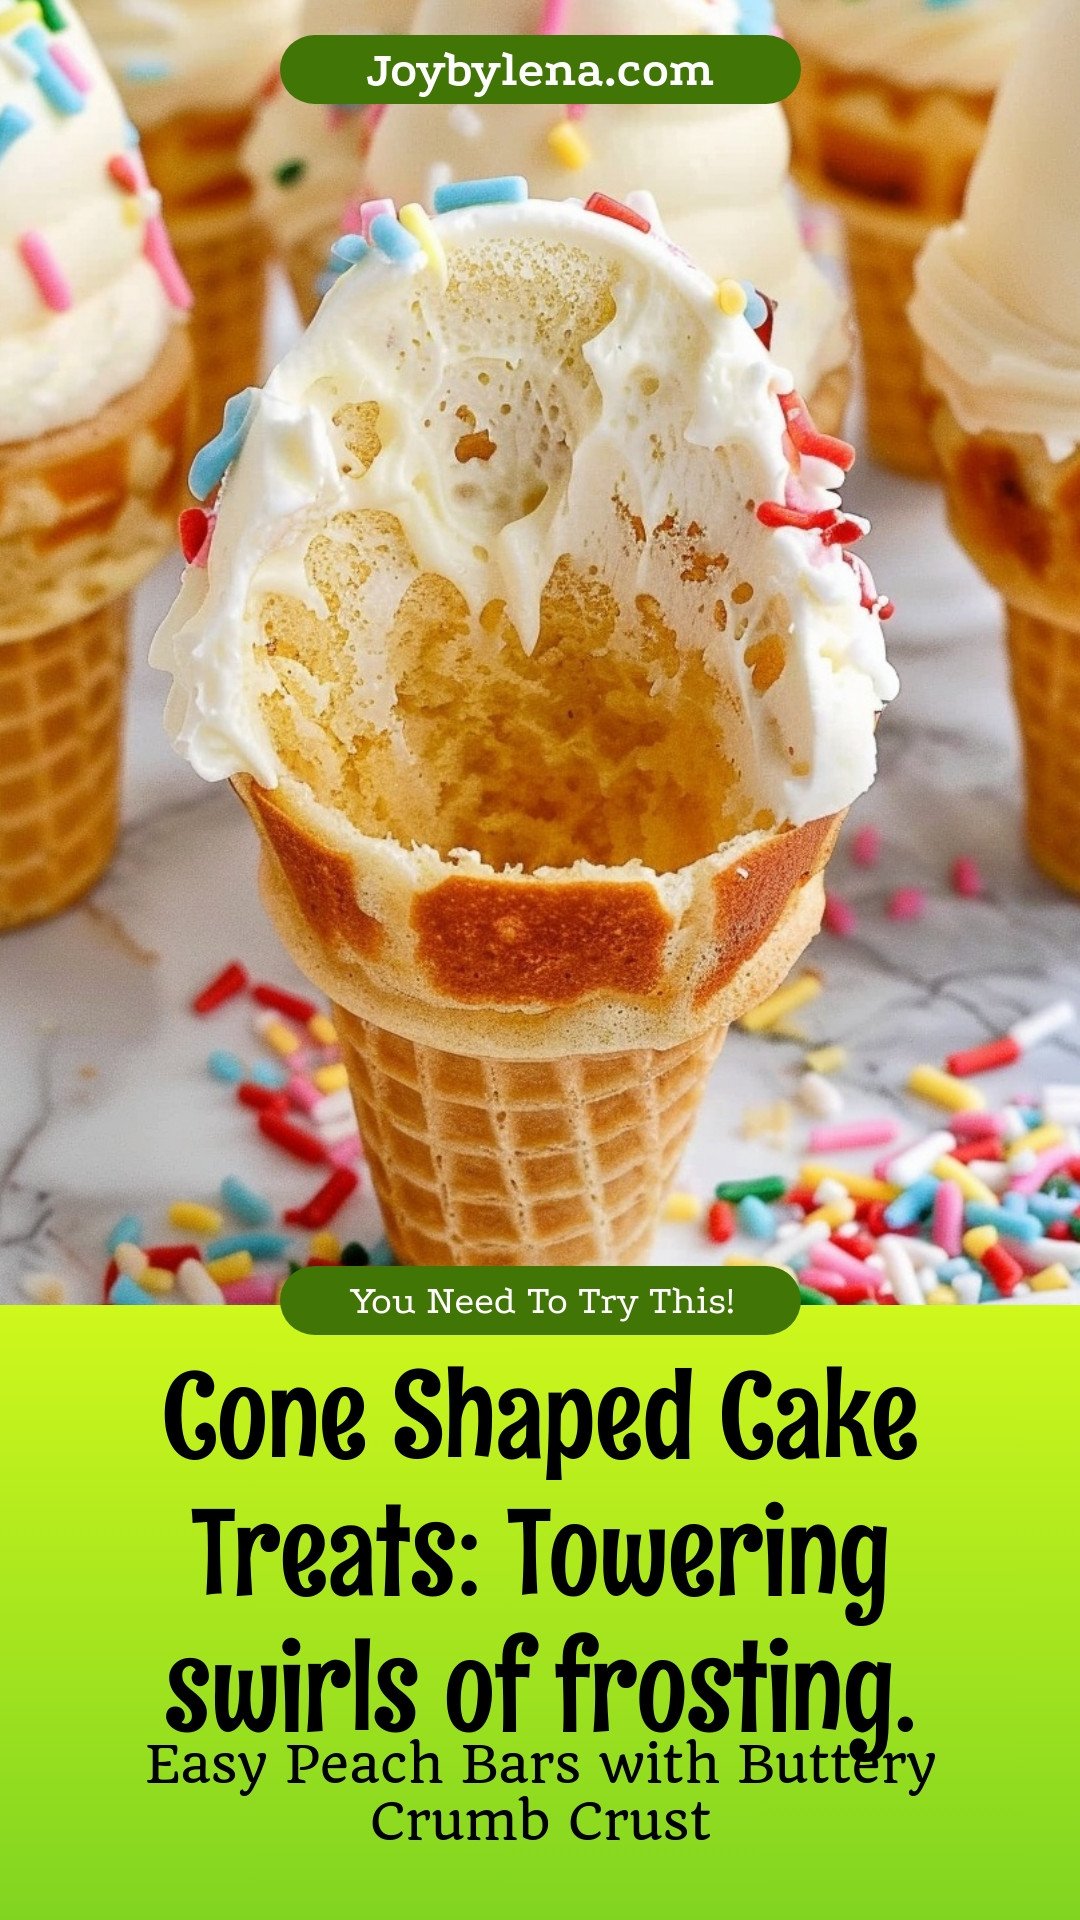
Now, here is my best tip. Only fill the cone halfway with batter. I learned this the hard way.
One time, I filled them too much. The batter rose up and spilled over the sides. It was a messy kitchen that day! Fun fact: The flat-bottomed cones are like little cake ovens. They help the heat cook everything evenly.
Making the Fluffy Cloud Frosting
The frosting is my favorite part. You whip the butter and sugar until it’s light. It should look like a fluffy white cloud.
Using clear vanilla keeps it a pretty, bright white. This matters because we eat with our eyes first. A beautiful treat just tastes happier. What’s your favorite frosting color?
The Best Part – Sharing Them
These cakes are perfect for a party. Everyone gets their own little tower. There are no plates or forks to wash.
Seeing people’s smiles is the real reward. It reminds me that food is about love and connection. Which sprinkles do you think are the most fun for a party?
Ingredients:
| Ingredient | Amount | Notes |
|---|---|---|
| white cake mix | 15.25 ounces | |
| instant vanilla pudding | 3.5 ounces | |
| eggs | 4 large | |
| vegetable oil | 3/4 cup | |
| milk | 1/2 cup | |
| sour cream | 1 cup | |
| cake-style ice cream cones | 32 | flat-bottomed |
| unsalted butter | 1 cup | room temperature |
| powdered sugar | 6 cups | |
| clear vanilla extract | 2 tablespoons | |
| sprinkles | as needed |
Cone Shaped Cake Treats: A Party in Your Hand!
Oh, these little cakes bring back such happy memories. My grandson Miguel always asked for them. He loved that he could hold his whole dessert. No plate or fork needed for these fun treats. It makes cleanup so much easier for everyone. I still laugh at that.
Making them is just as fun as eating them. Let’s get started together. First, you’ll want to turn your oven on to 400°F. This gets it nice and hot for our cakes. Now, let’s make that wonderful batter. Doesn’t that smell amazing already?
Step 1: Grab a big bowl. Put in the cake mix and the dry pudding powder. Add the eggs, oil, milk, and sour cream. Use a mixer to blend it all. Just mix until you don’t see dry spots anymore. (A hard-learned tip: over-mixing makes cakes tough, so stop as soon as it’s combined!).
Step 2: Now, stand your ice cream cones up in a muffin pan. This keeps them from tipping over. Fill each cone only halfway with the batter. They need room to rise and become fluffy. I learned this the hard way with a messy oven once!
Step 3: Carefully put the pan in your hot oven. Bake them for about 15 minutes. You’ll know they’re done when a toothpick poked in the middle comes out clean. Let them cool completely on the counter. What’s your favorite part of baking? The mixing or the decorating? Share below!
Step 4: Time for the best part, the frosting! Beat the soft butter and powdered sugar together. Add that clear vanilla so the frosting stays beautifully white. Whip it on high until it’s light and fluffy like a cloud.
Step 5: Scoop your frosting into a piping bag. Swirl a tall, pretty tower on top of each cool cake cone. Then, cover it with colorful sprinkles. These are best enjoyed the very same day you make them.
Cook Time: 14–16 minutes
Total Time: 45 minutes
Yield: 32 cake cones
Category: Dessert, Party Food
Let’s Get Creative with Your Cones!
This recipe is like a blank canvas. You can paint it with so many fun flavors. I love trying new twists for different parties. It keeps things exciting in my kitchen. Here are a few of my favorite ideas to get you started.
Chocolate Lover’s Dream: Use chocolate cake mix and chocolate pudding. Top with a rich chocolate frosting and chocolate chips.
Strawberry Swirl: Use strawberry cake mix. Gently fold chopped fresh strawberries into the batter. Frost with pink strawberry cream cheese frosting.
Funfetti Fiesta: Use a classic funfetti cake mix. Add extra rainbow sprinkles right into the batter. The frosting can be any color you love!
Which one would you try first? Comment below!
Serving Your Sweet Masterpieces
Presentation is part of the fun. For a birthday, stick a small flag or a name tag on top. You could even arrange them on a cake stand to look like a real tower. It always makes people smile.
What should you serve with them? A cold glass of milk is the classic choice. It’s perfect for kids and adults alike. For a special grown-up treat, a little glass of sweet Moscato wine pairs wonderfully. The bubbles cut through the sweetness nicely.
Which would you choose tonight?
Keeping Your Cake Cones Fresh
These cake cones are best eaten the day you make them. The cones can get soft if you wait. But if you have leftovers, I understand. Cover them loosely with plastic wrap. Keep them on the counter.
I do not recommend freezing them. The frosting can get sticky when it thaws. I learned this the hard way at my grandsons birthday. We had a few left and froze them. They were not the same later.
Making a big batch is great for parties. Just mix, fill, and bake all at once. This saves you so much time and energy. Batch cooking lets you enjoy your own party too.
Have you ever tried storing it this way? Share below!
Easy Fixes for Common Cake Cone Problems
Is your batter overflowing from the cone? You might be filling them too high. Only fill each cone halfway. This gives the cake room to rise while it bakes.
I remember when my first batch came out flat. The cake was dense and heavy. I had over-mixed the batter. Mix just until you see no more dry spots. This makes a lighter, fluffier cake.
Is your frosting too runny? Your butter might have been too soft. Your frosting should be fluffy and hold its shape. Getting the texture right makes your treats look beautiful. It also makes you feel proud of your baking.
Which of these problems have you run into before?
Your Cake Cone Questions, Answered
Q: Can I make these gluten-free? A: Yes! Use a gluten-free cake mix and check your cones are gluten-free too.
Q: Can I make the batter ahead? A: It is best to bake the batter right away. But you can frost them a few hours before your party.
Q: What can I use instead of sour cream? A: Plain yogurt works just as well. It adds the same nice moisture to the cake.
Q: Can I make a smaller batch? A: Of course. Just cut all the ingredients in half. You will get about 16 cake cones.
Q: Do I need a piping bag? A: No, a zip-top bag with the corner snipped off works fine. Fun fact: My first piping bag was actually a paper cone I made myself!
Which tip will you try first?
A Little Note From My Kitchen to Yours
I hope you have so much fun making these. They always bring a smile to everyones face. Seeing your creations makes my heart so happy.
I would love to see your towering cake cones. Share a picture of your beautiful work. It inspires other bakers to try new things in their own kitchens.
Have you tried this recipe? Tag us on Pinterest!
Happy cooking! —Lena Morales.
Cone Shaped Cake Treats: Towering swirls of frosting.:
Description
Discover the magic of cone-shaped cake treats! These adorable desserts feature towering swirls of luscious frosting, creating the ultimate easy-to-hold bake. Perfect for parties, birthdays, and stunning your guests.
Ingredients
=== Frosting ===
Instructions
- Preheat the oven to 400°F. In a large mixing bowl, mix together the cake mix, dry vanilla pudding mix, eggs, oil, milk, and sour cream with a hand mixer. Mix until everything is just combined, being careful not to over-mix.
- Place each ice cream cone in the well of a muffin pan. Fill each cone half full with the prepared batter.
- Bake for 14 to 16 minutes or until a toothpick inserted into the center of the cupcake comes out clean.
- Remove from the oven and let cool completely before frosting.
- In a stand mixer fitted with the whisk attachment, combine the softened butter, powdered sugar, and vanilla. Turn on low and mix until all the powdered sugar is mixed into the butter. Turn on high and whip for 30 seconds until the frosting is light and fluffy.
- Place the frosting into a piping bag fitted with a star tip. Frost the cupcakes, and top with sprinkles. These cupcakes are best served the same day they are prepared.


Leave a Reply