The Best Kind of Mess
My kitchen was a happy mess. Powdered sugar dusted the counter like fresh snow. My hands were sticky with coconut and cream cheese. I remember my grandson watching me. His eyes got so wide when I showed him the bowl. I still laugh at that.
Making food with your hands is a special joy. It connects you to what you eat. This matters because it turns cooking from a chore into a fun adventure. What was the last thing you made with your hands?
A Little Story About Coconut
I have always loved the taste of coconut. It reminds me of summer vacations. We would buy fresh coconuts from a roadside stand. My job was to hold the big straw.
That sweet, tropical flavor is pure happiness for me. It makes any treat feel like a celebration. Fun fact: the coconut is not a nut at all. It is actually a fruit called a drupe! Isn’t that funny?
Getting Your Hands Sticky
The filling for these candies is very thick. Do not be afraid to get in there with your hands. The powdered sugar will help with the stickiness. Doesn’t that smell amazing?
Shaping the ovals is the fun part. You can make them just how you like. This step is important. It makes each candy your own special creation.
The Magic of Frozen Treats
You must freeze the bars for a whole hour. This seems like a long time. But it is the secret to a perfect candy.
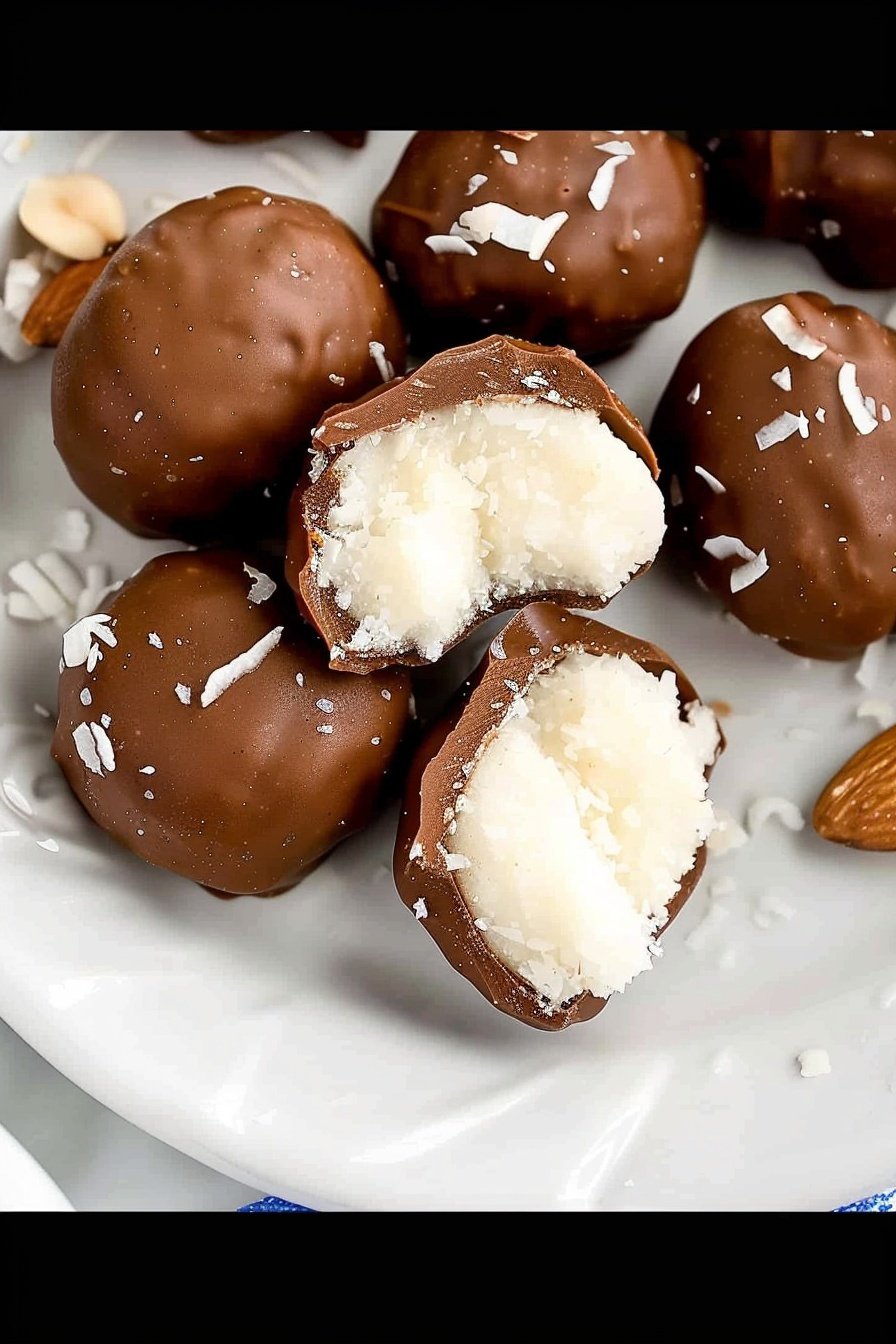
A frozen bar makes the chocolate dip so smooth. The chocolate sets quickly around the cold center. This matters because it gives you that crisp snap when you bite into it. Do you prefer your treats crunchy or soft?
Dipping is the Best Part
Melting the chocolate is my favorite step. I love watching the chips get all glossy. Be patient and stir a lot.
Use a fork to lift the candy out. Tap, tap, tap the fork on the bowl. This lets the extra chocolate drip off. It makes your candies look so professional.
Sharing Your Creations
Once the chocolate is set, they are ready. I always put a few on a small plate right away. It is a little reward for all our hard work.
Sharing food you made yourself is a wonderful feeling. It shows someone you care. This is why cooking matters. It is a way to share love. What is your favorite treat to share with friends?
Ingredients:
| Ingredient | Amount | Notes |
|---|---|---|
| cream cheese | 8 ounces | softened to room temperature |
| salted butter | 2 tablespoons | softened to room temperature |
| coconut extract | 1 teaspoon | |
| powdered sugar | 4 cups | plus more for dusting/shaping candies |
| sweetened shredded coconut | 1 cup | |
| almonds | 60 whole | |
| milk chocolate chips | 23 ounces | divided |
| shortening | 2 tablespoons | divided (I used Crisco) |
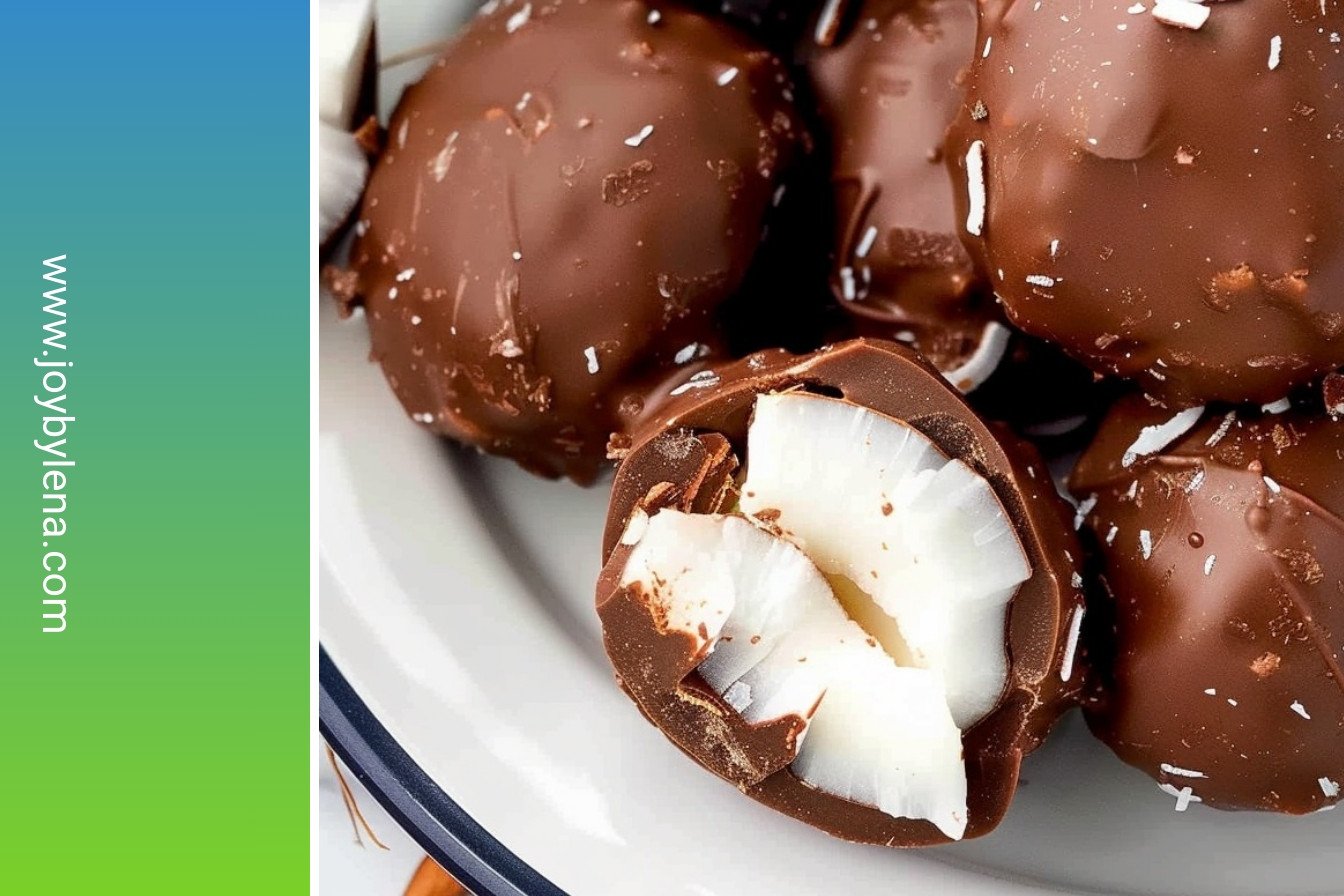
Coconut Chocolate Delights: A Sweet Little Story
My grandkids call these my “magic candies.” They remind me of my favorite candy bar. But these are made with so much more love. I love how the kitchen smells like a tropical vacation. Doesn’t that smell amazing?
Making them is a fun little project. It is perfect for a quiet afternoon. You get your hands a little messy. That is the best part. I still laugh at the first time I made them. I was covered in powdered sugar. I looked like a friendly ghost.
Here is how we make the magic happen. Just follow these simple steps.
- Step 1: Let’s start with the creamy filling. Put your soft cream cheese and butter in a bowl. Add that lovely coconut extract. Mix it all until it is smooth and dreamy. It should look like a fluffy cloud.
- Step 2: Now, we will add the powdered sugar. Put in two cups first and mix it well. Then add the other two cups. The mixture will get very thick. This is a good sign. It means your candies will hold their shape.
- Step 3: Time for the shredded coconut. Stir it right into the creamy mix. Make sure every bit is covered. It will look like a snowy, tropical beach. I always sneak a tiny taste here. So delicious.
- Step 4: Now, the mix needs a little nap. Cover the bowl and put it in the fridge. Let it chill for about half an hour. This makes it easier to handle later. (A hard-learned tip: Don’t skip the chilling. A soft mix is a sticky mess!)
- Step 5: Get your tray ready with parchment paper. Scoop the cold mix with a cookie scoop. Roll it into a little oval shape in your hands. If it gets too sticky, dip your fingers in powdered sugar. This is like putting gloves on your hands.
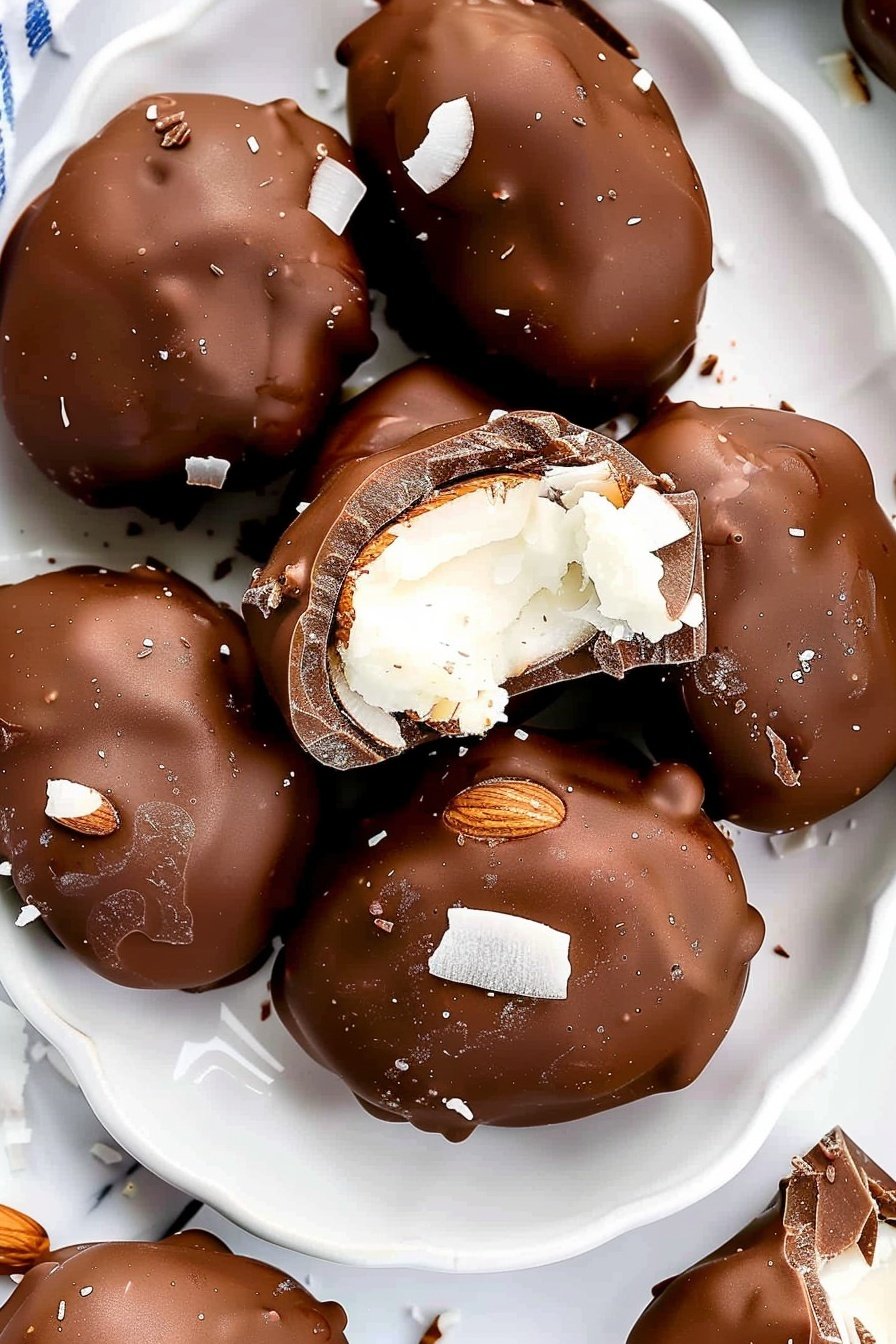
- Step 6: Place all your little ovals on the tray. Now, press two almonds on top of each one. They look like two little eyes smiling at you. Do you like almonds or walnuts more? Share below!
- Step 7: This is a very important step. Put the whole tray into the freezer. Leave it there for a whole hour. This makes the candies very firm. They will not fall apart in the chocolate later.
- Step 8: Time to melt the chocolate. Put your chocolate chips and shortening in a bowl. Heat it in the microwave for 30 seconds at a time. Stir it in between until it is perfectly smooth.
- Step 9: Now for the fun, messy part. Take one frozen candy bar. Dip it completely into the melted chocolate. Use a spoon to help cover the top. Let the extra chocolate drip back into the bowl.
- Step 10: Carefully place the coated bar back on the tray. You can use a fork or a toothpick for this. Then, let the chocolate harden in the fridge. In fifteen minutes, you will have perfect little treats.
Cook Time: 0 minutes
Total Time: 2 hours
Yield: 30 candies
Category: Dessert, Candy
Let’s Get Creative with Your Candies!
The basic recipe is wonderful. But you can also have fun and change it up. Here are a few of my favorite twists. They are all so simple and tasty.
- Cookie Crunch: Swap the almonds for crushed-up pretzel pieces. You get a lovely salty and sweet surprise.
- Fruit Fun: Use dried cherries or cranberries instead of coconut. It makes a tangy, fruity center.
- Peanut Butter Swirl: Add a spoonful of peanut butter to the cream cheese mix. It tastes like a peanut butter cup.
Which one would you try first? Comment below!
Serving Your Sweet Creations
These candies are perfect all on their own. But you can make them extra special. I like to put them in little paper candy cups. It makes them look like they came from a fancy shop.
They are wonderful with a cold glass of milk. For the grown-ups, a cup of dark coffee is just right. The bitter coffee tastes amazing with the sweet chocolate. It is a perfect match.
You could also pack a few in a small box. Give them to a friend as a happy little gift. Everyone loves a homemade treat. Which would you choose tonight?
Keeping Your Coconut Chocolate Delights Perfect
These little candies are best kept cool. Store them in the fridge in a sealed container. They will stay fresh for about one week.
You can also freeze them for a sweet treat later. Place them in a single layer on a tray first. Once frozen, pack them into a freezer bag.
I once left a batch on the counter too long. The chocolate got soft and my apron was a mess. Now I always chill them right away.
Making a big batch saves you time later. You will always have a dessert ready for guests. This makes life a little bit sweeter and easier.
Have you ever tried storing it this way? Share below!
Easy Fixes for Common Candy Problems
Is your filling too sticky to shape? Just dust your hands with powdered sugar. This will stop the mixture from sticking to your fingers.
I remember when my chocolate was too thick. It made a lumpy coating on my candies. Adding a tiny bit of shortening makes it smooth and dippable.
Are your almonds sliding off the top? Make sure the filling is very cold. A firm, frozen base holds the almonds in place perfectly.
Fixing small problems builds your cooking confidence. You learn that mistakes are okay. A smooth chocolate coating also tastes much better.
Which of these problems have you run into before?
Your Coconut Chocolate Delights Questions
Q: Can I make these gluten-free?
A: Yes, they are naturally gluten-free. Just check your chocolate chip package to be sure.
Q: Can I make them ahead of time?
A: Absolutely. They are a great make-ahead treat. The freezer is your best friend here.
Q: What can I use instead of almonds?
A: You can use a pecan half or just leave the nut off. The candy will still be delicious.
Q: Can I make a smaller batch?
A: Of course. Just cut all the ingredients in half. This is perfect for a smaller family.
Q: Is the coconut extract necessary?
A: It gives a big coconut flavor boost. But you can use a teaspoon of vanilla instead.
Fun fact: The coconut and chocolate combo is a classic for a reason. It is a match made in heaven!
Which tip will you try first?
Sharing the Sweetness
I hope you love making these Coconut Chocolate Delights. They always bring a smile to my family’s faces. I know they will for yours, too.
I would love to see your beautiful creations. Your kitchen stories make my day so much brighter. Please share your photos with our cooking community.
Have you tried this recipe? Tag us on Pinterest!
Happy cooking!
—Lena Morales.

Coconut Chocolate Delights: Irresistibly rich, creamy indulgence.:
Description
Decadent coconut chocolate treats! This easy recipe yields rich, creamy, and irresistible homemade delights perfect for gifting or a sweet escape.
Ingredients
Instructions
- In a medium mixing bowl, use a handheld mixer or a stand mixer fitted with a paddle attachment, on medium speed, to cream together the softened cream cheese, salted butter, and coconut extract until smooth.
- Beat in 2 cups of the powdered sugar until fully incorporated. Add the remaining 2 cups and beat again until all the powdered sugar has been incorporated and the mixture is smooth. Your mixture will be very thick.
- Stir the sweetened shredded coconut into the cream cheese mixture until evenly incorporated.
- Cover the bowl with plastic wrap and chill in the refrigerator for 30 minutes to 1 hour.
- Line a large rimmed baking sheet with parchment paper. Using a 1½-inch cookie scoop, scoop out a ball of Almond Joy filling and shape it into a 1½-inch x 2¼-inch oval. You will need to have a bowl of powdered sugar handy to use to lightly coat your hands, or the ball of filling, to help shape the Almond Joy bars if they are too sticky when handling.
- Place the shaped bars onto the parchment-lined baking trays. Once you have shaped all your Almond Joy bars, you will top each bar with two whole almonds.
- Place the baking tray into the freezer for a minimum of 1 hour to allow the bars to get really firm.
- Once your Almond Joy bars have hardened in the freezer, you will want to melt your milk chocolate.
- To a microwave-safe bowl, add the milk chocolate chips and shortening. Heat in 30-second increments, stirring between, until the chocolate is melted and smooth. If you have a melt option on your microwave, you can follow your manufacturer’s instructions.
- Dip one frozen Almond Joy bar at a time into the melted chocolate. You can use a spoon to fully coat the top of the candy with melted chocolate.
- Using a large dinner fork, lift the chocolate-coated bars out of the chocolate and tap the side of the bowl to allow any excess chocolate to drip off and back into the bowl.
- Place each dipped Almond Joy bar back onto the parchment paper. You can use a toothpick to carefully push the bars off of the fork if needed. This will help keep the chocolate looking nice on your bars.
- Place the tray of chocolate-coated Almond Joy bars into the refrigerator for 15 minutes to set the chocolate. Once the chocolate has firmed up, you can place the Almond Joy bars on a serving plate or into a storage container.
Notes
- Use a bowl of powdered sugar to coat your hands if the mixture is too sticky when shaping the bars. For best results, ensure the bars are completely frozen before dipping in chocolate.


Leave a Reply