My First Kitchen Mess
I first made these bars with my grandson, Mateo. We were so excited. We forgot to cool them before cutting.
What a gooey, delicious mess! We ate it with spoons. I still laugh at that. The mess taught me a good lesson. Patience makes treats even better.
Why We Mix Wet and Dry
You mix the wet and dry parts separately first. This matters. It makes sure everything gets friends with everyone else.
No lonely clump of cocoa powder! Then you pour the wet into the dry. This keeps the batter just right. Not too tough, not too runny. What’s your favorite part of mixing? I love watching the colors change.
The Cookie Secret
Now, the fun part. The Mint Oreos! Put them in a bag. Give them a gentle whack. You want chunks, not dust.
Half goes in the batter. Half goes on top. This gives you a surprise in every bite. Fun fact: The mint cream was originally green! Doesn’t that smell amazing? The mint makes everything taste so fresh.
Knowing When It’s Done
The oven does its magic. But how do you know it’s ready? The edges will look set. The middle will look a little moist.
It should not jiggle like a bowl of jelly. This matters because it keeps baking inside after you take it out. That’s called “carryover cooking.” Trust the timer, but use your eyes too. Do you like crispy edges or a fudgy middle best?
Sharing the Sweetness
Food is about more than eating. It’s about the stories we make. Like my messy story with Mateo.
These bars are perfect for sharing. They are cool, creamy, and minty. A little piece of happiness. Who will you share your first batch with? Tell me their name.
Ingredients:
| Ingredient | Amount | Notes |
|---|---|---|
| vegetable oil | 1/2 cup | |
| sugar | 1 cup | |
| vanilla extract | 1 teaspoon | |
| eggs | 2 | |
| baking powder | 1/4 tsp | |
| cocoa powder | 1/3 cup | |
| salt | 1/4 teaspoon | |
| all purpose flour | 1/2 cup | |
| Mint Oreos | 1/2 package (about 15 cookies) | 15.25-ounce package |
Chocolate Mint Cookie Bars: A Sweet Little Secret
Hello, my dear. Come sit at the counter. Let’s bake something special. These bars are my grandson Leo’s favorite. He calls them “crackly-top magic.” I still laugh at that. We make them for his soccer games. They disappear faster than you can blink!
The recipe is simple, I promise. You probably have most things in your cupboard. The magic is in the Mint Oreos. Doesn’t that smell amazing? It reminds me of a cool breeze. Perfect for a warm afternoon. Let’s get our bowls ready.
Step 1: First, turn your oven to 350°F. Grease your 8×8 pan lightly. Now, grab a small bowl. Put in the oil, sugar, eggs, and vanilla. Mix them until they are friends. It will look a little shiny. I always let the vanilla smell fill my kitchen.
Step 2: Get another bowl for the dry things. Add the baking powder, cocoa, salt, and flour. Whisk it all together. Now, pour your wet mixture right into the dry one. Stir gently until it’s one beautiful, dark batter. (My hard-learned tip: Don’t overmix! Just until you see no more dry flour.)
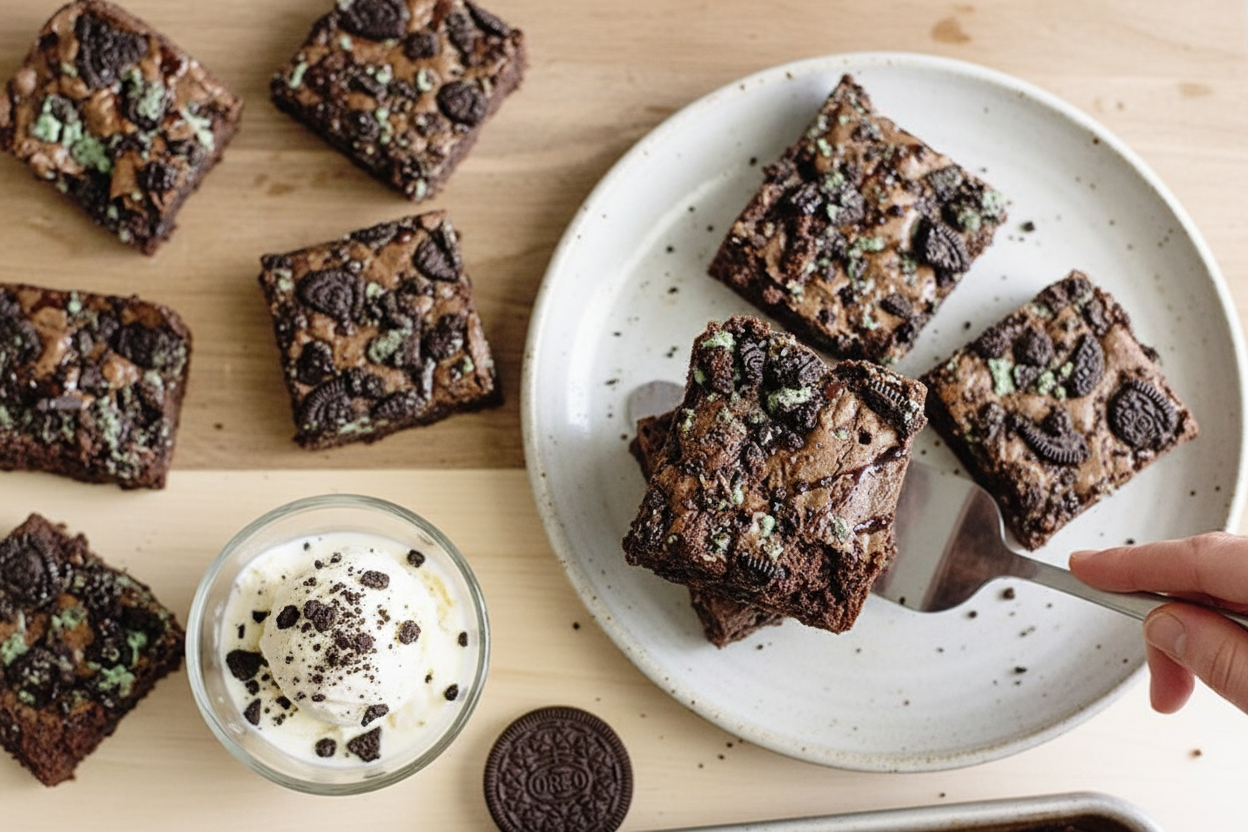
Step 3: Time for the fun part! Put your Oreos in a bag. Now, give them a few gentle whacks. You want big chunks, not dust. Fold half the chunks into the batter. Pour it into your pan. Sprinkle the rest on top like little treasures. Do you think the chunks sink or stay on top? Share below!
Step 4: Bake for 25 to 30 minutes. The edges will look set. The middle should seem a tiny bit moist. It’s okay if it jiggles a little. It will firm up as it cools. This is the hardest part. You must let it cool completely! I know, waiting is tough. But it makes clean slices.
Cook Time: 30 minutes
Total Time: 1 hour (with cooling)
Yield: 9 generous bars
Category: Dessert, Cookies & Bars
Three Fun Twists to Try
Once you master the basic bar, you can play! Here are my favorite ideas. They are all so simple.
Peanut Butter Cup: Use regular Oreos. Press mini peanut butter cups into the warm bars right after baking.
Orange Zest Sparkle: Add a tablespoon of orange zest to the batter. Use Golden Oreos instead. It tastes like a chocolate orange!
Cookie Dough Dream: After baking and cooling, spread a thin layer of store-bought cookie dough frosting on top.
Which one would you try first? Comment below!
Serving Them Up With Style
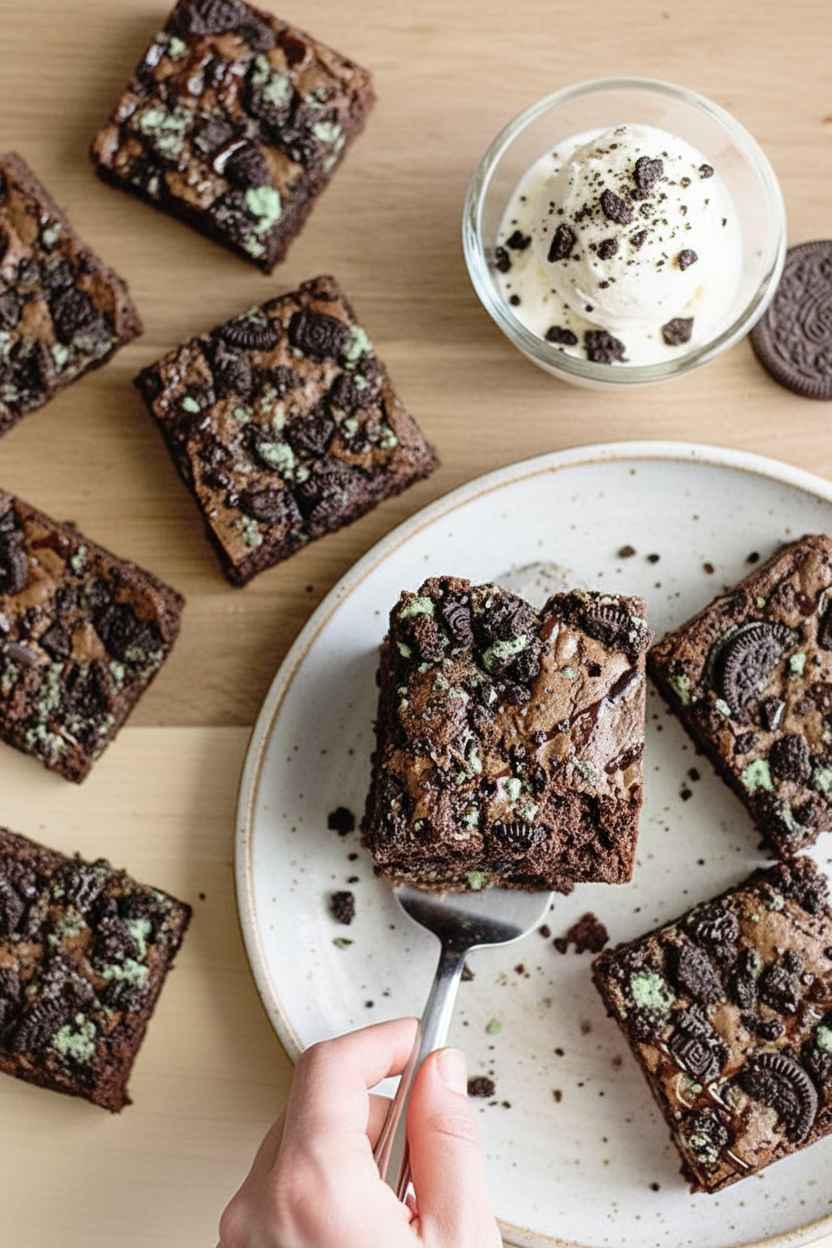
These bars are wonderful all alone. But sometimes, you want to make it fancy. For a party, cut them into small squares. Place each on a little napkin. You could add a tiny dollop of whipped cream. A single fresh mint leaf looks so pretty on the side.
What to drink? For the grown-ups, a small glass of cold coffee liqueur is lovely. It sips like a dessert itself. For everyone, a frosty glass of milk is the classic choice. Or try peppermint herbal tea over ice. It doubles down on that cool, fresh flavor.
Which would you choose tonight?
Keeping Your Cookie Bars Fresh and Fabulous
Let’s keep these bars tasting great. Cool them completely first. Then, cover the pan tightly. They will stay perfect on the counter for two days.
For longer storage, the fridge is your friend. Wrap individual squares in plastic wrap. They will stay creamy for up to a week. I once forgot a batch in the fridge for ten days. They were still a lovely treat with my afternoon tea.
You can also freeze them for a month. Use a freezer-safe container. This is perfect for batch cooking. Making a double batch saves future-you time. Having a sweet treat ready matters on busy days. It brings a little joy without any work.
Have you ever tried storing it this way? Share below!
Simple Fixes for Common Baking Hiccups
Sometimes baking does not go as planned. Do not worry. Here are easy fixes. First, if your bars are too gooey, you under-baked them. The center should look moist but not liquid. Just bake them five minutes longer next time.
Second, the cookies might sink into the batter. I remember when this happened to me. I chopped the cookies too small. You want nice chunks, not crumbs. Big pieces stay on top better. This matters for texture and a pretty look.
Third, the edges could get too hard. Your oven might run hot. Try baking at 325°F instead. An oven thermometer helps a lot. Knowing your oven builds cooking confidence. Your treats will turn out perfect every time.
Which of these problems have you run into before?
Your Quick Questions, Answered
Q: Can I make these gluten-free? A: Yes! Use your favorite gluten-free flour blend. Also, use gluten-free mint cookies.
Q: Can I make them ahead? A: Absolutely. They taste even better the next day. The flavors get to know each other.
Q: What can I swap for the oil? A: Melted butter works beautifully. It gives a richer, classic brownie taste.
Q: Can I double the recipe? A: You sure can. Just use a 9×13-inch pan. Keep the baking time about the same.
Q: Any fun extra tips? A: Try a sprinkle of sea salt on top before baking. Fun fact: A little salt makes chocolate taste even more chocolatey!
Which tip will you try first?
From My Kitchen to Yours
I hope you love making these bars. Baking should be fun and simple. It is about sharing something sweet.
I would love to see your creation. Did you add your own twist? Share a photo with your family or friends.
Have you tried this recipe? Tag us on Pinterest! Use @LenasCozyKitchen. Your pictures make my day. Thank you for baking with me.
Happy cooking!
—Lena Morales.
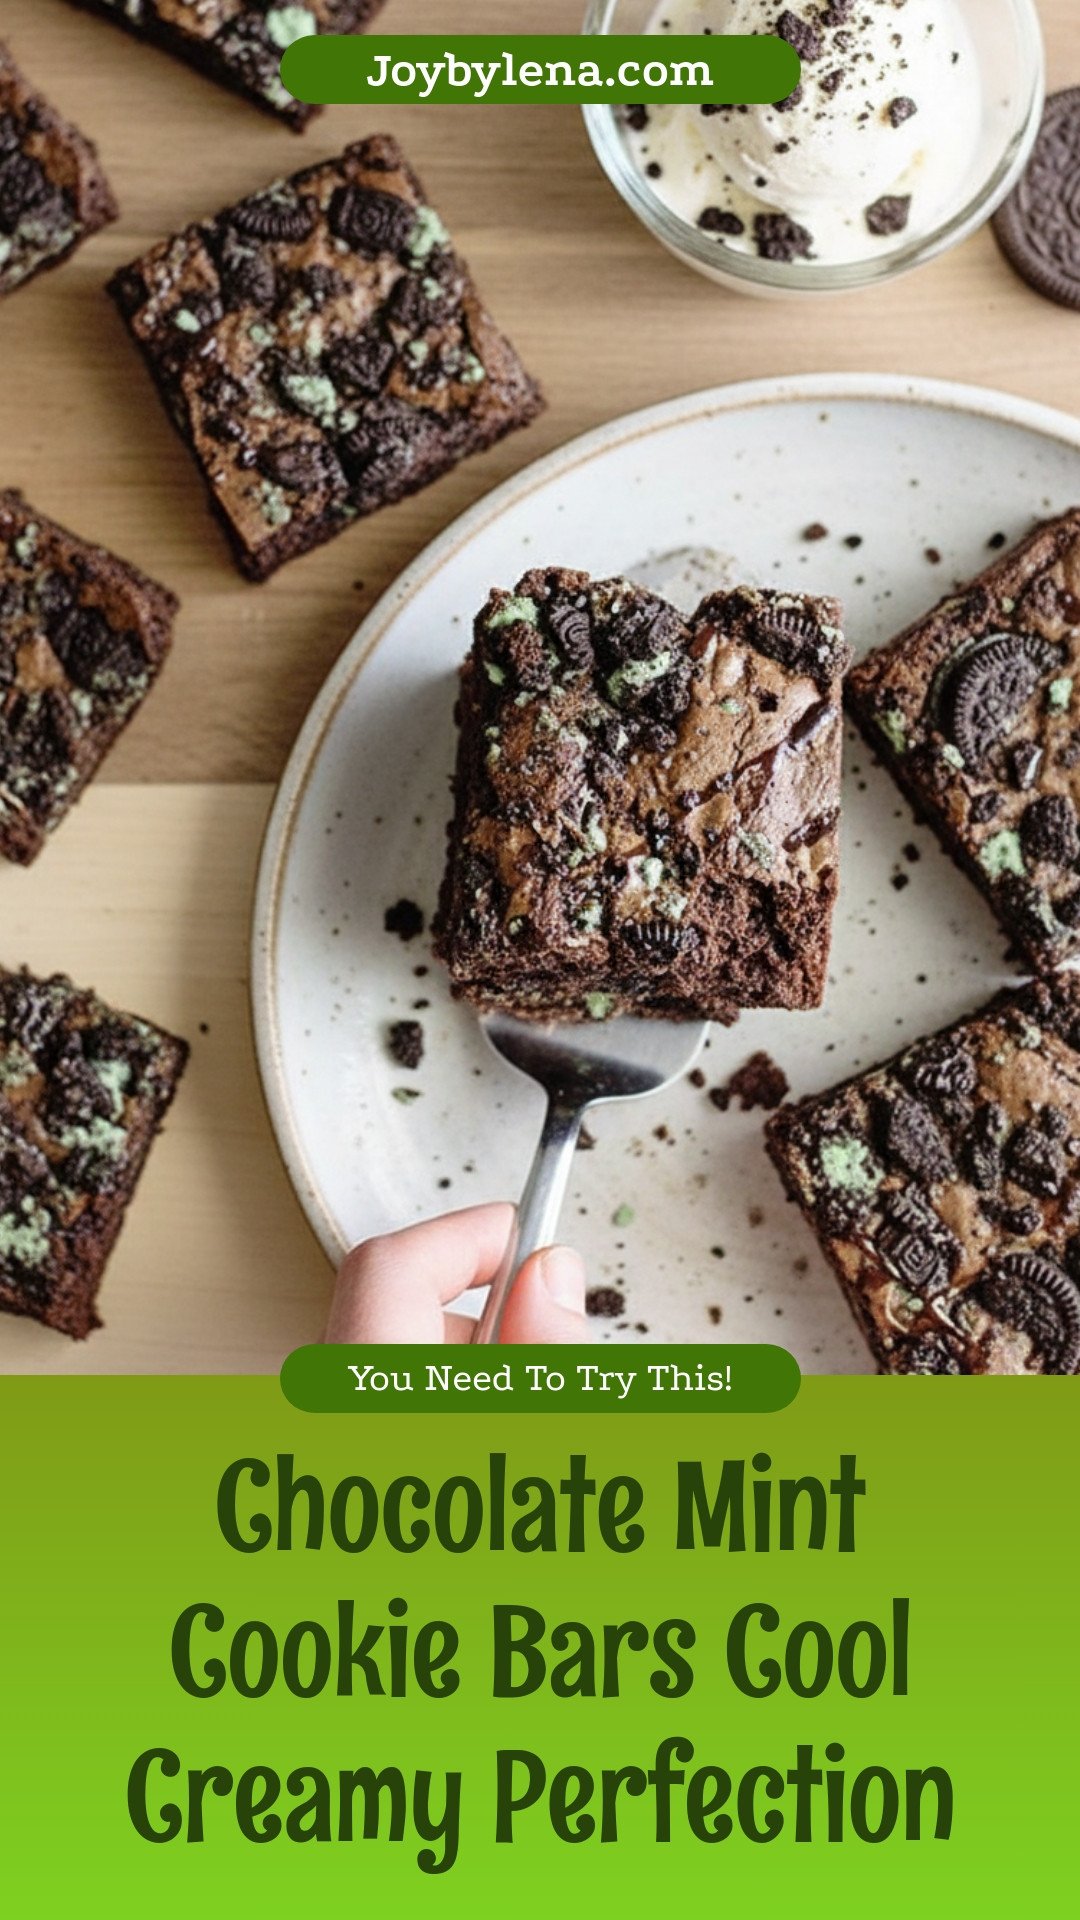
Chocolate Mint Cookie Bars Cool Creamy Perfection
Description
Experience the delightful contrast of rich chocolate brownie and cool, creamy mint Oreos in these easy-to-make bars.
Ingredients
Instructions
- Preheat the oven to 350°F and lightly spray an 8×8-inch baking pan with nonstick cooking spray. In a small bowl, combine the oil, sugar, eggs and vanilla. Mix well.
- In another bowl, mix together the baking powder, cocoa powder, salt and flour. Pour the wet ingredients into the dry and mix until well combined.
- Place the Oreos in a zip-top bag and break them up. You want chunks, not crumbs. Add about half of them to the batter and fold in. Pour into your prepared baking pan and sprinkle the remaining Oreos on top. Bake for 25 to 30 minutes. The edges should be set and the middle should look moist, but not too jiggly. Cool completely before cutting.


Leave a Reply