My Cookie Bag Trick
Let me tell you my secret. I roll the dough inside a plastic bag. It makes a perfect square. No flour mess on the counter. My grandkids love to watch.
I still laugh at that. The first time I tried it, I made a huge mess. Now, it’s so easy. This matters because cooking should be fun, not stressful. What’s your favorite kitchen shortcut to share?
Why We Chill the Dough
You must put the pan in the fridge. This is a very important step. It keeps the cookies from spreading too flat in the oven.
Chilled dough bakes up nice and tender. It holds its shape. This little wait makes a big difference. Your cookies will look just right. Do you like crispy or soft cookies better?
The Magic of Dipping
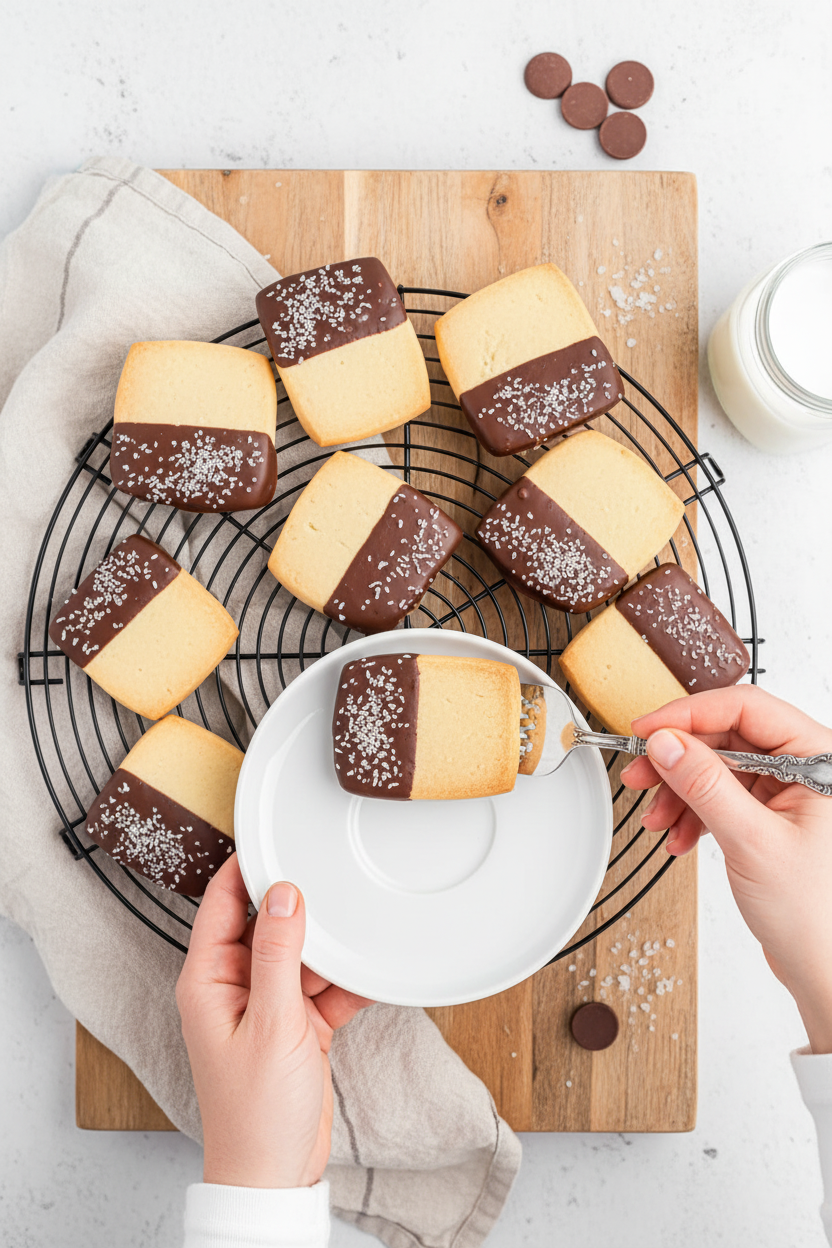
Melting the chocolate is my favorite part. Doesn’t that smell amazing? Dip just half of each cookie. Let the extra drip back into the bowl.
Then, you can add sprinkles. *Fun fact: This is called “half-dipping.” It makes cookies look fancy but is so simple. This matters because sharing pretty food spreads joy. It’s a small gift from your kitchen.
A Story About Butter
My abuela taught me to use good butter. She said it was the heart of the cookie. She was right. You must beat it until it’s soft and creamy.
Feel it with your fingers. It should be smooth. This creates the best texture. Your cookies will melt in your mouth. What did your family cook teach you first?
Letting Them Set
The hardest part is waiting. You must let the chocolate dry all the way. I put them on parchment paper. It keeps them from sticking.
This wait is worth it. The chocolate gets a nice snap. Then you can stack them for a gift box. Or you can eat them right away. I won’t tell.
Ingredients:
| Ingredient | Amount | Notes |
|---|---|---|
| Salted butter, softened | 1½ cups | |
| Powdered sugar | 1 cup | |
| All-purpose flour | 3 cups | |
| Melting chocolate | 6-8 ounces | For dipping |
My Ziploc Bag Trick for Perfect Chocolate-Dipped Cookies
Hello, my dear. Come sit. Let’s make my famous dipped cookies. They are so simple. My grandson taught me the Ziploc bag trick. I still laugh at that. Now, I use it every time. Your hands stay clean. The dough makes a perfect square. Isn’t that clever?
We will make the dough together. Then we will dip them in chocolate. Doesn’t that smell amazing? It fills the whole kitchen with joy. I love the quiet moment of dipping. It feels like giving each cookie a little coat. Ready? Let’s begin.
Step 1: First, beat your softened butter. Make it soft and creamy. It should look like pale sunshine. Then add the powdered sugar. Beat them together until smooth. This is the sweet start. (A hard-learned tip: Your butter must be truly soft. If it’s not, you’ll see little lumps. Just wait a bit longer!)
Step 2: Now, stir in the flour. Just mix until it’s all combined. Then use your hands. Press the dough into one big ball. It will feel soft and cool. This is my favorite part. It reminds me of play dough from long ago.
Step 3: Here’s the magic trick. Flatten your dough ball. Put it in a gallon-sized Ziploc bag. Zip it closed tight. Now, take your rolling pin. Roll the dough inside the bag. Roll it until it’s 1/4 inch thick. See? A perfect square! No mess on the counter. What’s your favorite kitchen shortcut? Share below!
Step 4: Cut away the bag sides. Use a knife or pizza cutter. Cut the dough into rectangles. Place them on a cool pan. Give them space. Then, put the whole pan in the fridge. Chilling makes them hold their shape. It’s a little nap for the cookies.
Step 5: Heat your oven to 350 degrees. Bake the cookies for 15-18 minutes. Watch the bottom edges. They should be barely light brown. Let them cool on the pan. Then move them to a rack. They need to be completely cool for dipping.
Step 6: Melt your chocolate as the package says. Now, the fun part! Dip half of each cookie in. Gently shake off the extra. Place them on parchment paper. Add sprinkles right away if you want. Then let the chocolate dry. This is the test of patience.
Cook Time: 15-18 minutes
Total Time: About 1 hour 30 minutes
Yield: About 24 cookies
Category: Dessert, Cookies
Three Sweet Twists to Try
These cookies are like a blank canvas. You can dress them up so easily. Here are my favorite ideas. They make a simple cookie feel special. Try one next time.
Orange Zest Joy: Add the zest of one orange to the dough. It makes the kitchen smell like sunshine. Dip in dark chocolate. So good with tea.
Peppermint Sparkle: Use peppermint extract instead of vanilla. Dip in white chocolate. Crush a candy cane for sprinkles. Perfect for the holidays.
Almond Crunch: Stir 1/2 cup chopped toasted almonds into the dough. Dip just the very tip in chocolate. It has a wonderful crunch. Which one would you try first? Comment below!
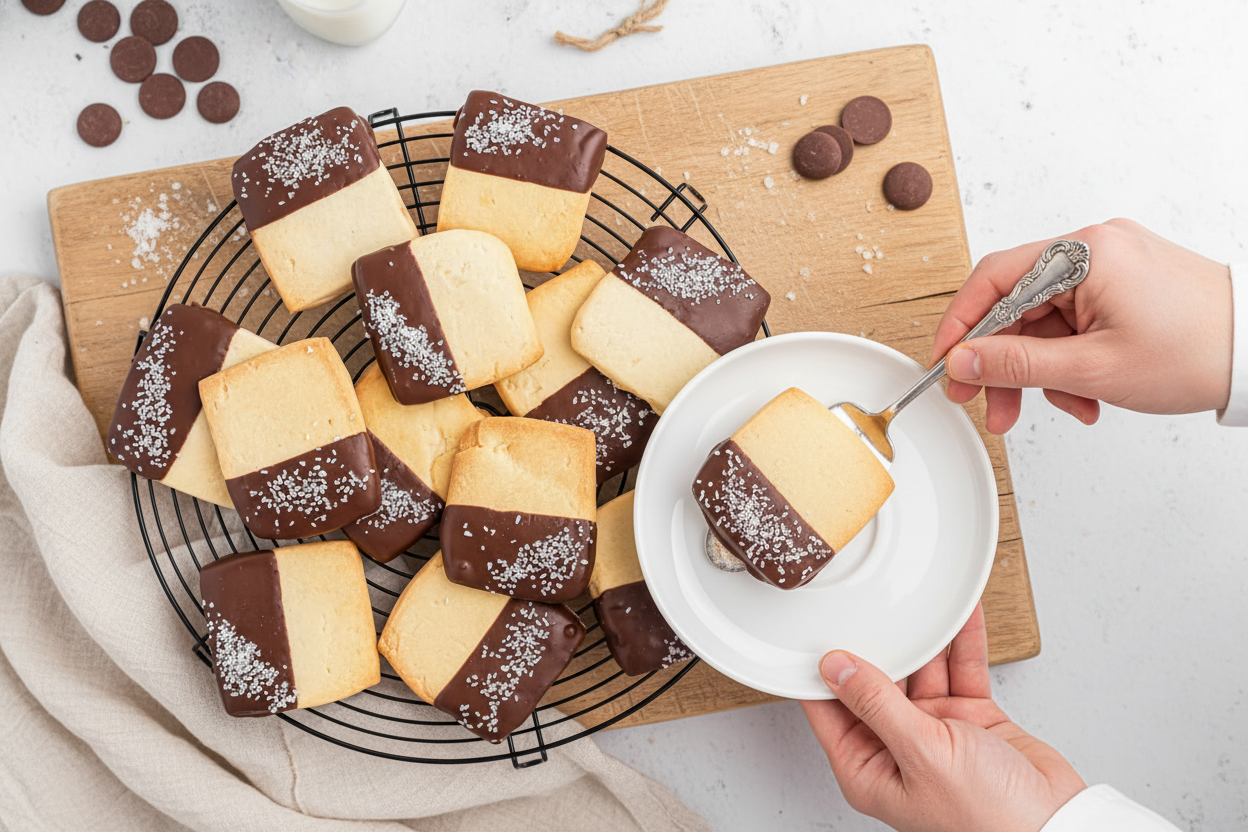
Serving Them With Love
I love to serve these on a big platter. Mix the plain and fancy ones together. It looks so cheerful. You can also stack them in a little glass jar. Tie a ribbon around it. It makes a gift from the heart.
For a treat, pair them with cold milk. That is the classic way. For the grown-ups, a small glass of amaretto is nice. It tastes like almonds. Or try a cup of spicy chai tea. The spices dance with the chocolate. Which would you choose tonight?
Keeping Your Cookies Happy
Let’s talk about keeping these treats tasty. Cooled cookies love a tight-sealed tin. They stay fresh for a week. You can also freeze the baked cookies for a month.
I love to batch-cook the dough. Roll it out in the bag and freeze it flat. Then you can cut and bake a few anytime. My grandkids love fresh cookies on a Tuesday.
I once stored warm cookies in a box. They turned soft and lost their snap. Let them cool completely first. This matters because a good cookie should have a little crunch.
It makes busy days sweeter. Have you ever tried storing it this way? Share below!
Cookie Troubles? Easy Fixes!
Is your dough too crumbly? Add a teaspoon of cold water. Mix it in with your hands. The dough should press together like clay.
Do cookies spread too much? Your dough was likely too warm. Chilling the dough is the secret. I remember when I skipped this step once. I got one giant, flat cookie sheet!
Is the chocolate coating too thick? Thin it with a tiny bit of coconut oil. This gives you a smooth, pretty dip. Getting these right builds your kitchen confidence. It also means better flavor and texture every time.
Which of these problems have you run into before?
Your Quick Questions, Answered
Q: Can I make these gluten-free? A: Yes! Use a good gluten-free flour blend. The results are wonderful.
Q: How far ahead can I make them? A: The dough freezes for 3 months. Baked cookies keep a week.
Q: What can I use instead of butter? A: For a different flavor, try softened coconut oil. Fun fact: This swap makes them dairy-free!
Q: Can I double the recipe? A: Absolutely. Just mix in a very large bowl.
Q: Any extra tips? A: A pinch of sea salt on the chocolate dip is magic. Which tip will you try first?
From My Kitchen to Yours
I hope you love making these as much as I do. Food is about sharing joy and stories. I would love to see your creations.
Your kitchen adventures make me smile. Have you tried this recipe? Tag us on Pinterest! Use @LenasCozyKitchen so I can find them.
Happy cooking!
—Lena Morales.
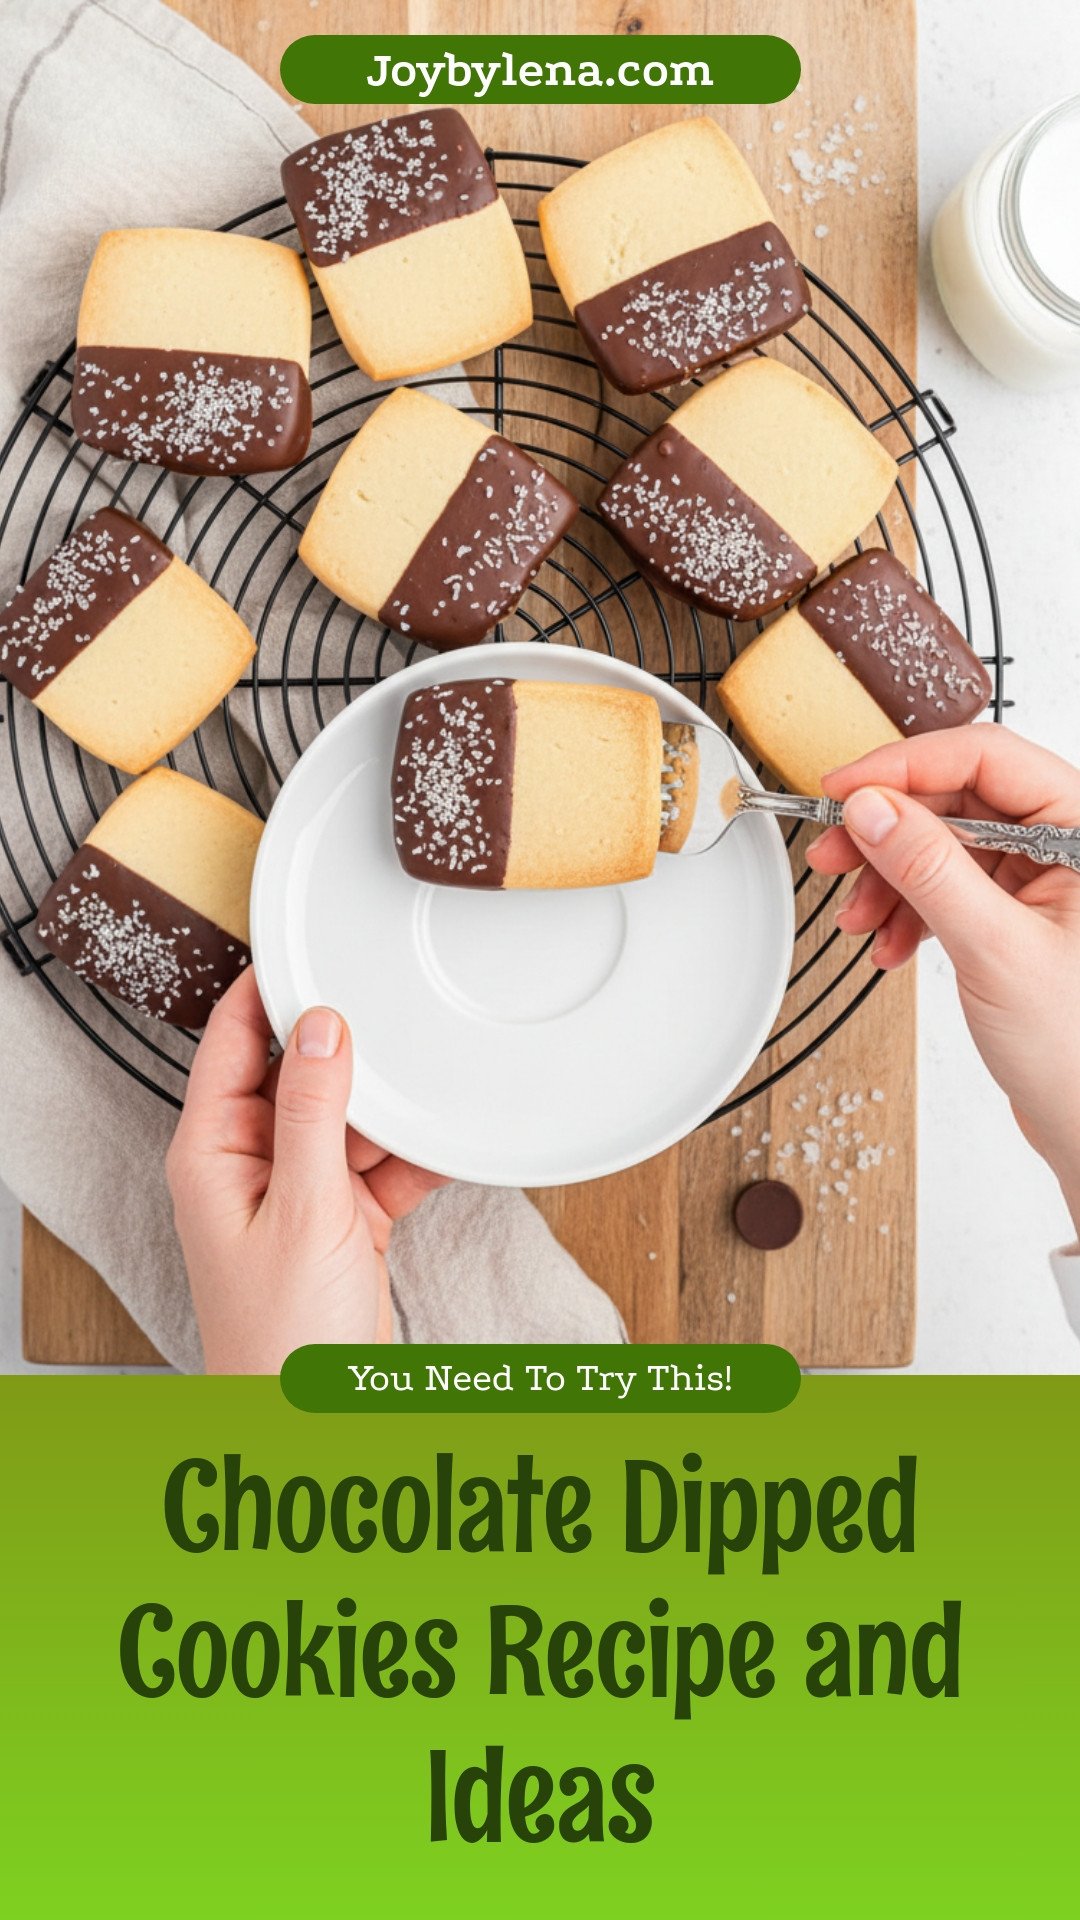
Chocolate Dipped Cookies: Chocolate Dipped Cookies Recipe and Ideas
Description
Experience the delightful contrast of buttery shortbread and rich chocolate with these easy-to-make Chocolate Dipped Cookies.
Ingredients
Instructions
- Beat butter until soft and creamy. Add powdered sugar and beat until smooth.
- Stir in flour until the mixture is well combined; press dough together until it forms a ball.
- Flatten the dough and place it in a gallon-sized Ziploc bag. Close the bag tightly. Using a rolling pin, roll the dough 1/4 inch thick inside the bag. It will form a perfect square inside the bag!
- Carefully cut away the sides of the bag. Use a knife or pizza cutter to cut the dough into rectangular shapes.
- Place cookies on ungreased cookie sheets about an inch apart. Place pans in the refrigerator.
- While the cookies are chilling, preheat the oven to 350 degrees F. Bake cookies for 15-18 minutes or until the bottom edges are barely turning light brown.
- Let cookies cool on the pan for a few minutes, then remove to cooling racks.
- Melt chocolate according to package directions.
- Dip half the cookie into the chocolate, shake off the excess, and place them on parchment paper to set up. Add sprinkles or coarse sugar right after dipping, if desired.
- Let dry all the way before eating or gifting.


Leave a Reply