My Kitchen Disaster
I once tried to make these for my grandson’s birthday. I was in a big hurry. I forgot to let the brownies cool a bit first.
I poured the warm topping right on. The whole thing turned into a gooey lake. We had to eat it with spoons! I still laugh at that. It taught me to slow down. Good food needs a little patience.
Why We Make Treats Like This
This recipe is pure fun. It is not for every day. It is for celebrating. A good report card, a team win, or just a rainy Friday.
Sharing a special treat says “I’m happy for you.” That matters. Food is about love, not just ingredients. What was your last celebration? Tell me what you ate!
How to Build Your Brownies
First, bake your brownie mix. Take them out a little early. They should still look a bit wobbly. This keeps them super fudgy later. Trust me on this.
Now, sprinkle the chopped candy bars on top. Pop it back in the oven. Doesn’t that smell amazing? The candy gets soft and cozy in the warm brownie.
The Magic Topping
While that bakes, make the magic. Melt the chips and peanut butter together. Stir until it’s smooth like a shiny river. Then, fold in the Cocoa Pebbles.
Fun fact: The cereal stays crunchy in the topping! It gives a wonderful little snap. Spread this over your warm brownies. Now, the hard part. You must wait. Let it chill in the fridge for two hours.
Your Turn to Share
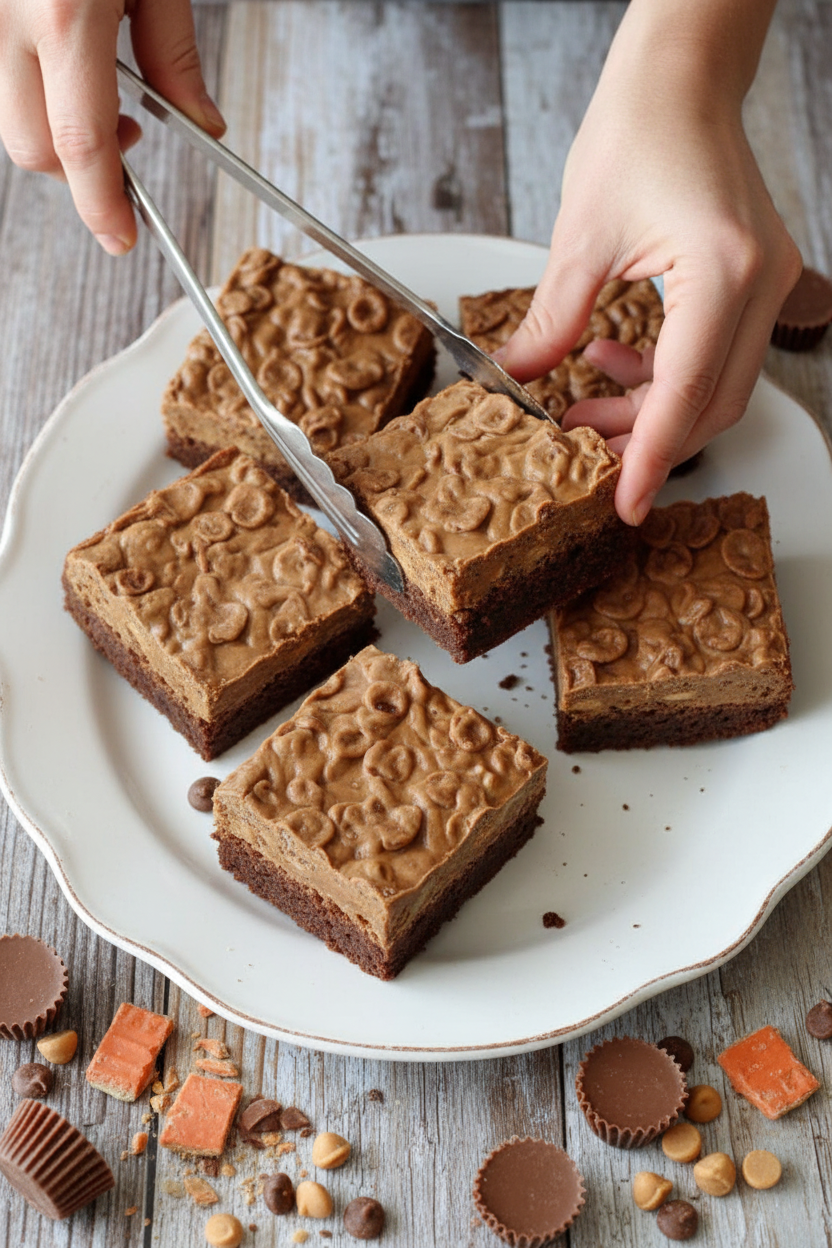
These brownies are best cold. The topping turns into a perfect candy bar layer. Cut them into small squares. They are very rich. A little goes a long way.
Would you eat these for a birthday or a sleepover? I’d love to know. And what’s your favorite candy bar to bake with? Mine is always Butterfingers. The crunch makes me smile.
Ingredients:
| Ingredient | Amount | Notes |
|---|---|---|
| Brownie mix | 1 box | or homemade |
| Butterfingers, chopped | 1 cup | |
| Reese’s Peanut Butter Cups, chopped | 1 cup | |
| Milk chocolate chips | 3/4 cup | |
| Butterscotch chips | 3/4 cup | |
| Creamy peanut butter | 1 1/2 cups | |
| Cocoa Pebbles cereal | 1 1/2 cups |
My Gooey Candy Bar Brownies
Hello, my dear! It’s Lena. Come sit at my kitchen table. I want to share my favorite brownie recipe. It’s full of candy and happy memories. My grandson calls these his “birthday brownies.” He asks for them every year. Doesn’t that just warm your heart? We make them together. It’s so much fun. Let’s bake some joy today.
Step 1: First, make your brownie batter. Use your favorite box mix or a homemade one. Pour it into a greased 9×13 pan. Pop it in a preheated oven. Bake it for about 20-25 minutes. You want the middle to look a little wobbly. (My hard-learned tip: slightly under-baking makes them fudgy later!).
Step 2: Now, chop up your Butterfingers and Reese’s cups. Be careful with your fingers! I still laugh at the time I nibbled more than I chopped. Take the brownies out of the oven. Sprinkle all that chopped candy right on top. Put the pan back in for 4-10 more minutes. The candy will get melty and perfect.
Step 3: While that bakes, melt the chocolate chips, butterscotch chips, and peanut butter. You can use the microwave. Stir it every 30 seconds. Doesn’t that smell amazing? Once it’s smooth, stir in the Cocoa Pebbles cereal. It will look like a crunchy, chocolatey blanket.
Step 4: Take the brownies out for the last time. Be careful, the pan is hot! Spread your cereal mixture over the top. Try to cover every inch. Now, the hardest part. You must wait. Refrigerate them for at least two hours. Do you think you can wait that long? Share below! They are best eaten cold, I promise.
Cook Time: 35 minutes
Total Time: 2 hours 45 minutes
Yield: 12 servings
Category: Dessert, Treat
Three Fun Twists to Try
You can change this recipe so easily. It’s fun to play in the kitchen. Here are three ideas I love. Cookie Dough Dream: Skip the cereal topping. Spread store-bought cookie dough on the warm brownies instead. Bake five more minutes. Pretzel Crunch: Swap the Cocoa Pebbles for crushed pretzels. You get sweet and salty in every bite. All Things Caramel: Use chopped caramel-filled chocolates. Then drizzle extra caramel sauce on top. Oh my, that’s good. Which one would you try first? Comment below!
Serving with a Smile
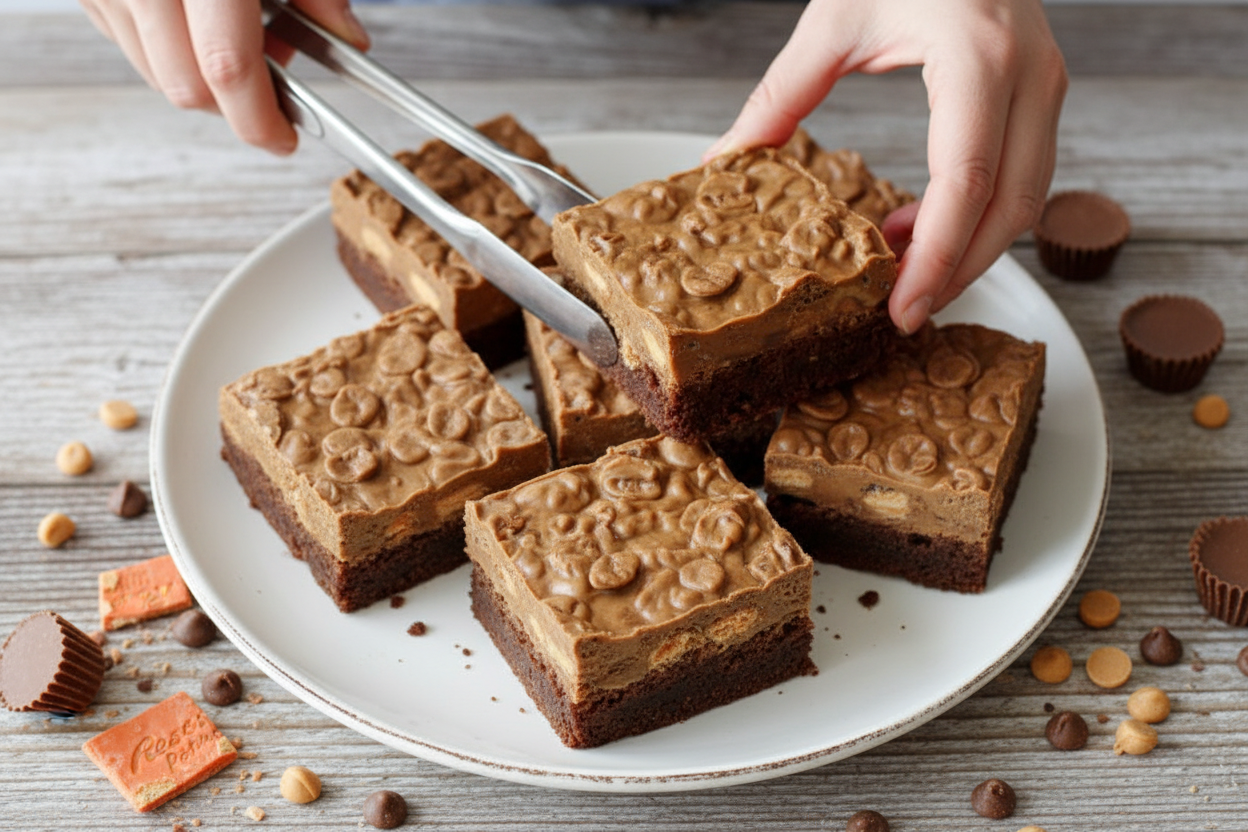
These brownies are rich. A little goes a long way. I like to cut small squares. Serve them on a bright blue plate. It looks so cheerful. A scoop of vanilla ice cream on the side is perfect. It melts just a little on the cold brownie. For drinks, a glass of cold milk is classic. For the grown-ups, a cup of strong coffee is nice. It balances all that sweetness. Which would you choose tonight? Either way, share them with someone you love.
Keeping Your Brownies Happy
These brownies are best kept cold. Store them right in the pan. Just cover the pan tightly with plastic wrap. They will be good in the fridge for five days.
You can also freeze them for later. Cut the cold brownies into squares. Wrap each square in plastic, then put them in a bag. They freeze beautifully for two months.
I once left a pan out overnight. The topping got too soft and messy. Now I always refrigerate them. This keeps every layer perfect and neat.
You can make a double batch. Freeze one for a future treat. This matters because a ready-made dessert saves a busy day. Have you ever tried storing it this way? Share below!
Simple Fixes for Common Hiccups
First, your brownies might be too cakey. This happens if you over-bake them. Pull them out when the center is just set. A little gooey is perfect for these.
Second, the topping can be hard to spread. Make sure your chip mixture is fully melted. Stir it until it is completely smooth. This makes spreading over warm brownies easy.
Third, the cereal might get soggy. I remember my first batch had soft cereal. The trick is to stir it in right before spreading. Then chill the brownies immediately.
Getting these right builds your cooking confidence. It also makes the flavors and textures just right. Which of these problems have you run into before?
Your Brownie Questions, Answered
Q: Can I make these gluten-free?
A: Yes! Use a gluten-free brownie mix and cereal.
Q: Can I make them ahead?
A: Absolutely. They need two hours to chill anyway.
Q: What are good candy swaps?
A: Try chopped Snickers or just extra chocolate chips.
Q: Can I make a smaller batch?
A: Halve the recipe. Use an 8×8 inch pan.
Q: Any optional tips?
A: A pinch of sea salt on top is lovely. Fun fact: Salt makes sweet flavors taste even sweeter! Which tip will you try first?
From My Kitchen to Yours
I hope you love making these brownies. They are full of joy and silly sweetness. I would love to see your creation.
Share a picture of your finished pan. Show me which candies you picked. It makes my day to see your kitchen adventures.
Have you tried this recipe? Tag us on Pinterest! I will be looking for your photos. Thank you for cooking with me today.
Happy cooking!
—Lena Morales.
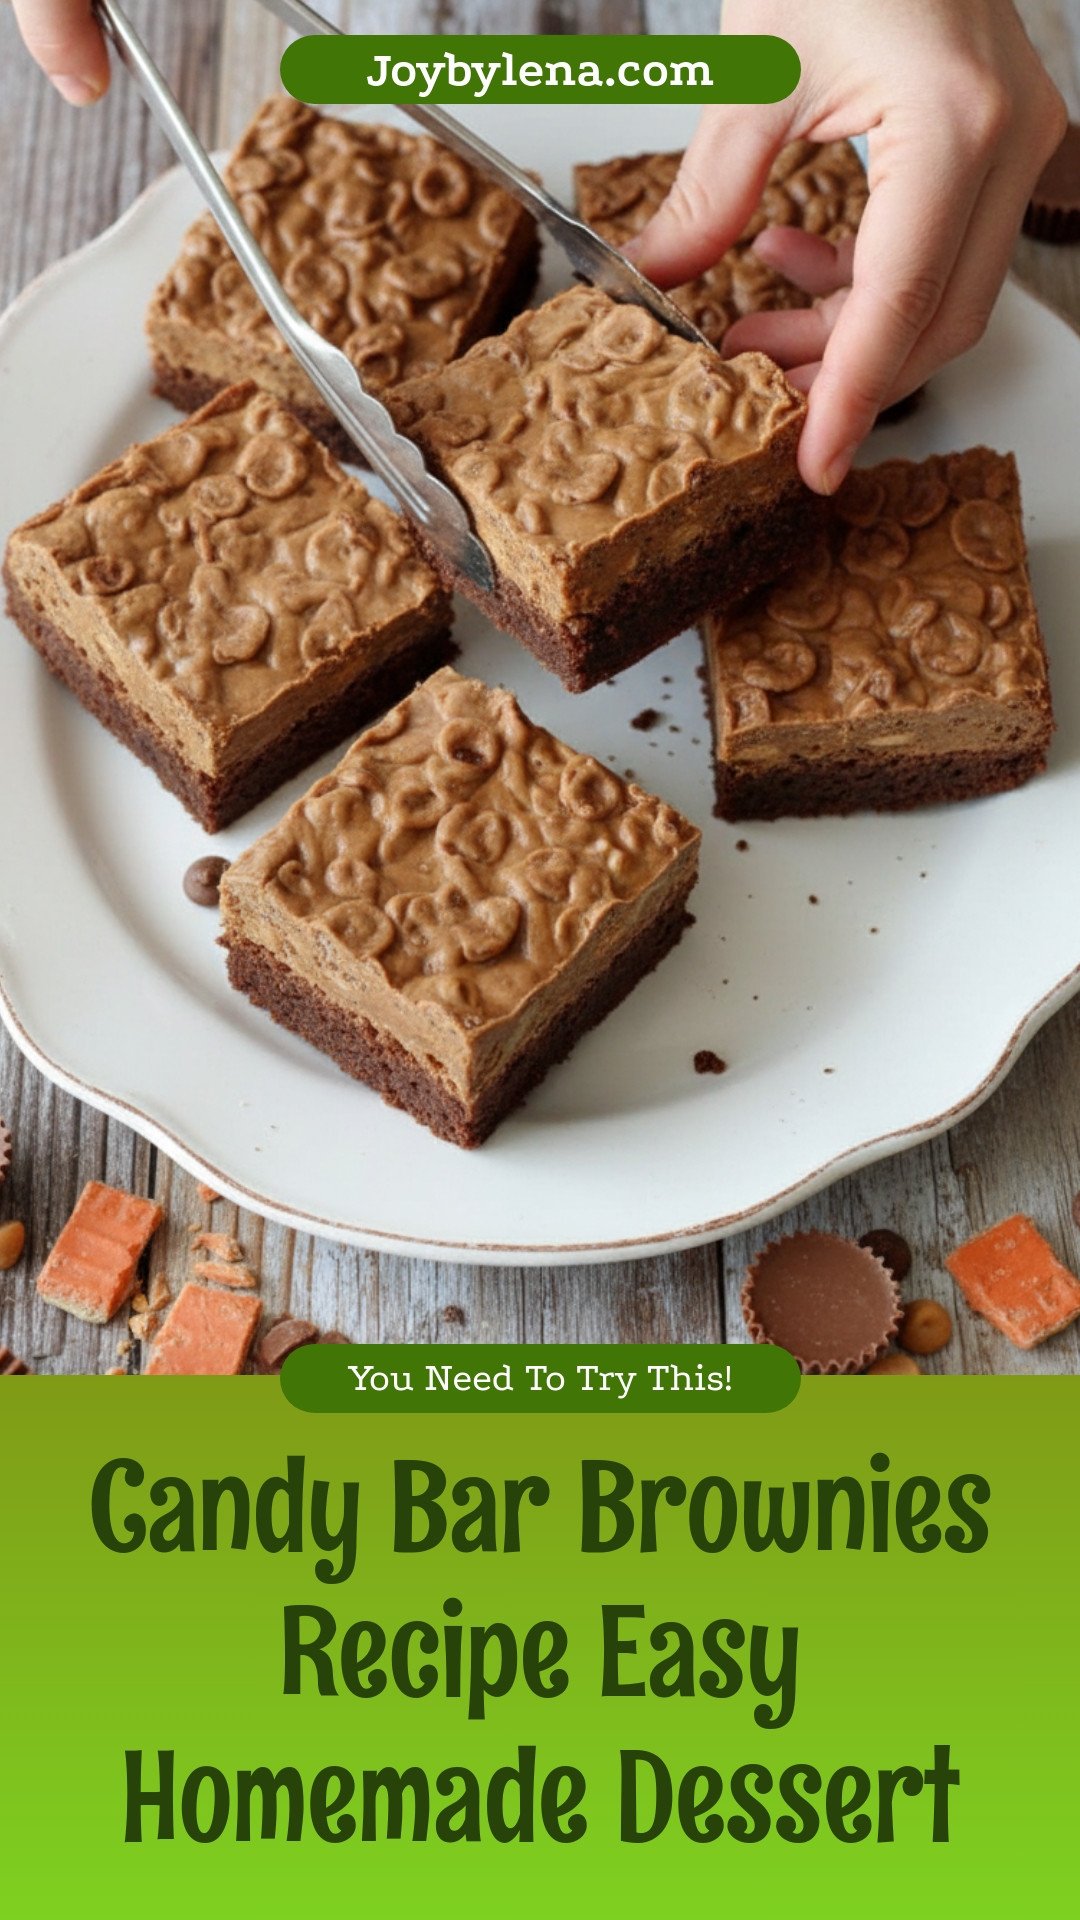
Candy Bar Brownies: Candy Bar Brownies Recipe Easy Homemade Dessert
Description
Experience the ultimate candy bar overload with these easy homemade brownies, packed with Butterfingers, Reese’s, peanut butter, and Cocoa Pebbles.
Ingredients
Instructions
- Preheat oven according to brownie mix directions. In a 9×13 pan, prepare brownies according to box directions. Bake for 20-25 minutes, until slightly under-baked.
- Remove brownies from oven and top with chopped Butterfingers and Reese’s. Bake for an additional 4-10 minutes until baked through.
- As the brownies finish baking, melt the chocolate chips, butterscotch chips, and peanut butter together until smooth. Stir in the Cocoa Pebbles cereal.
- Remove brownies from oven and immediately spread the Cocoa Pebbles mixture evenly over the top.
- Refrigerate for at least 2 hours until set. Slice and serve cold.
Notes
- Best eaten cold. Store leftovers in the refrigerator.


Leave a Reply