
A Little Story About My Tía Rosa
My Tía Rosa taught me this recipe. She was a tiny woman with a big laugh. She always said the secret was in the almond extract.
She would let me sneak a taste of the dough. I still laugh at that. It felt like our little secret. That is why this recipe matters to me. It is more than a cookie. It is a sweet memory.
The Magic of Two Extracts
You will use both vanilla and almond extract. The vanilla is like a warm hug. The almond is like a happy surprise.
Doesn’t that smell amazing when you mix them? The two together make the flavor special. It makes the kitchen smell like a bakery. I love that.
Getting Your Dough Just Right
Now, your dough might seem a little crumbly at first. Do not worry. This is normal for shortbread. Just use your hands to press it together.
It will feel soft and sandy. Keep pressing and squeezing. It will become a smooth ball. I promise. Working with the dough is part of the fun.
The Waiting Game
You must chill the dough for two hours. This is the hardest part. I always want to bake them right away.
But this wait is important. It is a “why this matters” step. It makes the cookies hold their shape. They will not spread out flat in the oven. What do you like to do while you wait for dough to chill?
Time to Bake!
When you slice the dough, use a sharp knife. You want neat little rectangles. They will look so pretty on the baking sheet.
Watch them carefully in the oven. You only want the edges to get a tiny bit tan. *Fun fact*: The word “shortbread” comes from the “short,” or crumbly, texture from all the butter. Do you prefer your cookies soft and chewy or crisp and crumbly?
A Treat to Share
Let the cookies cool completely on a rack. This makes them perfectly crumbly. They truly melt in your mouth.
These cookies are perfect for sharing. That is another reason why this matters. Sharing food is a way to show you care. Who will you share your first batch with? I would love to know.
Ingredients:
| Ingredient | Amount | Notes |
|---|---|---|
| unsalted butter | 10 tbsp | softened |
| confectioners’ sugar | ½ cup | |
| vanilla extract | 1 tsp | |
| almond extract | ¼ tsp | |
| all-purpose flour | 1½ cup | |
| mini chocolate chips | ½ cup |
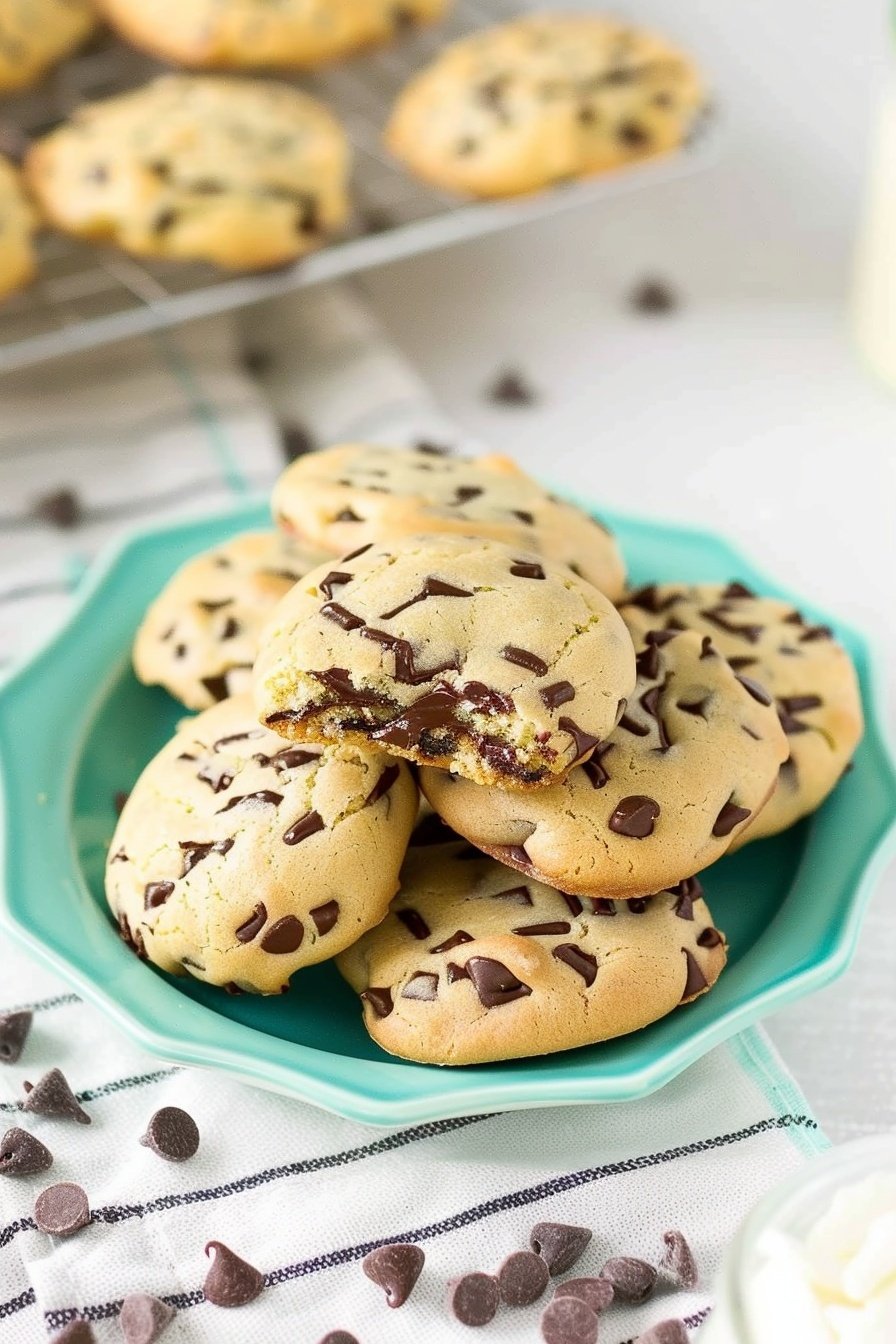
My Buttery Chocolate Chip Rounds
Hello, my dear! Come sit with me. Let’s bake my favorite little cookies. I call them my Buttery Chocolate Chip Rounds. They just melt in your mouth. My grandson says they taste like sweet, soft clouds. I still laugh at that.
The secret is in the almond extract. It makes the whole kitchen smell wonderful. Just a tiny bit makes all the difference. I learned that from my own abuela. Doesn’t that smell amazing? Let’s get our hands busy.
Steps
Step 1: First, put your soft butter in a big bowl. Add the vanilla and that special almond extract. Now, use the mixer to beat it all together. Watch it get light and fluffy! It reminds me of a soft yellow cloud. Then, add the powdered sugar. Mix it on a slow speed so the sugar doesn’t fly everywhere.
Step 2: Scrape down the sides of the bowl with a spatula. We don’t want to waste a single bit! Now, add all the flour. Mix it on low until it looks like crumbs. (Here’s a hard-learned tip: The dough might seem too crumbly at first. Just use your clean hands to press it together. It will become a smooth ball, I promise!).
Step 3: Time for the best part! Pour in the mini chocolate chips. Use a big spoon to fold them in gently. We want a little chocolate in every single bite. Do you like milk chocolate or dark chocolate chips more? Share below!
Step 4: Now, shape the dough into a block with your hands. Make it as wide as you want your cookies. Wrap it up tight in plastic wrap. Press it on the counter to make the edges neat. This part is like playing with clay.
Step 5 & 6: The dough needs a long nap in the fridge. Two hours is perfect. Later, take it out and let it sit for a bit. Preheat your oven to 350 degrees. Use a sharp knife to slice the dough into little rectangles.
Step 7 & 8: Bake them for about 10 minutes. You’ll rotate the pan halfway through. Take them out when they are just barely turning golden. Let them cool on the pan for a few minutes. Then move them to a rack. The hardest part is waiting for them to cool!
Cook Time: 10 minutes
Total Time: 2 hours 35 minutes
Yield: 12 servings
Category: Dessert, Cookies
Three Fun Twists to Try
These cookies are wonderful as they are. But sometimes, it’s fun to play. Here are a few ideas for you. You can make them your own special treat.
- Toasty Coconut Crunch: Mix in a handful of shredded coconut with the chocolate chips. It adds a lovely, chewy texture.
- Orange Zest Surprise: Add a teaspoon of fresh orange zest to the butter. It makes the cookies taste so bright and happy.
- Peanut Butter Swirl: Drop little dots of peanut butter into the dough. Gently swirl it with a knife before chilling.
Which one would you try first? Comment below!
Serving Them Up With Style
These cookies are perfect all on their own. But I love to make a moment special. For a real treat, place a few on a small plate. Dust them with a little extra powdered sugar. It looks like a light snowfall.
They are heavenly with a cold glass of milk. That will always be my favorite. For the grown-ups, a small cup of rich espresso is just right. The coffee and chocolate are best friends. Or, try a sweet dessert wine for a real celebration.
Which would you choose tonight?

Keeping Your Cookie Rounds Fresh
These cookies stay wonderfully soft. Just store them in a tight container. They will be good for a week.
You can also freeze the dough. Shape it into that rectangle block. Wrap it well in plastic wrap.
It will keep for three months. I always have a log in my freezer. My grandkids love fresh-baked cookies anytime.
I remember my first time freezing the dough. I forgot to label it. My husband thought it was cheese!
Batch cooking like this saves so much time. It means a warm treat is never far away. Have you ever tried storing it this way? Share below!
Simple Fixes for Cookie Troubles
Is your dough too crumbly? Do not worry. Just use your hands to press it together.
The warmth from your hands helps it stick. I remember when I almost gave up on my first batch. A little patience fixed everything.
Are your cookies spreading too much? Your dough might not be cold enough. Chilling it is a very important step.
This makes the cookies keep their pretty shape. Are they browning too fast? Your oven might be too hot.
An oven thermometer can help you know for sure. Fixing small problems builds your cooking confidence. It also makes your food taste just right. Which of these problems have you run into before?
Your Cookie Questions Answered
Q: Can I make these gluten-free? A: Yes, use a gluten-free flour blend. The results are just as good.
Q: Can I make them ahead? A: The dough chills for two hours. You can make it a day before.
Q: What if I don’t have almond extract? A: Use all vanilla extract instead. The cookies will still be delicious.
Q: Can I double the recipe? A: Absolutely. Just use a bigger bowl for mixing.
Q: Any extra tips? A: Try a pinch of salt in the dough. It makes the chocolate taste richer. Fun fact: A little salt makes sweet things taste even sweeter! Which tip will you try first?
Bake Some Joy Today
I hope you love baking these buttery rounds. They always fill my kitchen with happy memories.
I would love to see your creations. Please share a picture of your cookies. It makes me so happy to see your bakes.
Have you tried this recipe? Tag us on Pinterest! I cannot wait to see all your lovely treats. Happy cooking!
—Lena Morales.
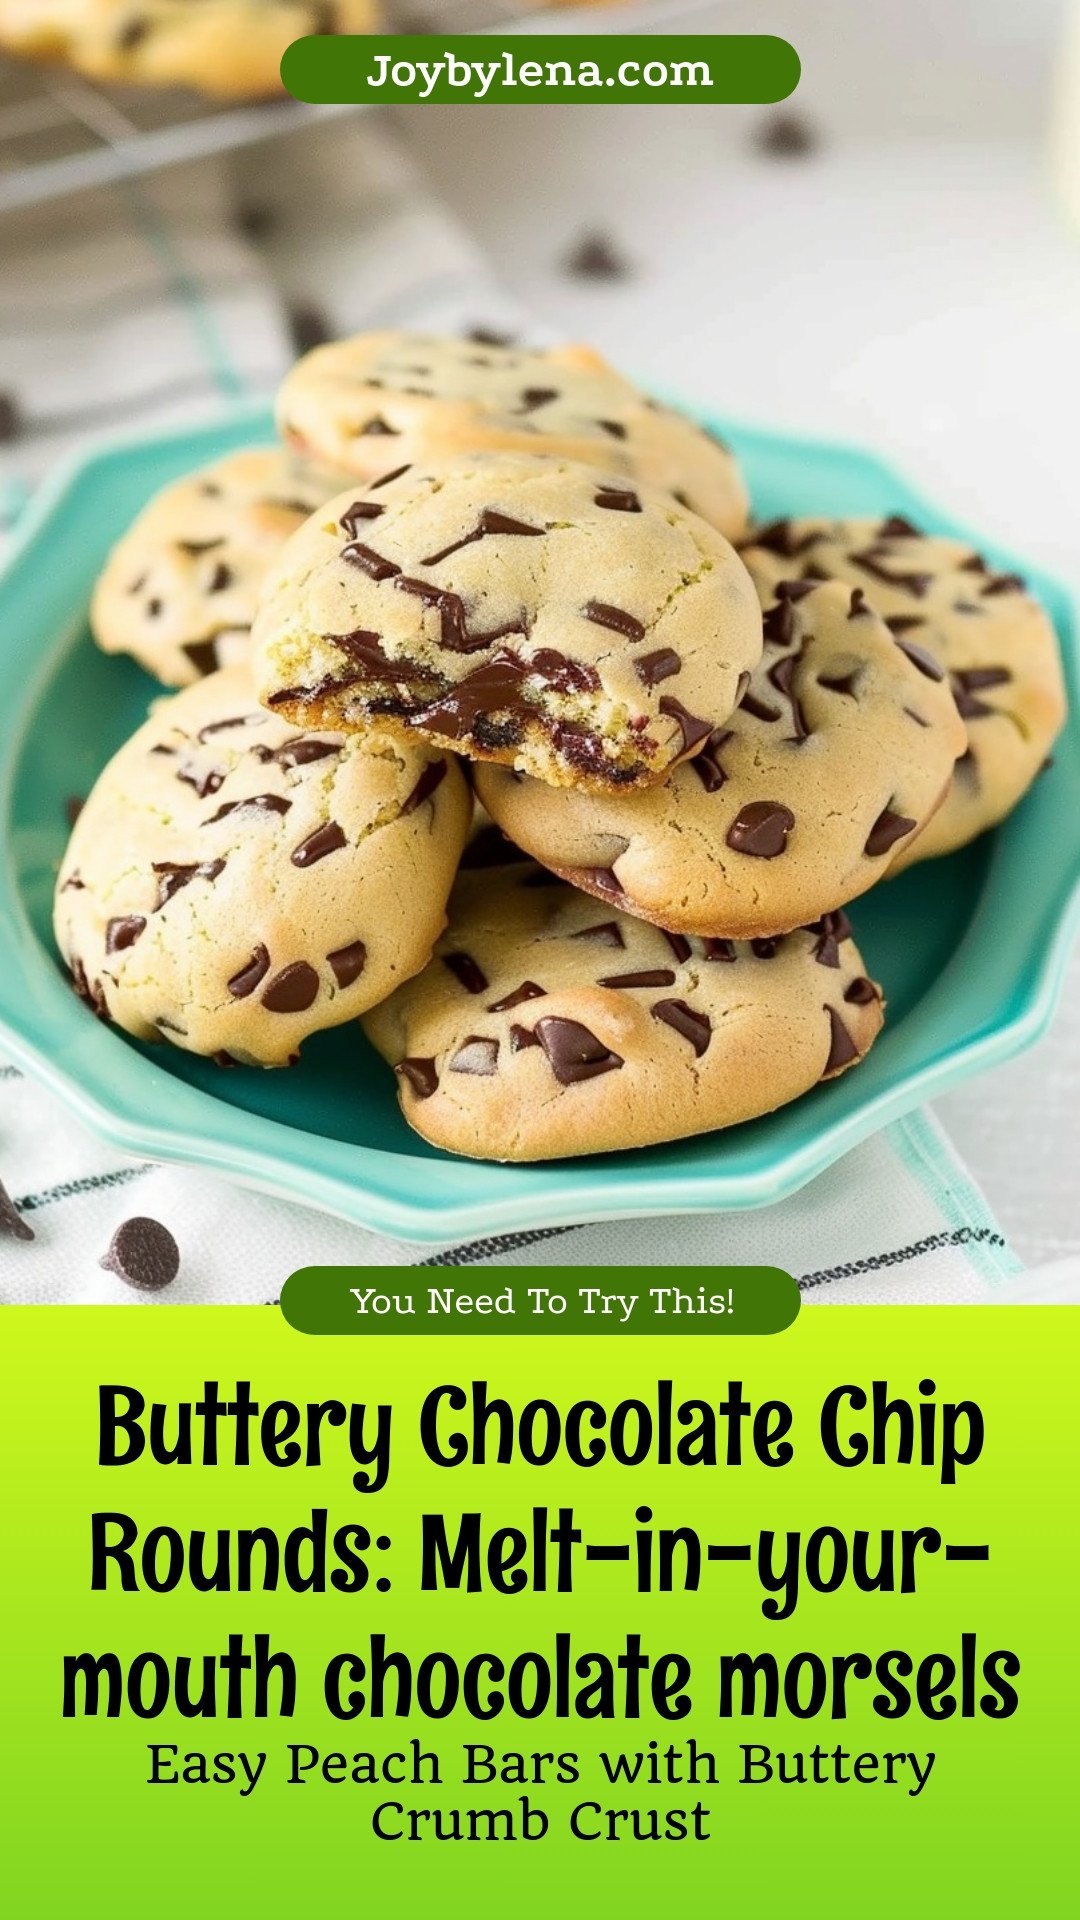
Buttery Chocolate Chip Rounds: Melt-in-your-mouth chocolate morsels:
Description
Indulge in these buttery chocolate chip rounds, packed with melt-in-your-mouth morsels. The ultimate easy cookie recipe for a sweet, soft treat.
Ingredients
Instructions
- In a large bowl add butter, vanilla extract, and almond extract. Using a hand mixer, beat until light and fluffy. Add powdered sugar and continue beating on low until combined.
- Using a rubber spatula scrape down the sides of the bowl. Add flour and beat on low, stop and scrape down the bowl, and then continue beating until well combined. (You may need to use your hands to press dough together to form a solid ball of shortbread. If it seems too flaky just keep working the dough together, it will come together).
- Add mini chocolate chips and use a large spoon to fold them into the mixture.
- Shape the dough into a rectangle block using your hands, making it the same width as you want your cookies to be. Wrap in plastic wrap, firm up the sides and edges of dough by pressing on the counter.
- Place dough in the refrigerator and chill for 2 hours.
- Remove the cookies from the refrigerator and let them sit out on the counter for 10-15 minutes. Preheat the oven to 350 degrees and line a baking sheet with parchment paper. Using a sharp knife cut ¼ to ½ inch thick rectangles from the dough and place them on the parchment paper-lined baking sheet.
- Bake for 5 minutes, rotate the baking sheet in the oven. Continue baking an additional 4-5 minutes, or until the cookies are barely starting to brown. Remove from the oven and let cool 2-3 minutes on the baking sheet.
- Transfer cookies to a wire rack to cool completely.
Notes
- Nutrition per serving: Calories: 179kcal | Carbohydrates: 22g | Protein: 2g | Fat: 11g | Saturated Fat: 7g | Polyunsaturated Fat: 1g | Monounsaturated Fat: 2g | Trans Fat: 1g | Cholesterol: 26mg | Sodium: 7mg | Potassium: 20mg | Fiber: 1g | Sugar: 5g | Vitamin A: 308IU | Vitamin C: 1mg | Calcium: 14mg | Iron: 1mg


Leave a Reply