A Sweet Story from Ohio
Let me tell you about Buckeyes. They are not just nuts. They are sweet peanut butter balls dipped in chocolate. My friend from Ohio brought me some years ago. I ate three before I even said hello. I still laugh at that.
I wanted that taste in a brownie. So I made these layers. A fudgy base, a peanut butter heart, and a shiny chocolate hat. It is like three treats in one bite. Why does this matter? Because sharing food is sharing joy. These brownies are made for sharing with people you love.
Building Your Brownie Base
First, bake your brownies. Use your favorite box mix. It is a great helper. Let them cool completely in the pan. This is the hardest part. You must be patient.
If the brownies are warm, the next layer will melt. We do not want a peanut butter puddle. Trust me, I learned this the messy way. Let them sit. Go fold some laundry. The wait is worth it.
The Play-Doh Layer of Joy
Now for the fun part. Mix powdered sugar, butter, and peanut butter. It will become thick and smooth. Fun fact: This peanut butter layer feels just like play-doh! Use your clean fingers to spread it. Press it gently over the brownies.
Doesn’t that smell amazing? This is the soul of the buckeye. That sweet, salty peanut butter taste is so comforting. Why does this matter? Using your hands to make food connects you to it. You are not just mixing. You are creating.
The Shiny Chocolate Finish
Finally, the chocolate. Melt chips with a little butter in a pan. Use low heat. Stir it often. This butter makes the chocolate shiny and easy to spread.
Pour it over the peanut butter. Tip the pan to spread it to the edges. Now, you must wait again. Let the chocolate set. It is the final touch of magic. What is your favorite chocolate to cook with? I always use milk chocolate for this.
Slice, Share, and Smile
Cut them into small squares. These are very rich. A little piece is perfect. Serve them on a big plate. Watch them disappear. I took these to a church picnic once. They were gone in ten minutes.
That is the best compliment. Food made with love is eaten with joy. Do you have a treat that always disappears fast at your house? Tell me about it. I would love to know. And tell me, will you share these brownies or keep them all for yourself? Be honest!
Ingredients:
| Ingredient | Amount | Notes |
|---|---|---|
| Brownie mix (plus required ingredients) | 1 box | For a 9×13 pan size |
| Powdered sugar | 2 cups | |
| Butter, softened | 1/2 cup + 6 tablespoons | Divided use |
| Creamy peanut butter | 1 cup | |
| Milk chocolate chips | 1 cup |
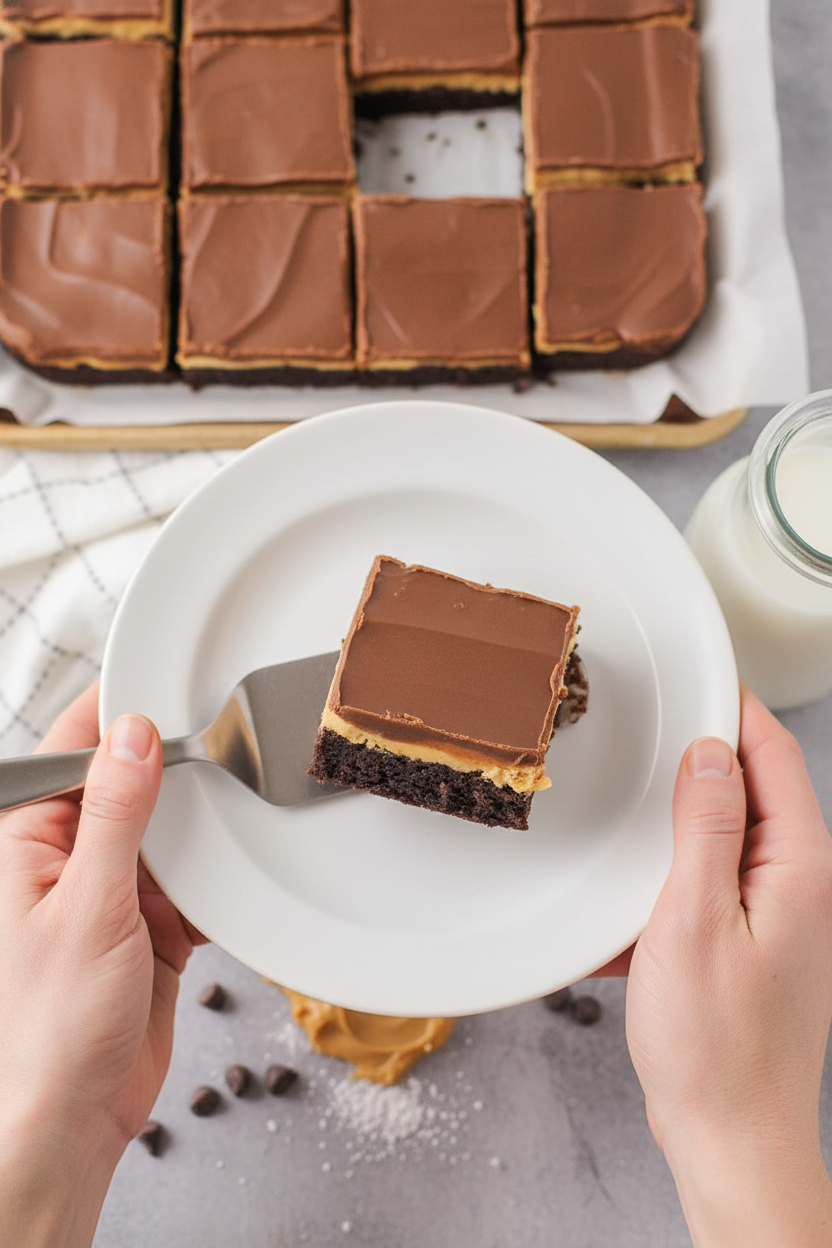
My Buckeye Brownies: A Sweet Hug on a Plate
Hello, my dear! Come sit. Let’s talk about my favorite treat. These are Buckeye brownies. They are a chocolate and peanut butter dream. My grandson calls them candy bar brownies. I think he’s right. The bottom is a fudgy brownie. Then comes a soft peanut butter layer. A shiny chocolate blanket goes on top. Each bite is pure happiness. Doesn’t that sound amazing? I make these for family gatherings. The plate is always empty fast. I still laugh at that. Let’s make some together.
Step 1: The Brownie Base
First, make your brownie base. Use your favorite box mix for a 9×13 pan. Follow the directions on the back. My tip? I always add an extra splash of vanilla. It makes the kitchen smell wonderful. Bake it and let it cool completely. A warm brownie will melt our next layer. (My hard-learned tip: Patience is key here! Let it cool.)
Step 2: The Peanut Butter Heart
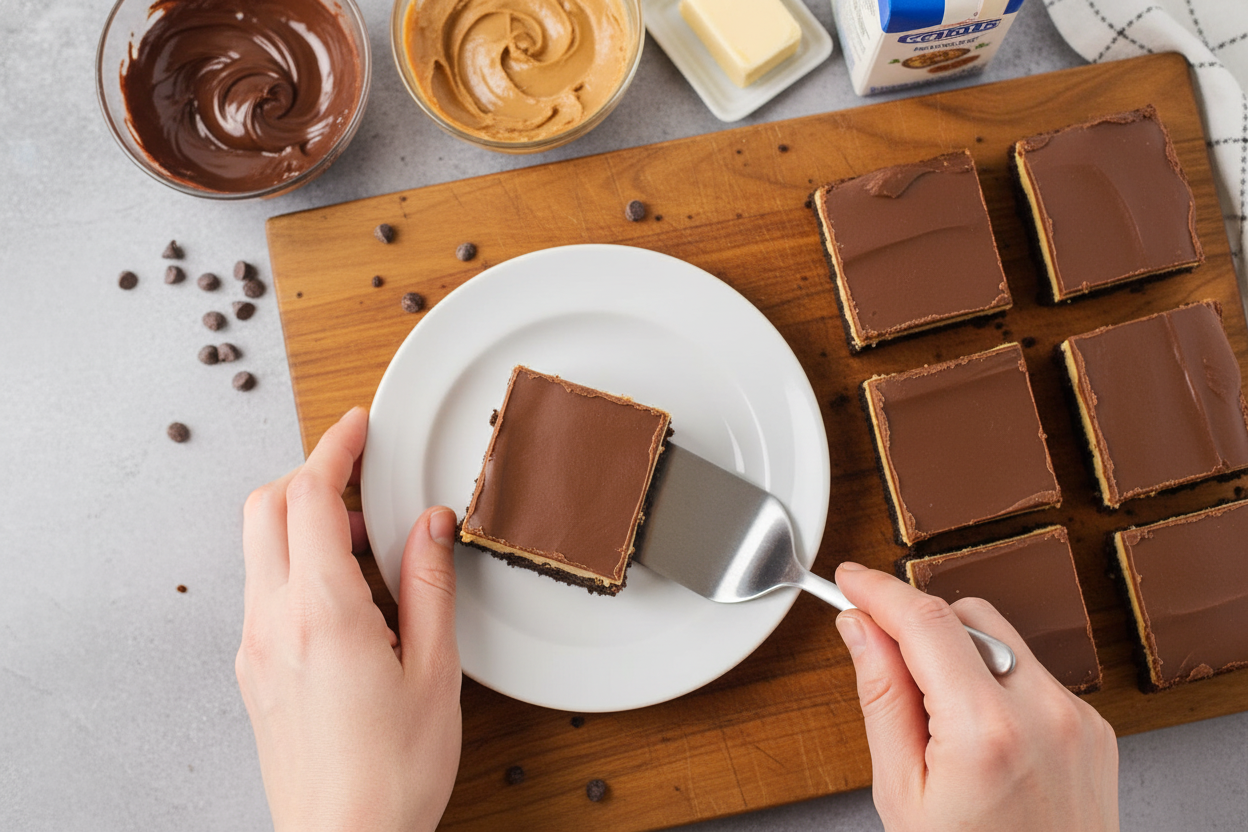
Now, the peanut butter heart. Mix powdered sugar, ½ cup soft butter, and peanut butter. It will be thick like playdough. This is the fun part. Use your clean fingers to spread it. Gently pat it over the cooled brownies. My grandkids love to help with this step. It’s okay if it’s not perfectly smooth. That homemade touch is the best part.
Step 3: The Chocolate Crown
Time for the chocolate crown. Melt chocolate chips with 6 tablespoons of butter. Use a saucepan on very low heat. Stir it often so it doesn’t burn. When it’s smooth, pour it over the peanut butter. Tilt the pan to spread it evenly. Then, let the whole pan cool and set. This is the hardest part—waiting! Do you like milk or dark chocolate better? Share below!
| Cook Time: | As directed on brownie mix box |
| Total Time: | About 1 hour 30 minutes (with cooling) |
| Yield: | 15 generous squares |
| Category: | Dessert, Treat |
Let’s Get Creative With Your Batch!
Once you know the basics, you can play. Here are some fun twists I’ve tried. They all make me smile. Cooking should be joyful, don’t you think?
- The Crunchy Time: Mix chopped honey-roasted peanuts into the peanut butter layer. It adds a lovely little crunch.
- The Swirly Dream: Use chunky peanut butter. Then, swirl extra peanut butter into the melted chocolate before you spread it.
- The Salty Sweet: Sprinkle a tiny bit of sea salt on the warm chocolate topping. It makes the flavors sing.
Which one would you try first? Comment below!
Serving With a Little Extra Love
These brownies are stars on their own. But a little presentation is nice. Cut them into small squares. They are very rich. Serve them on a bright plate. It looks so cheerful. A tiny scoop of vanilla ice cream on the side is heavenly. The cold ice cream with the fudgy brownie is perfect.
For drinks, I have two ideas. A cold glass of milk is the classic choice. It’s my favorite. For the grown-ups, a cup of strong coffee is wonderful. The bitter coffee balances all that sweetness beautifully. Which would you choose tonight?
Keeping Your Buckeye Brownies Perfect
Let’s talk about keeping these treats yummy. First, cool them completely. Then cover the pan tightly. They are happy on the counter for two days. For longer, the fridge is best. They will last a week there.
You can freeze them too. Cut them into squares first. Wrap each piece in plastic wrap. Pop them all in a freezer bag. I once forgot a batch in my freezer for a month. They were still a delicious surprise!
Thaw frozen brownies in the fridge. This keeps the layers from getting messy. Storing them well matters. It means you always have a sweet bite ready for a friend. Have you ever tried storing it this way? Share below!
Fixing Common Buckeye Brownie Hiccups
Sometimes baking has little problems. Do not worry. I have fixes. First, the peanut butter layer is too sticky. Your hands might be warm. Just dust them with powdered sugar first. It helps a lot.
Second, the chocolate topping cracks when you cut it. Let the brownies come to room temperature first. A warm knife also helps. I remember when my chocolate layer was too thick. It was like cutting a candy bar!
Third, the peanut butter layer slides. Make sure the brownie base is totally cool. A warm base melts the butter in your filling. Getting these steps right builds your confidence. It also makes every layer taste its very best. Which of these problems have you run into before?
Your Buckeye Brownie Questions, Answered
Q: Can I make these gluten-free? A: Yes! Use a gluten-free brownie mix. Check your peanut butter label too.
Q: Can I make them ahead? A: Absolutely. Make them two days before. Store them covered in the fridge.
Q: What if I only have crunchy peanut butter? A: That works fine. It will add a nice little crunch to the creamy layer.
Q: Can I make a smaller batch? A: You can. Use an 8×8 pan. Just halve all the ingredients carefully.
Q: Any optional tips? A: A tiny sprinkle of sea salt on top is lovely. Fun fact: Salt makes chocolate taste even more chocolatey! Which tip will you try first?
From My Kitchen to Yours
I hope you love making these brownies. They are pure joy on a plate. Sharing food is how we share love. I would love to see your creation. A picture tells a sweet story.
Show me your kitchen success. Let’s build a community of young bakers. Your version might inspire someone else. Have you tried this recipe? Tag us on Pinterest! I will be looking for your photos.
Happy cooking!
—Lena Morales.
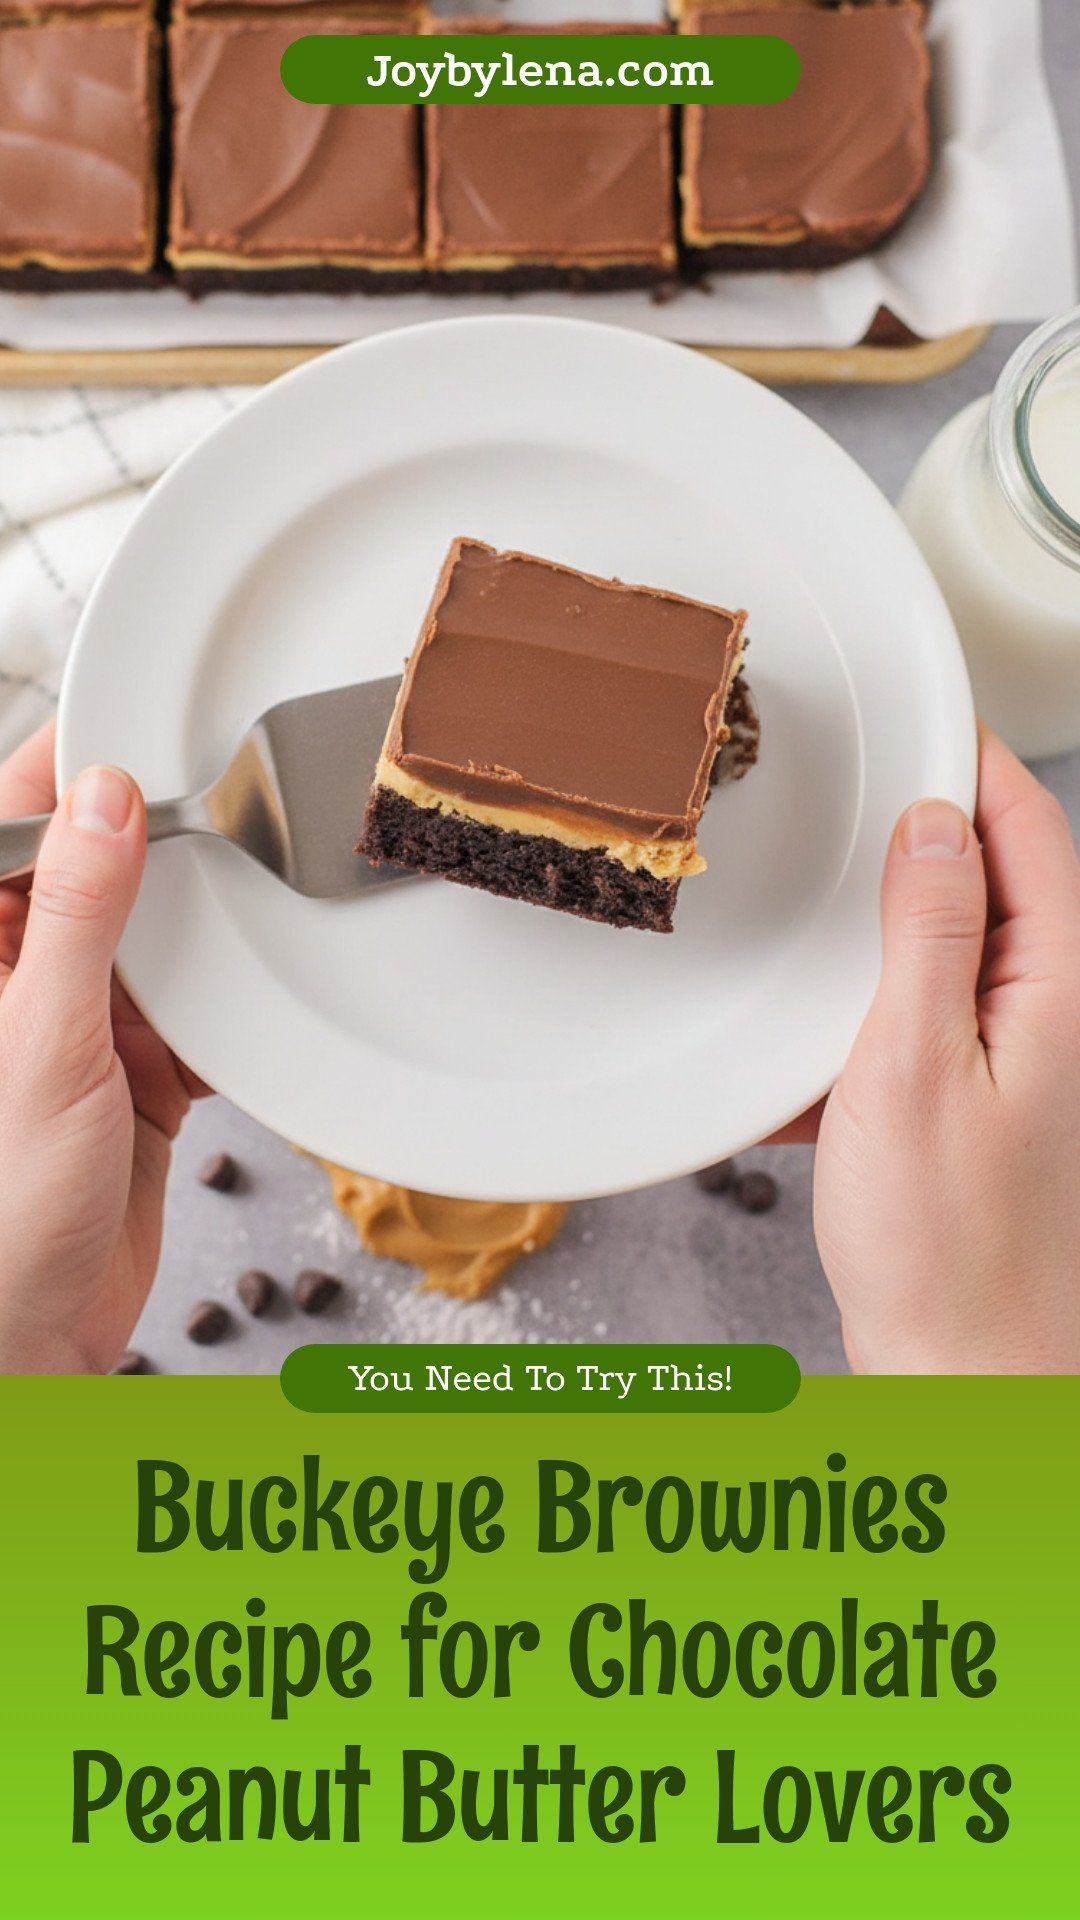
Buckeye Brownies: Buckeye Brownies Recipe for Chocolate Peanut Butter Lovers
Description
Experience the ultimate dessert mashup with these Buckeye Brownies, featuring a fudgy brownie base, a sweet peanut butter layer, and a rich chocolate topping.
Ingredients
Instructions
- In a 9×13 pan, make and bake brownie mix according to box directions. Let cool completely.
- In a bowl add your powdered sugar, ½ cup butter, and peanut butter. Mix well. Spread with fingers over the brownies and pat down (it has a consistency similar to playdough).
- Melt together chocolate chips and remaining 6 tablespoons of butter in a saucepan over low heat, stirring occasionally. Spread over the peanut butter layer. Let cool completely before cutting and serving.
Notes
- For best results, ensure the brownie layer is completely cool before adding the peanut butter layer. Let the chocolate topping set before cutting into squares.


Leave a Reply