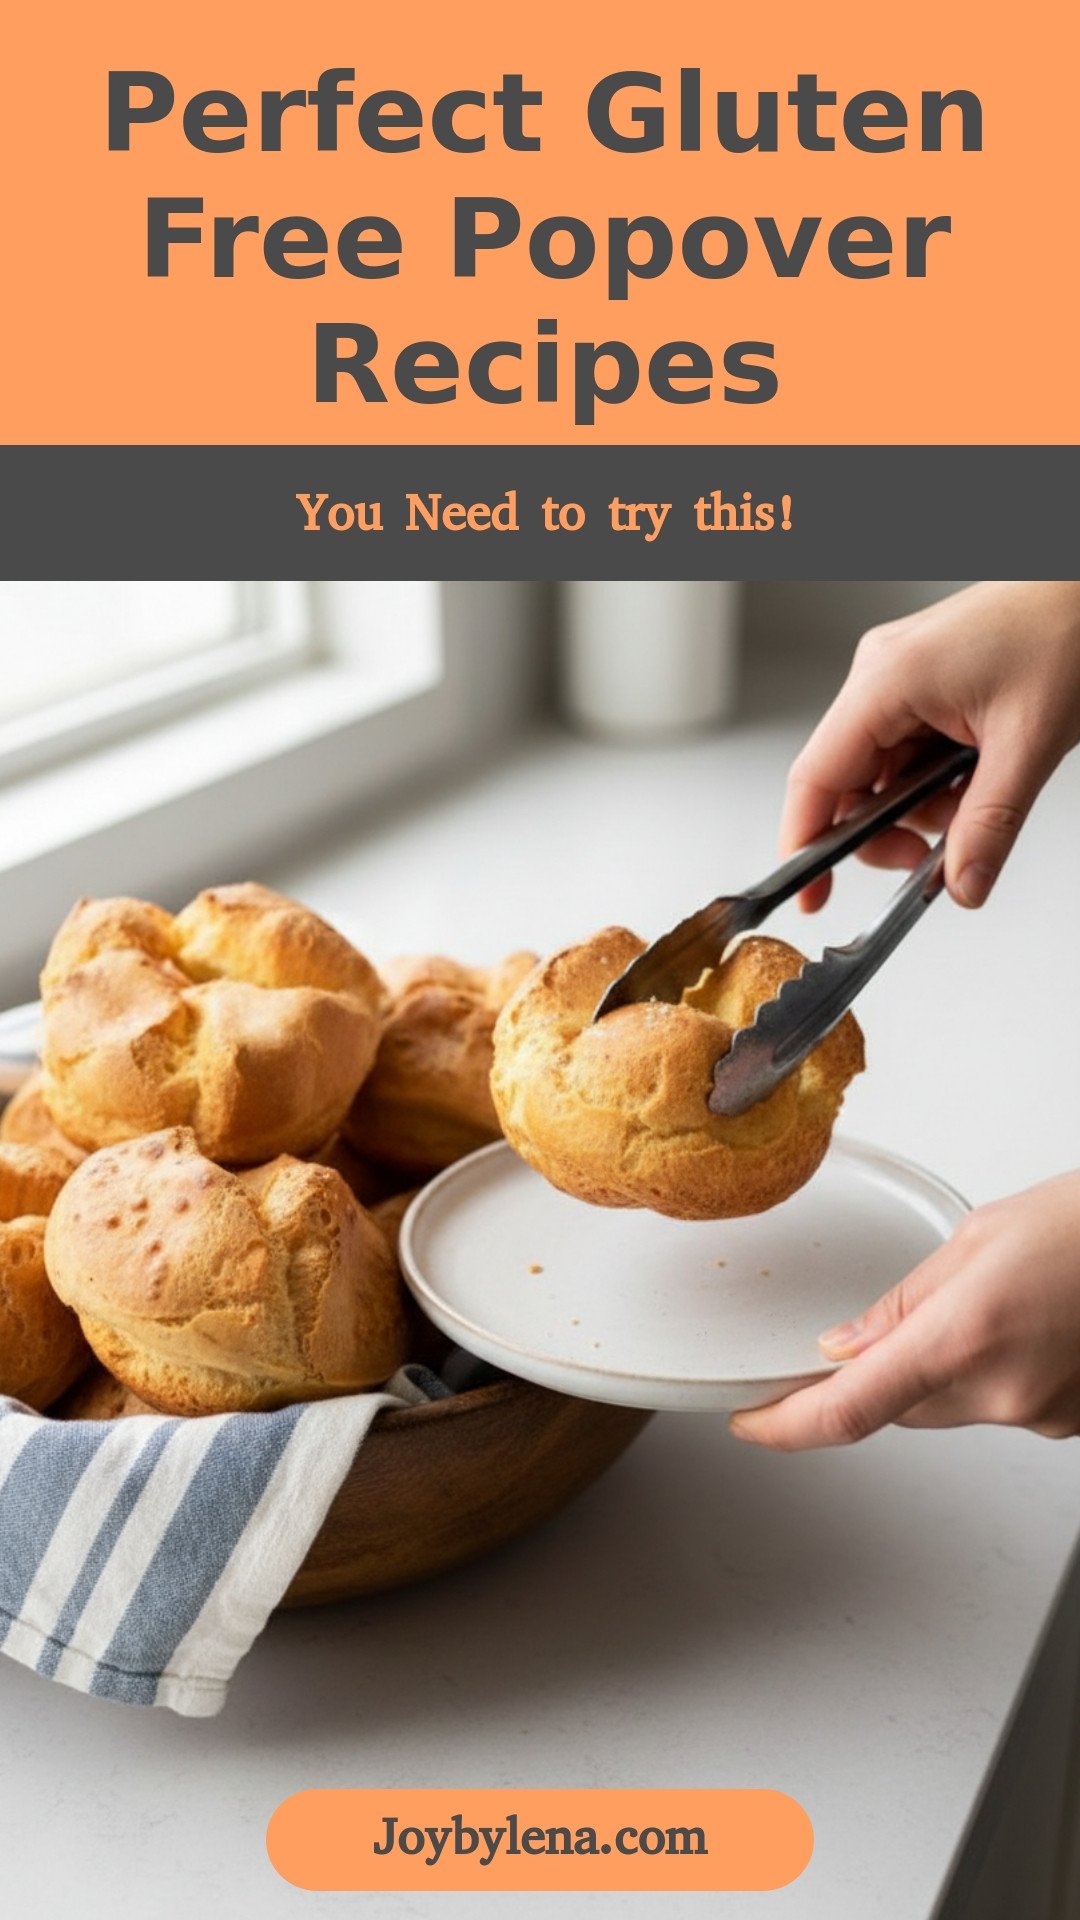
My Popover Surprise
The first time I made popovers, I didn’t know what to expect. I pulled them from the oven and they looked like little golden balloons. My husband took one bite and said, “Lena, you did it again.” I still laugh at that. He thinks I am a kitchen magician, but really, it is just good butter and a hot oven.
Have you ever seen a bread puff up right in front of your eyes? It feels like a little miracle. These gluten-free popovers do the same thing. They rise tall and hollow inside, just waiting for you to fill them with butter or jam. Doesn’t that smell amazing? I wish you could smell my kitchen right now.
Why Gluten-Free Works Here
Gluten is what usually makes bread stretchy and chewy. Popovers need steam to pop up, not glue. So taking out the gluten actually helps them get lighter and airier.
That is why this recipe is so clever. The eggs and milk do the heavy lifting. The xanthan gum just gives a tiny bit of structure so they don’t fall flat. *Fun fact: Xanthan gum is a special powder made from tiny bacteria. It helps gluten-free flours hold hands and stay together.*
The Blender Trick
Do not overthink the mixing for these popovers. Just dump your wet ingredients into a blender. Add the flour, salt, and gum. Give it ten seconds on low, then ten more on high. That is all. No whisking until your arm hurts. No lumps to worry about.
I learned this trick from a friend who was tired of lumpy pancake batter. She said, “Lena, let the machine do the work.” She was right. The blender whips in tiny air bubbles that help the popovers rise. I never make the batter by hand anymore. Do you have a favorite kitchen shortcut that saves you time?
Patience With the Oven Door
Here is the hardest part of this recipe: do not open the oven. I know it is tempting. You want to peek. But if you let the cold air in, your popovers will fall flat like sad pancakes. Trust me. I learned this the hard way, and my grandkids still remind me of the “deflated balloon” popovers.
You bake them hot at 425 degrees for 25 minutes. Then you turn the oven down to 350 and bake another 15 minutes. The high heat makes the steam expand fast. The lower heat dries them out and sets the shape. That is why these popovers stay puffy and golden. Why do you think steam is so powerful? Think about a whistling teakettle, and you will get the idea.
How to Serve Them
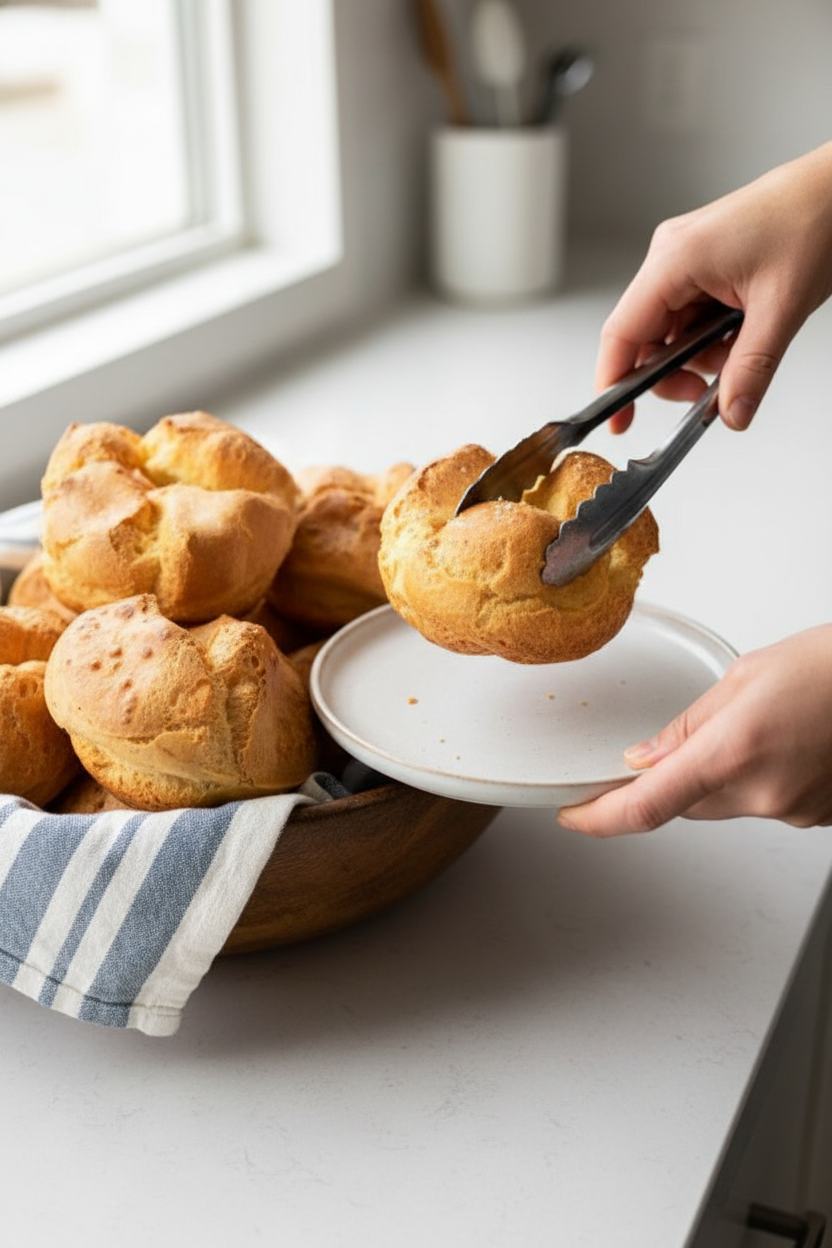
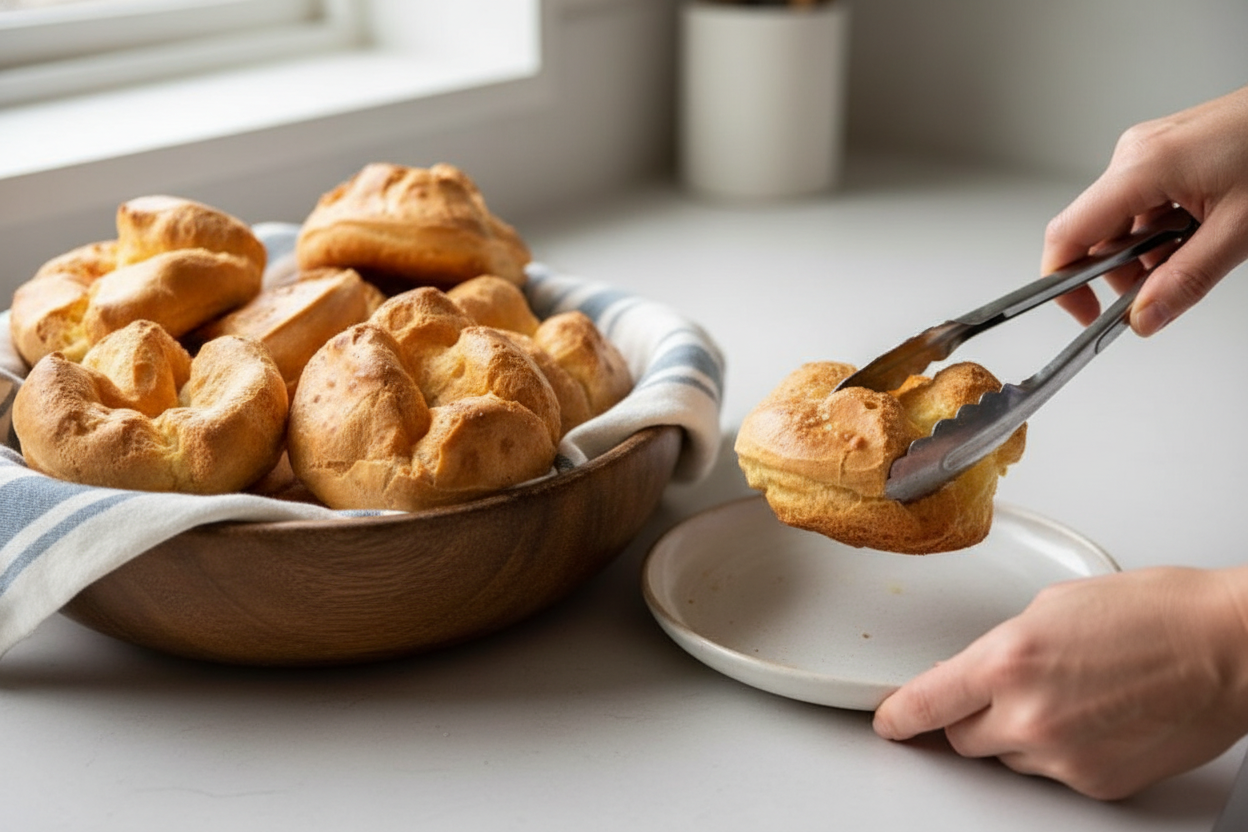
Popovers are best warm, straight from the oven. Poke the top of each one with a little knife to let the steam out. Otherwise, they get soggy inside. Slice them open and drop in a pat of butter. Watch it melt into the hollow center.
You can fill them with anything you like. My grandson puts honey inside. My neighbor likes them with scrambled eggs. I love mine with a dollop of strawberry jam. What would you put in your popover? Tell me, and I will try it next time I bake a batch.
Why This Matters at the Table
When someone tells me they have to eat gluten-free, I want them to feel included. No one should sit at a dinner table and eat a sad, dry cracker while everyone else gets something wonderful. These popovers change that. They are light and buttery, and they make everyone at the table say “ooh” and “ahh.”
Food is about sharing joy, not restriction. If you can make one dish that brings a smile to someone’s face, you have done your job. I feel that in my bones. Have you ever made a special meal for someone who could not eat something? How did it feel to see them happy?
Popover Poll
I am curious about your kitchen habits. Do you have a popover pan hiding in your cupboard, or would you use a muffin tin? A muffin tin works fine, but the popovers will be shorter and rounder. No big deal, just different.
Send me your answers or your photos if you try this recipe. I love seeing popovers from kitchens all over the world. Every batch comes out a little different, and that is the beauty of cooking. It is never boring. Have you ever baked something and been surprised by how good it turned out?
Ingredients:
| Ingredient | Amount | Notes |
|---|---|---|
| Gluten-free all-purpose flour (1:1 blend) | 1 cup | |
| Fine sea salt | ¾ teaspoon | |
| Xanthan gum | ¼ teaspoon | |
| Large eggs | 3 | Room temperature |
| Whole milk | 1 cup | Room temperature |
| Unsalted butter | 3 tablespoons | Melted and cooled; plus extra for greasing the pan |
My Grandma’s Secret to Gluten-Free Popovers
I remember the first time I tried gluten-free popovers. They came out flat and sad. I wanted to cry. But my grandma always said, “Honey, the oven forgives everything. Try again.” So I did. And after many tries, I found the perfect trick. The secret is in the blender and the hot pan. Doesn’t that smell amazing when they puff up? I still laugh at my first flat popovers. Now I make these for holidays and rainy afternoons. You will love how easy they are. Let’s bake them together, step by step.
Step 1: First, grab your popover pan. Grease every cavity with softened butter. Don’t skip this part. A dry pan is a popover’s worst enemy. Preheat your oven to 425F. Trust me, a hot oven is your best friend here. (Hard-learned tip: if you use a muffin tin, the popovers will be shorter. That’s okay, but a popover pan makes them tall and impressive.)
Step 2: In a small bowl, whisk together the gluten-free flour, salt, and xanthan gum. Why xanthan gum? It helps hold everything together. My gluten-free friends call it magic dust. I just call it the “no-crumble” helper. Set the bowl aside for a moment. Let’s make the wet part next.
Step 3: Now get out your blender. Crack three large eggs into it. Add one cup of whole milk and three tablespoons of melted butter. Blend for ten seconds. The mixture should look creamy. My granddaughter once forgot to blend long enough. We had lumps. She learned fast. Blend it smooth, okay?
Step 4: Pour the flour mixture into the blender with the wet ingredients. Blend for ten to fifteen seconds. Scrape the sides once if needed. No lumps. The batter should be thin like heavy cream. Here’s a little quiz for you: What makes popovers puff up? Is it the heat, the eggs, or the air in the blender? What do you think? Share below!
Step 5: Divide the batter into the greased pan. Fill each cavity about two-thirds full. Don’t overfill. They need room to grow tall. Pop the pan into the hot oven. Bake at 425F for 25 minutes. Do not open the oven door. I know it’s tempting. I once peeked and my popovers collapsed. I still sigh when I remember that.
Step 6: Without opening the oven, lower the temperature to 350F. Bake for another 15 minutes. The popovers will turn golden brown and crispy. When the timer dings, take them out carefully. Poke the top of each one with a small knife. This lets the steam escape and keeps them from getting soggy. Serve them hot. They are best straight from the oven. I always burn my fingers, but it’s worth it.
Cook Time: 40 minutes
Total Time: 50 minutes
Yield: 6 popovers
Category: Bread, Side Dish
Three Fun Twists to Try
Plain popovers are wonderful. But sometimes I like to mix things up. Here are three simple ideas to make them feel new. Each one is easy and uses things you might already have in the kitchen. Which one would you try first? Comment below!
Cheesy Herb Popovers: Add half a cup of shredded cheddar and a teaspoon of dried rosemary to the batter. The cheese melts inside and makes a gooey, salty surprise. My grandson calls them “inside-out grilled cheese.”
Sweet Cinnamon Sugar Popovers: After baking, brush the tops with melted butter and roll them in a mix of cinnamon and sugar. Serve them with a drizzle of maple syrup. They taste like a warm morning hug. Great for breakfast.
Savory Bacon and Chive Popovers: Cook three strips of bacon until crispy. Crumble them. Fold into the batter with two tablespoons of chopped fresh chives. The salty bacon and fresh chives make a perfect pair. My dad used to eat three in one sitting.
How to Serve and Sip
Popovers are like edible bowls. You can eat them plain or fill them. For dinner, serve them with a big salad or roasted chicken. They also love a bowl of soup. Just tear them open and dip. For a fancy touch, place them in a napkin-lined basket. They look so pretty. Everyone will reach for one.
Now let’s talk drinks. For a grown-up pairing, try a crisp white wine like Sauvignon Blanc. It cuts through the buttery flavor beautifully. For kids or a cozy night in, pour a tall glass of cold apple cider. The sweetness is a lovely match. I love sipping cider while the popovers cool. Which would you choose tonight?
My First Popover Surprise
I remember the first time I made gluten-free popovers. They came out so tall and golden. But then I left them out too long, and they turned soft and sad. Now I know the trick. Let them cool completely on a wire rack. Then wrap each one tightly in plastic wrap. Pop them in a freezer bag and freeze for up to a month. To reheat, just pop a frozen popover in a 350F oven for 10 minutes. They come back crisp and warm. Batch cooking is a lifesaver on busy mornings. You get that fresh-baked taste without the rush. Have you ever tried storing it this way? Share below!
Three Common Popover Problems (And Easy Fixes)
Popovers can be picky, but don’t worry. I once made a batch that looked like flat pancakes. The trick was my milk was too cold. Always use room-temperature eggs and milk. This helps the batter puff up nice and high.
Another problem is dense or gummy centers. This happens when you open the oven door too early. Those first 25 minutes at 425F are sacred. No peeking! The steam needs to stay trapped to make those hollow insides.
Sometimes your popovers might stick to the pan. I remember crying over a stuck batch once. Now I always butter the pan well, even in the little corners. That extra butter makes all the difference. Which of these problems have you run into before?
Why does this matter? Fixing these mistakes helps you feel more confident in the kitchen. And a perfect popover tastes like a warm hug. That’s worth a little practice.
Your Popover Questions Answered
Q: Can I use a different gluten-free flour blend?
A: Yes, but use a 1:1 blend that already has xanthan gum. If not, add the 1/4 teaspoon called for in the recipe.
Q: Can I make the batter the night before?
A: It’s best to bake right away. The batter loses its puff if it sits too long.
Q: Can I swap milk for a non-dairy option?
A: Yes, use oat milk or almond milk. The popovers may be a little less tall, but still tasty.
Q: Can I double this recipe?
A: Yes, just use two pans or bake in batches. The batter does not keep well.
Q: My popovers are pale. What went wrong?
A: Your oven might run cool. Try baking an extra 5 minutes at 425F. Which tip will you try first?
From My Kitchen to Yours
I hope these little tips help you make popovers that make you smile. There is nothing like pulling a tall, golden popover from the oven. The steam escapes with a soft sigh, and the butter melts right in. It’s a small joy that fills the whole house. Have you tried this recipe? Tag us on Pinterest! I love seeing your golden popovers. Keep practicing, and don’t forget to share with someone you love. Happy cooking! —Lena Morales.
Perfect Gluten Free Popover Recipes
Ingredients
Instructions
- Grease a 6-cavity standard popover pan with butter. Preheat the oven to 425F.
- In a small bowl, whisk together the gluten-free flour, salt, and xanthan gum.
- In a blender, combine the eggs, milk, and melted unsalted butter. Blend to combine for 10 seconds. Add the flour mixture and blend for 10-15 seconds, until everything is well blended, and no lumps remain.
- Divide the batter into the greased pan cavities, filling each 2/3 full. Bake for 25 minutes at 425F. Without opening the oven, reduce the temperature to 350F and bake for an additional 15 minutes.
- Remove the pan from the oven and poke the top of each popover with a small knife or skewer to release the steam. Serve hot.


Leave a Reply