Your Top 5 Questions Answered
Q: Can I make this pie gluten-free? A: Yes. Swap the all-purpose flour for a gluten-free blend that works for baking.
Q: Can I make it ahead of time? A: Absolutely. Bake the crust and filling a day early. Assemble and chill overnight.
Q: What if I don’t have whole milk? A: Use 2% milk or mix half milk and half heavy cream. Avoid skim milk—it makes the filling thin.
Q: Can I double the recipe? A: Yes. Just use a larger pan or make two pies. Double all ingredients exactly.
Q: Any extra tips? A: Add a pinch of salt to the filling. It makes the chocolate flavor pop. Which tip will you try first?
A Sweet Goodbye from Lena
I hope this pie fills your home with the same warmth it brings to mine. My grandkids always ask for it on rainy afternoons. There is nothing like a slice of chocolate and a good story.
Please share your pie photos with me. It makes my day to see your kitchen creations. Have you tried this recipe? Tag us on Pinterest! Let’s keep this sweet tradition going. Happy cooking!
*Fun fact: Chocolate pie became popular in the 1800s because cocoa powder was cheap and easy to find.*
—Lena Morales.
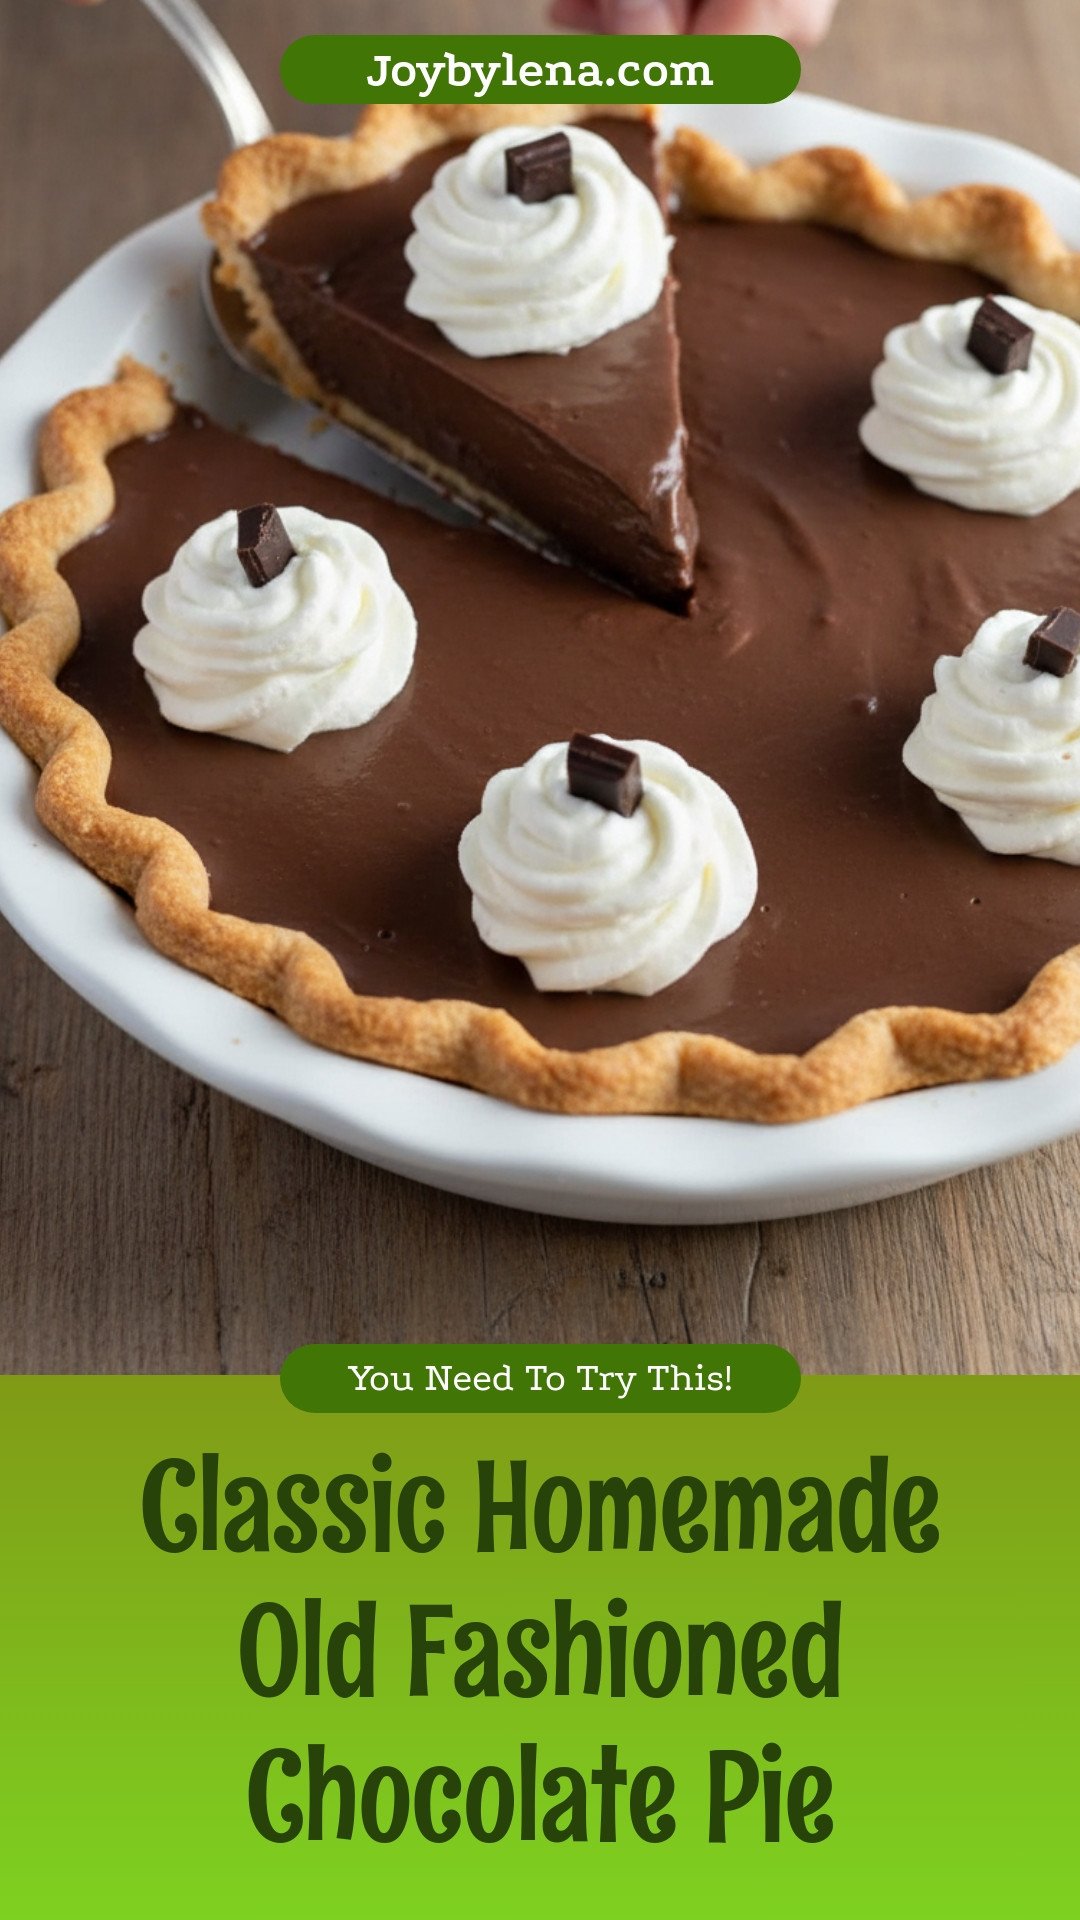
Classic Homemade Old Fashioned Chocolate Pie
Description
A rich, creamy chocolate pie with a flaky crust and silky smooth filling.
Ingredients
Instructions
- Preheat the oven to 425 F. Roll out the room-temperature pie crust over a pie baking dish, crimple the edges, and bake according to package directions. Let cool down completely.
- To make the filling: sift the flour, sugar, and cocoa powder into a medium-sized bowl.
- Using a fork, mix the egg yolks into the dry ingredients as well as you can.
- Whisk in the milk, little by little until fully incorporated.
- Strain the mixture into a medium-sized saucepan to remove any bits and pieces that didn’t mix well.
- Cook over medium heat, stirring constantly, until thickened, about 5-7 minutes. Remove from heat and add the vanilla extract.
- Pour into the baked pie crust, let cool down completely, and refrigerate for an hour to overnight.
Notes
- For best results, refrigerate the pie overnight to allow the filling to fully set.
Three Common Problems and Easy Fixes
The first problem is lumpy filling. This happens when you don’t sift the dry ingredients. I remember my first pie had lumps like little rocks. The fix is simple—always sift your flour, sugar, and cocoa together.
Second, the filling might not thicken. You may have rushed the cooking time. Stir over medium heat for the full 5–7 minutes. Do not walk away. I once burned a batch because I checked my phone!
Third, the pie crust gets soggy. That means you didn’t let the crust cool completely before adding the filling. Patience is key—wait until it is fully room temperature.
Why this matters: When you fix these issues, your pie turns out smooth and perfect every time. You build confidence in the kitchen and impress everyone who takes a bite. Which of these problems have you run into before?
Your Top 5 Questions Answered
Q: Can I make this pie gluten-free? A: Yes. Swap the all-purpose flour for a gluten-free blend that works for baking.
Q: Can I make it ahead of time? A: Absolutely. Bake the crust and filling a day early. Assemble and chill overnight.
Q: What if I don’t have whole milk? A: Use 2% milk or mix half milk and half heavy cream. Avoid skim milk—it makes the filling thin.
Q: Can I double the recipe? A: Yes. Just use a larger pan or make two pies. Double all ingredients exactly.
Q: Any extra tips? A: Add a pinch of salt to the filling. It makes the chocolate flavor pop. Which tip will you try first?
A Sweet Goodbye from Lena
I hope this pie fills your home with the same warmth it brings to mine. My grandkids always ask for it on rainy afternoons. There is nothing like a slice of chocolate and a good story.
Please share your pie photos with me. It makes my day to see your kitchen creations. Have you tried this recipe? Tag us on Pinterest! Let’s keep this sweet tradition going. Happy cooking!
*Fun fact: Chocolate pie became popular in the 1800s because cocoa powder was cheap and easy to find.*
—Lena Morales.
The Pie That Started It All
I baked my first chocolate pie when I was nine years old. I stood on a little wooden stool to reach the counter. My grandmother stood right behind me, ready to catch the bowl if I dropped it. I did drop it, just once. We both laughed until our bellies hurt. Doesn’t that smell amazing?
That pie was a bit lumpy and a little burnt around the edges. But we ate every single bite. That is when I learned that a messy pie made with love tastes better than a perfect one made alone. Have you ever made a kitchen mess that turned into a happy memory?
Why This Filling is So Special
This isn’t a fancy pudding mix from a box. We make the filling from scratch, the old way. You sift the dry things together first. Flour, sugar, and cocoa powder dance in the bowl like old friends. Then you stir in the egg yolks with a fork. It looks a little funny at first, like a crumbly brown mud.
This matters because sifting removes lumps before they can form. When you whisk in the milk slowly, the filling stays smooth as silk. Nobody wants a lumpy pie. Trust me, I have made many lumpy pies in my time. I still laugh at that.
The Secret Step Nobody Talks About
Now here is a trick my grandmother taught me. You must strain the mixture into the saucepan. Use a fine mesh strainer. This catches any tiny bits of egg that didn’t mix in all the way. It also catches little dry pockets of flour.
*Fun fact:* That straining step only takes 20 seconds. But it saves you from having to explain “why is there a crunch in my pie?” Tomorrow morning, I want to hear from you. Have you ever tried straining a pudding or custard? What did you think?
Stirring is a Love Language
You have to stir the filling over medium heat. Do not walk away. Do not check your phone. Stir constantly for five to seven minutes. It feels slow at first, then it suddenly thickens into a glossy, dark river. That change happens fast.
This matters because if you stop stirring, the bottom burns. Burnt chocolate smells sad, not sweet. I once burned a batch because the doorbell rang. My kitchen smelled like a campfire for two days. So stir and stay close. What is your favorite thing to listen to while you cook?
The Cool Down is Just as Important
You pour the hot filling into the baked crust. Then you let it sit on the counter until it is completely cool. I mean completely cool, not just lukewarm. Patience is hard, I know. But rushing it makes a watery pie.
After that, put it in the fridge for at least one hour. Overnight is best. The cold lets the filling set up firm and sliceable. When you cut into it the next day, the slice holds its shape. That is a good feeling.
A Slice of Family History
This pie was my grandfather’s favorite. He would sit at the table with a tall glass of cold milk. He always saved the corner piece with the most crust for last. He said the crust was like a little cookie bowl for the chocolate.
We made this pie for birthdays, holidays, and ordinary Tuesdays. It never felt ordinary, though. Chocolate pie has a way of making a regular day feel like a celebration. What dessert makes your family feel that way? Tell me in your kitchen stories.
Three Bites for You to Try
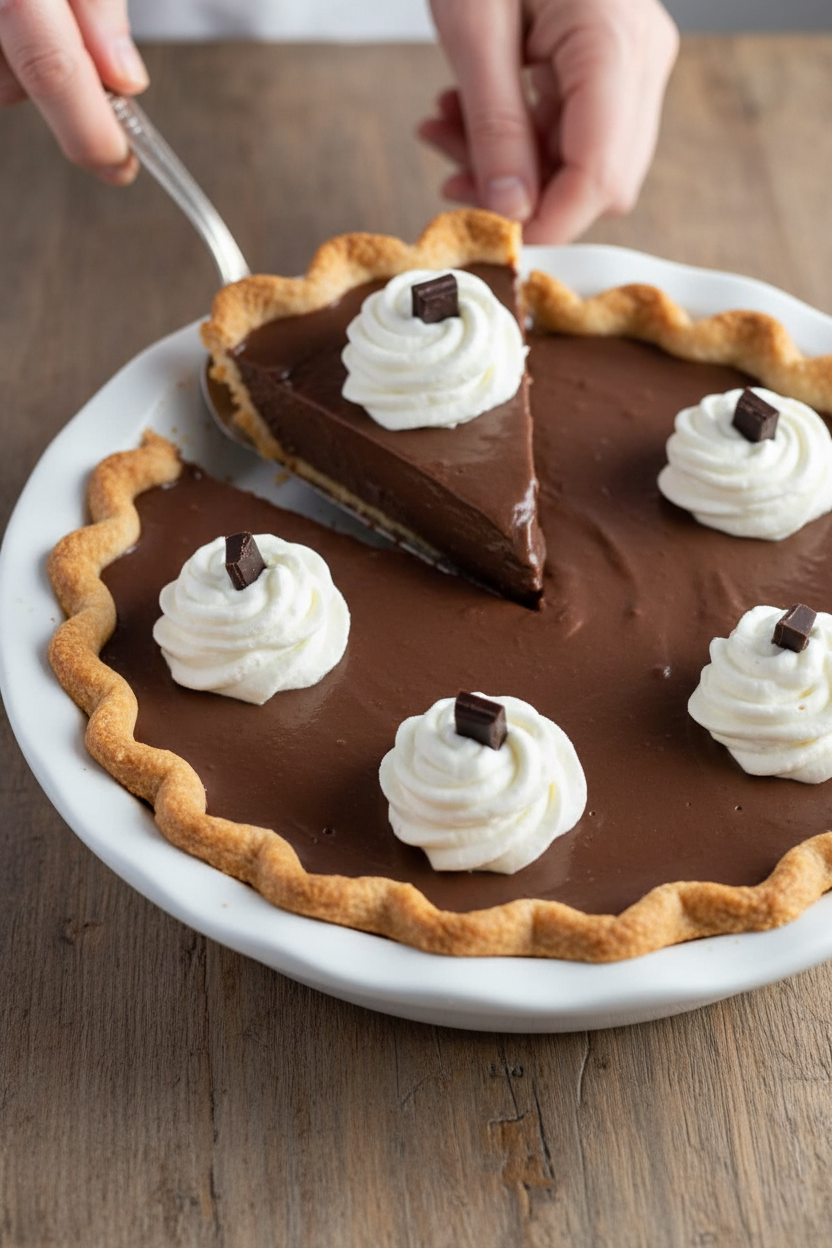
Here are three ways to make this pie your own. First, you can top it with a handful of toasted coconut. Second, add a dollop of fresh whipped cream and a pinch of cinnamon on top. Third, try it warm the morning after with a cup of coffee or milk.
No matter how you serve it, remember what I said. A messy pie made with love is better than a perfect one made alone. So get your stool, get your bowl, and make a memory. Which topping would you try first? Take a little poll in your house tonight.
Ingredients:
| Ingredient | Amount | Notes |
|---|---|---|
| Refrigerated pie crust | 1 (9-inch) | Room temperature |
| All-purpose flour | 6 tbsp | |
| Granulated sugar | 1 cup | |
| Unsweetened cocoa powder | 3 tbsp | |
| Egg yolks | 3 | |
| Whole milk | 2 cups | |
| Pure vanilla extract | 1 ½ tsp |
My Grandma’s Chocolate Pie Secret
I still remember the first time I made this pie. The kitchen smelled like warm cocoa and hugs. My grandma stood beside me, nodding. She said, “Lena, this pie is pure love in a crust.” And she was right. Doesn’t that smell amazing just thinking about it? This old-fashioned chocolate pie is simple, rich, and so comforting. It’s the kind of dessert that makes you close your eyes after the first bite.
Let’s get started. I promise, even if you’re new to baking, you can handle this. All you need is patience and a good wooden spoon. Ready to make something special?
Step 1: Start with the crust. Take your refrigerated pie crust out of the fridge. Let it sit on the counter for about 15 minutes. You want it soft enough to roll out easily. (Hard-learned tip: Do NOT rush this. A cold crust will crack and break.) Gently press it into your pie dish. Crimp the edges with your fingers or a fork. Then bake it at 425 degrees F, following the box directions. Let it cool completely before adding the filling. My grandma used to fan hers with a magazine — I still laugh at that.
Step 2: Now for the filling. Grab a medium bowl and sift together the flour, sugar, and cocoa powder. Sifting makes sure there are no lumps. Lumpy pie filling is nobody’s friend. I once skipped this step and ended up with chocolate grit. Not fun! So take the extra minute here.
Step 3: Add the three egg yolks to the dry mixture. Use a fork to mix them in as best you can. It will look a little crumbly at first. That’s totally fine. Remember: you’re just getting the yolks started, not making a smooth paste yet. Pop quiz: Why do you think we use only the yolks here? Share below!
Step 4: Slowly pour in the milk, a little at a time. Whisk it gently after each pour. Keep going until the mixture is smooth and all the milk is in. This step takes patience, but don’t rush. If you dump the milk in all at once, you’ll get lumps that won’t cook out.
Step 5: Pour the whole mixture through a strainer into a saucepan. This catches any tiny bits of egg or flour that didn’t mix in. Trust me, this step makes your pie silky smooth. Then cook it over medium heat. Stir constantly with a whisk or spoon for about 5 to 7 minutes. Watch it change from liquid to thick pudding. You’ll know it’s ready when it coats the back of a spoon. Take it off the heat and stir in the vanilla extract. Pour the hot filling into your cooled crust. Let it cool on the counter, then pop it in the fridge for at least an hour — or overnight if you can wait!
Cook Time: 12 minutes (crust) + 5–7 minutes (filling)
Total Time: About 1 hour 30 minutes (plus chilling)
Yield: 8 slices
Category: Dessert, Pie
Three Fun Twists on This Classic
Want to shake things up? Here are three ways to make this pie your own. Each one is easy and delicious.
Mexican Chocolate Pie: Add 1/2 teaspoon of cinnamon and a tiny pinch of cayenne pepper to the dry ingredients. It gives the pie a warm, spicy kick. So cozy on a chilly night.
Mint Chocolate Pie: Swap the vanilla extract for 1 teaspoon of mint extract. Then top the finished pie with crushed peppermint candies. It tastes just like a thin mint cookie.
Peanut Butter Swirl Pie: Before pouring in the filling, drop spoonfuls of creamy peanut butter over the crust. Swirl it gently with a knife. Chocolate and peanut butter are best friends. Which one would you try first? Comment below!
Serving Your Chocolate Pie Like a Pro
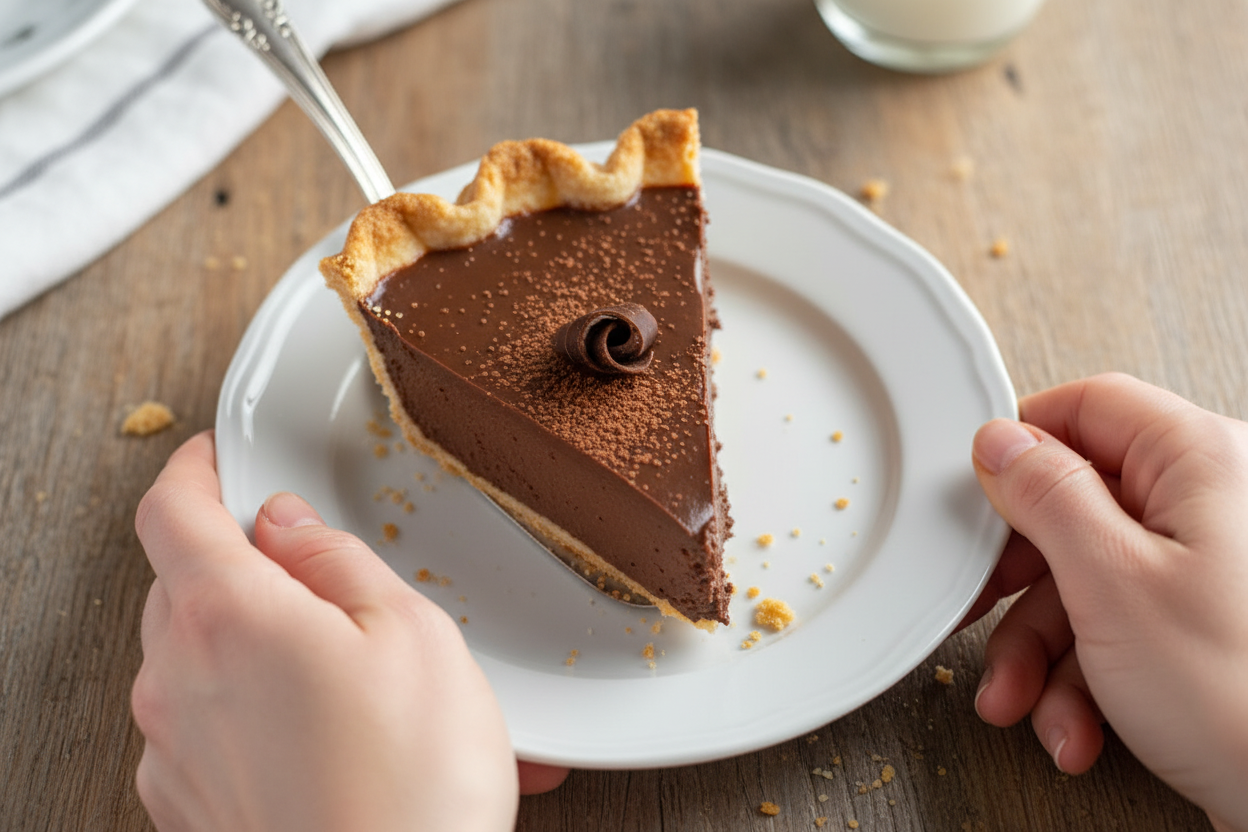
This pie is perfect all on its own. But a little extra never hurts. Try topping each slice with a dollop of fresh whipped cream and a few chocolate shavings. Or serve it warm with a scoop of vanilla ice cream melting on top. For a fancy look, dust the whole pie with a bit of cocoa powder right before serving.
Now, what to drink with it? A cold glass of milk is the classic choice — it cuts through the rich chocolate perfectly. For the grown-ups, a small cup of strong black coffee or an espresso is wonderful. It makes the chocolate taste even deeper. Which would you choose tonight?
How to Store and Reheat Your Chocolate Pie
This pie keeps beautifully in the fridge for up to three days. Just cover it loosely with plastic wrap or foil. I once left a pie out overnight by accident and learned my lesson—always refrigerate it!
You can also freeze this pie for up to a month. Wrap it tightly in plastic wrap, then foil. To serve, thaw it in the fridge for a few hours. Do not reheat the whole pie—it will get runny.
For a single slice, let it sit on the counter for ten minutes. That takes the chill off and brings back the creamy texture. Batch cooking? Make two pies at once—one for now, one for later.
Storing this way saves you time and keeps the pie just as good. Have you ever tried storing it this way? Share below!
Why this matters: A properly stored pie means less waste. You get to enjoy that first slice all over again days later.
Three Common Problems and Easy Fixes
The first problem is lumpy filling. This happens when you don’t sift the dry ingredients. I remember my first pie had lumps like little rocks. The fix is simple—always sift your flour, sugar, and cocoa together.
Second, the filling might not thicken. You may have rushed the cooking time. Stir over medium heat for the full 5–7 minutes. Do not walk away. I once burned a batch because I checked my phone!
Third, the pie crust gets soggy. That means you didn’t let the crust cool completely before adding the filling. Patience is key—wait until it is fully room temperature.
Why this matters: When you fix these issues, your pie turns out smooth and perfect every time. You build confidence in the kitchen and impress everyone who takes a bite. Which of these problems have you run into before?
Your Top 5 Questions Answered
Q: Can I make this pie gluten-free? A: Yes. Swap the all-purpose flour for a gluten-free blend that works for baking.
Q: Can I make it ahead of time? A: Absolutely. Bake the crust and filling a day early. Assemble and chill overnight.
Q: What if I don’t have whole milk? A: Use 2% milk or mix half milk and half heavy cream. Avoid skim milk—it makes the filling thin.
Q: Can I double the recipe? A: Yes. Just use a larger pan or make two pies. Double all ingredients exactly.
Q: Any extra tips? A: Add a pinch of salt to the filling. It makes the chocolate flavor pop. Which tip will you try first?
A Sweet Goodbye from Lena
I hope this pie fills your home with the same warmth it brings to mine. My grandkids always ask for it on rainy afternoons. There is nothing like a slice of chocolate and a good story.
Please share your pie photos with me. It makes my day to see your kitchen creations. Have you tried this recipe? Tag us on Pinterest! Let’s keep this sweet tradition going. Happy cooking!
*Fun fact: Chocolate pie became popular in the 1800s because cocoa powder was cheap and easy to find.*
—Lena Morales.


Leave a Reply