My Garden’s Snappy Secret
Let me tell you about my pickled green beans. We call them dilly beans. They are my garden’s secret. Every summer, my bean plants grow like crazy. I have more beans than I know what to do with.
So I pickle them. It saves the harvest. It makes a crunchy snack for later. This matters because it turns too much food into a treasure. Nothing goes to waste. Do you have a veggie that grows too well in your garden?
The Simple Jar Magic
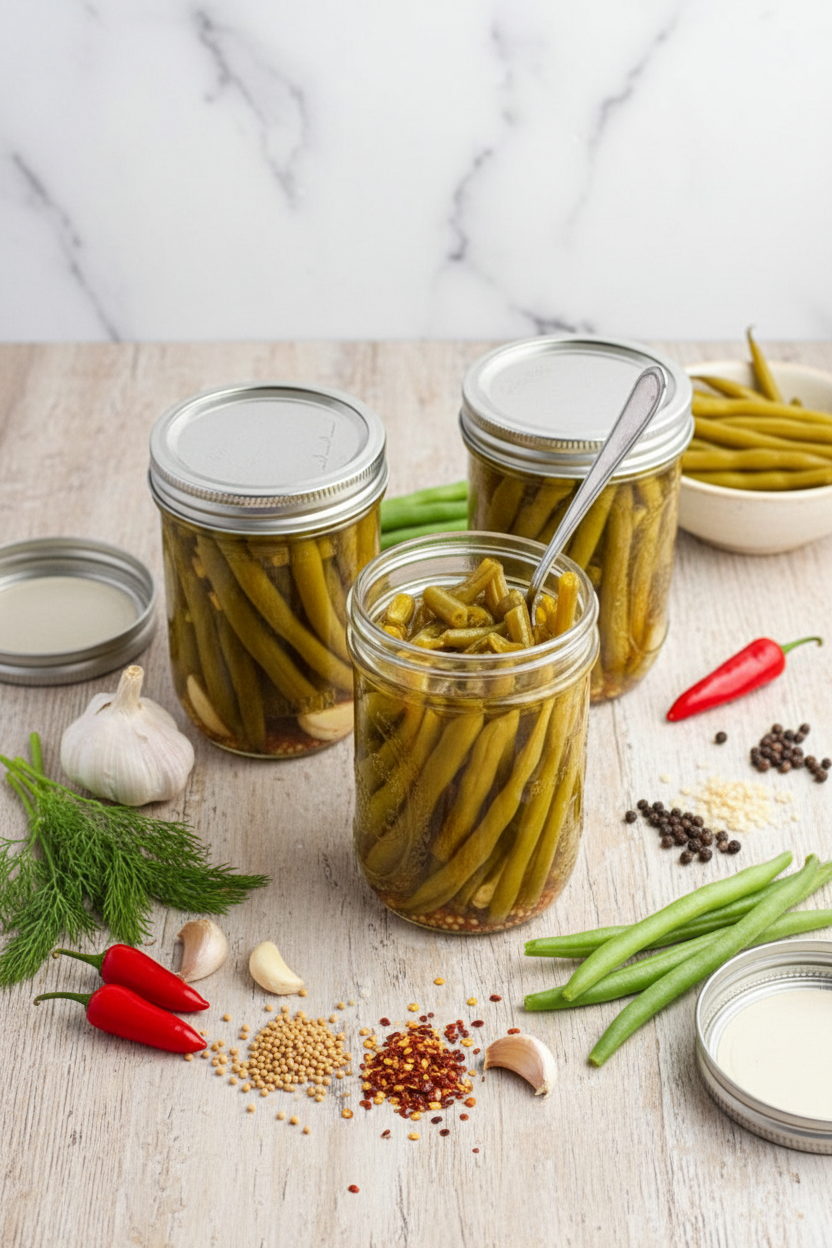
Making them is easy. You just pack clean beans into jars. Then you add the spices. I use dill, garlic, and a little hot pepper. Doesn’t that smell amazing? It makes my whole kitchen happy.
Then you pour in hot vinegar water. That’s the brine. It keeps the beans safe in the jar. The hot water bath seals the lid. You hear a “pop” when it cools. That pop is a good sound. It means your food is sealed tight.
Why We Do This
My grandpa taught me to can. He said it was like putting summer in a jar. He was right. Opening a jar in January is a surprise. It tastes like a sunny day.
This matters. It connects us to our food. You know exactly what’s in your jar. No strange chemicals. Just beans, vinegar, and spices. *Fun fact: The vinegar brine is what keeps bad germs away. It’s a natural preservative!*
A Little Story for You
One year, I forgot the garlic. I was so sad. My beans would taste plain. My friend Maria had an idea. She said to add a clove to each open jar in the fridge. It worked! I still laugh at that. My mistake made a new recipe.
It taught me a lesson. Cooking is not about being perfect. It’s about fixing things. Have you ever saved a recipe after a mistake? I’d love to hear your story.
Make Them Your Own
You can change the flavors. Try different peppers. Use less pepper flake if you don’t like heat. Add more dill if you love it. These beans are for you.
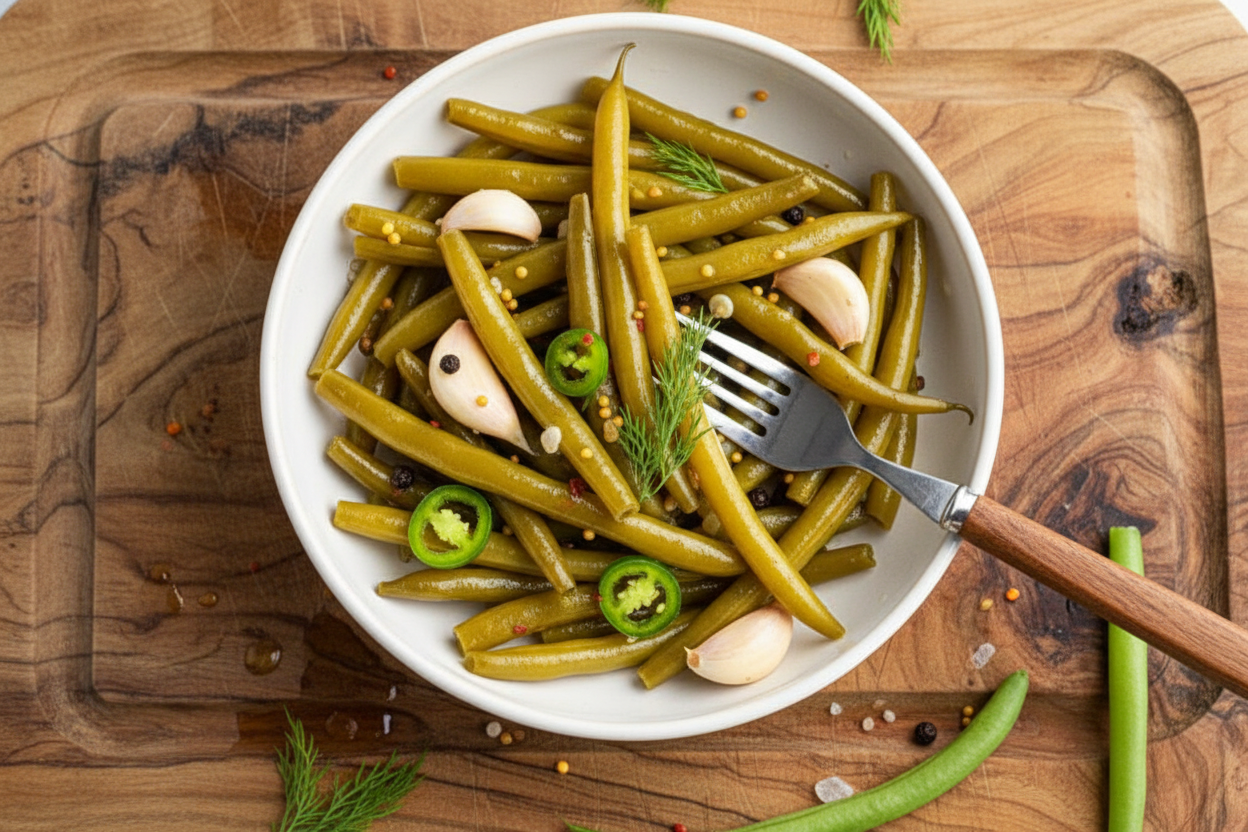
They are perfect on a snack board. I eat them right from the jar. They are so crunchy and good. What do you think you’d eat them with? A sandwich, maybe, or just as a snack?
Ingredients:
| Ingredient | Amount | Notes |
|---|---|---|
| fresh green beans | 4 lb | |
| white vinegar | 4 cups | |
| water | 4 cups | |
| picking salt | ¼ cup | |
| fresh dill | 8 sprigs | |
| red pepper flakes | 2 teaspoon | |
| mustard seeds | 2 teaspoon | |
| black peppercorns | 2 teaspoon | |
| garlic | 8 cloves | |
| Serrano or Cayenne peppers | 4 peppers | sliced in half |
| Pickle crisp | 1 teaspoon |
My Crunchy, Zingy Pickled Green Beans
Hello, my dear! It’s Lena. Let’s make some pickled green beans today. I call them “garden candy.” They are so crisp and tasty. My grandson Marco loves them straight from the jar. I still laugh at that. He says they’re better than chips. Doesn’t that smell amazing when you open the jar? It smells like summer and dill. Today, I’ll walk you through it. We’ll make memories you can keep on a shelf.
Step 1: First, get your jars ready. Line up eight pint jars. To each jar, add the fun bits. Put in some dill, red pepper flakes, and seeds. Add a garlic clove and half a pepper. This is where the flavor lives. (My hard-learned tip: crush the garlic clove gently first. It lets more flavor out!).
Step 2: Now, prepare your green beans. Wash them well under cool water. You want them nice and clean. Trim the ends so they fit in your jars. Pack them in as tight as you can. Stand them up like little soldiers. Do you pack them tight or loose for crunch? Share below!
Step 3: Time to make the brine. This is the magic potion. Mix vinegar, water, and salt in a big pot. Bring it all to a boil. Stir until the salt disappears. Then, take it off the heat. Be careful, it’s very hot. I always use a pot with a handle.
Step 4: Carefully pour the hot brine into your jars. Cover all the beans. Leave a little space at the top. Run a knife inside to pop any air bubbles. Wipe the jar rims clean. Then put on the lids and bands. This part makes me feel like a scientist.
Step 5: Finally, the water bath. Place jars in a big pot of water. The water must cover them. Boil them for ten full minutes. Then let them sit in the hot water for five more. Take them out and let them cool. You will hear a beautiful “pop” as they seal. That’s the sound of success.
Cook Time: 1 hour
Total Time: 1 hour 30 minutes (plus 24 hours to cool)
Yield: About 8 pint jars
Category: Preserving, Snack
Three Fun Twists to Try
Once you know the basic recipe, you can play! Here are three of my favorite twists. They make each batch a little surprise. My neighbor Sue loves the lemon one. It reminds her of her garden.
Garlic-Lemon Zest: Add two strips of lemon peel to each jar. Use three garlic cloves instead of one. It’s so bright and fresh.
Sweet & Spicy: Add one teaspoon of sugar to the brine. Use a whole habanero pepper for real kick. It’s a wild flavor ride.
Herb Garden: Skip the dill. Use fresh tarragon and a sprig of thyme instead. It tastes like a fancy French kitchen.
Which one would you try first? Comment below! I love reading your ideas.
Serving Your Pickled Treasure
These beans are not just for snacking. Though that is a very good use! I love them on a cheese board. They look so pretty next to crackers. You can also chop them into a potato salad. It adds a wonderful crunch. For a quick lunch, I put them in a tuna sandwich. It’s my secret ingredient.
What to drink? On a hot day, I love iced herbal tea. It’s cool and calming. For a special dinner, a crisp glass of cold beer pairs perfectly. It cuts through the vinegar tang so nicely. Which would you choose tonight? A cool tea or a fun beer? Tell me all about it.
Storing Your Pickled Green Beans
These pickles are made for the pantry. Sealed jars last over a year in a cool, dark place. If a jar doesn’t seal, just put it in the fridge. Eat those within six weeks for the best crunch.
I remember my first batch. One jar didn’t seal with a “pop.” I was so disappointed. But then we ate those beans first! They were a tasty preview of the goodness to come.
Batch cooking like this matters. It saves you time later. You get to enjoy your hard work for many months. A full pantry makes a home feel cozy and ready for anything.
Have you ever tried storing it this way? Share below!
Common Pickling Problems & Easy Fixes
Problem one: soft pickles. Always use fresh, crisp beans. Add Pickle Crisp to your jar. This keeps them snappy.
Problem two: jars not sealing. Wipe the jar rim clean. Any food bits can break the seal. Make sure your lids are new too.
Problem three: too spicy or not spicy enough. I once made a batch too hot for my grandson! You control the heat. Use fewer pepper flakes or peppers next time.
Fixing small issues builds your confidence. It also makes sure your food tastes just right. Good flavor is the best reward for your effort.
Which of these problems have you run into before?
Your Pickled Bean Questions, Answered
Q: Is this recipe gluten-free?
A: Yes! All the ingredients are naturally gluten-free.
Q: Can I make it ahead?
A: You must! The beans need 4-6 weeks in the jar to develop full flavor.
Q: What if I don’t have fresh dill?
A: Use one teaspoon of dill seed per jar instead. It works great.
Q: Can I double the recipe?
A: Absolutely. Just use a bigger pot for the brine.
Q: Any optional tips?
A> Try adding a bay leaf for a different, earthy note. *Fun fact: A bay leaf was once a champion’s crown in ancient times!*
Which tip will you try first?
From My Kitchen to Yours
I hope you love making these pickles. Hearing the jars “pop” is a happy sound. It means you made something special.
I would love to see your finished pantry shelves. Share a picture of your beautiful jars. Let’s inspire each other.
Have you tried this recipe? Tag us on Pinterest!
Happy cooking!
—Lena Morales.
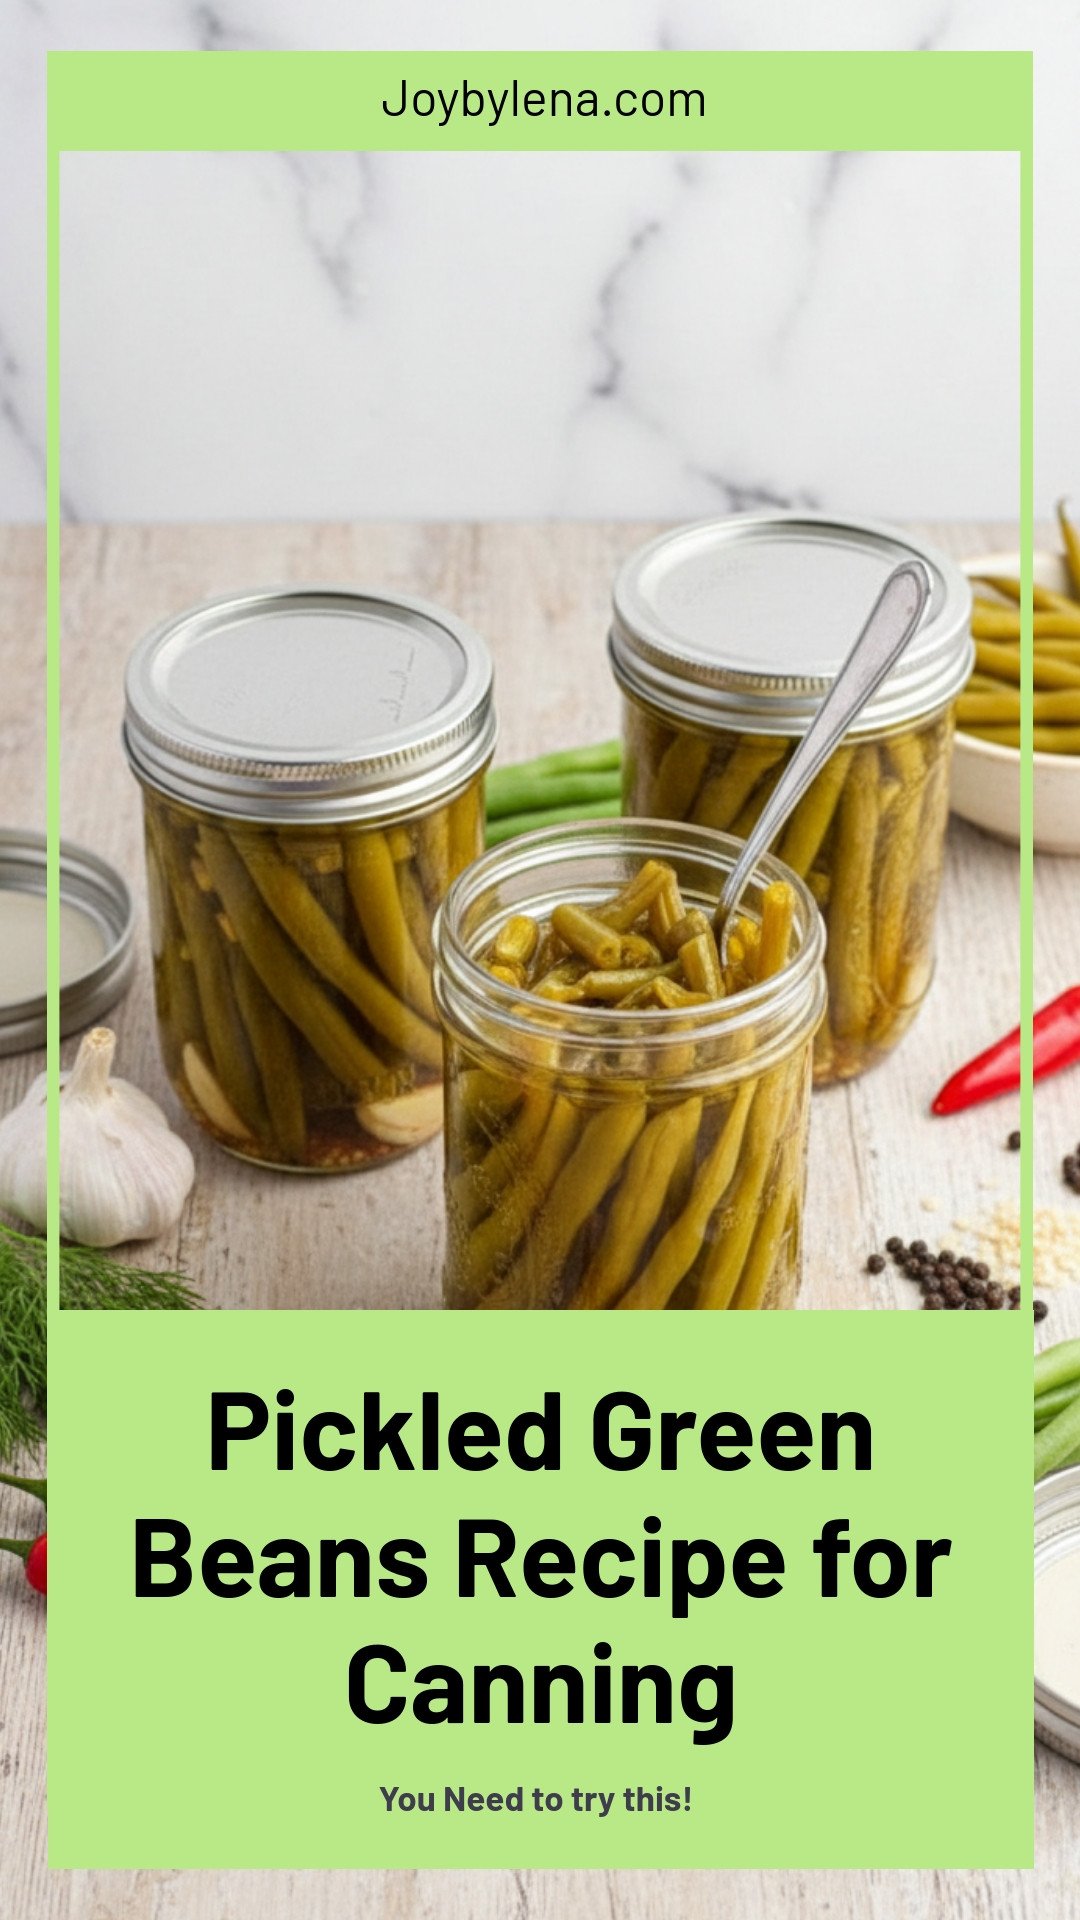
Pickled Green Beans {for canning}: Pickled Green Beans Recipe for Canning
Description
A classic and spicy recipe for home-canned pickled green beans, perfect for long-term storage and enjoying as a crunchy snack or garnish.
Ingredients
Instructions
- Prepare your ingredients and jars. Line up 8 pint sized mason jars. To each jar add: 1-2 sprigs of fresh dill, ¼ teaspoon each of red pepper flakes, mustard seeds and black peppercorns, 1 clove of garlic, half a small Serrano or Cayenne pepper and ⅛ teaspoon of Pickle Crisp.
- Wash your green beans and cut any long ones to fit the height of your mason jars. Tightly pack the green beans into the jars, leaving as little space as possible without any beans poking over the tops of the jars.
- Make the brine. In a large stainless steel pot, combine water, vinegar and salt. Bring to a boil over high heat, stirring to dissolve the salt. Then remove from the heat.
- Assemble your pickles. Carefully ladle the hot pickling liquid into the jars, covering the green beans. Leave around ½ inch of headspace and use a knife or chopstick to remove any air bubbles. Wipe down your jar rims before placing on clean lids and bands.
- Water bath canning. Place jars on a rack in a large pot and cover with water at least 1-2 inches above the top of the jars. Bring the water to a full rolling boil and boil the jars in the water bath for 10 minutes (adjusting time for altitude).
- Turn off the heat and allow the jars to rest in the warm water for 5 minutes before removing and placing on a towel on the counter (do not place directly on the counter). Allow the jars to cool undisturbed for about 24 hours until all the lids have sealed.
Notes
- *Note* You may get more or less than 8 jars depending on the size of your green beans and how tightly you pack them. Store sealed jars in a cool dry place for 12-18 months for best quality. *Note* If any of the jars do not seal simply store in the refrigerator and consume within 6 weeks.


Leave a Reply