The Story in the Pot
My kitchen smells like sweet tomatoes and spice right now. I am making my tomato chutney. This recipe came from my friend Rosa. She gave it to me on a stained recipe card years ago.
I still laugh at that. I spilled vinegar on it the first day! But the recipe was safe. Now I share it with you. Food is best when we pass it around. That is why this matters.
Why We Make Chutney
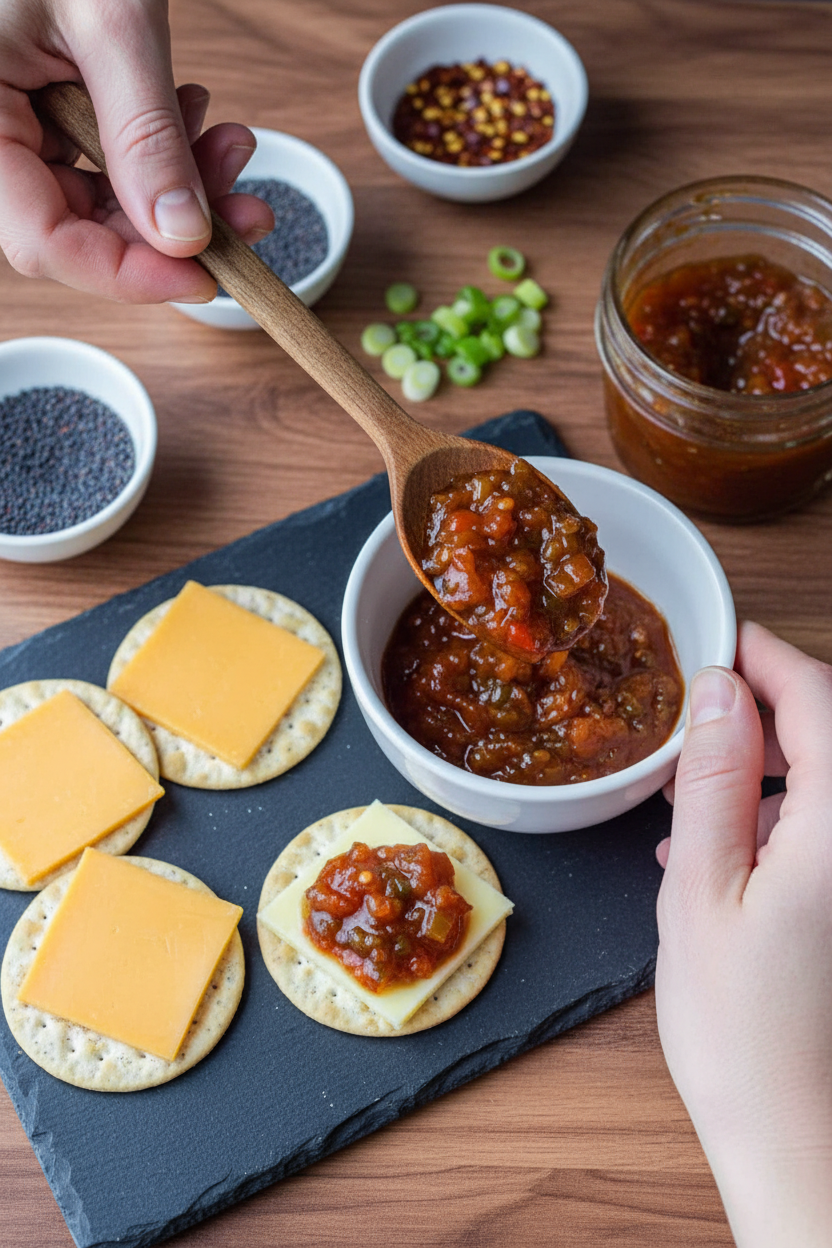
Chutney is a sweet and sour jam. It is perfect with cheese or grilled chicken. It turns simple food into a special meal. That is a little kitchen magic.
Making it in summer saves the tomato harvest. You can taste sunshine in January! Doesn’t that sound nice? What is your favorite thing to eat with a tangy spread?
The Simmering Dance
You add everything to a big pot. Then the waiting starts. It cooks for about four hours. You must stir it now and then.
The smell gets richer every hour. It fills your whole house. Doesn’t that smell amazing? This slow cook is important. It makes all the flavors become friends.
A Jar of Summer
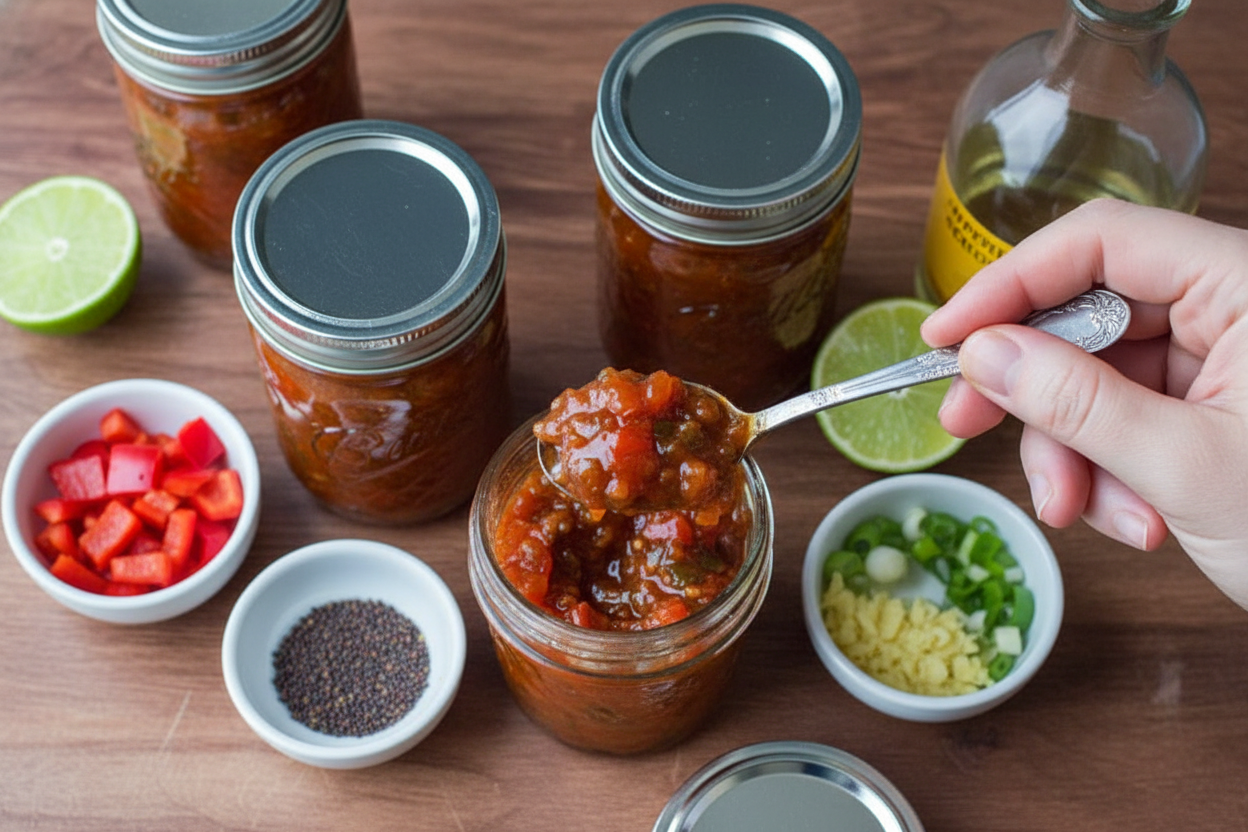
Canning lets you keep chutney for over a year. You use a boiling water bath. The heat seals the jar tight. Hearing the lid *pop* is so satisfying.
It means you did it right. That pop is a tiny celebration. *Fun fact: That pop is the lid sealing from a vacuum inside!* If a jar does not seal, just put it in the fridge.
Your Turn in the Kitchen
This recipe makes a lot. That is good. You can share! Give a jar to a neighbor or a teacher. Sharing food spreads joy.
That is the second reason this matters. Will you try making this chutney? Tell me, what is your favorite family recipe to share? I would love to know.
Ingredients:
| Ingredient | Amount | Notes |
|---|---|---|
| apple cider vinegar | 3.75 cups | |
| red wine vinegar | 2.5 cups | |
| white granulated sugar | 3.5 cups | |
| garlic | 5 cloves | crushed |
| fresh ginger | 1 tablespoon | grated |
| salt | 5 teaspoons | |
| ground black pepper | 2.5 teaspoons | |
| red pepper flakes | 2.5 teaspoons | |
| mustard seeds | 3 tablespoons | |
| celery seeds | 2 teaspoons | |
| lime | 1 | zest and juice |
| fresh tomatoes | 5 lb | washed and diced |
| bell peppers | 5 | washed and diced; recommend red or orange |
| green onions | 4 cups | washed and thinly sliced |
My Summer-in-a-Jar Tomato Chutney
Hello, my dear. Come sit. The kitchen smells amazing right now. I’m making my famous tomato chutney. It’s like catching summer sunshine and saving it for a rainy day. My Abuela taught me this recipe. We would make big batches together. I still laugh at how we’d both end up with red splashes on our aprons.
This chutney is sweet, tangy, and a little spicy. It wakes up a simple piece of cheese or a roast chicken. Making it is a slow, happy process. You get to stir the big pot and watch it turn into something magical. Let me walk you through it, step by sweet step.
Step 1: First, wash all your veggies. Dice the tomatoes and bell peppers. Slice the green onions nice and thin. I love using red peppers for their sweet color. It makes the chutney so pretty. Put all these in a big bowl. You’ll have a rainbow on your counter.
Step 2: Now, grab your biggest, heaviest pot. Pour in both vinegars. Add the sugar, crushed garlic, and grated ginger. Throw in all the spices, salt, pepper, and the lime zest and juice. Give it a good stir. Bring it all to a rolling boil. (Hard-learned tip: Use that big pot! The chutney bubbles up a lot.)
Step 3: Carefully add all your chopped vegetables to the boiling pot. It will sizzle and smell wonderful. Now, turn the heat down to a gentle bubble. Let it cook for about 4 hours. You only need to stir it now and then. This is the relaxing part. I like to sit nearby and read a book.
Step 4: After hours, the chutney will be thick and rich. It’s ready when you drag your spoon and it leaves a clear path. Turn off the heat. You can spoon it into jars for the fridge. Or you can seal it to keep for a whole year. What’s your favorite thing to put chutney on? Share below!
Step 5: For sealing, ladle hot chutney into clean jars. Leave a little space at the top. Wipe the rims clean. Put on new lids and bands. Process them in a boiling water bath for 15 minutes. Let them sit in the warm water for 5 more minutes. Then, place them on a towel to cool. Listen for the happy “pop” of the lids sealing!
Cook Time: 4–4.5 hours
Total Time: About 5 hours
Yield: About 8-10 cups
Category: Condiment, Preservation
Three Fun Twists to Try
This recipe is like a good friend. It’s happy to change things up. Here are some fun ways to make it your own. Each one tells a different story.
The Fruity One: Swap one pound of tomatoes for diced peaches or mango. It adds a sunny, tropical sweetness that’s just lovely.
The Smoky One: Use two chipotle peppers from a can instead of red pepper flakes. It gives a deep, warm smokiness. Perfect for barbecue season.
The Garden Herb One: Stir in a big handful of fresh chopped basil or cilantro at the very end. It makes the flavor bright and fresh.
Which one would you try first? Comment below!
Serving Your Sunshine Jar
Opening a jar months later is a joy. It smells like summer all over again. Here’s how I love to use it. A spoonful can make a simple meal special.
Spread it on a sharp cheddar cheese sandwich. Dollop it next to roasted chicken or pork chops. Stir a spoonful into plain yogurt for a quick dip. My grandson loves it on a hot dog! It’s so much better than ketchup.
For a drink, I think a cold glass of ginger ale pairs perfectly. The bubbles cut through the richness. For the grown-ups, a dry cider is a wonderful match. It feels like a celebration. Which would you choose tonight?
Storing Your Sunshine in a Jar
This chutney is a batch-cook dream. You make one big pot for many future meals. I always double the recipe. It saves so much time later.
Once cooled, you can keep it in the fridge. It will be happy there for two weeks. You can also freeze it in small containers. Thaw it overnight when you need it.
My first time, I was so nervous. I put a hot jar on my cold counter. It made a loud *ping* sound! I learned to always use a towel. This protects your counters from the heat.
Storing food like this matters. It turns a cooking day into many easy dinners. It feels like giving a gift to your future, busy self. Have you ever tried storing it this way? Share below!
Three Little Hiccups & How to Fix Them
First, the chutney might seem too thin. Do not worry! Just keep cooking. It thickens as it cools in the jar. Patience is your best spice here.
Second, you might forget to stir. I once got distracted by a phone call. A little bit stuck to the bottom. Just stir more often next time. The flavor will still be wonderful.
Third, the jars might not seal. This happens to everyone. Simply put that jar in the fridge. Eat it within two weeks. It is a tasty problem to have!
Fixing small issues builds your cooking confidence. It also makes sure every bite tastes just right. Which of these problems have you run into before?
Your Quick Questions, Answered
Q: Is this chutney gluten-free? A: Yes, all the ingredients are naturally gluten-free. It is safe for most friends.
Q: Can I make it ahead? A: Absolutely! The flavor gets better after a few days. Making it ahead is a smart idea.
Q: What if I don’t have green onions? A: You can use a regular yellow onion. Just chop it very fine. *Fun fact: Onions and tomatoes are both fruits!*
Q: Can I make a smaller batch? A: Yes, you can cut all the ingredients in half. Use a smaller pot for cooking.
Q: Any optional tips? A: Try a pinch of cinnamon. It adds a warm, cozy note. Which tip will you try first?
From My Kitchen to Yours
I hope you love this recipe. It is like captured summer sunshine. I make it every year when tomatoes are ripe.
I would love to see your creations. Share a photo of your finished jars. You can tag my blog on Pinterest at @LenasKitchenTable.
Your cooking stories make me so happy. Have you tried this recipe? Tag us on Pinterest! Thank you for cooking with me today.
Happy cooking!
—Lena Morales.
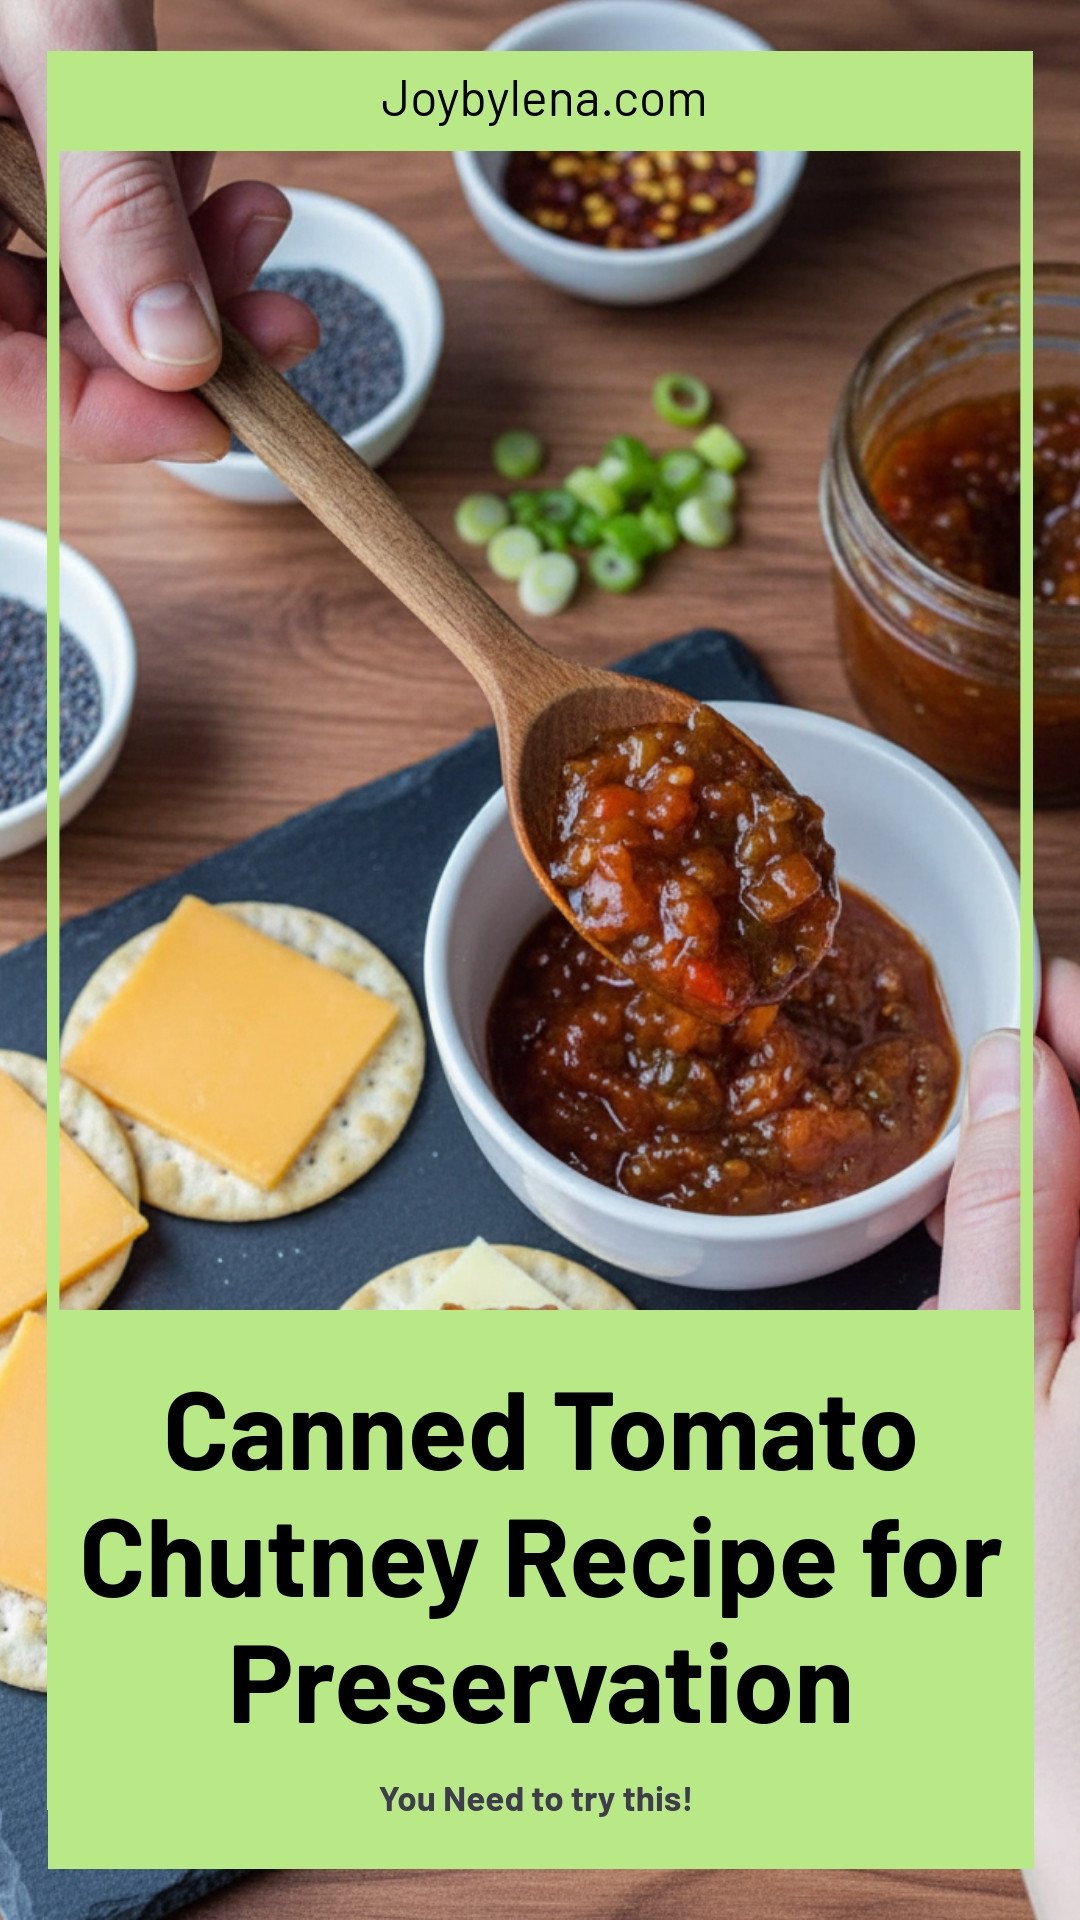
Canned Tomato Chutney Recipe for Preservation
Description
A tangy, sweet, and savory preserved tomato chutney perfect for canning and long-term storage.
Ingredients
Instructions
- Wash and prep the vegetables then set aside.
- In a large pot combine vinegar, garlic, ginger, salt, sugar, pepper, lime juice and zest and all spices. Bring to a boil over high heat.
- Add the tomatoes, peppers and green onions to the boiling mixture.
- Turn the heat down to medium low and cook for around 4 hours stirring occasionally until the chutney has thickened and reduced.
- Once the chutney has thickened you can remove the pan from the heat.
- At this point you can either spoon the chutney into jars and place them in the fridge or can them using the instructions below.
- Water bath canning instructions: Ladle the chutney into mason jars leaving about ¼th to ⅓rd inch of headspace.
- Remove air bubbles and wipe the jar rims.
- Place on new, clean lids and bands and process in a boiling water bath for 15 minutes (adjusting time for altitude).
- Turn off the heat and allow the jars to rest in the warm water for 5 minutes before removing and placing on a towel on the counter (do not place directly on the counter).
- Allow the jars to cool undisturbed for about 24 hours until all the lids have sealed.
- Store sealed jars in a cool dry place for 12-18 months for best quality.
Notes
- *Note* If any of the jars do not seal simply store in the refrigerator and consume within 2 weeks.


Leave a Reply