My First Peppermint Cookie Mess
Let me tell you about my first try. I was so excited. I used a whole bottle of peppermint extract. Oh my! The cookies tasted like toothpaste. I still laugh at that.
That’s why I say the extra extract is optional. Start with a little. You can always add more. Cooking is about learning from little mistakes. That’s the first fun part.
Why We Cream Butter and Sugar
First, we cream the butter, oil, and sugars. This step matters a lot. It makes the cookies soft and chewy. Doesn’t that smell amazing already?
You are mixing in tiny air bubbles. Those bubbles help the cookie rise. It’s like giving your dough a cozy blanket of air. Fun fact: This creaming step has been done for over 200 years!
The Magic of Two Extracts
Now, vanilla and almond extract. Vanilla is like a warm hug. Almond is its quiet friend. Together, they make the chocolate and peppermint sing.
This matters because good flavor is a team job. No one ingredient should shout too loud. Do you have a favorite spice or extract you love to add?
When to Stop the Mixer
After you add the flour, mix just until you see no white streaks. Over-mixing is a cookie’s enemy. It makes them tough. We want them tender.
Then, fold in all those minty, chocolaty bits. The dough will be very full. That’s perfect! Every bite should be a surprise. Are you a team chocolate chip or team peppermint crunch?
The Great Cookie Watch
Bake them for just 7 to 8 minutes. They will look a little soft in the middle. This is the secret! They finish cooking on the hot pan.
Let them rest for five minutes. This patience gives you the perfect cookie. It’s chewy inside, crisp at the edges. What’s your favorite cookie texture? Share your thoughts with me.
Ingredients:
| Ingredient | Amount | Notes |
|---|---|---|
| Butter | 1/2 cup | softened |
| Vegetable oil | 1/2 cup | |
| Brown sugar | 1 cup | |
| Sugar | 1 cup | |
| Eggs | 2 | |
| All-purpose flour | 3 cups | |
| Baking powder | 1 teaspoon | |
| Baking soda | 1 teaspoon | |
| Salt | 1 teaspoon | |
| Vanilla extract | 1 teaspoon | |
| Almond extract | 1/2 teaspoon | |
| Christmas chocolate chips | 1 bag | |
| Andes Peppermint Crunch Pieces | 1 cup | |
| Peppermint extract | (optional) | to taste |
My Favorite Holiday Cookie Secret
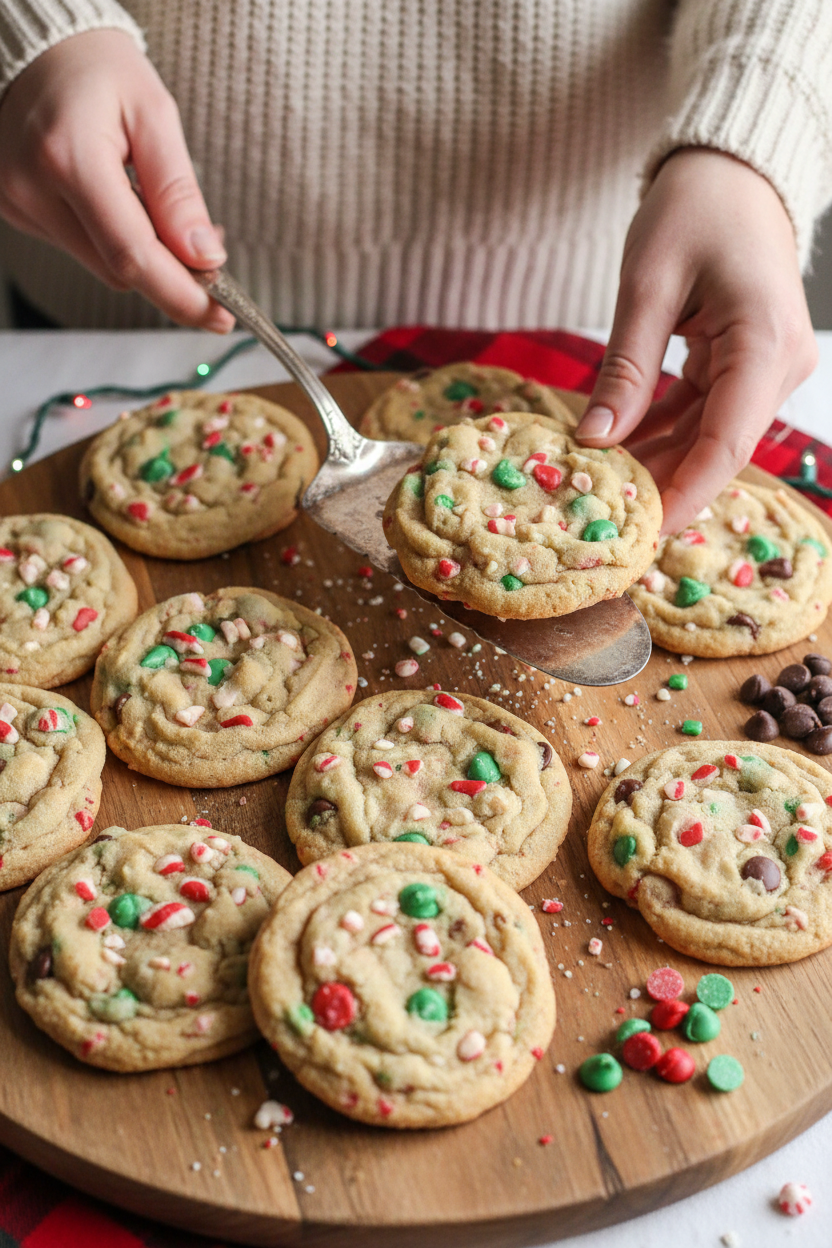
Hello, my dear! Come sit at the counter. Let’s bake my special holiday cookies. They are my grandson Mateo’s absolute favorite. He calls them “Christmas in a bite.” I think you’ll love them too.
The secret is the peppermint crunch. It makes them so festive and fun. That cool mint with sweet chocolate is just perfect. Doesn’t that smell amazing already? I still smile thinking of Mateo’s powdered sugar mustache. Let’s get our bowls ready.
Step 1: First, warm up your oven to 350 degrees. Now, let’s cream the butter, oil, and sugars. Use your mixer on medium speed. It should look light and fluffy. This gives the cookie its perfect texture. (A hard-learned tip: Your butter must be soft, not melted. I learned that the messy way once!)
Step 2: Crack in the two eggs. Beat everything together again. See how it gets even fluffier? That’s the magic starting. In another bowl, mix the flour, baking powder, soda, and salt. Give them a good stir with a fork. This makes sure every cookie rises just right.
Step 3: Slowly add your flour mix to the wet bowl. Mix on a low speed. We don’t want flour flying everywhere! Now, the best part. Pour in the chocolate and peppermint pieces. Add the vanilla and almond extracts too. Do you know what the almond extract does? Share below! It adds a cozy, mysterious flavor.
Step 4: Use a spoon to drop dough onto your pan. Leave space for them to grow. Bake for just 7 to 8 minutes. They might look a little soft in the middle. That’s perfect! They firm up as they cool. This keeps them chewy. I still laugh at the time I overbaked a batch. They were like little sweet stones!
Cook Time: 8 minutes per batch
Total Time: About 30 minutes
Yield: About 3 dozen cookies
Category: Dessert, Cookies
Three Fun Twists to Try
Once you master the classic, get creative! Here are my favorite twists. They make the cookie feel brand new.
The Candy Cane Swirl: Use only white chocolate chips. Add a few drops of red food coloring. Swirl it gently for a pretty, peppermint look.
The Chocolate Lover’s Dream: Skip the peppermint pieces. Use dark chocolate chips instead. Add a teaspoon of instant espresso powder. It makes the chocolate taste richer.
The Ice Cream Buddy: Bake your cookies a minute longer. Let them get crispy. Crumble them over a bowl of vanilla ice cream. It’s so good! Which one would you try first? Comment below!
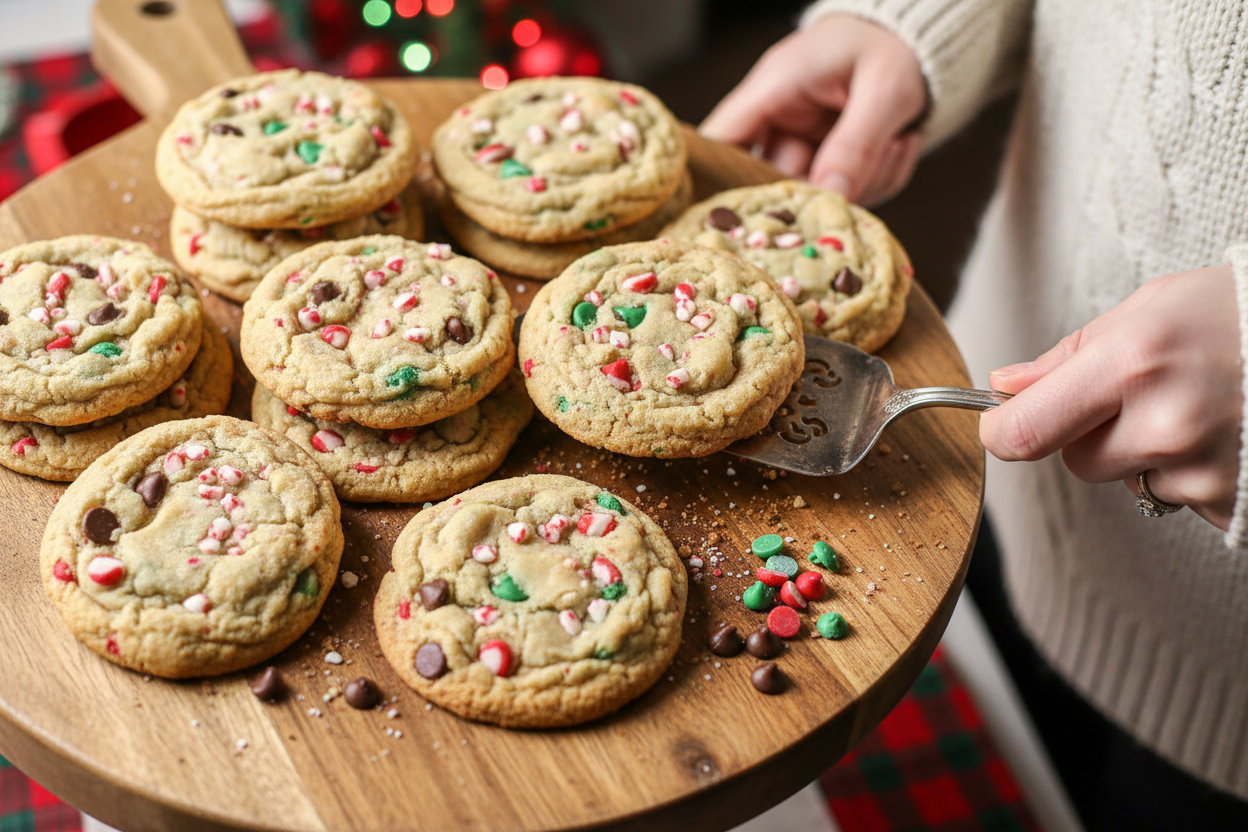
The Perfect Way to Serve Them
These cookies are stars on their own. But a little presentation is nice. I love stacking them on my grandmother’s old plate. It feels so special. You could also put one in a small bag. Tie it with a ribbon for a sweet gift.
What to drink with them? For a cozy night, a big glass of cold milk is best. For the grown-ups, a little peppermint schnapps in hot cocoa is delightful. It echoes the mint in the cookie. Which would you choose tonight? I think I’ll have the milk, myself.
Keeping Your Cookies Fresh and Festive
Let’s talk about keeping these cookies tasty. Cool them completely first. Then store them in a tin with wax paper between layers. They stay soft for a week this way. You can also freeze the dough or baked cookies. I once froze a whole batch for my grandson’s surprise visit. It was a sweet success!
Why does this matter? Good storage saves your treats from getting stale. It means you always have a little joy ready to share. Batch cooking lets you bake once and enjoy for weeks. It makes busy days sweeter.
Have you ever tried storing cookie dough in the freezer? Share below!
Cookie Troubles? Let’s Fix Them Together
Sometimes cookies spread too thin. Your butter was probably too warm. Chill your dough for 30 minutes before baking. I remember when my first batch ran into one giant cookie! Chilling fixes that.
If your cookies are too cakey, you may have over-measured the flour. Spoon flour into your cup, don’t scoop. Dry cookies? You likely baked them a minute too long. They keep cooking on the hot tray after you take them out.
Why fix these issues? It builds your confidence in the kitchen. Small changes also make the flavor and texture just right. Every baker has little hiccups. That’s how we learn!
Which of these problems have you run into before?
Your Quick Cookie Questions, Answered
Q: Can I make these gluten-free? A: Yes! Use a good 1-to-1 gluten-free flour blend. The texture will be very similar.
Q: How far ahead can I make the dough? A: You can refrigerate it for 3 days. Or freeze it for up to 3 months.
Q: I don’t have almond extract. A: That’s okay. Just use an extra teaspoon of vanilla instead. It will still be delicious.
Q: Can I double the recipe? A: Absolutely. Just mix in a very large bowl. You’ll have plenty to share! *Fun fact: The first chocolate chip cookie was made by accident in the 1930s.*
Q: Is the peppermint extract needed? A: Only if you love a strong minty kick. The crunch pieces give plenty of flavor.
Which tip will you try first?
From My Kitchen to Yours
I hope you love making these festive cookies. Baking is about sharing warmth and creating memories. I would love to see your kitchen creations. Your photos always make my day.
Please share your baking stories with me. Let’s keep this conversation going. You can always find more cozy recipes on my blog.
Have you tried this recipe? Tag us on Pinterest! Happy cooking!
—Lena Morales.
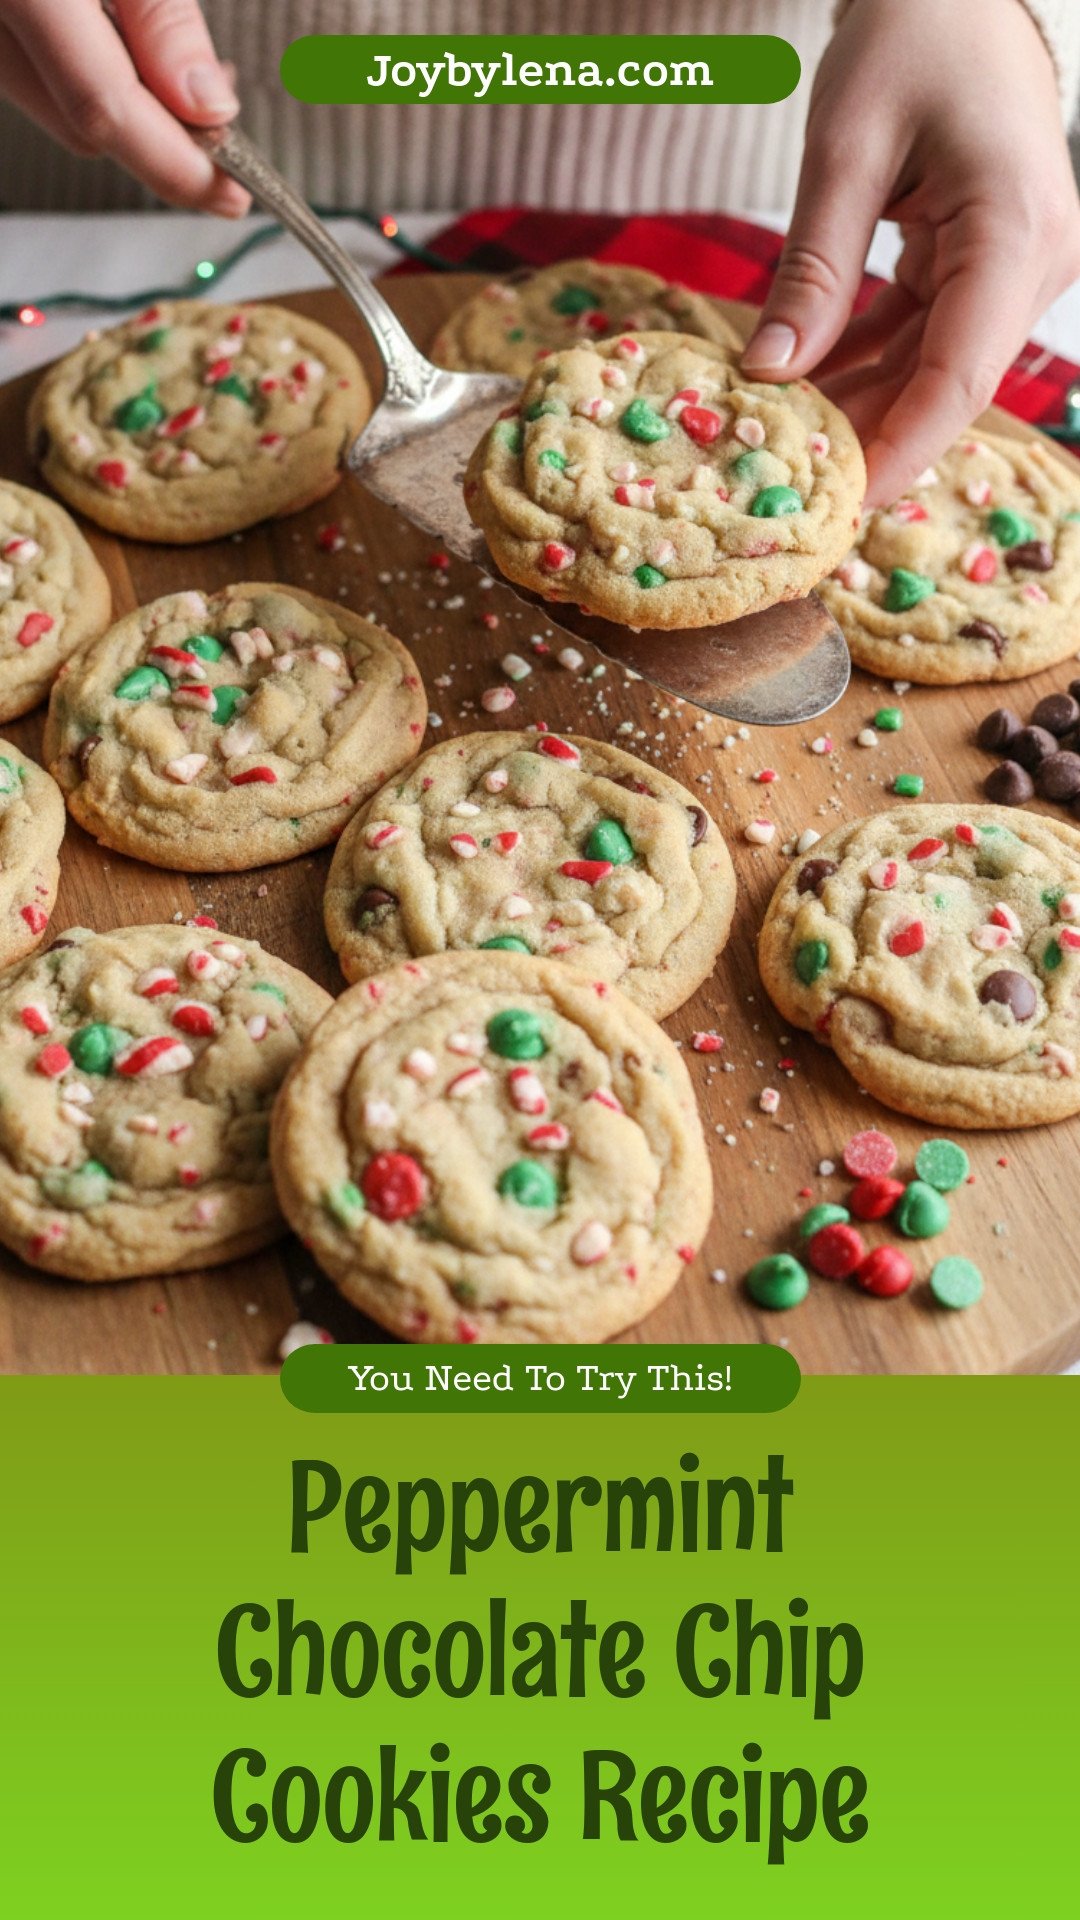
Peppermint Chocolate Chip Cookies
Description
A festive and chewy cookie bursting with chocolate and peppermint flavor, perfect for the holiday season.
Ingredients
Instructions
- Preheat oven to 350° F.
- Cream butter, oil and sugars in your mixer.
- Add eggs and beat until fluffy.
- Add flour, baking powder, baking soda, salt to a separate bowl and mix well. Add to wet ingredients and mix well.
- Add chocolate chips, peppermint crunch pieces, almond extract, and vanilla (add additional peppermint extract – 1 tsp. if you want it to have more peppermint taste). Mix well.
- Bake at 350 for 7-8 minutes.
Notes
- Nutrition per serving: Calories: 223 kcal, Carbohydrates: 29 g, Protein: 2 g, Fat: 11 g, Saturated Fat: 5 g, Cholesterol: 17 mg, Sodium: 140 mg, Potassium: 63 mg, Sugar: 20 g, Vitamin A: 95 IU, Vitamin C: 0.1 mg, Calcium: 43 mg, Iron: 0.6 mg.


Leave a Reply